Connect And Configure Camera Nodes For Image Capture
This tutorial explains how to use camera nodes effectively. You will learn to connect, configure, and trigger cameras to capture images.
1. Introduce Camera Nodes Usage
In this tutorial, we will learn how to use the camera nodes.
2. Explain Camera Brand Compatibility
In this case, we'll be using Omron cameras, but it will be exactly the same for other brands like iRayple.
The only thing is that the node names will be different. Instead of, Omron collector, for example, it will be iRayple collector. In any case we will have just these 3 nodes.

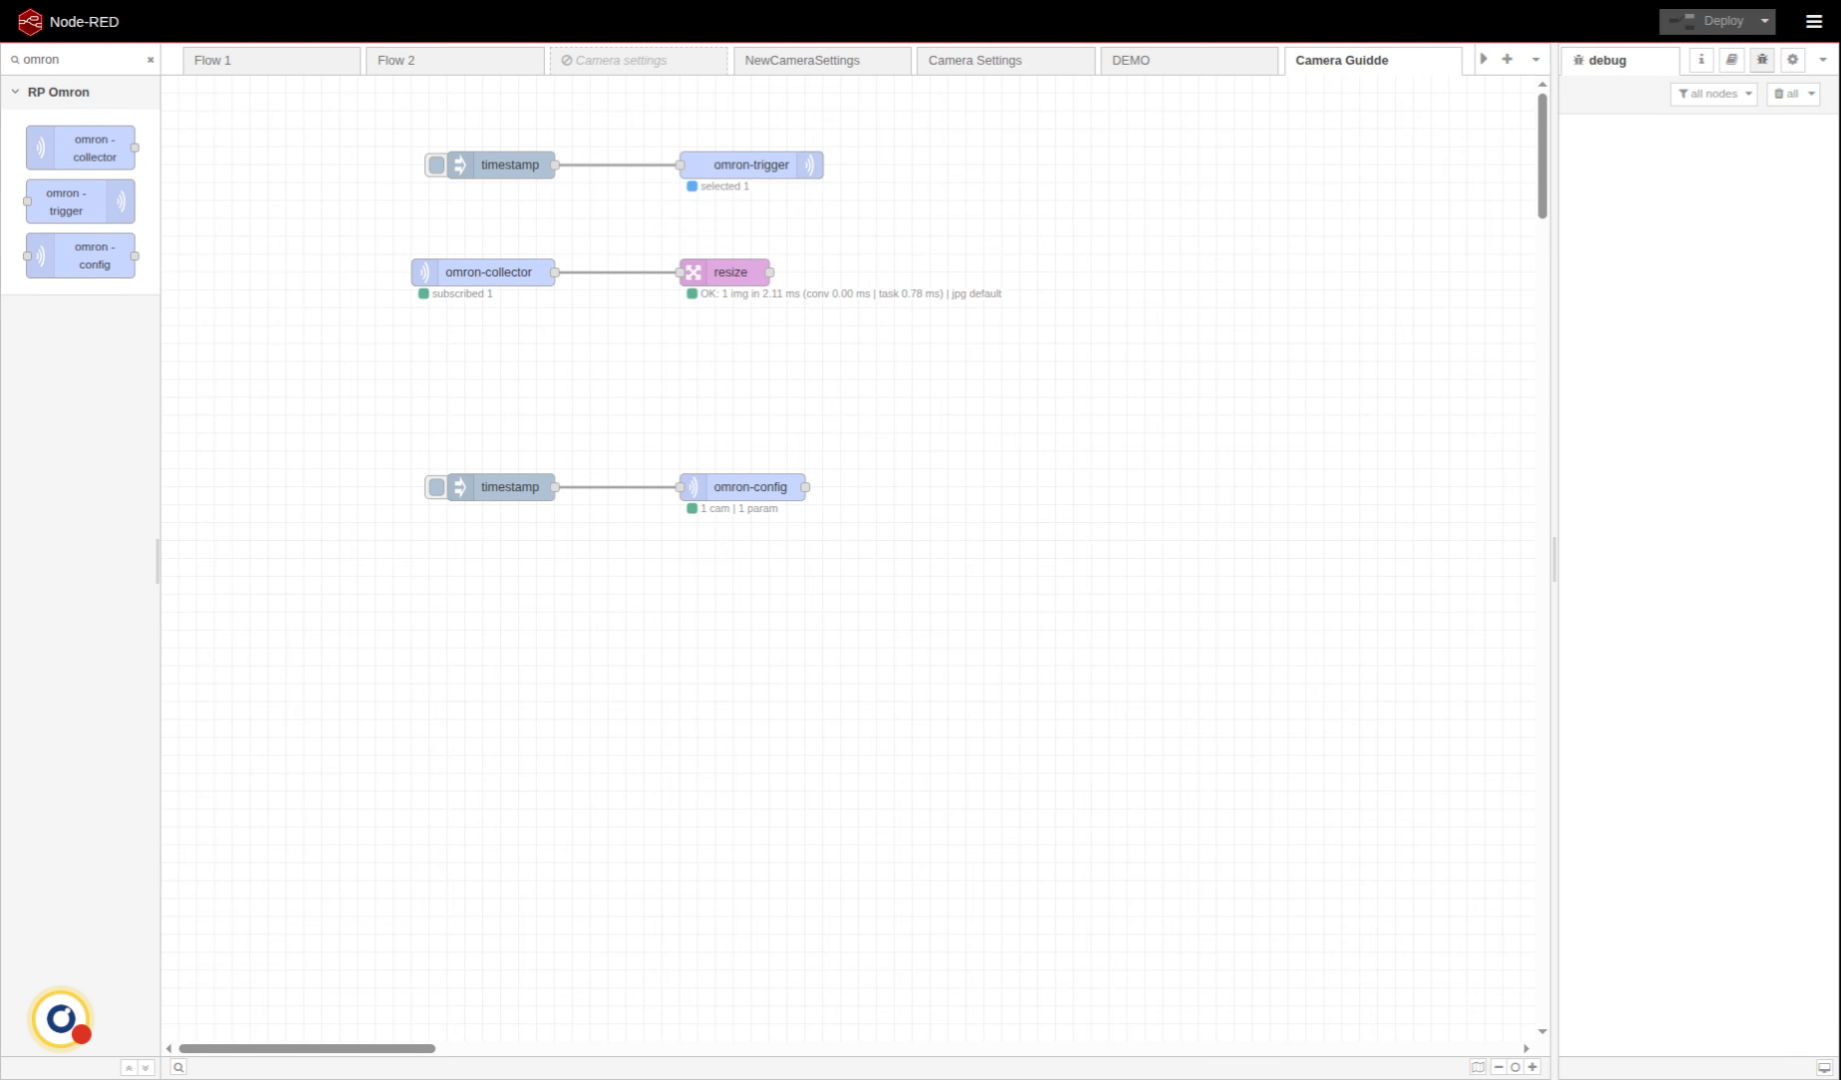
3. View Connected Cameras
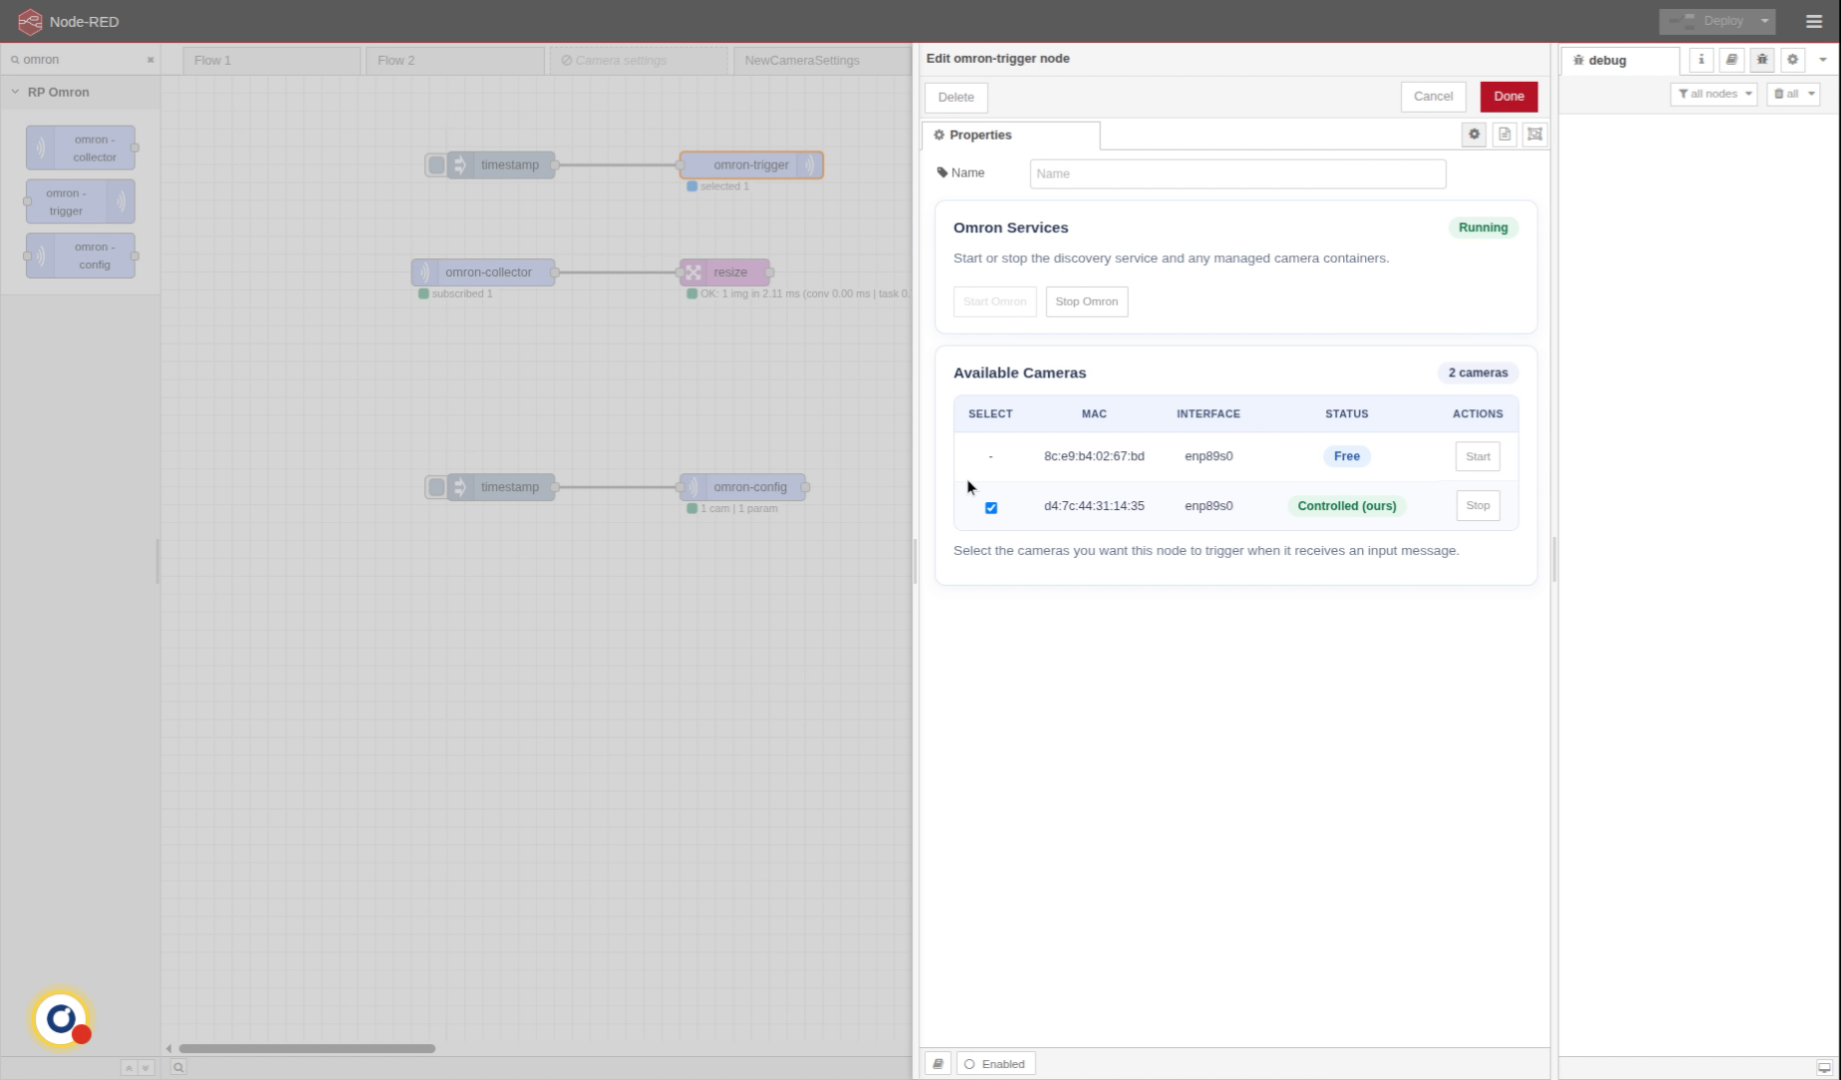
Let's start with trigger node. In all 3 nodes we will have the same camera menu where we can see all the cameras connected to our network.
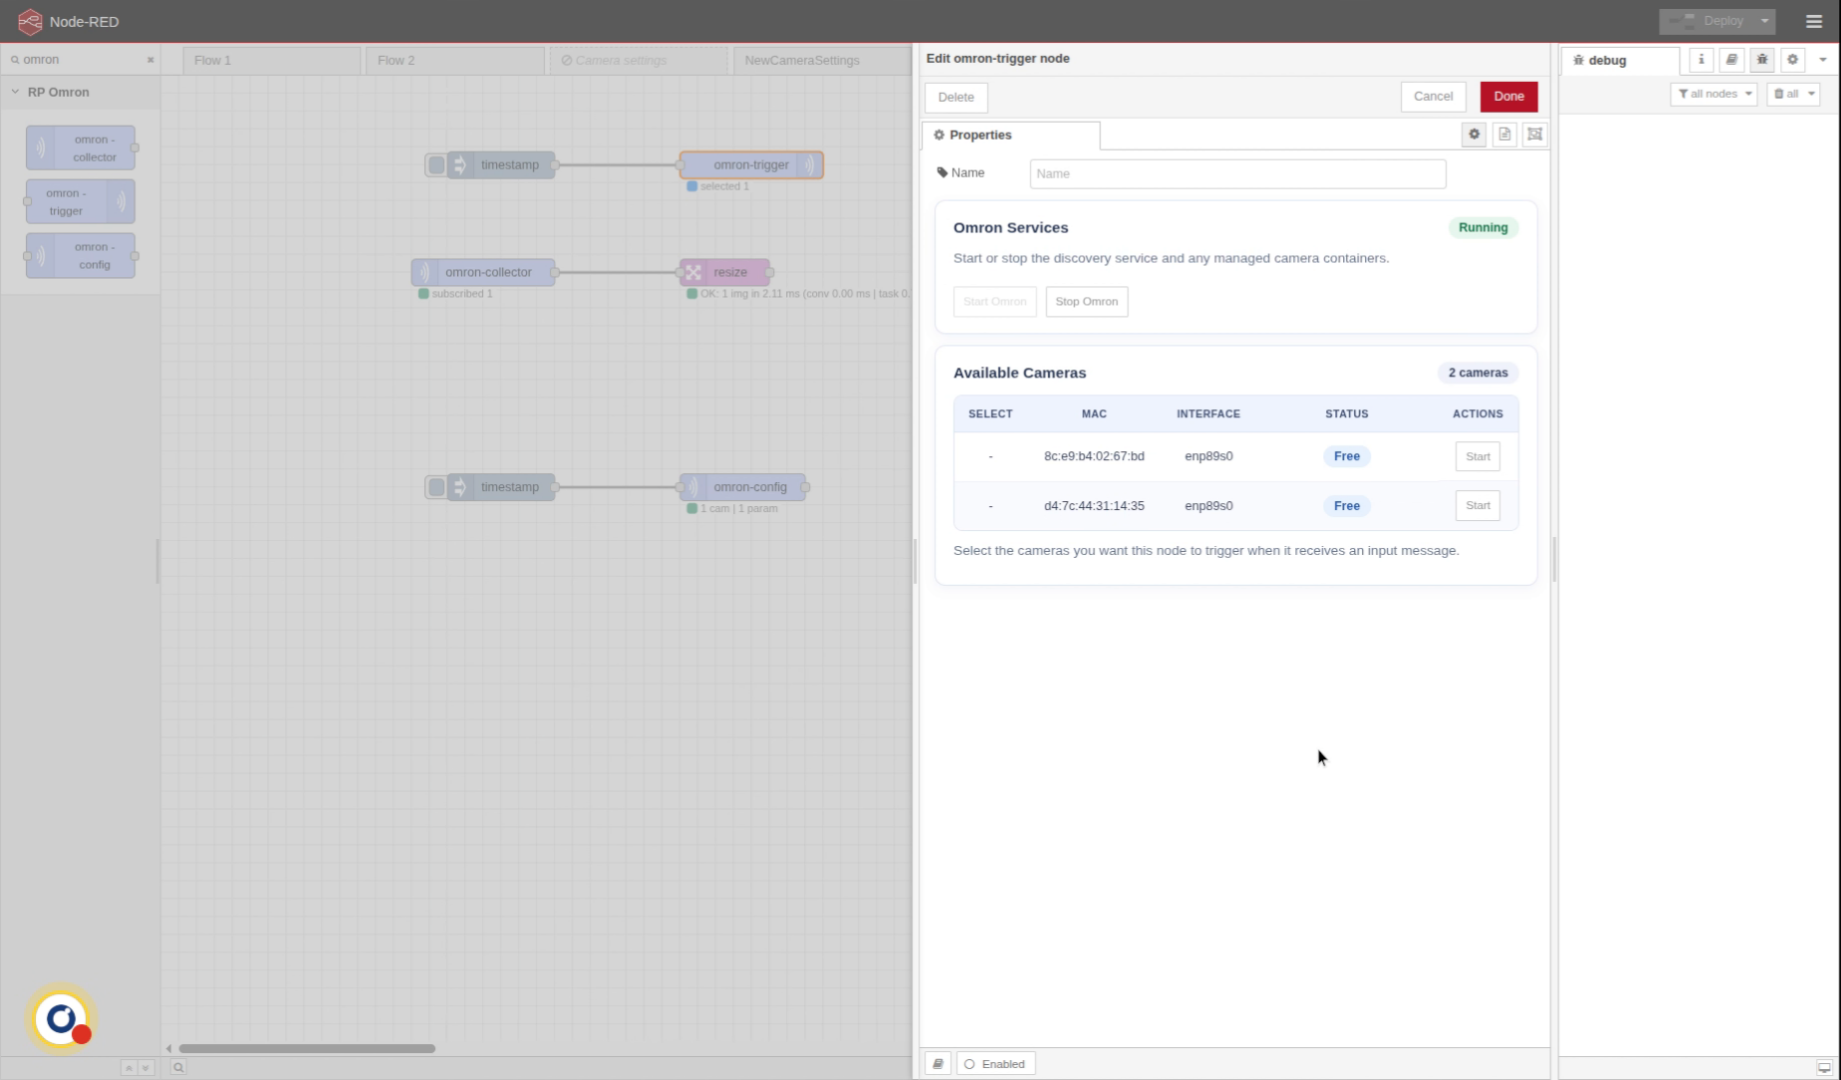
4. Press Start To Control Camera
if we want to work with one we will just press start and get camera control. The camera connecting process is a little bit slow, it can take up to 10 seconds so just be patient.
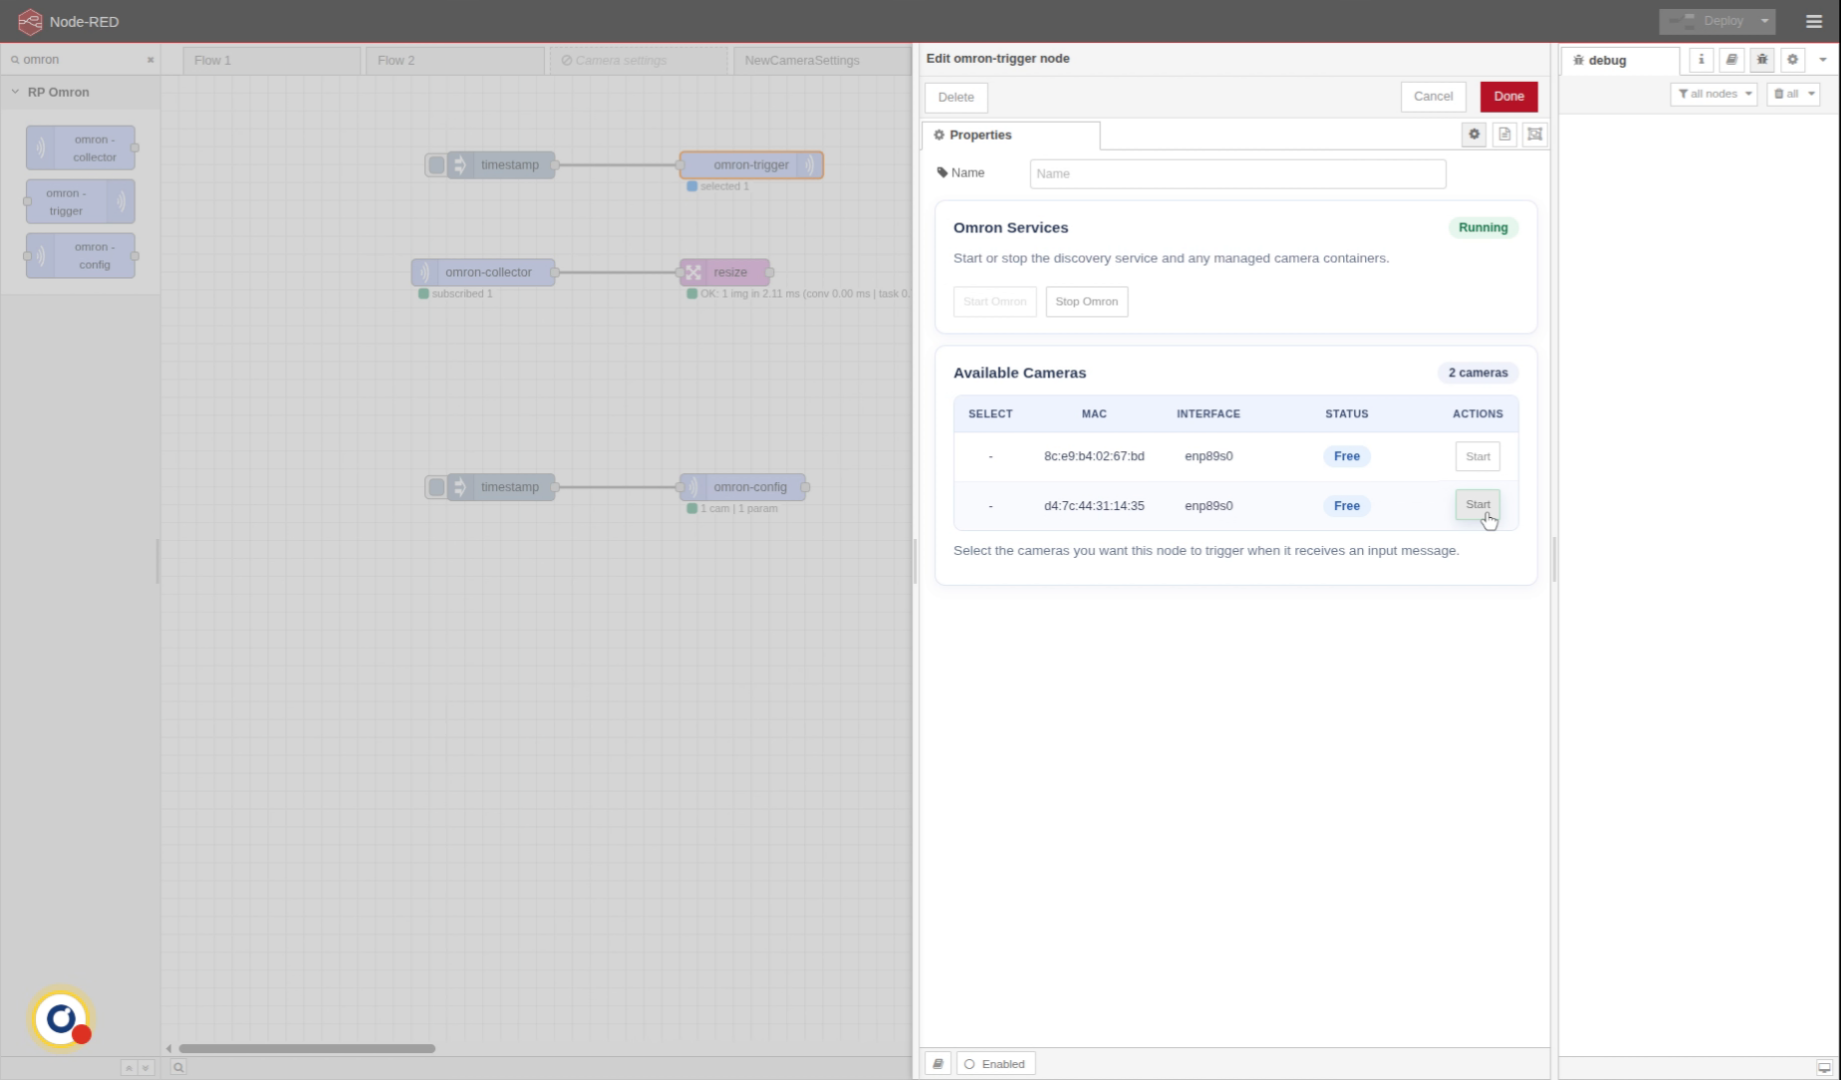
5. Select Camera For Trigger
And we now select this camera. So we will send trigger to this camera.
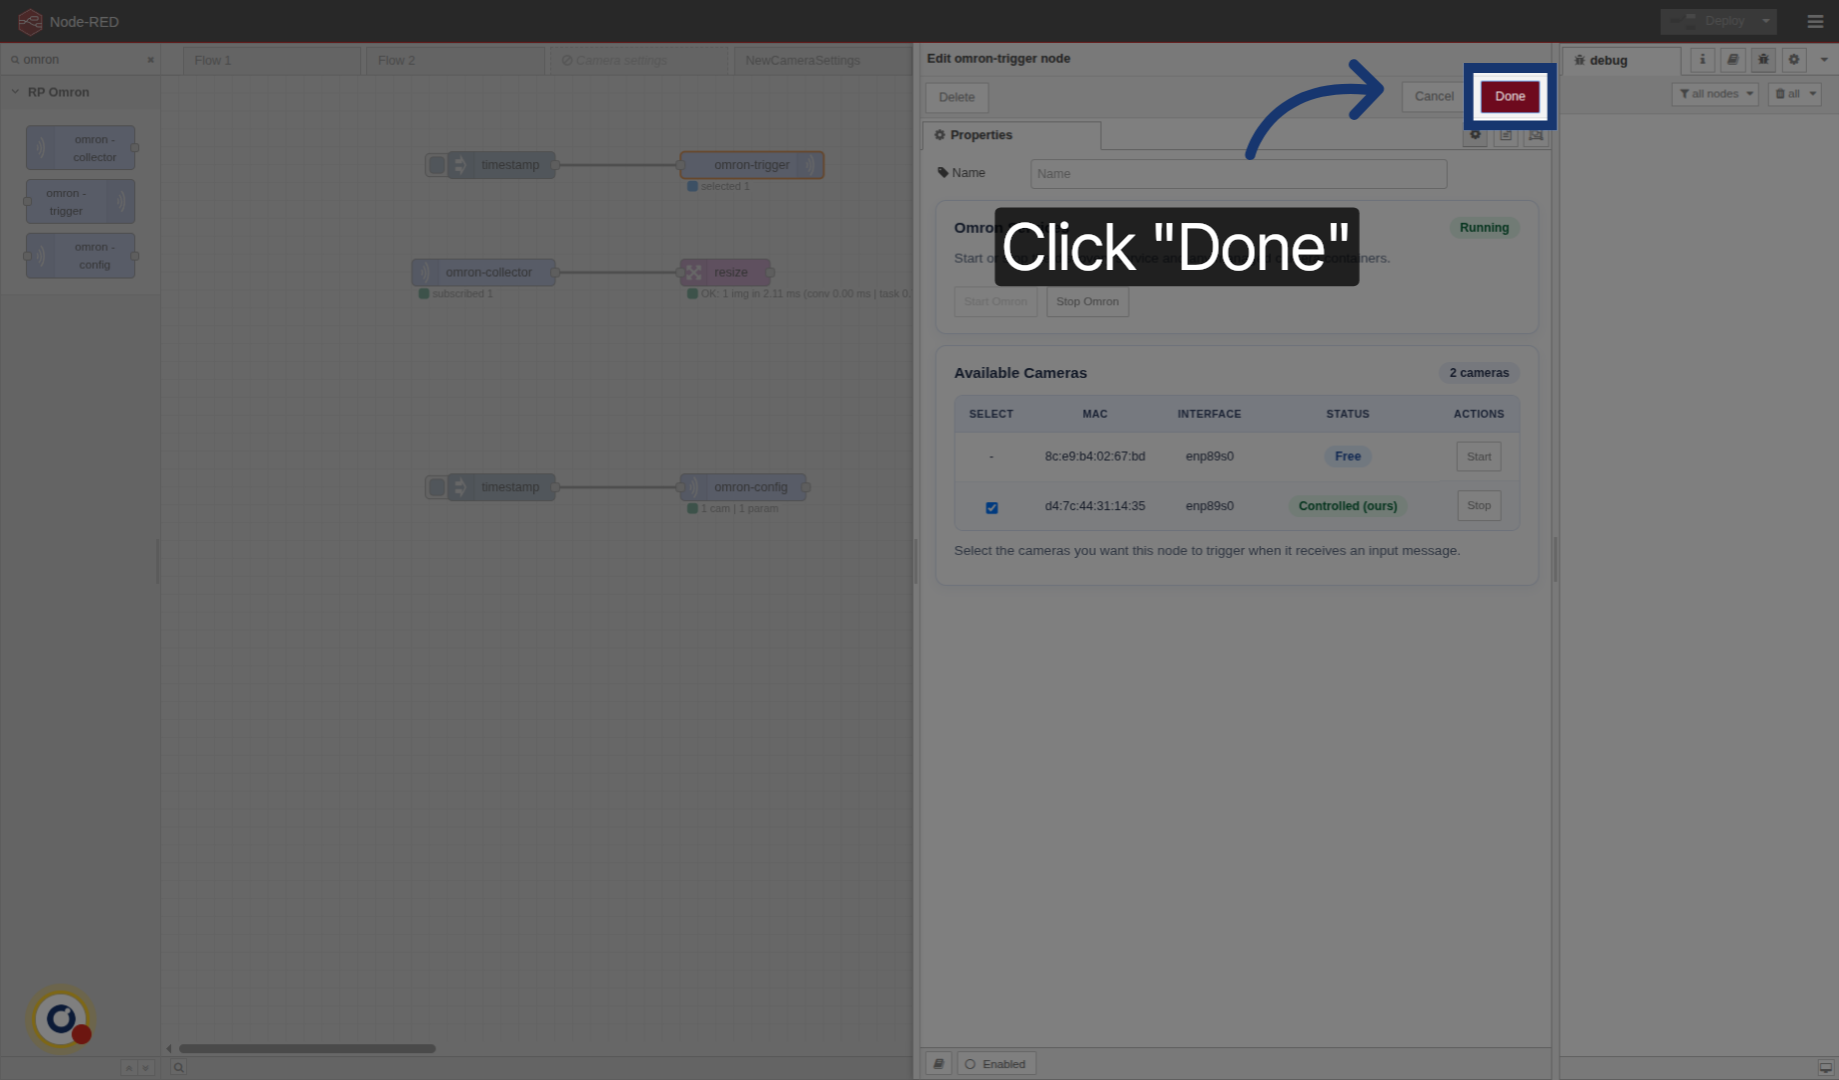
6. Confirm Camera Selection
Click "Done"
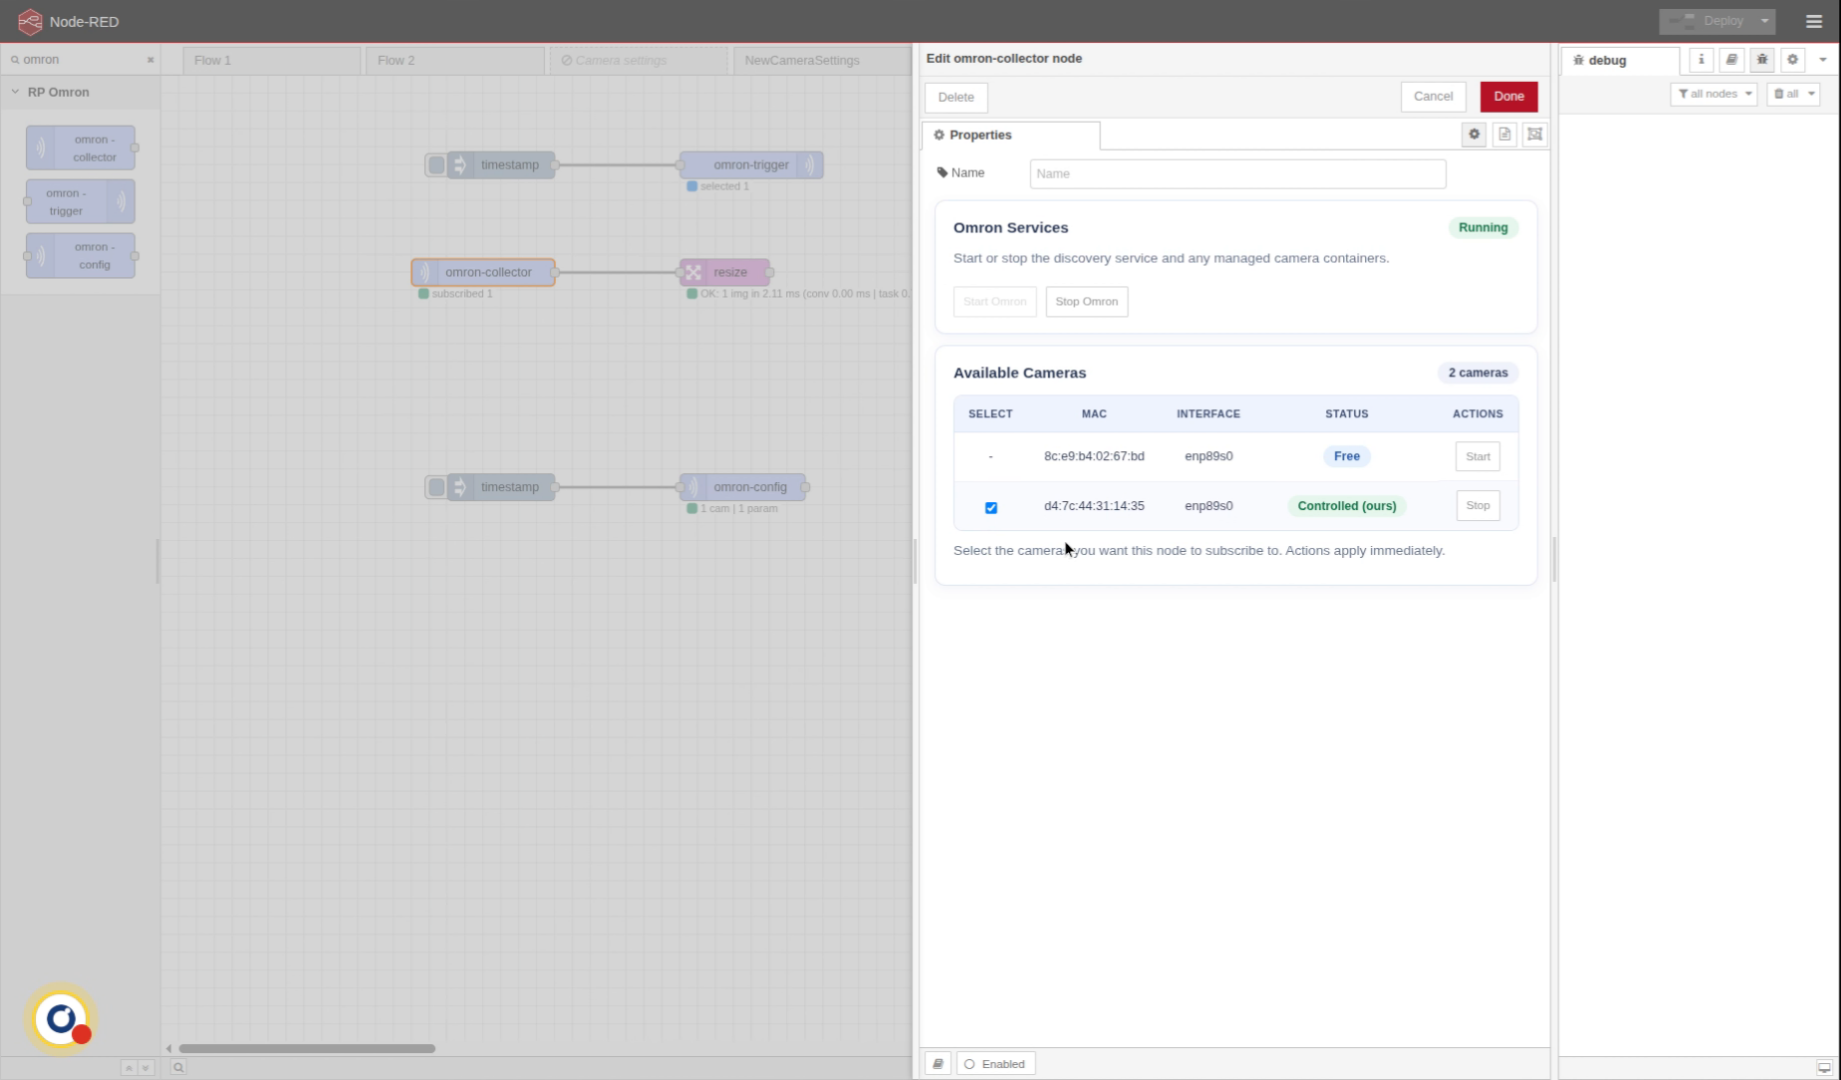
7. Match Trigger And Collector Cameras
Now in Omron collector we also select the camera we want to recive images from, in this case, the same one as we will be sending triggers to.
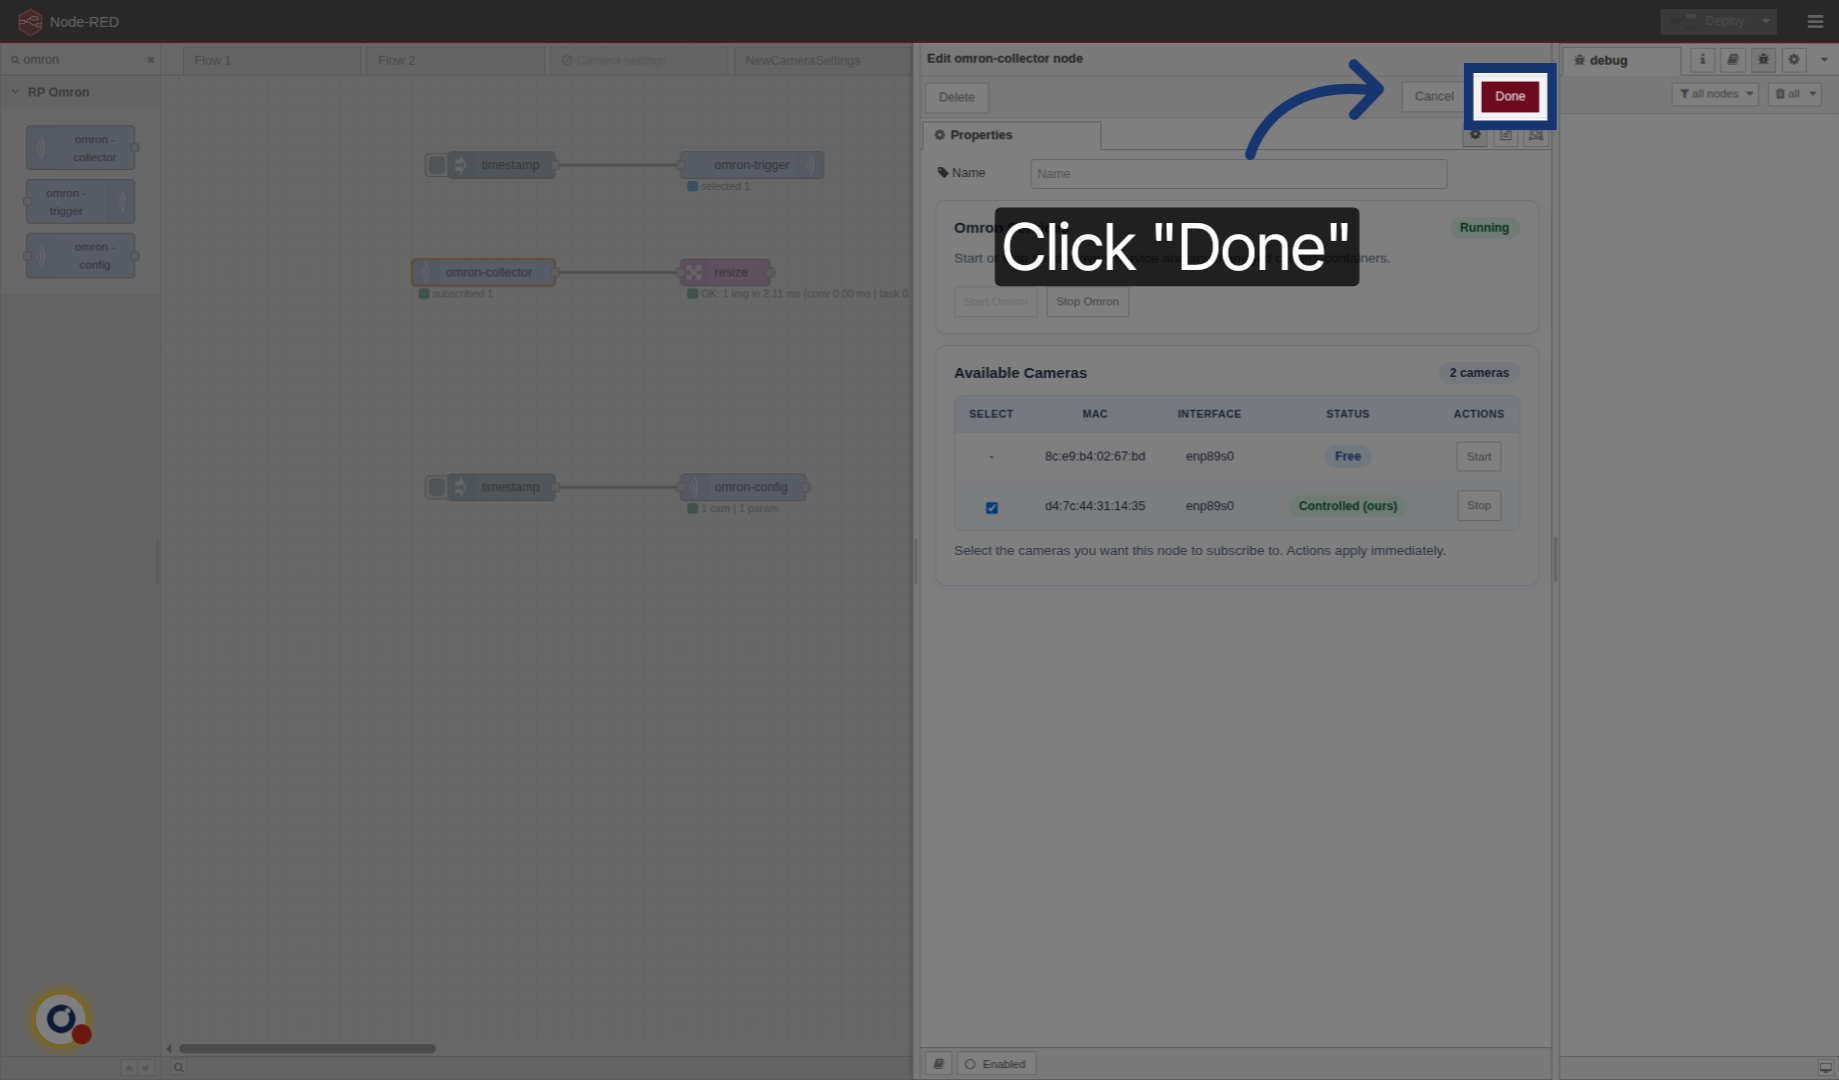
8. Confirm Collector Camera Selection
Click "Done"
9. Overview
Now, if we try we can see that we are receiving an image. Perfect!

10. Config Node
The config node is to change the camera configuration. The menu is the same but we also have the parameter section.
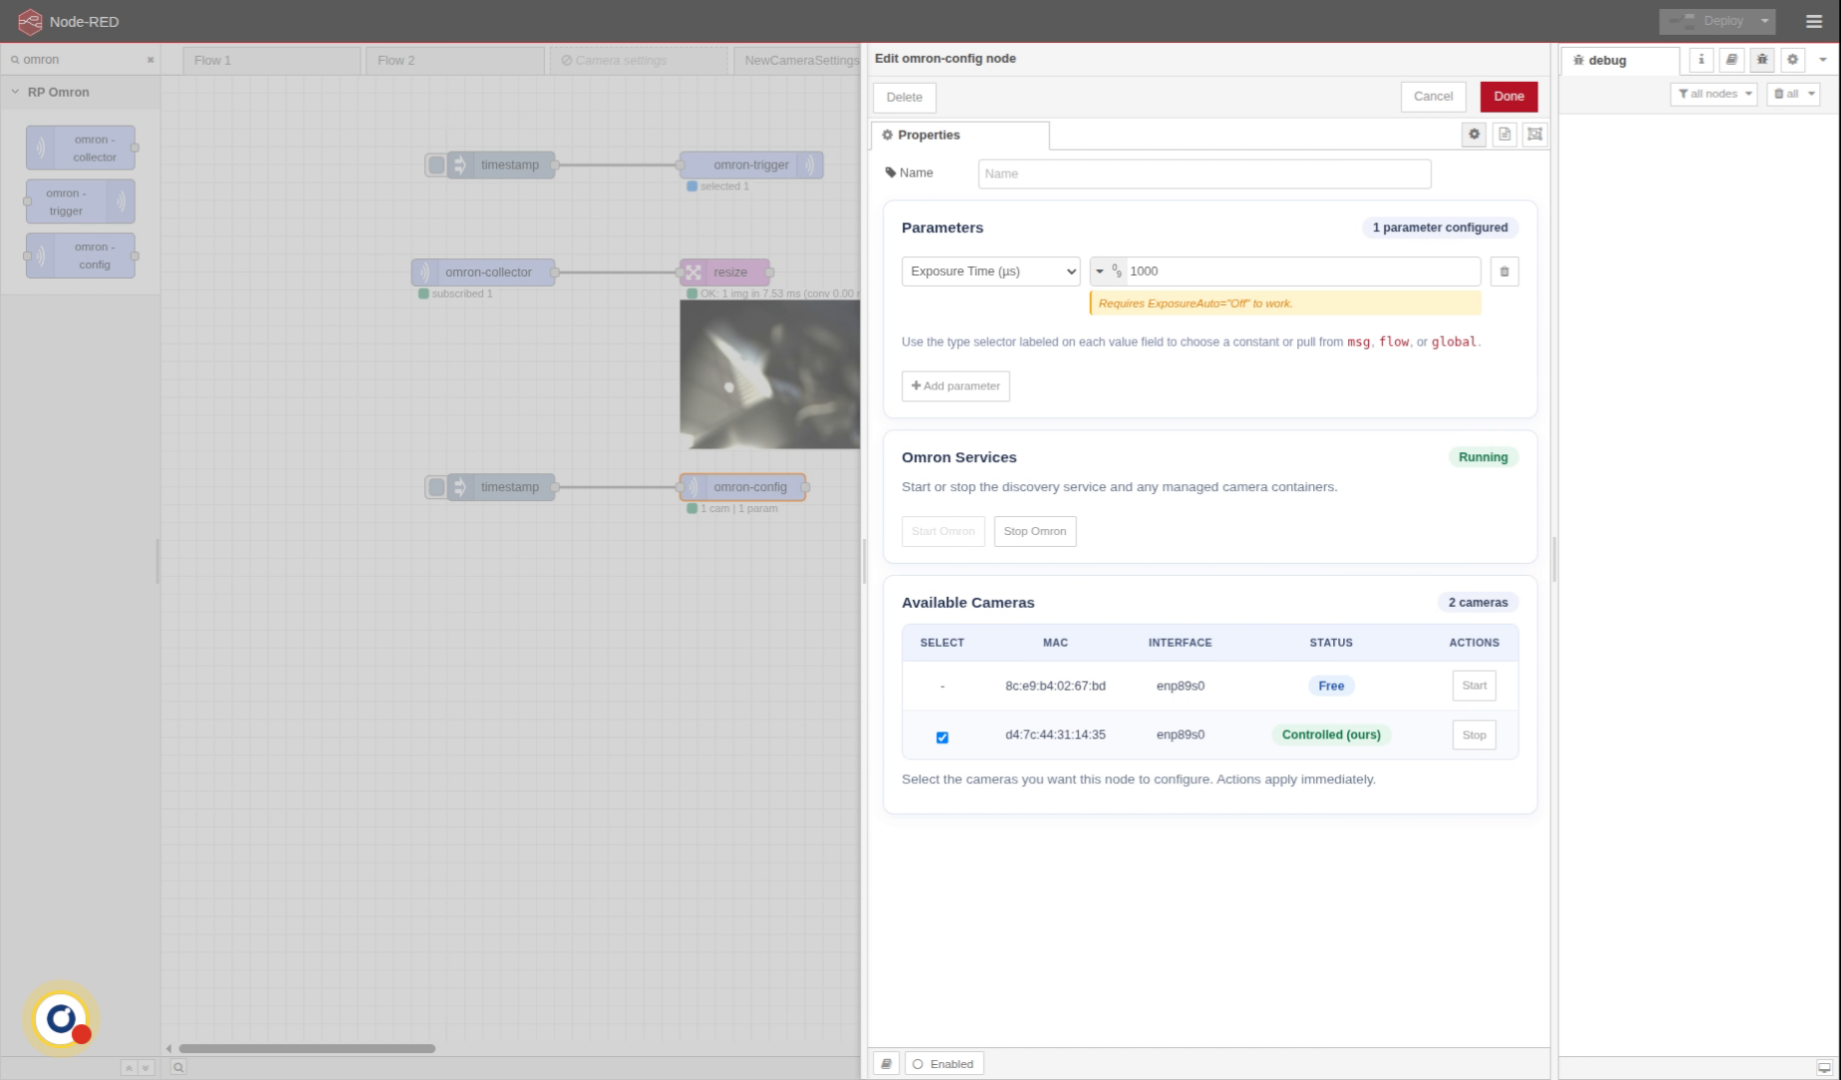
11. Parameters
Here, you can see all the available parameters that we can change.
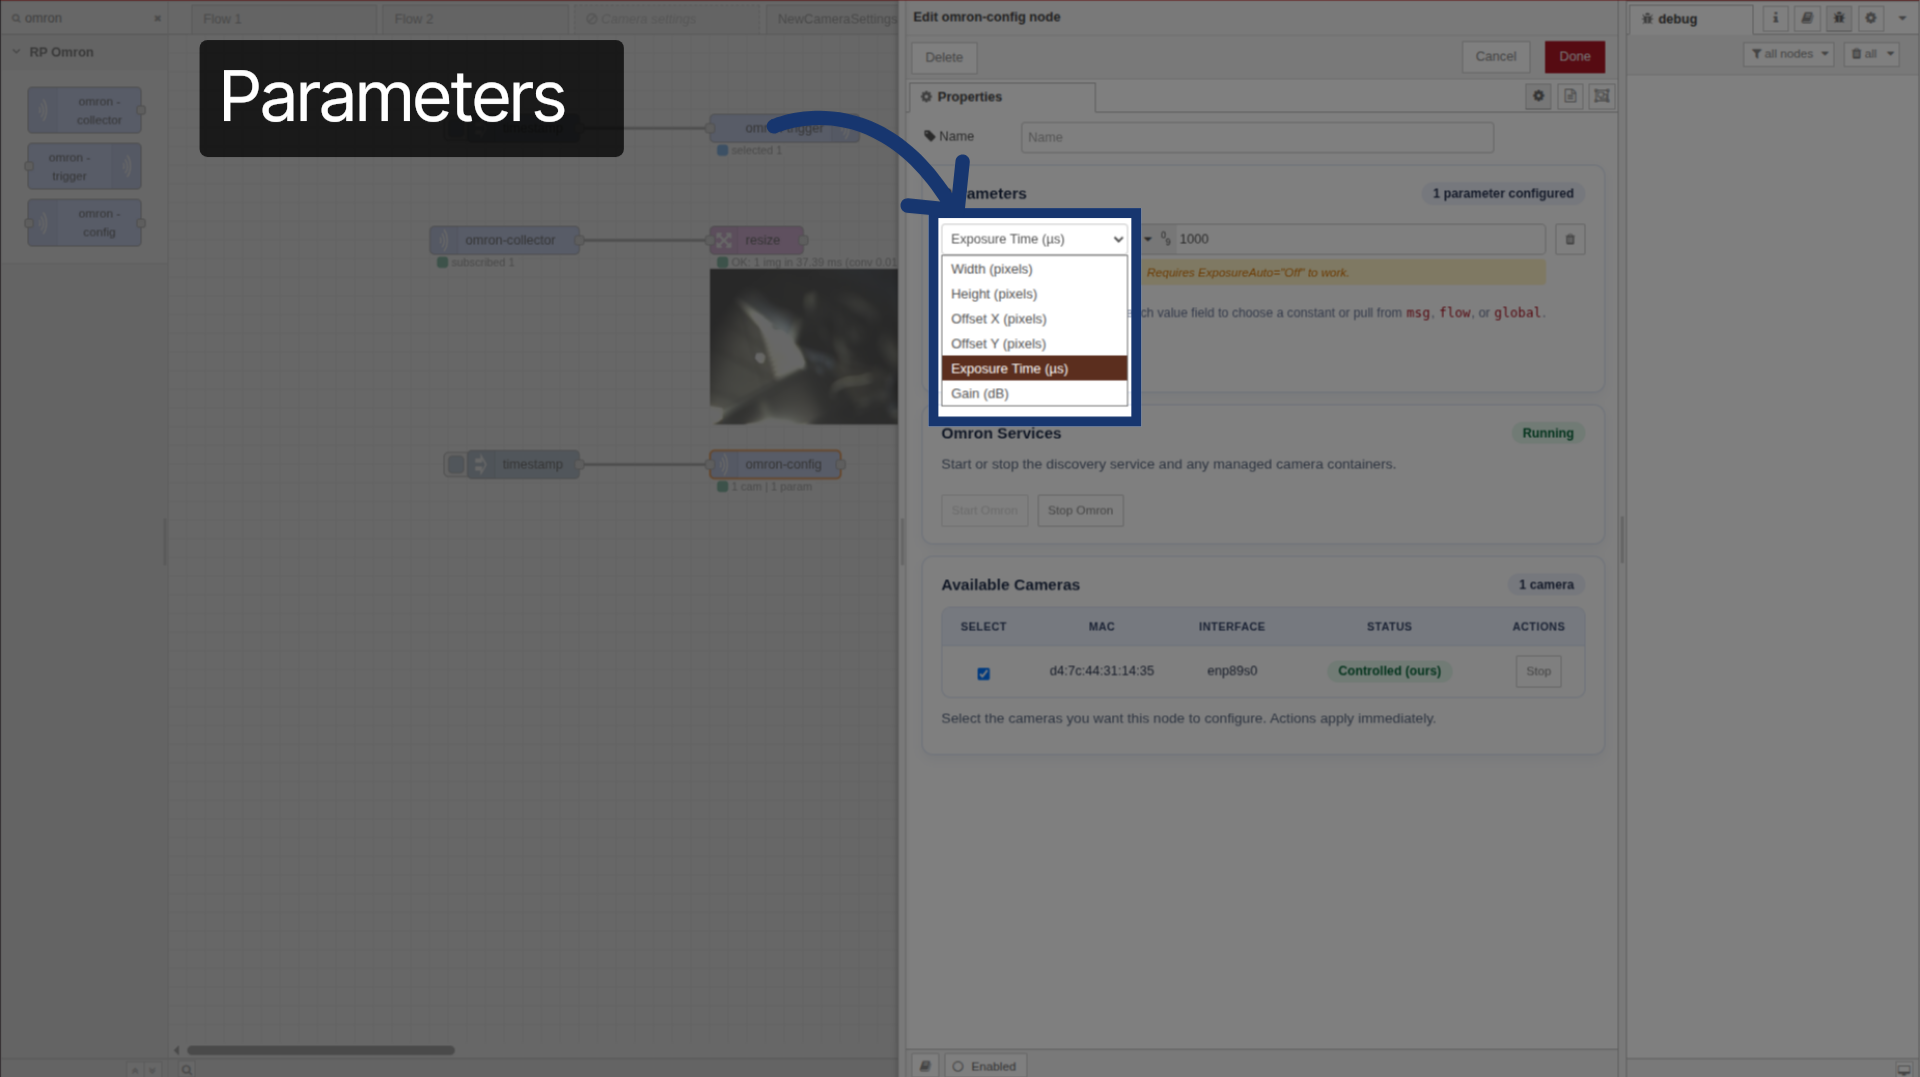
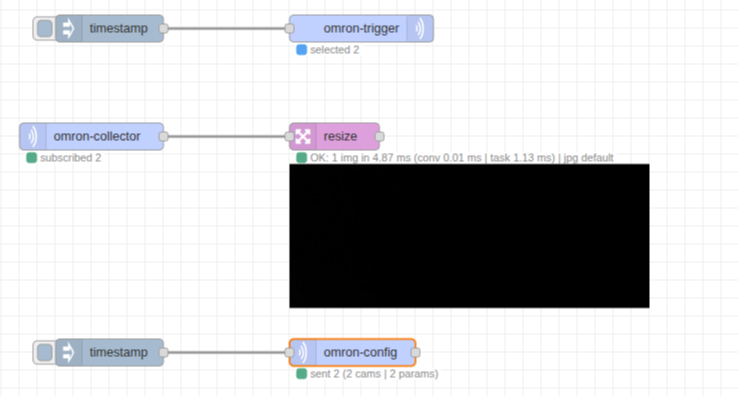
12. Adjust Exposure Time
In this case, we will change the exposure time. We will set it down. To just 1 millisecond to see how it affects the image. Should be shown all black.

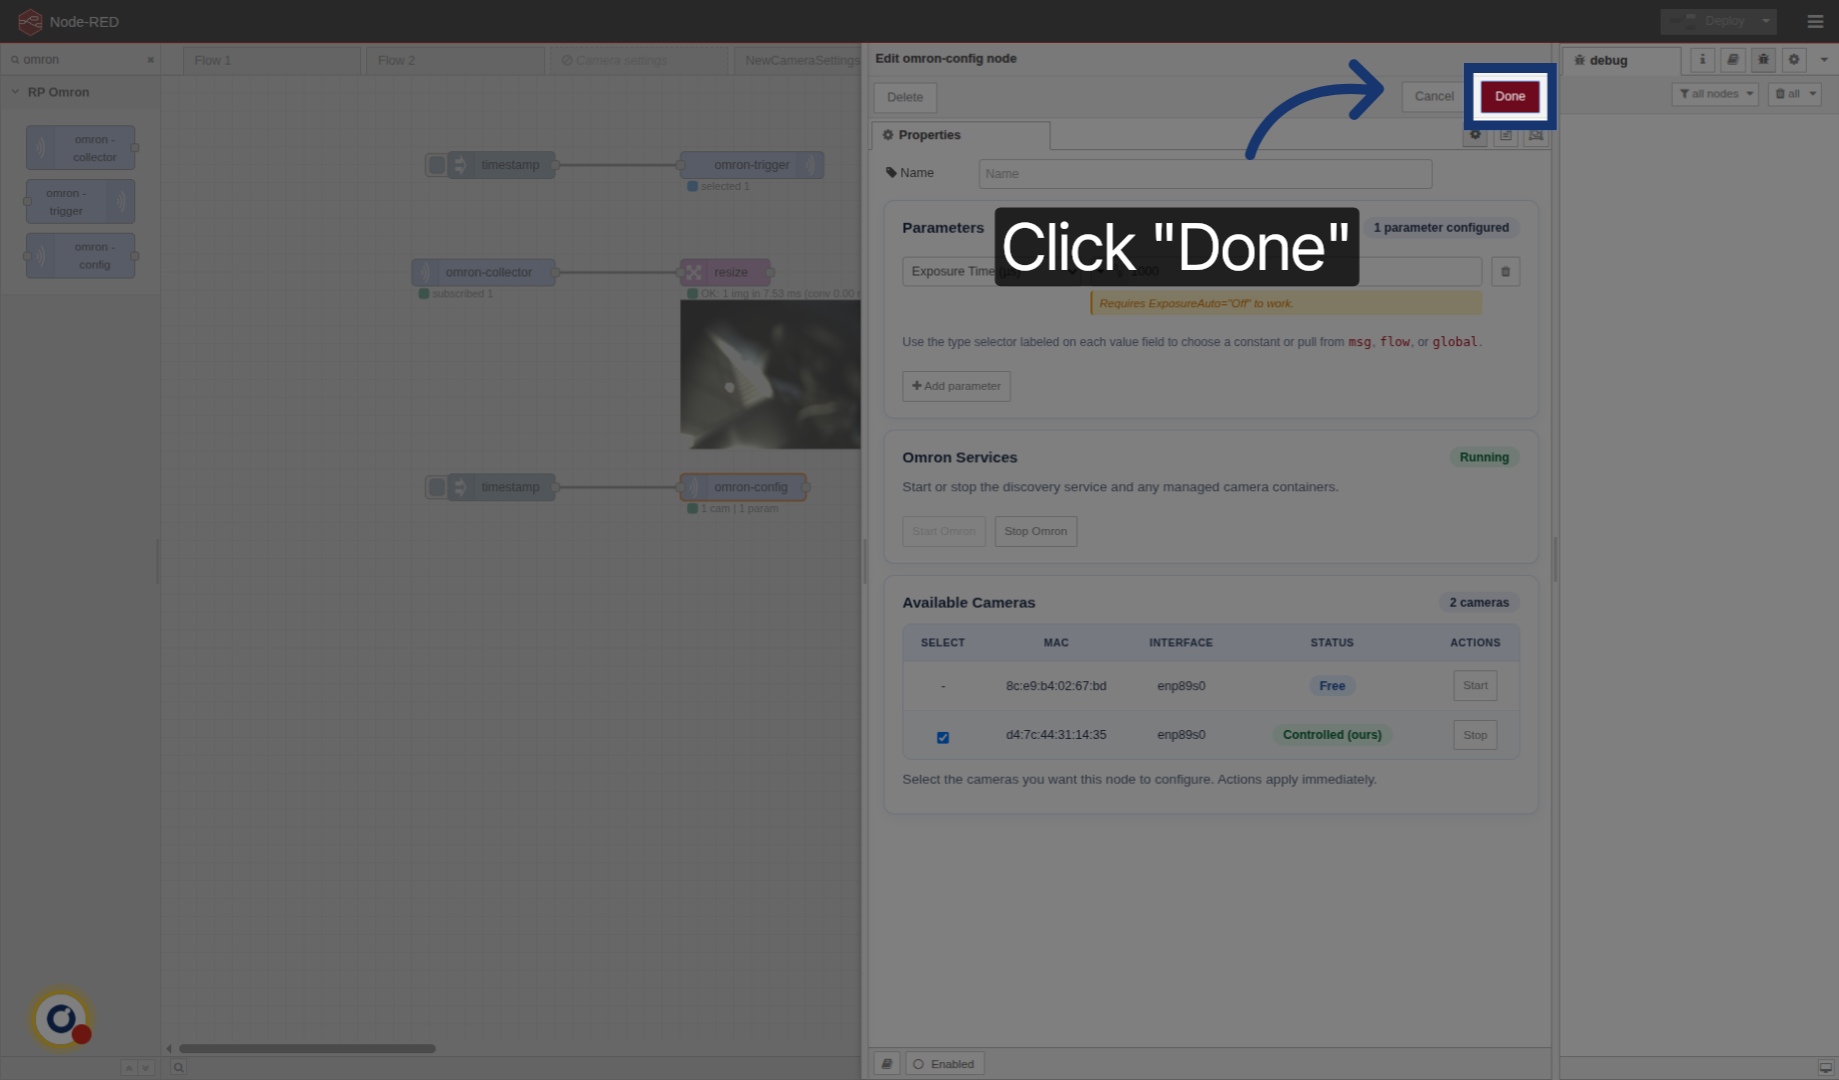
13. Click "Done"
Click "Done"
14. Trigger Camera Again
Click here to trigger
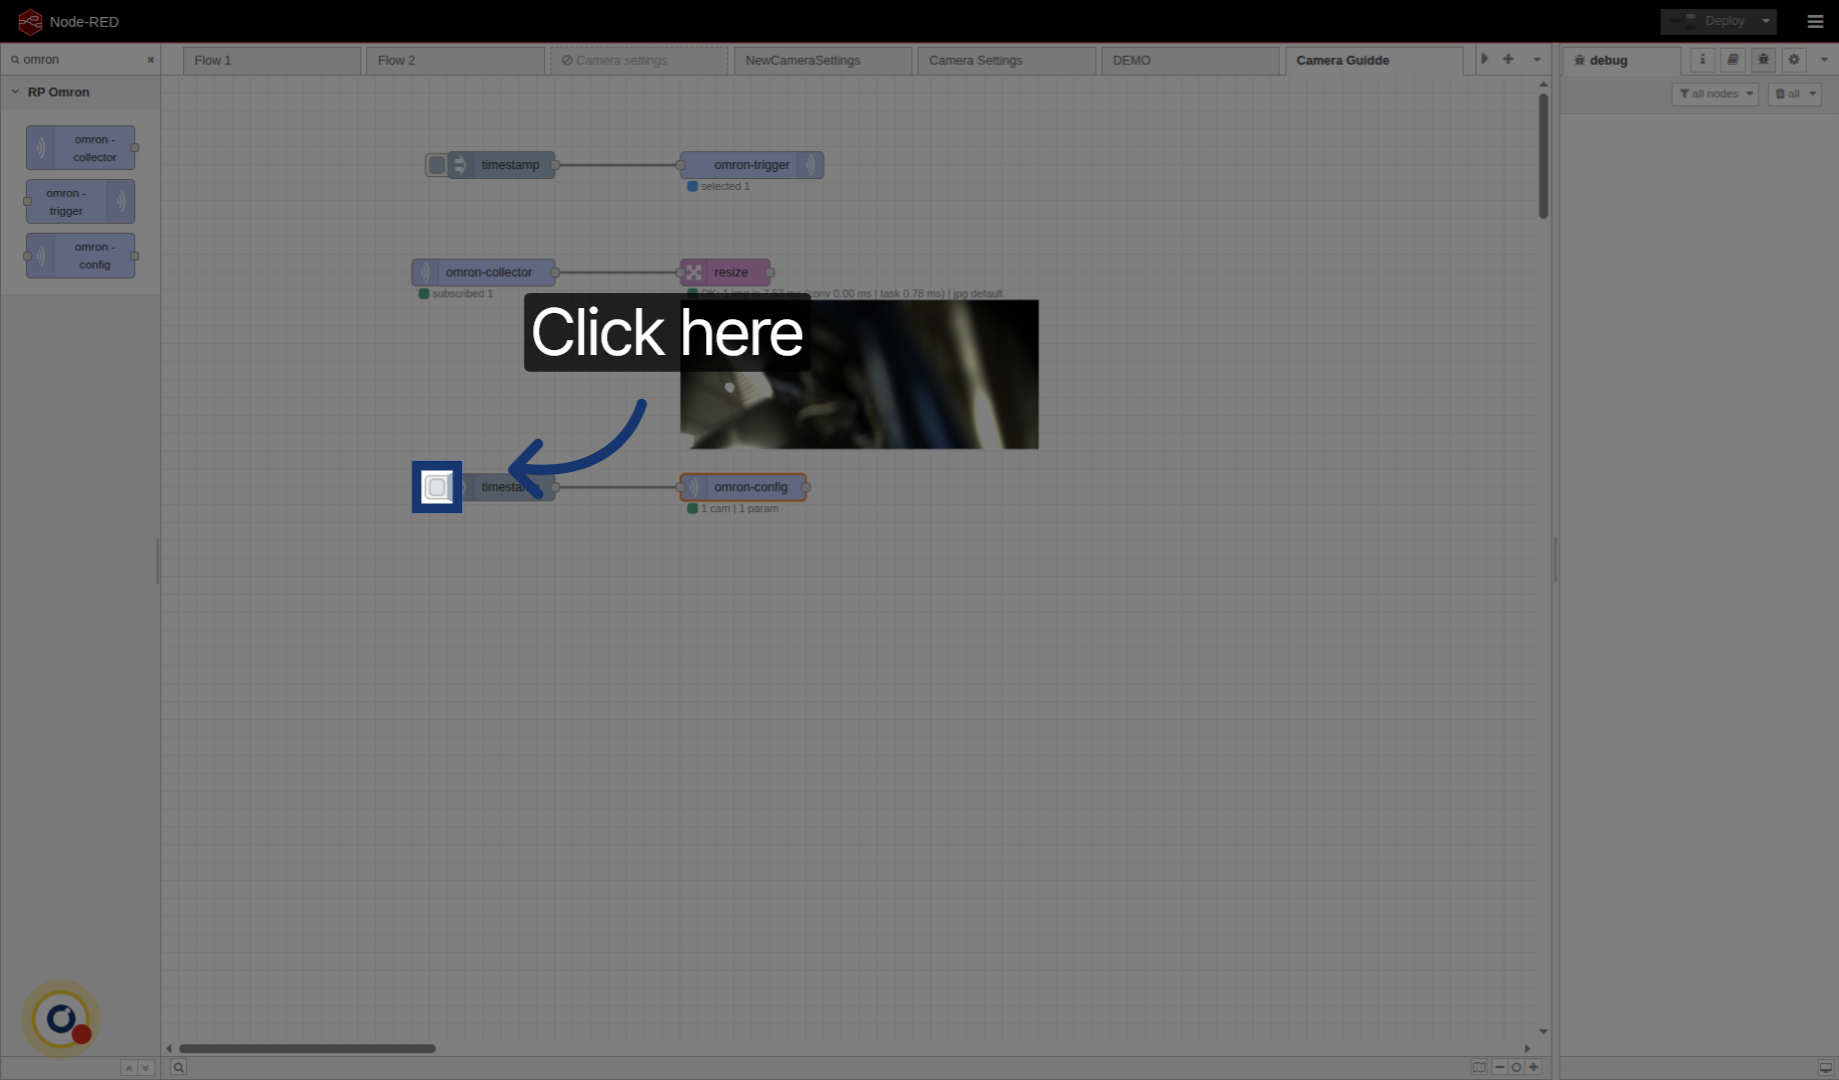
15. Complete Camera Node Tutorial
Now we can see that the image is black. It worked.