Configure Image Injection, Resize, and Rotation Nodes
This tutorial teaches you how to use image nodes effectively. You will learn to inject, resize, and rotate images within your workflow.
1. Introduce Image Nodes Usage
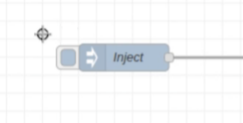
We will be using this simple flow example for this tutorial.
2. Initiate Image Node Selection
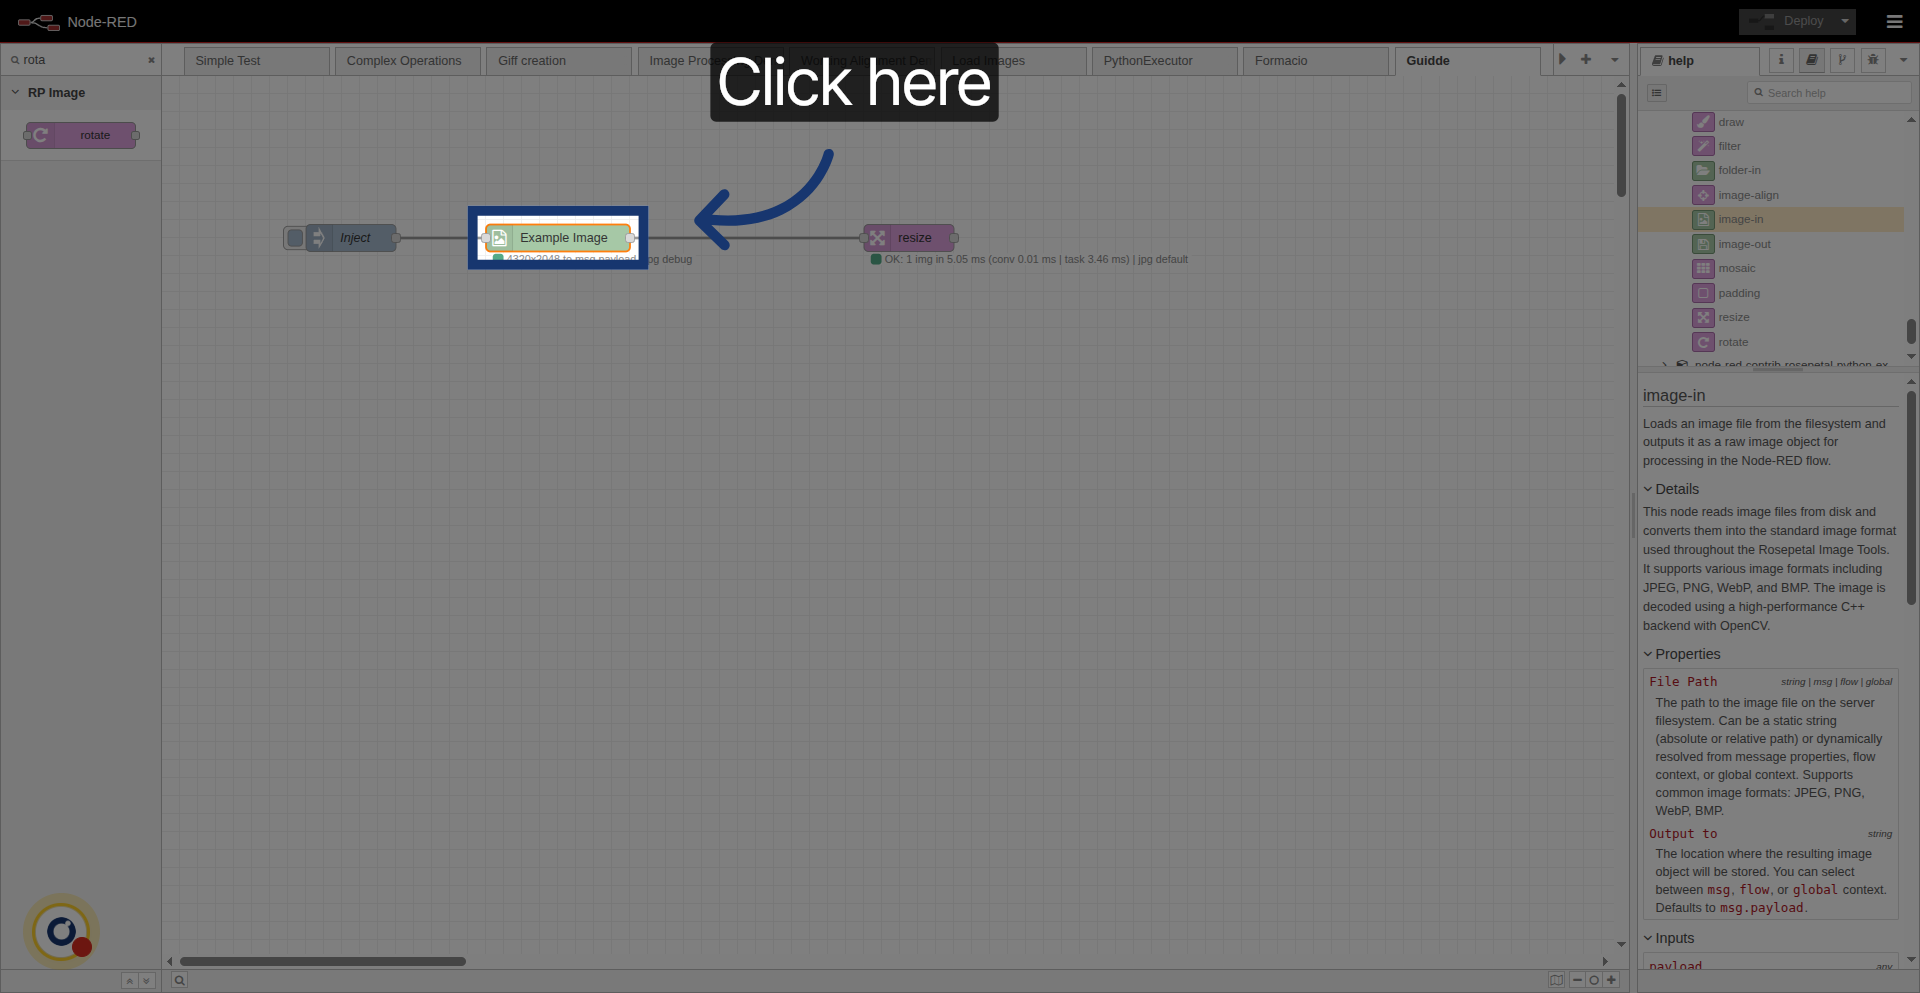
Let's first configure and inject a local image.
Click the image node to begin configuring your image input.
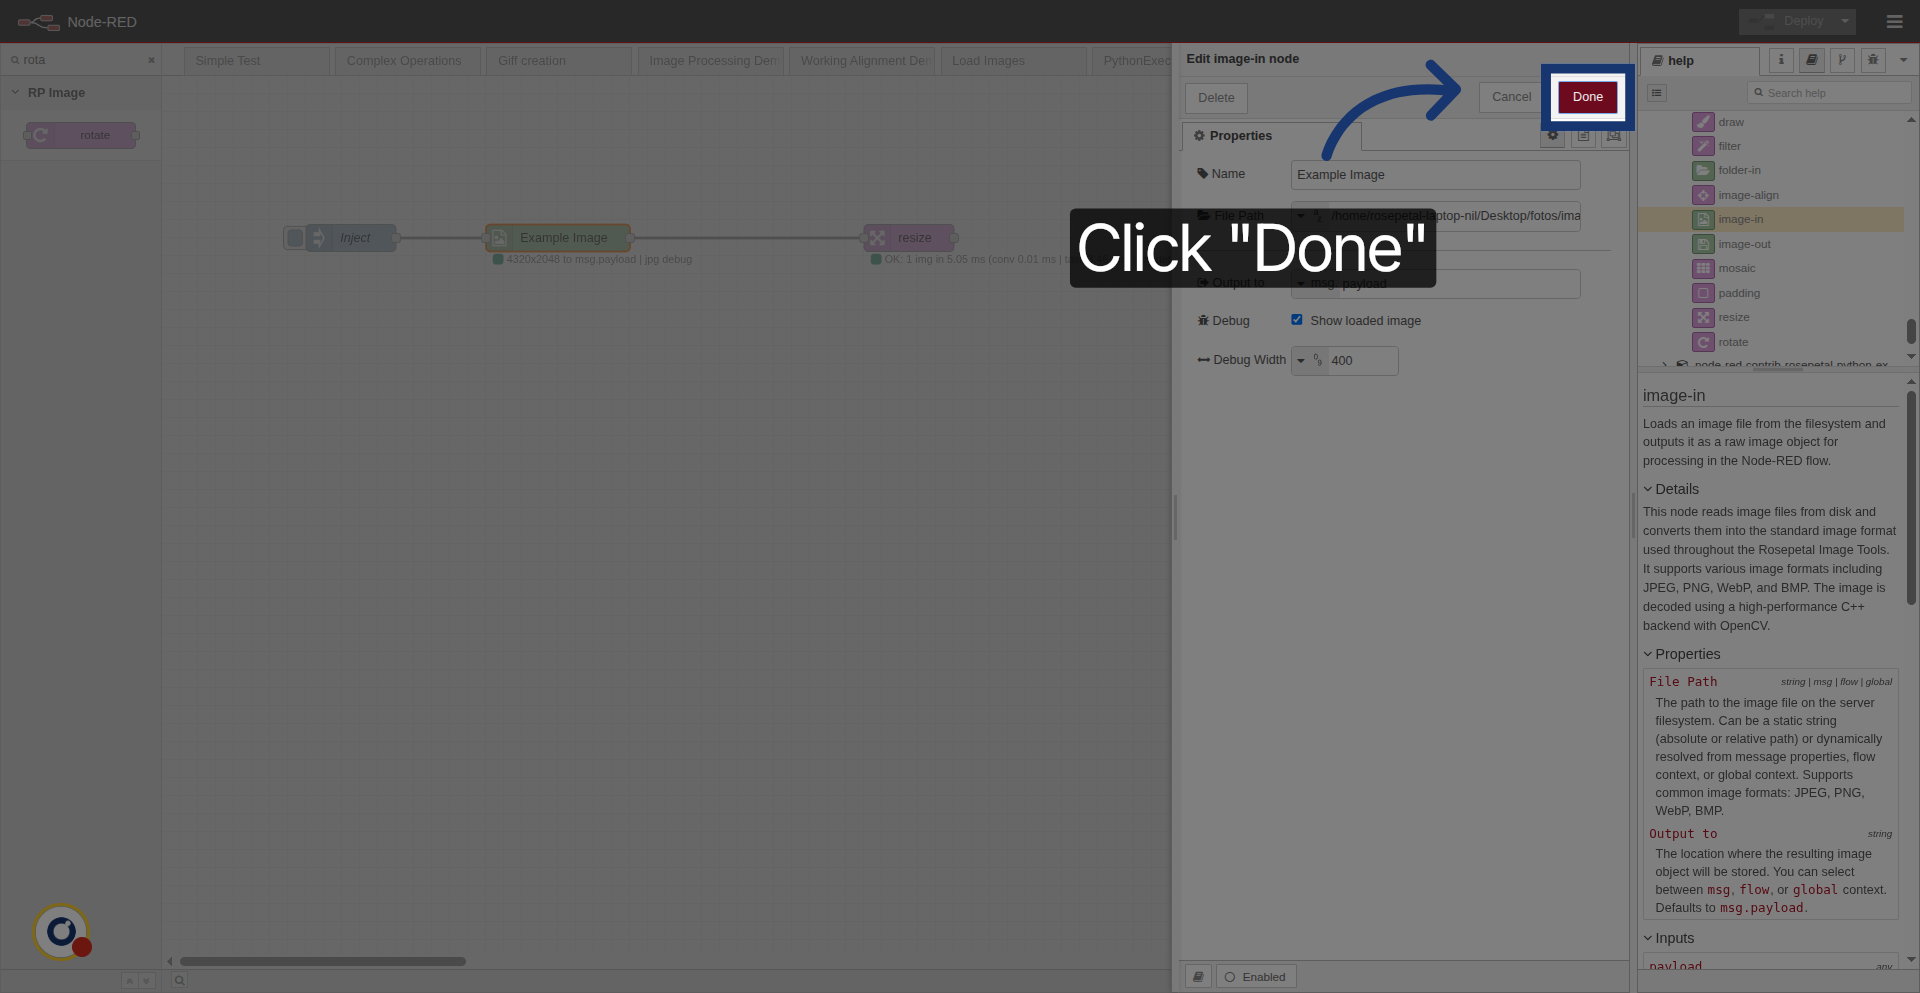
3. Specify Image File Path
We are reading the image from the file path. And then outputting it to message payload property.
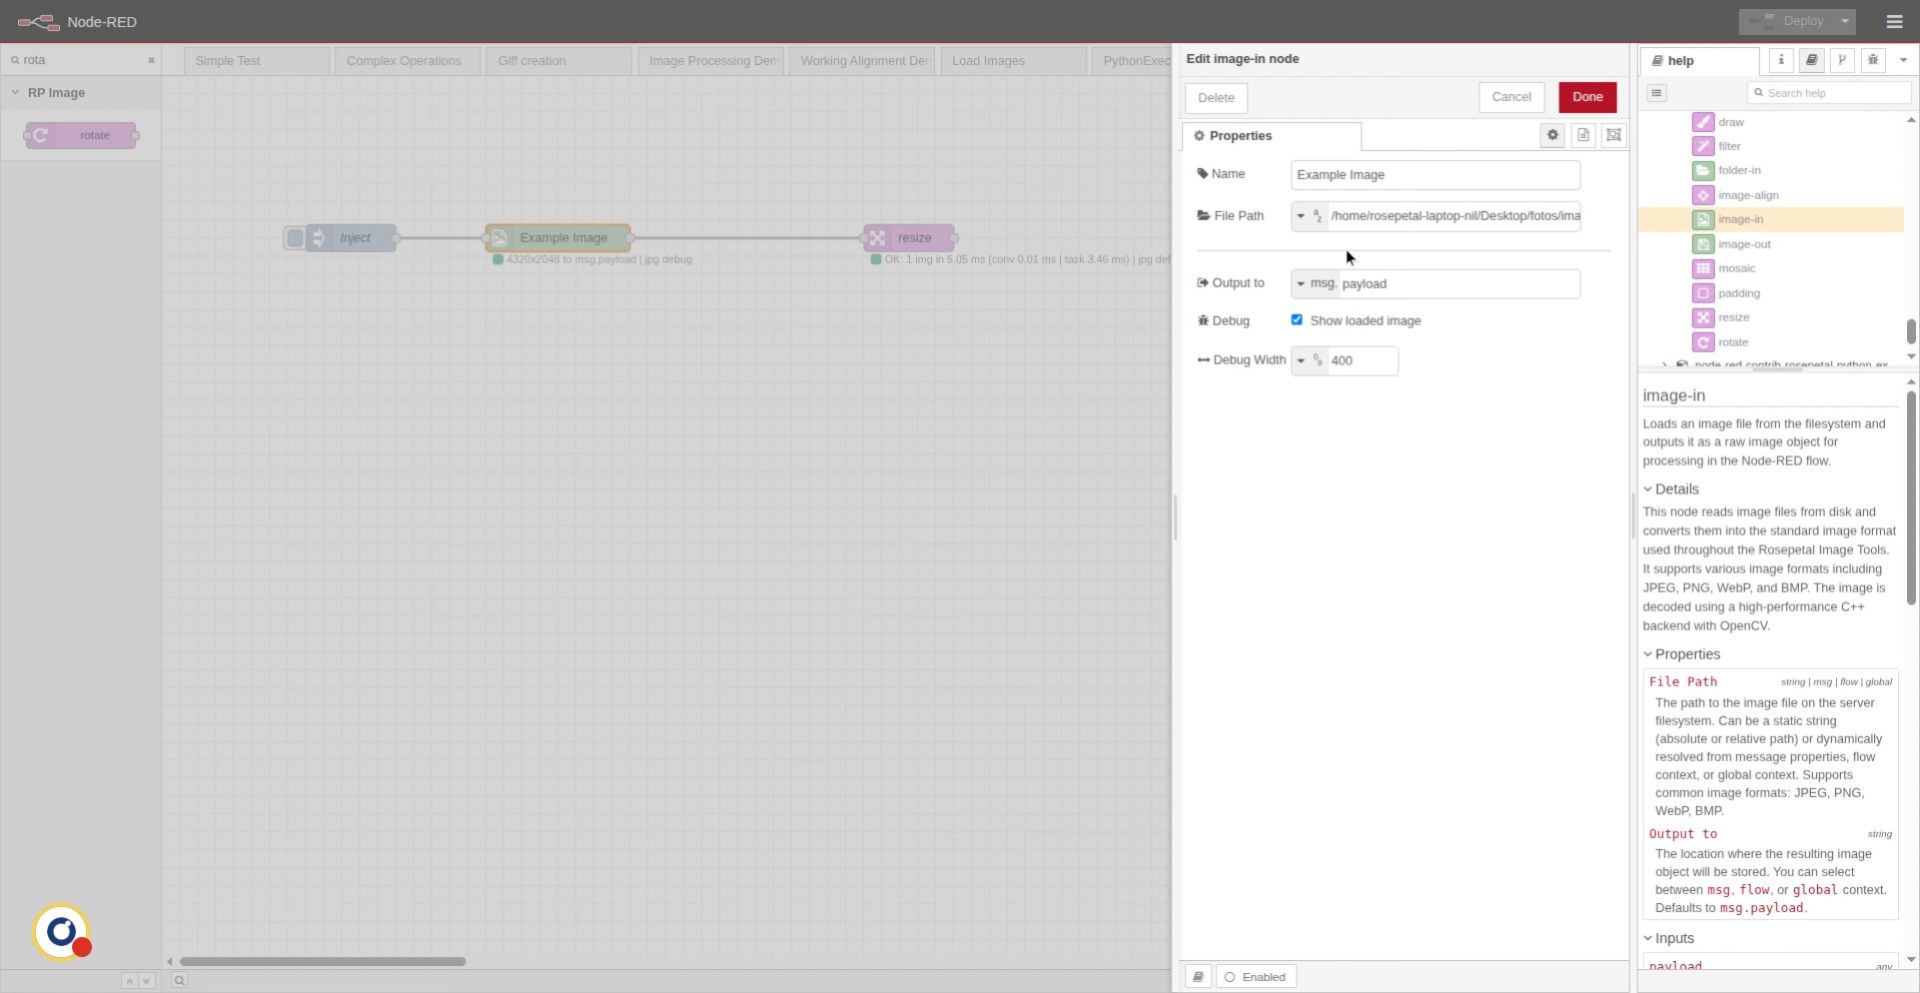
4. Confirm Image Node Setup
Click the Done button to save your image node settings.
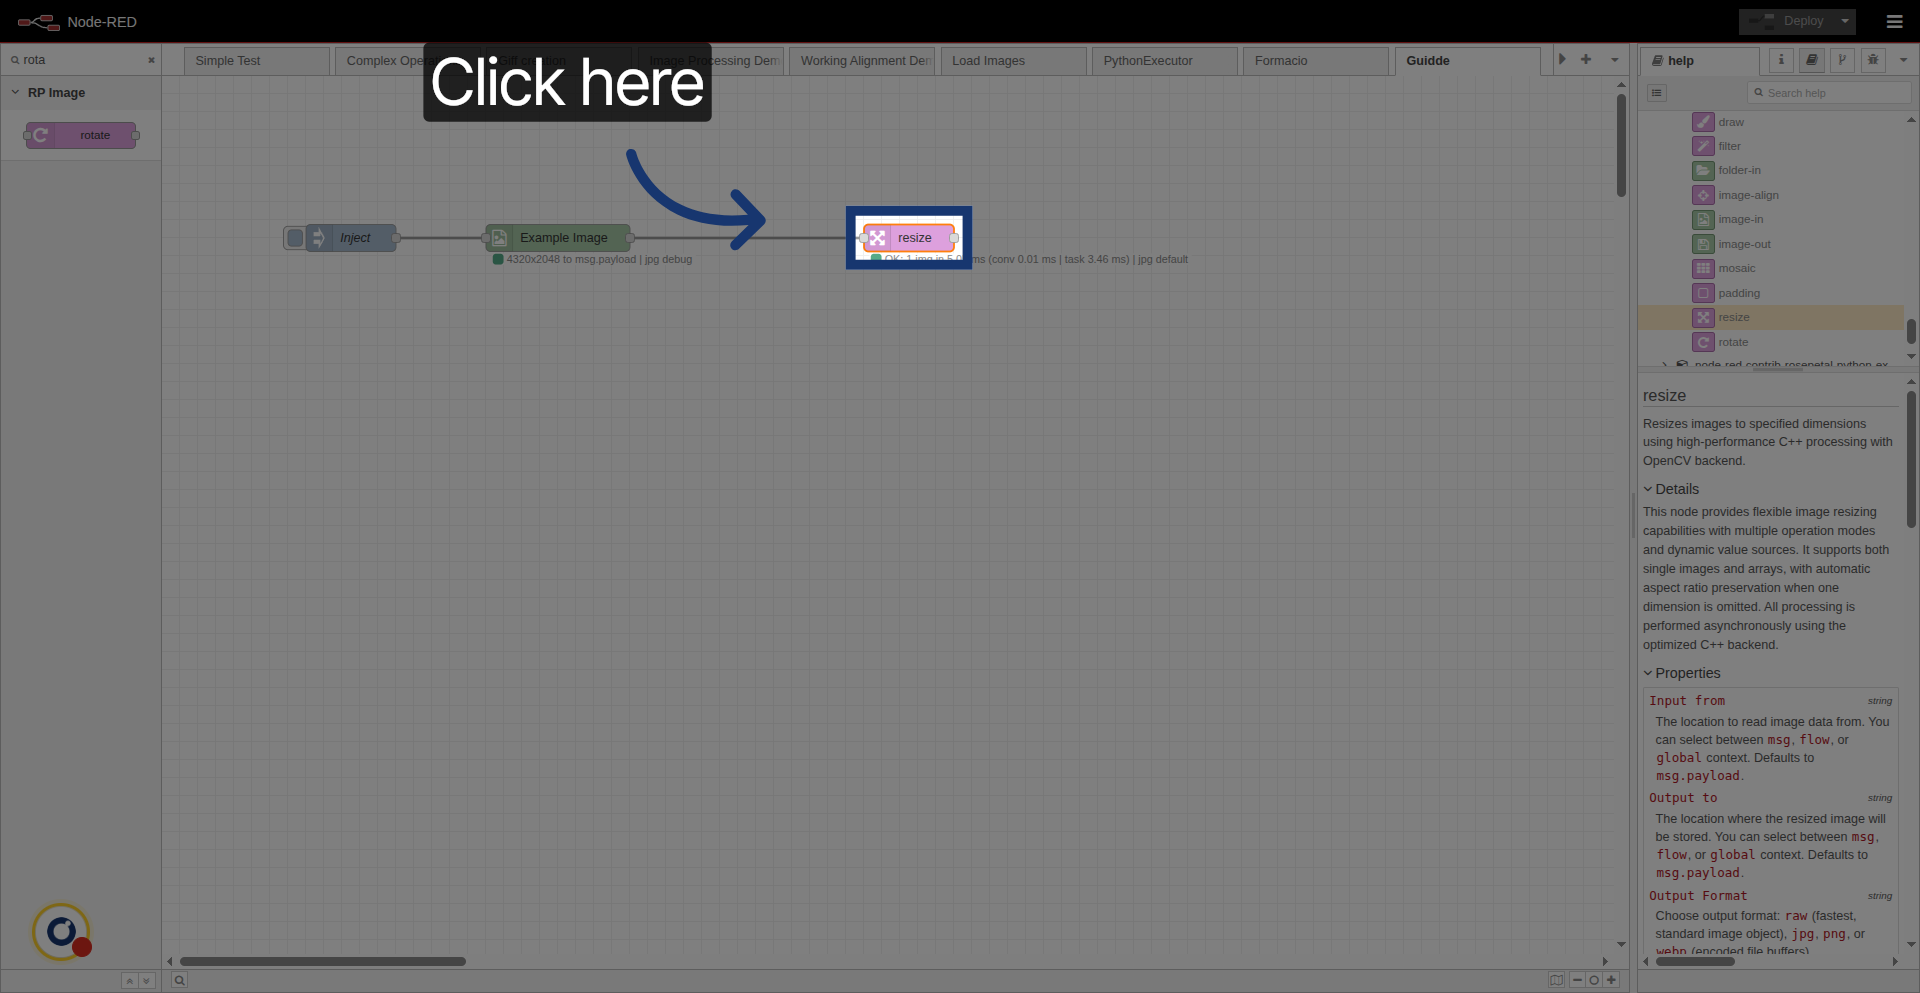
5. Select Resize Node
Then, configure the connected resize node.
Click the resize node to configure image resizing parameters.
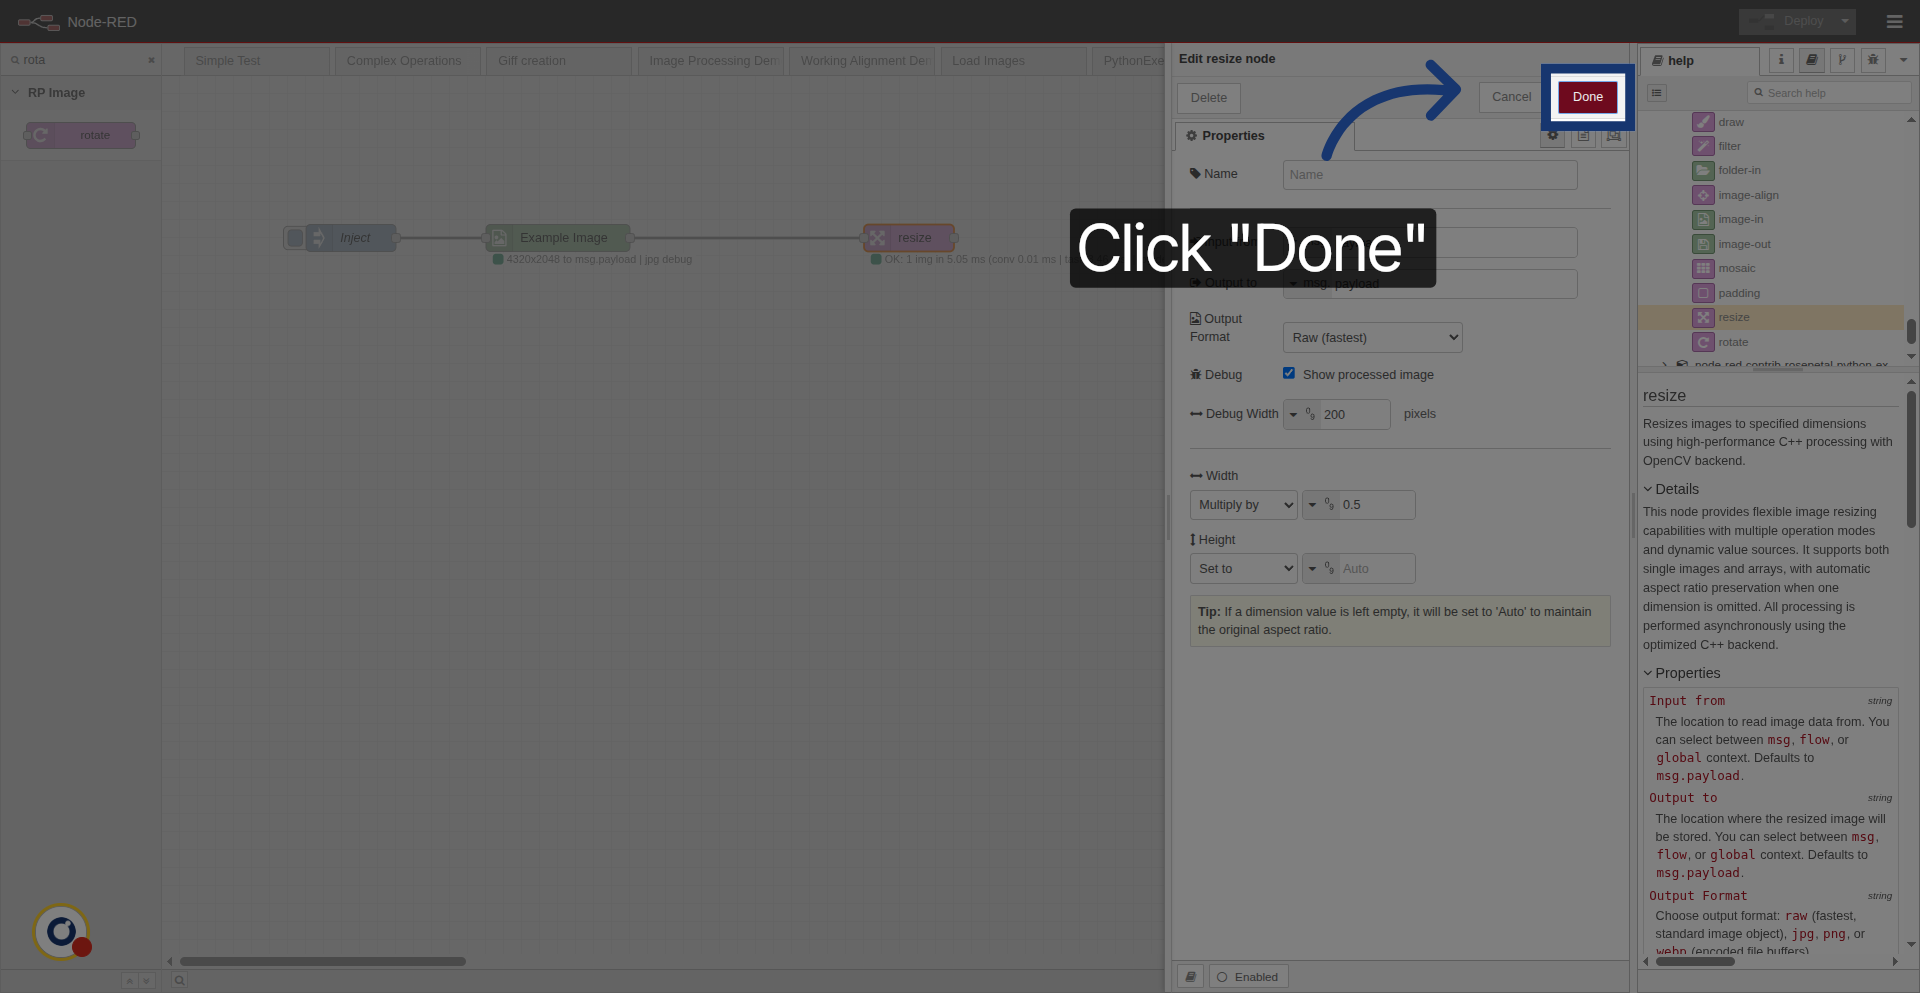
6. Configure Resize Parameters
We are reading from msg.payload property. And resizing it multiplying by 0.5.

7. Save Resize Node Settings
Click the Done button to apply the resize configuration.
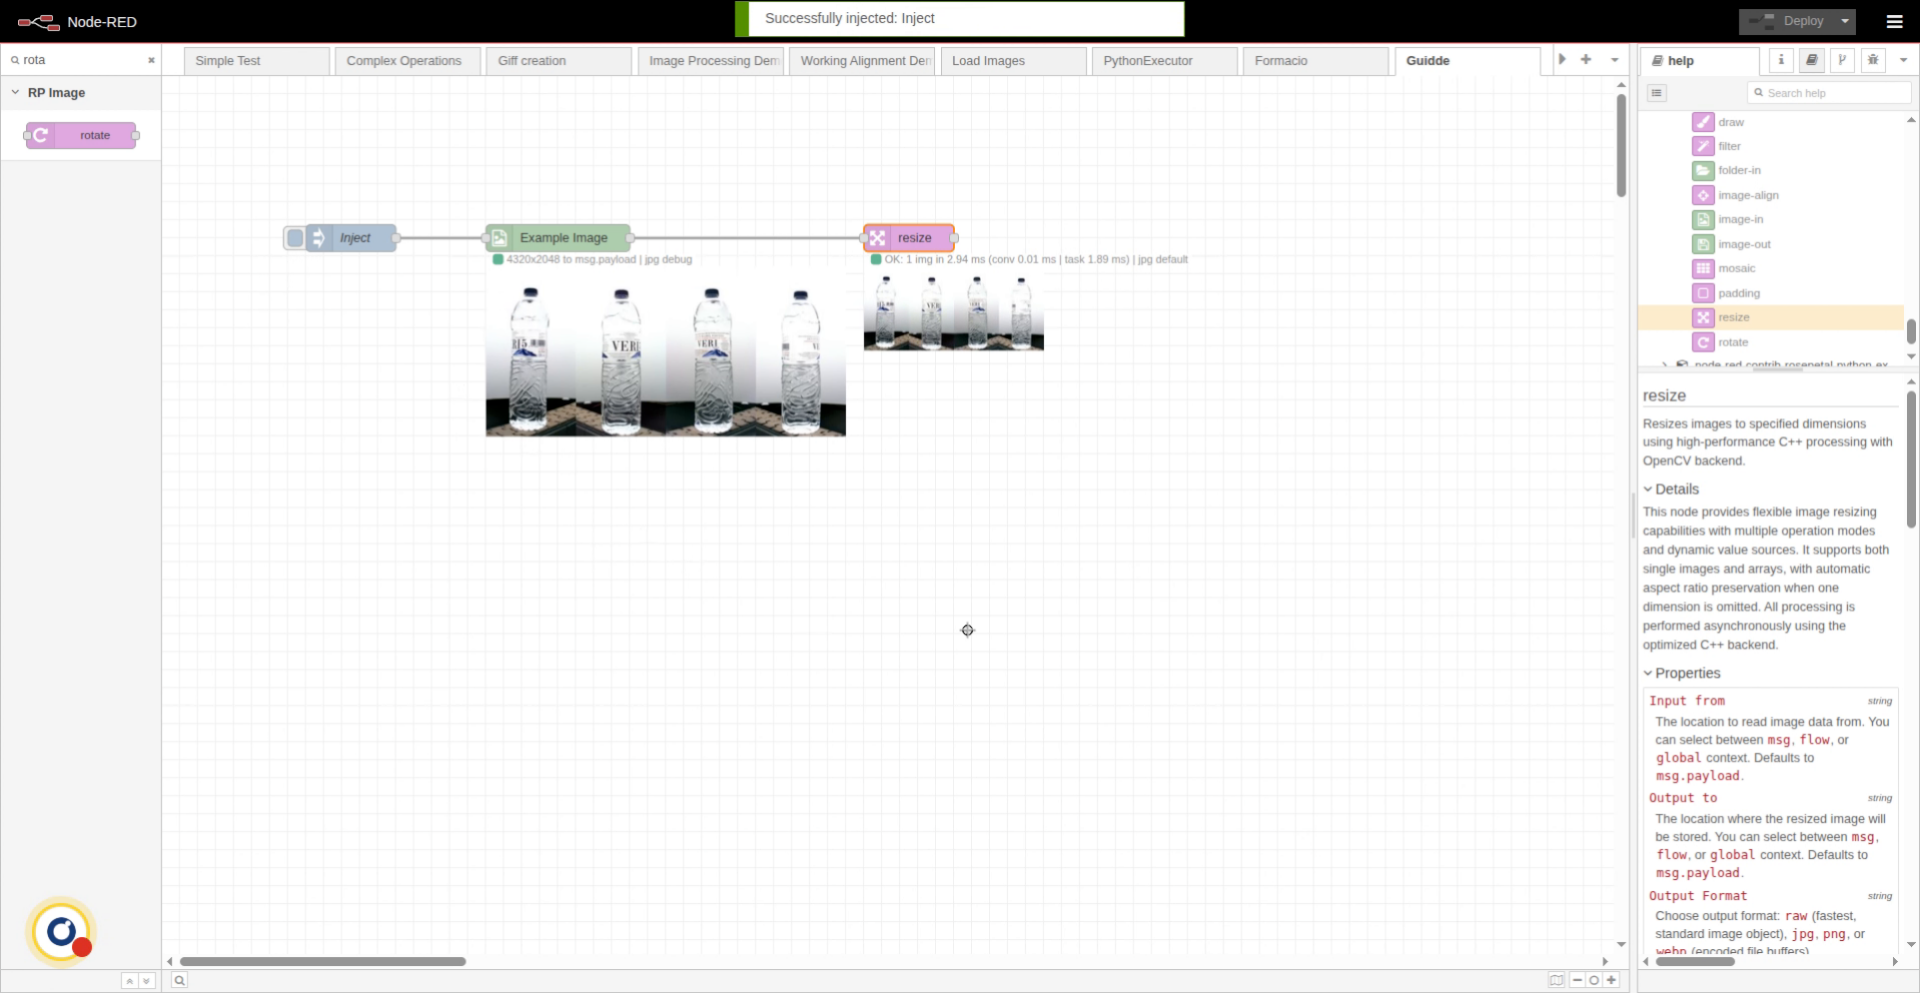
8. Prepare to Verify Resize
If we want to check the results, we just need to press the inject button.
9. Confirm Image Resize
We can see that the image is resized. Also. Now, we're going to try to rotate the image.
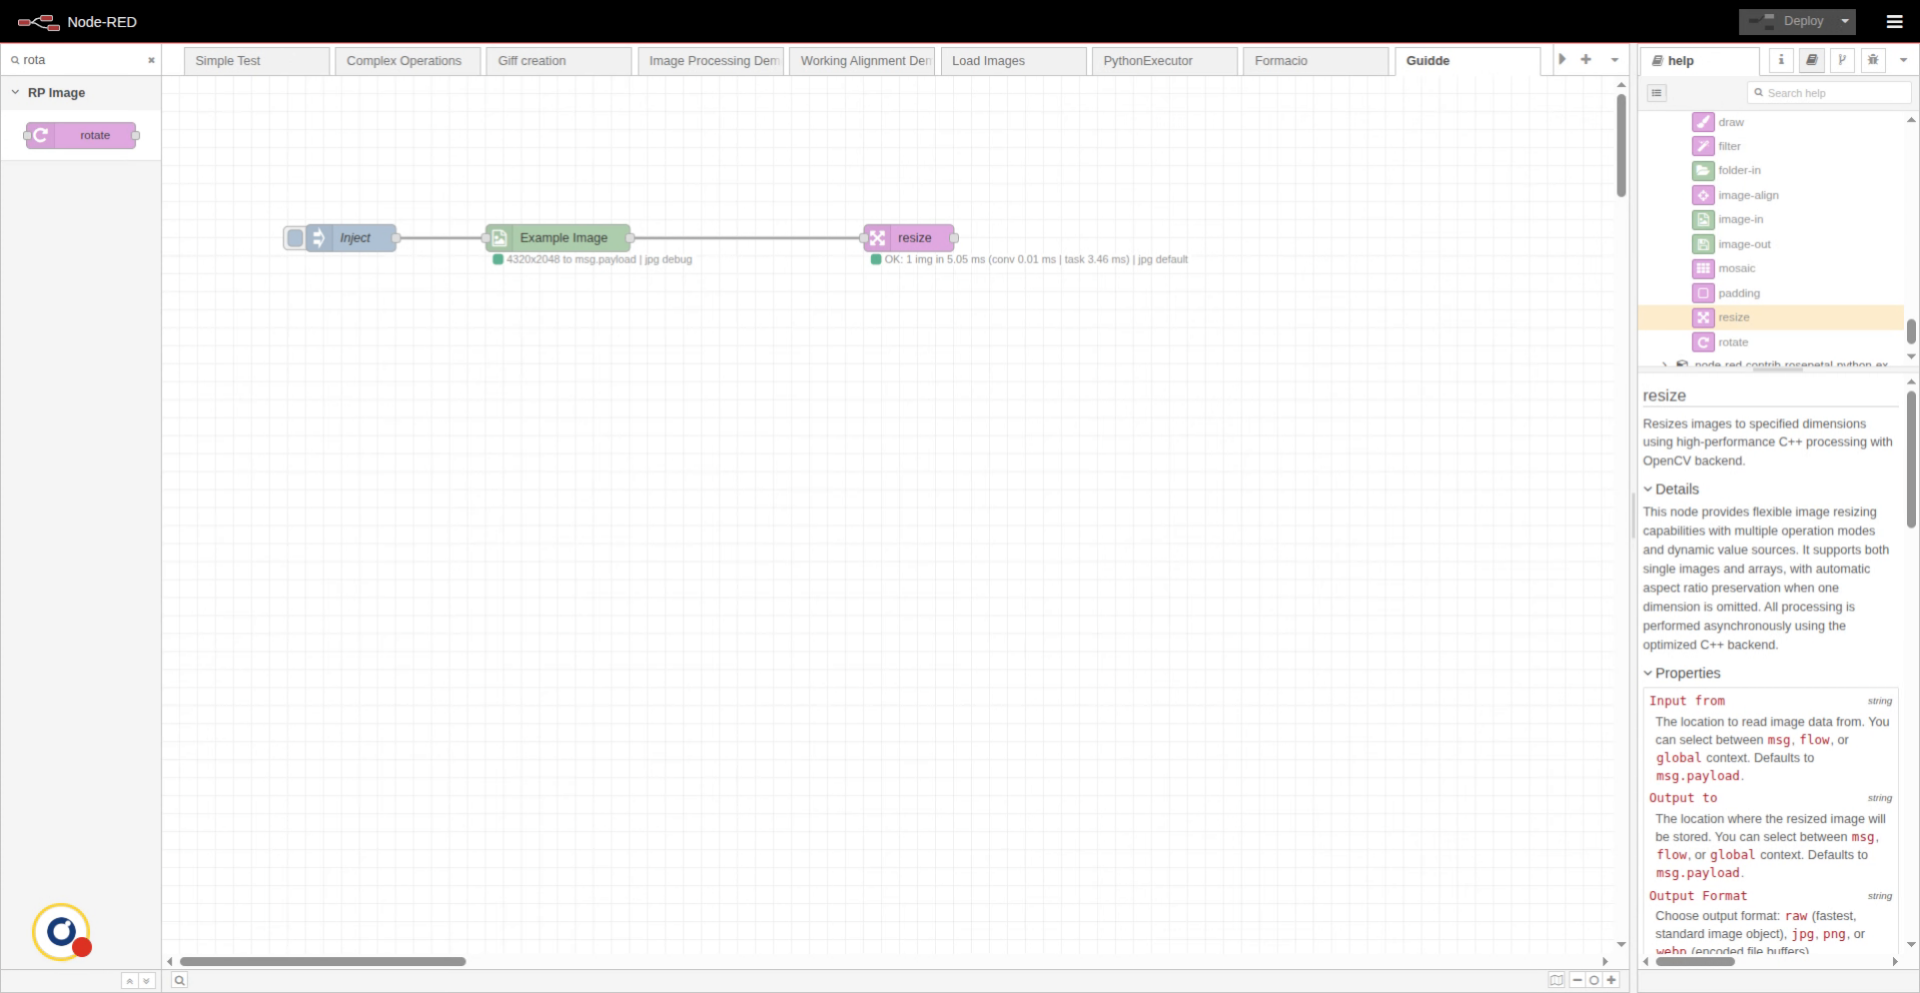
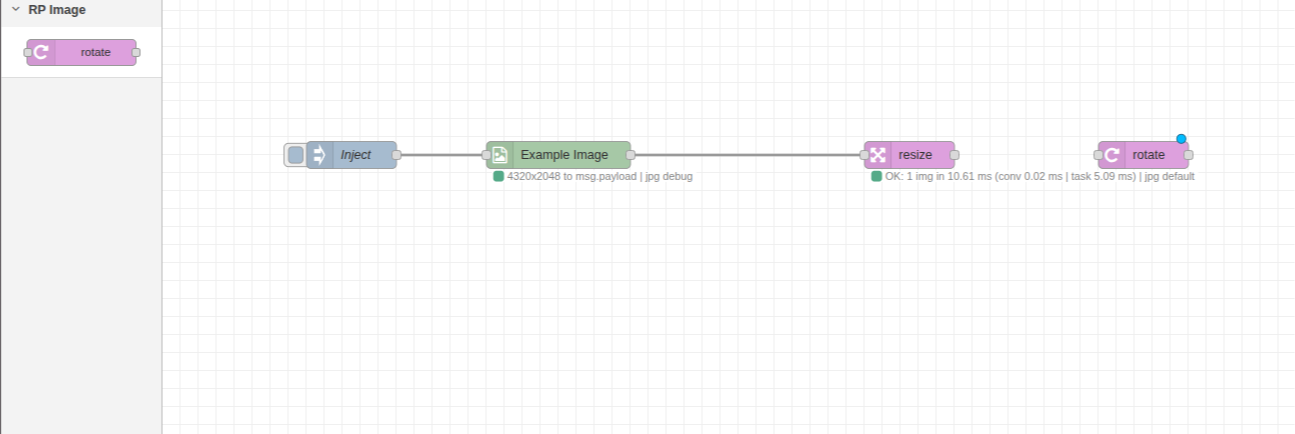
10. Search Rotate Node
Simply search in the palette on the left for the rotate node, drag it to the canvas and connect it.
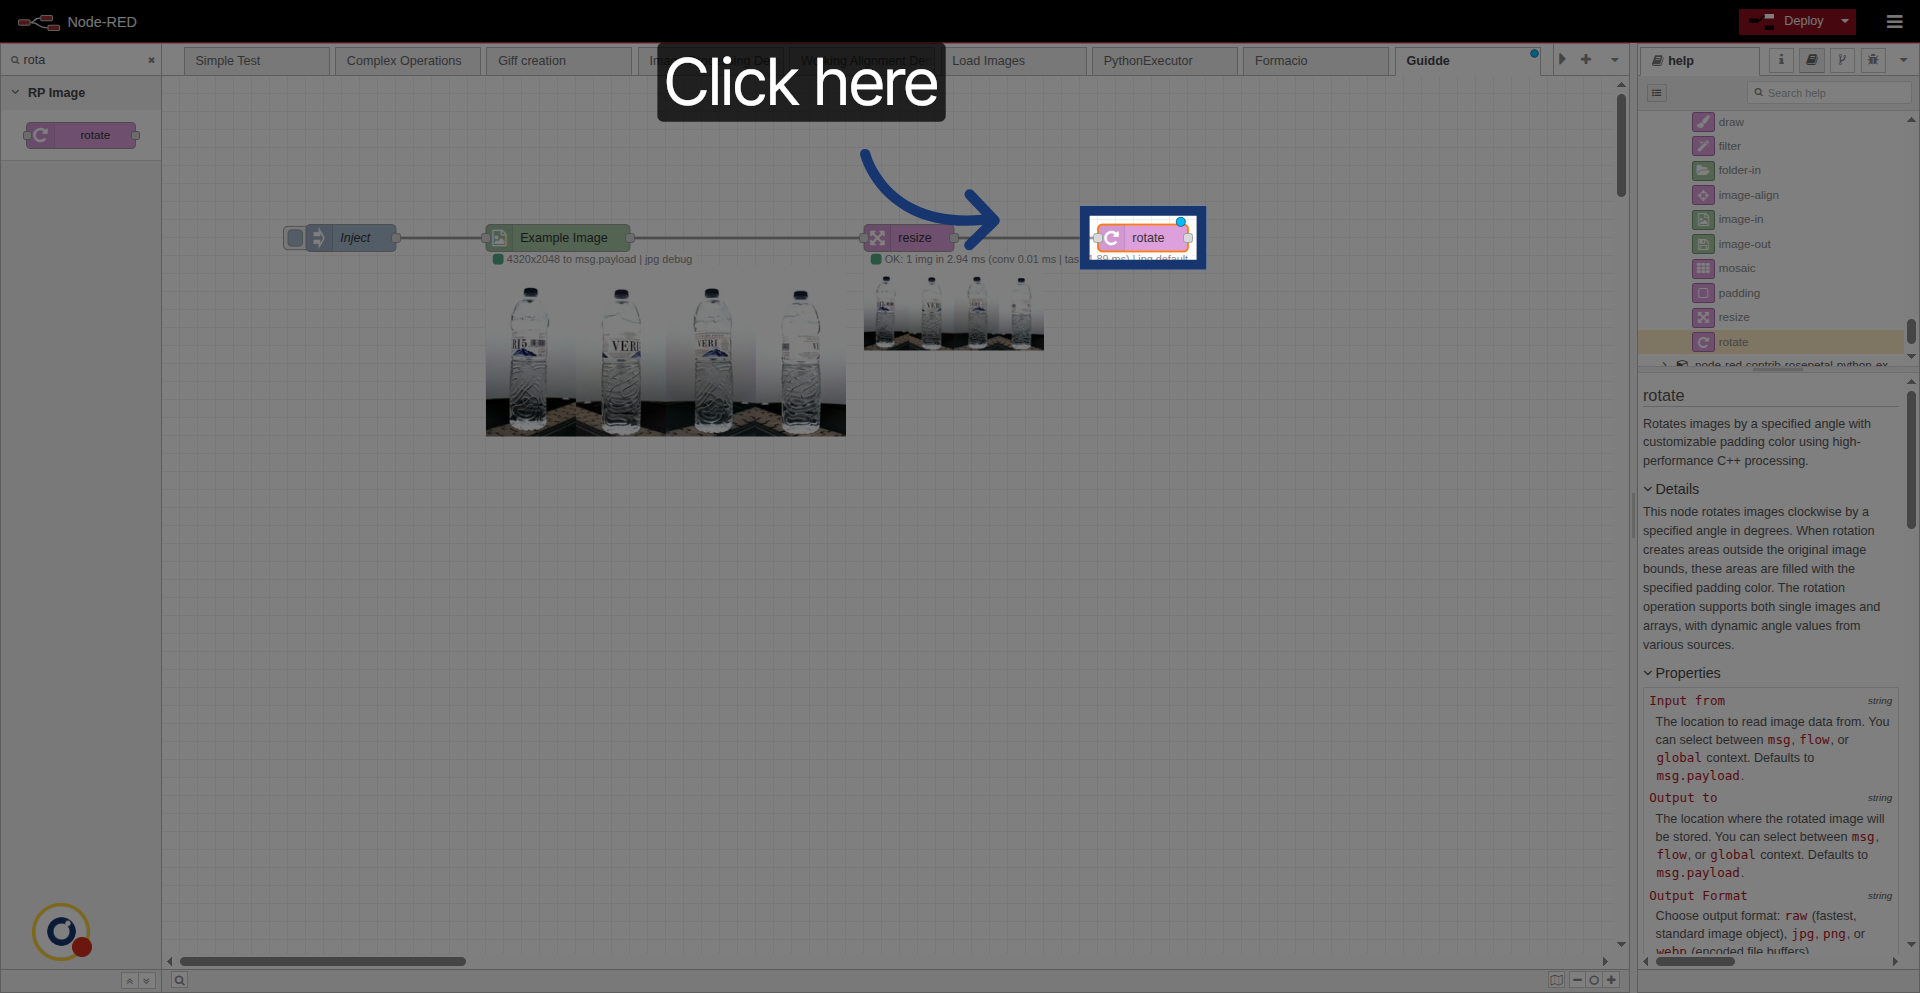
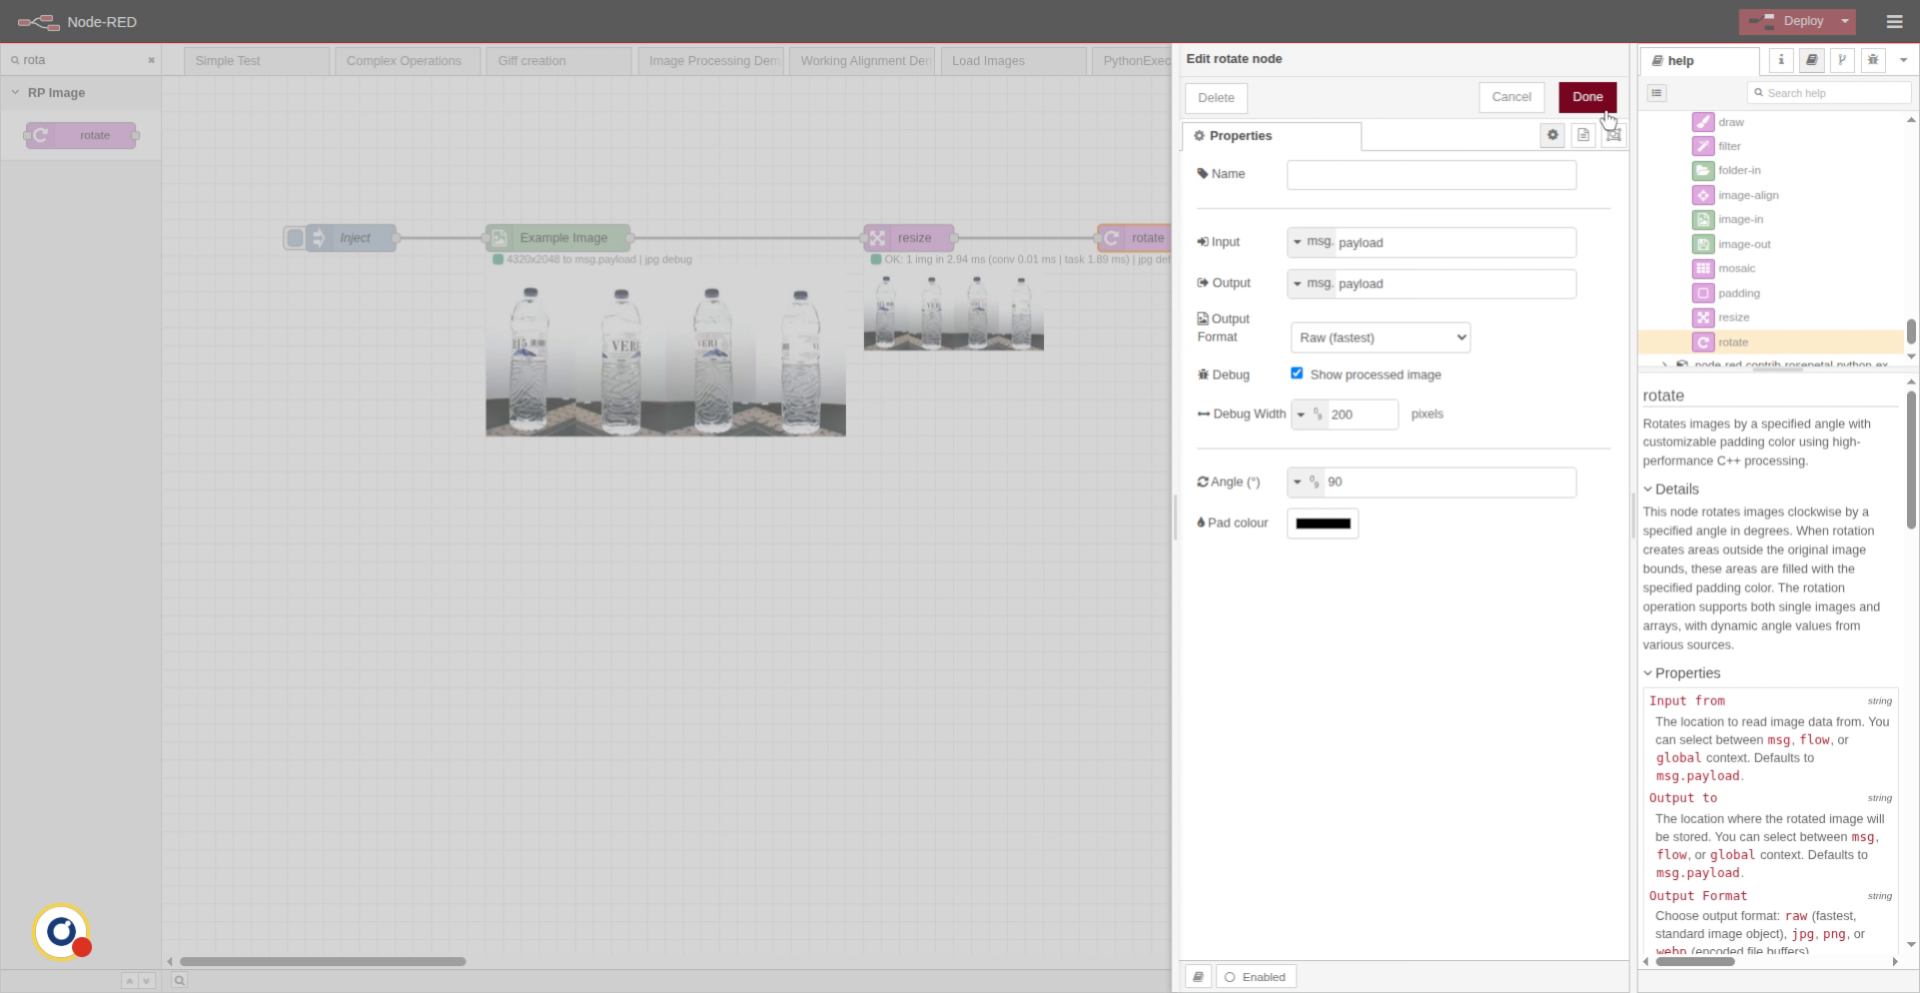
11. Select Rotate Node
Click the rotate node to configure image rotation settings.
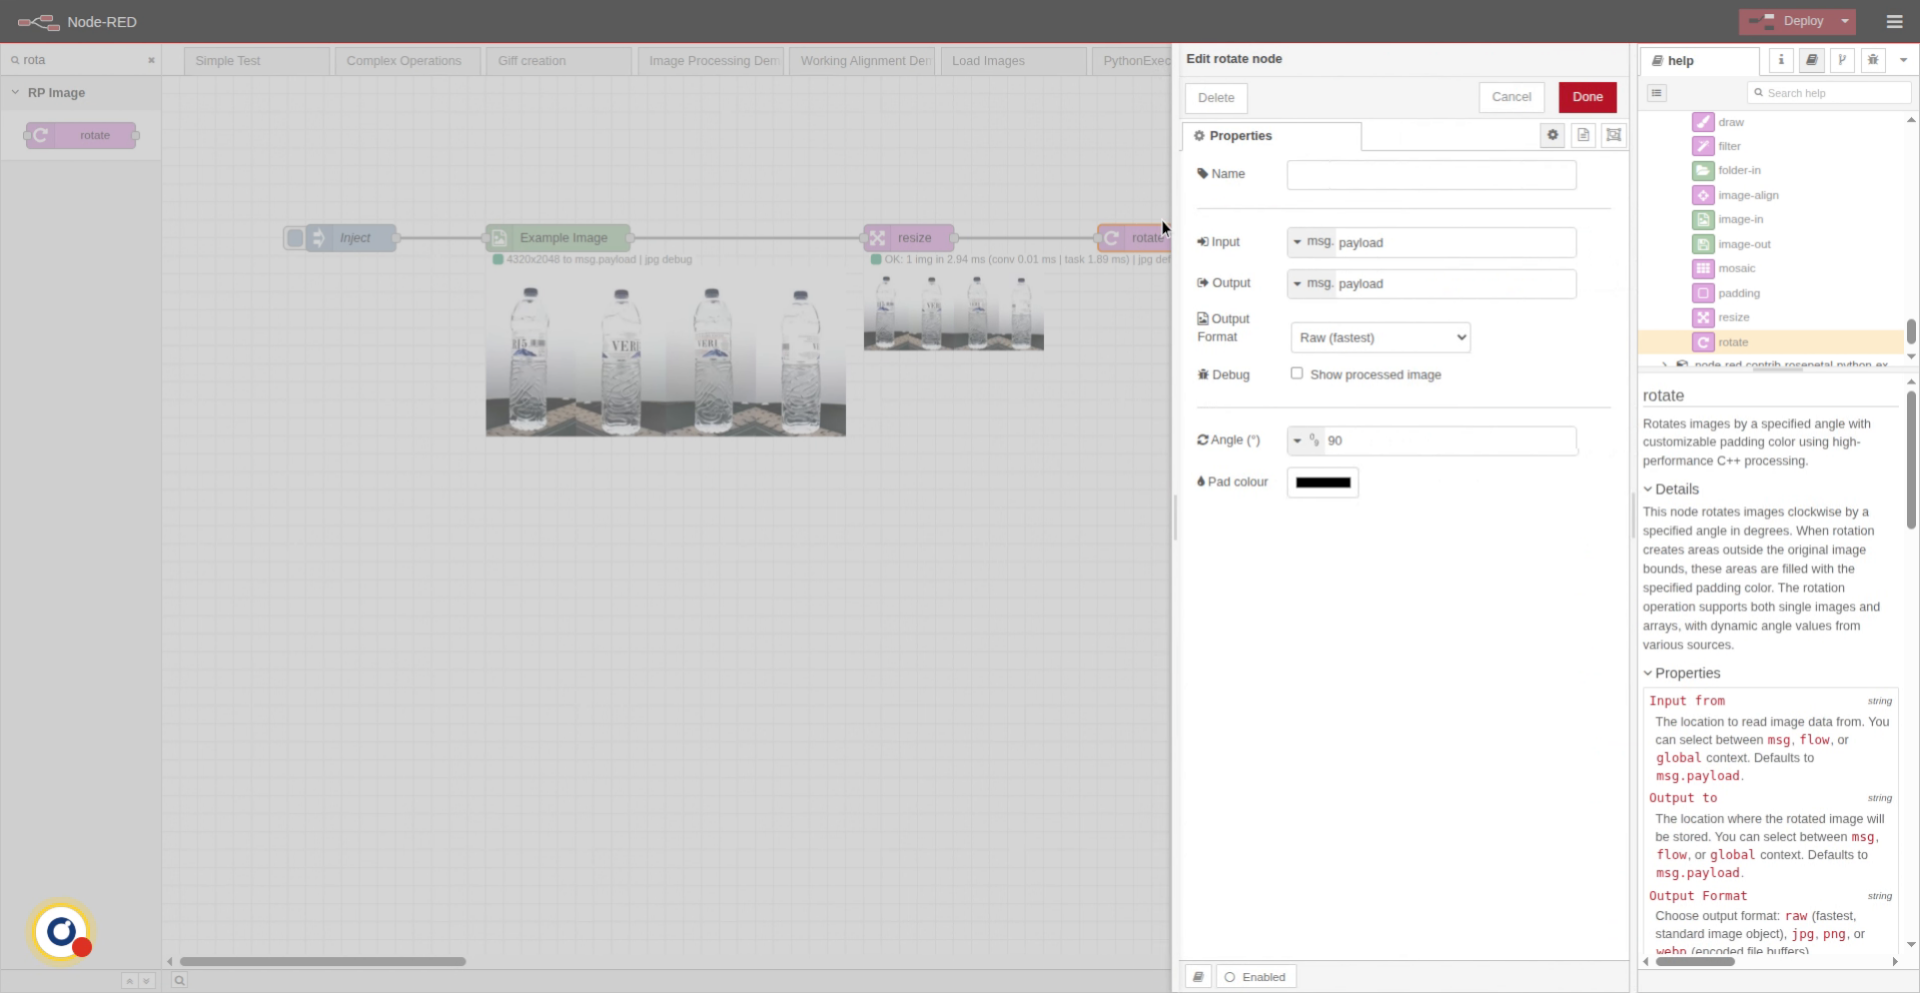
12. Set Rotation Properties
We set the node configurations:
-We are reading the image from message, payload property.
-And we are rotating it by 90 degrees.
-We enable the debugg to see the image.
13. Finalize Rotation Setup
We press done and deploy.
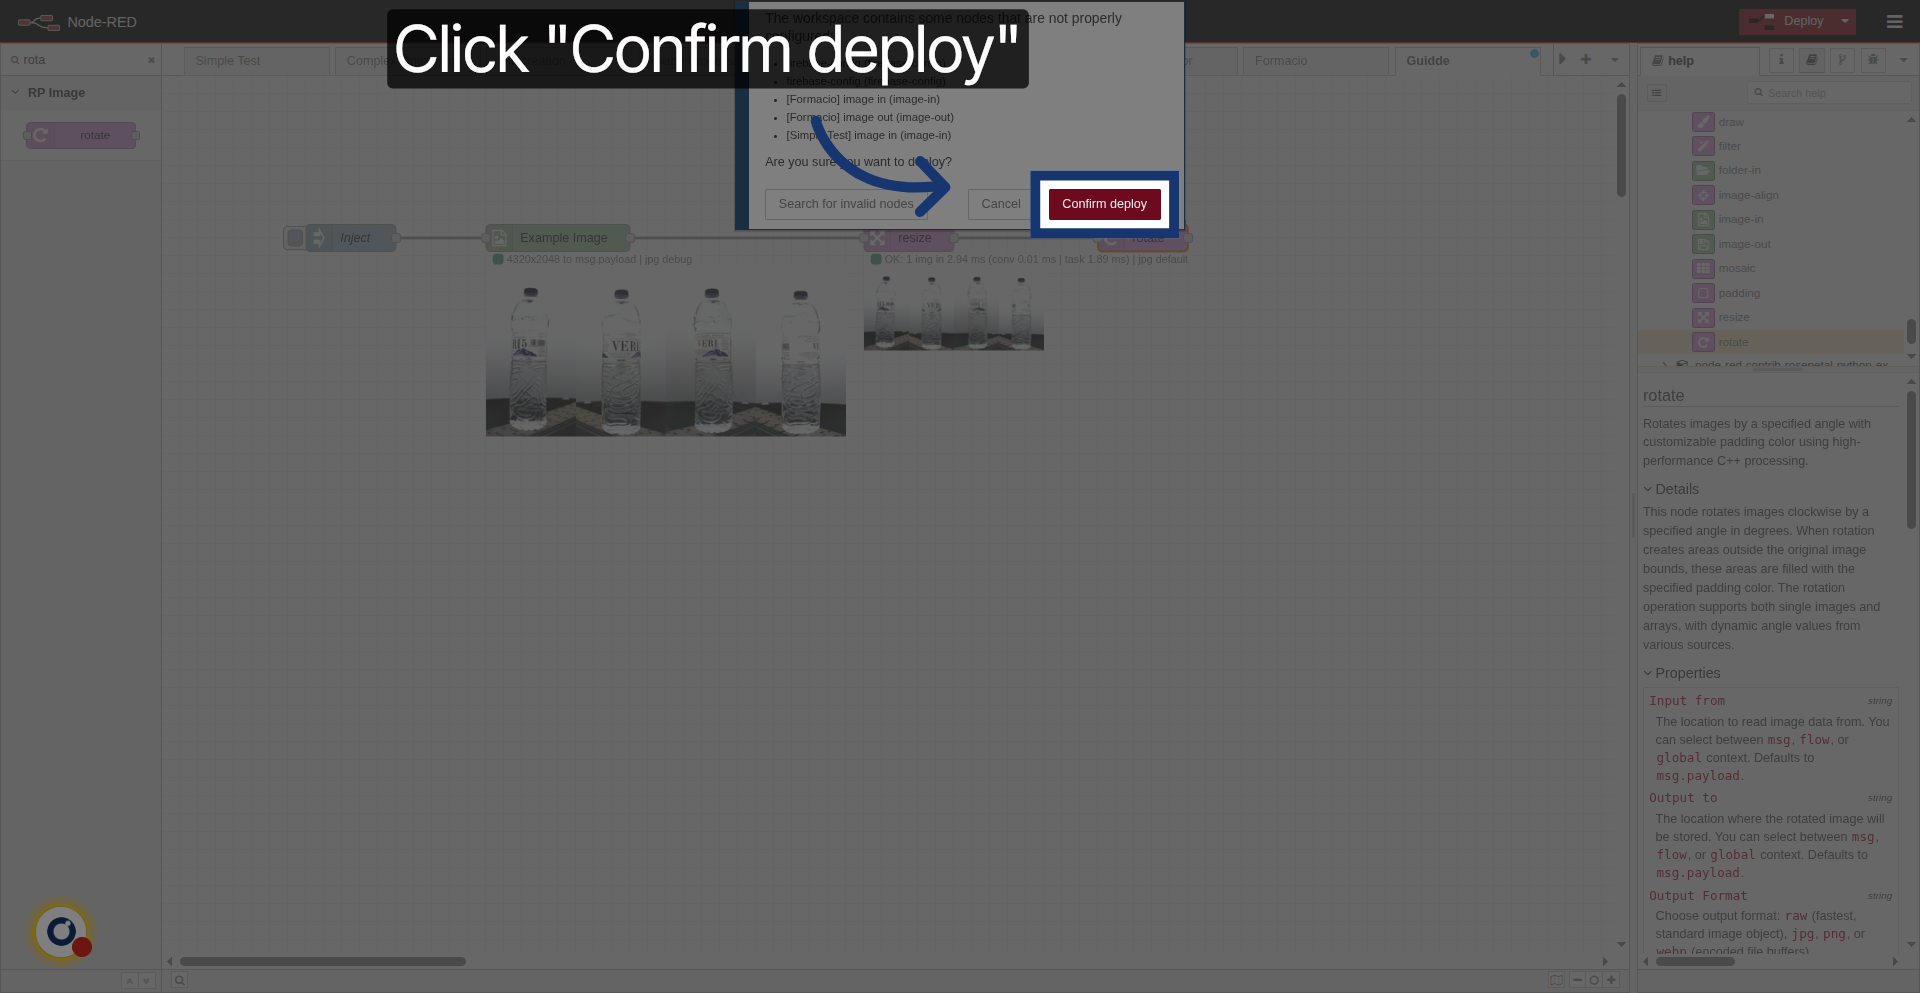
14. Confirm Deployment
Click Confirm deploy to apply all changes and activate the flow.
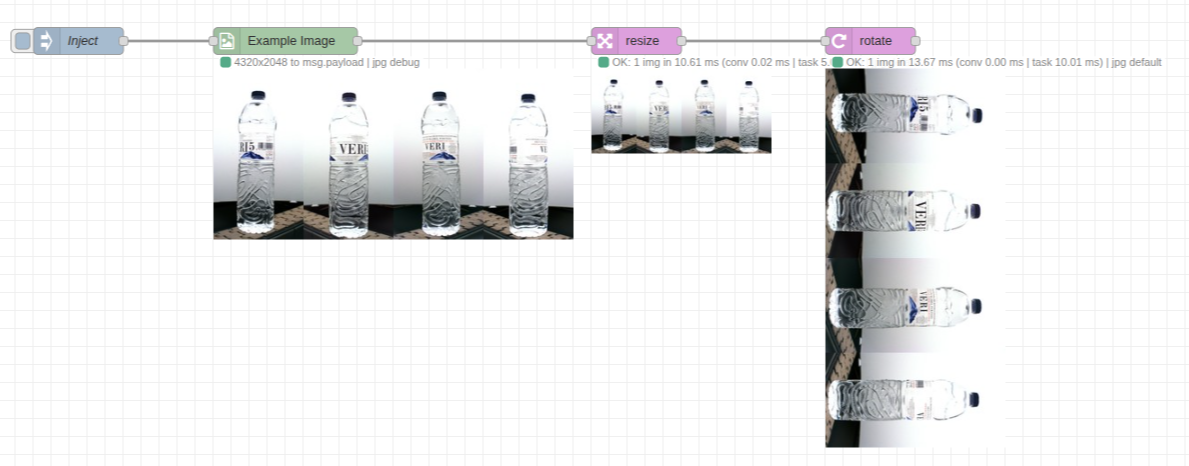
15. Rotated result
Now, if we inject, we can see that the image is rotated.