Manage Labeling Tags Efficiently in Rosepetal
This tutorial guides you through managing labeling tags within Rosepetal
1. Introduction
You will learn how to create, edit, combine, and delete tags to organize your dataset effectively.
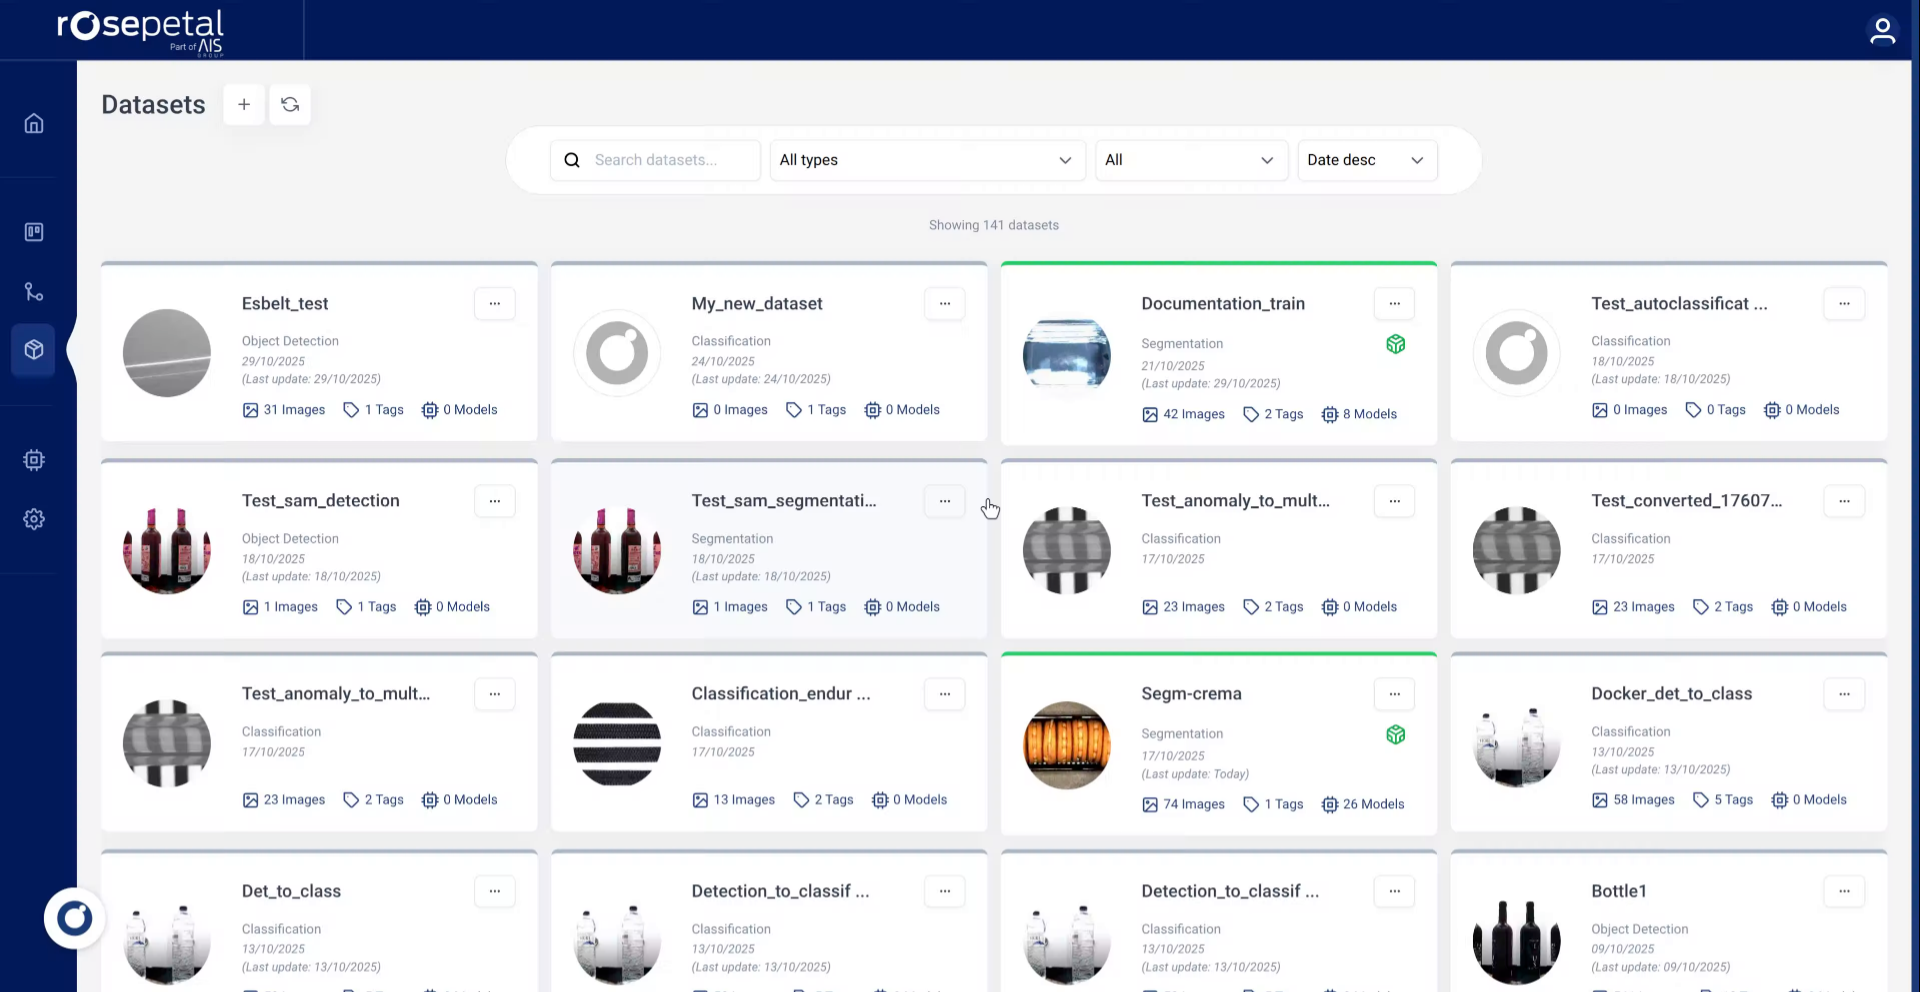
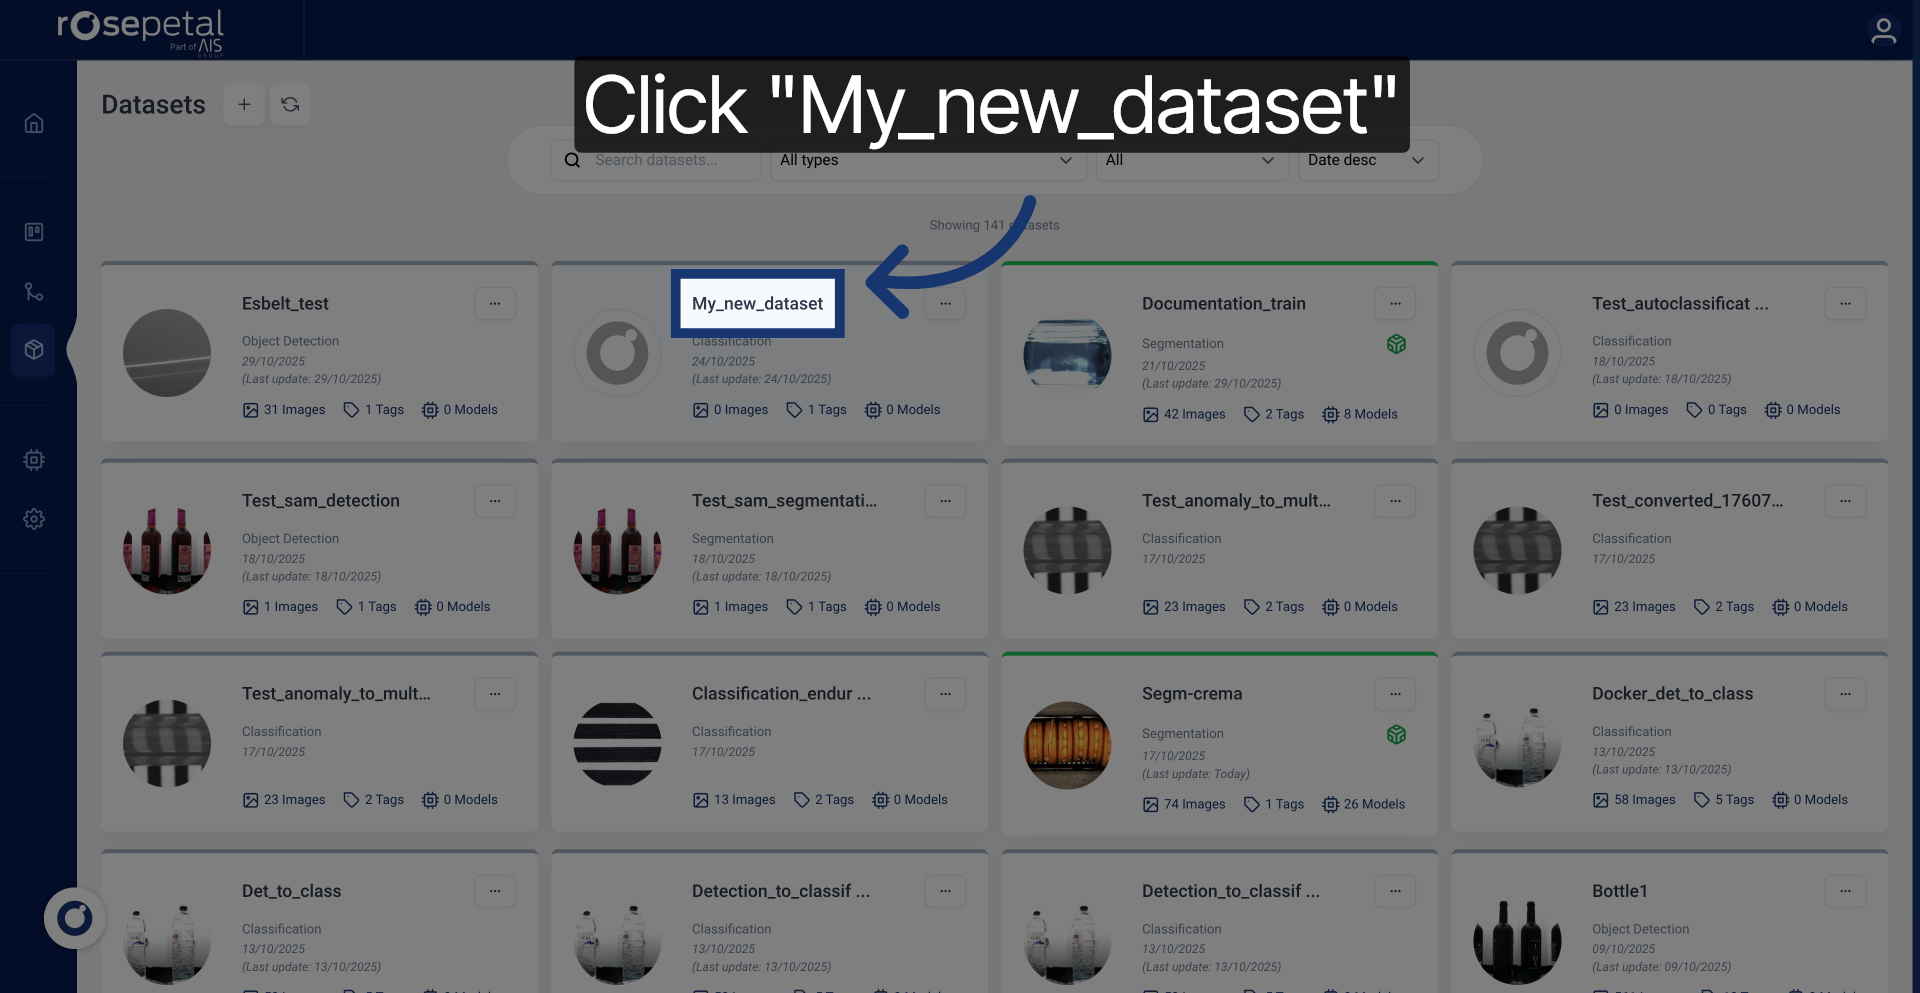
2. Open Dataset
Select the dataset you want to work with.
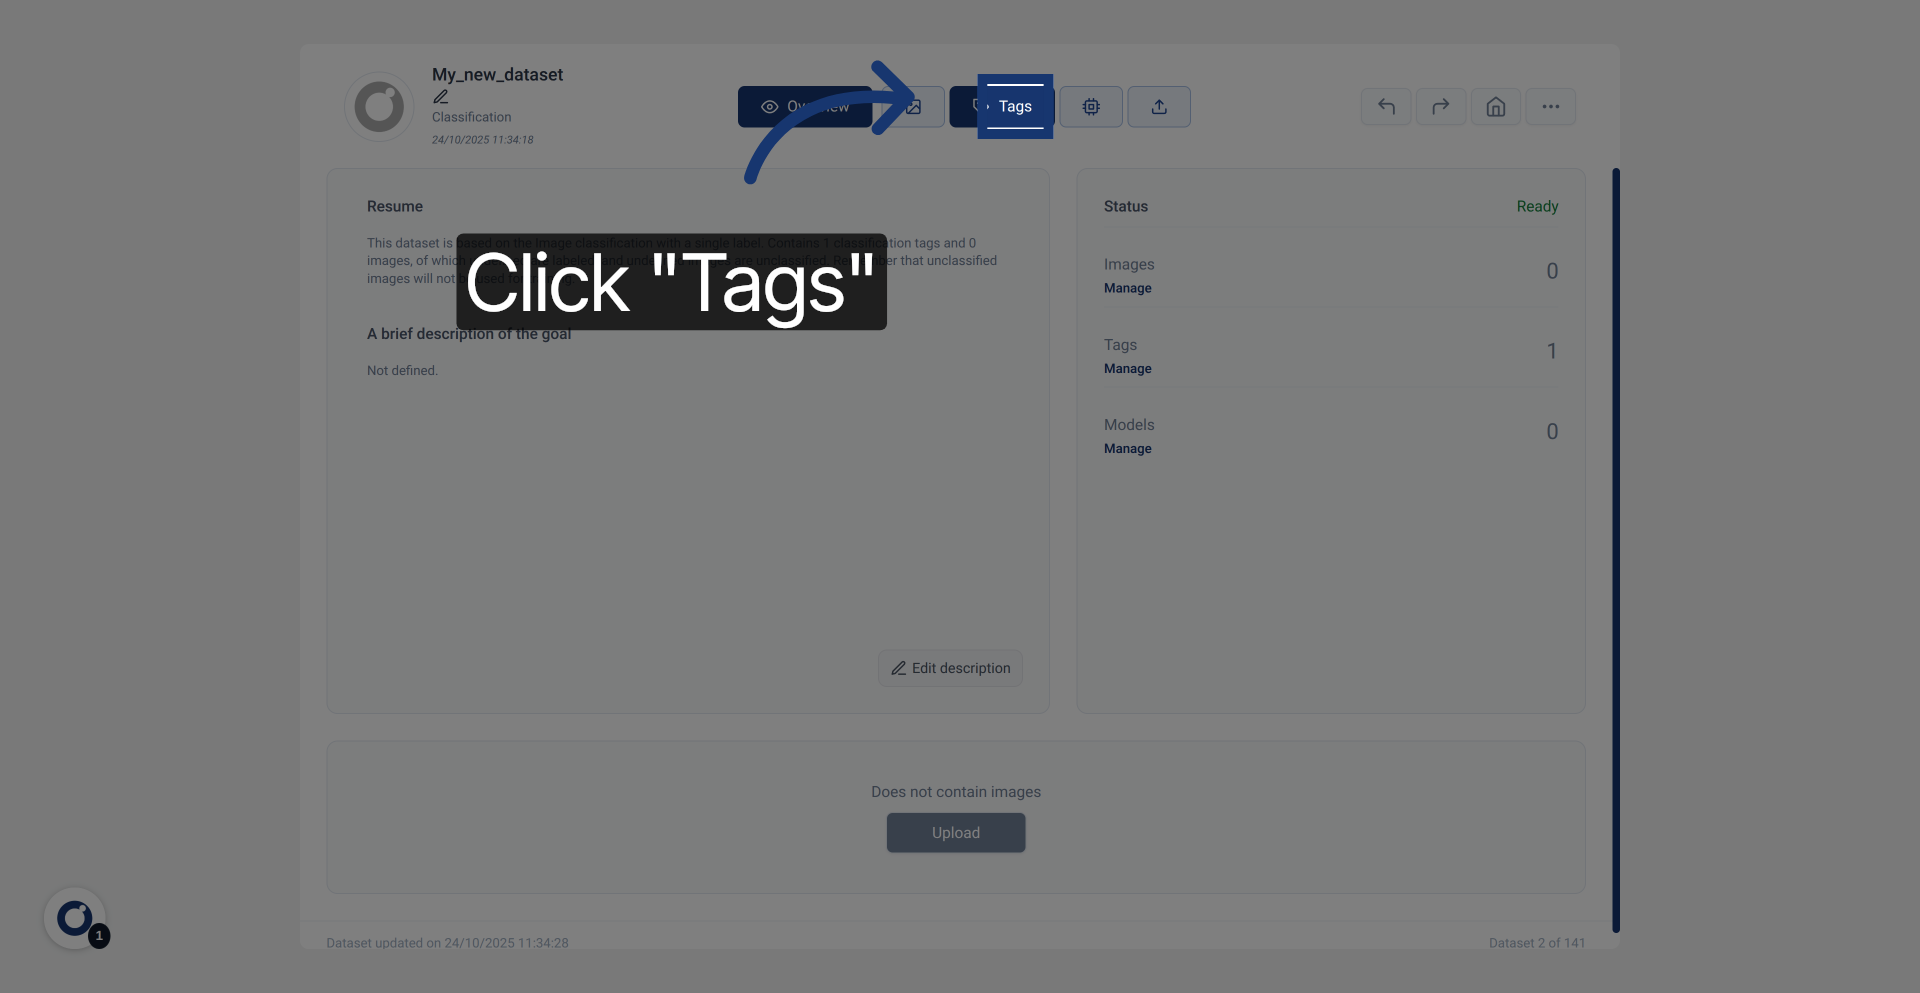
3. Access Tags Section
Click the Tags tab to view and manage existing labeling tags.
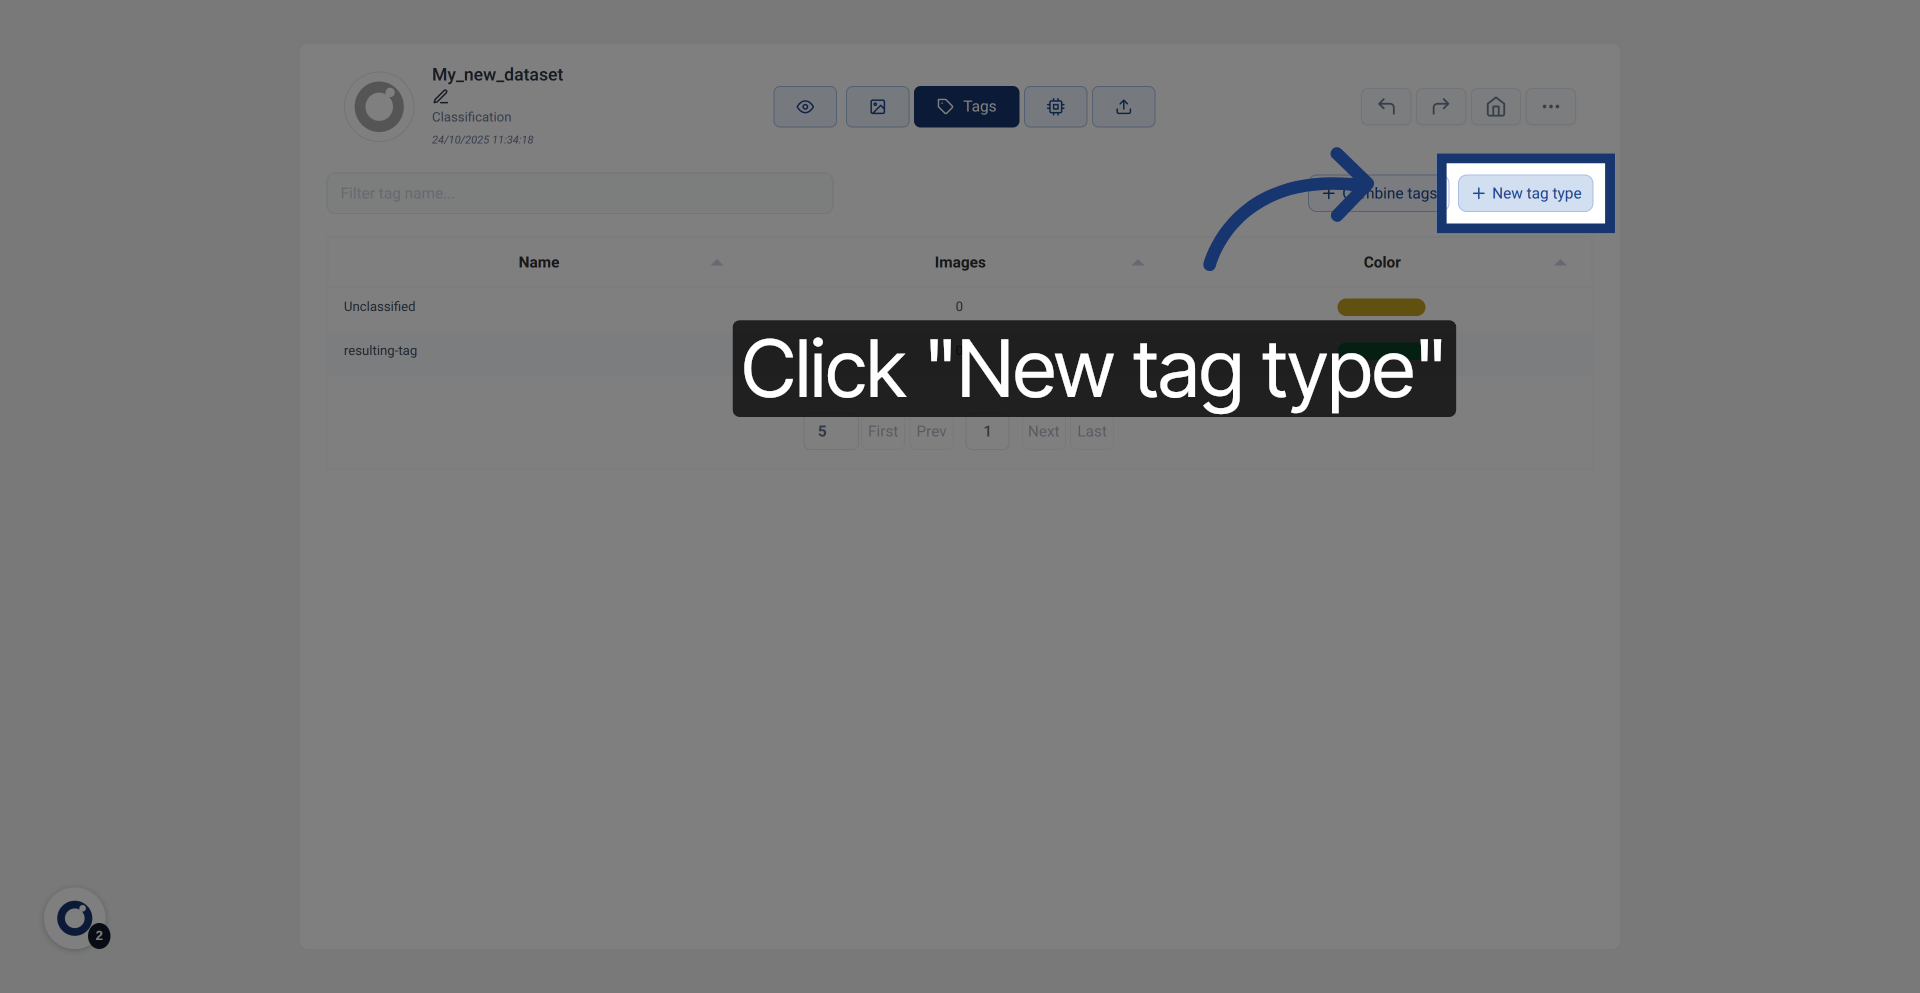
4. Initiate New Tag Creation
Click New tag type to start creating a new labeling tag.
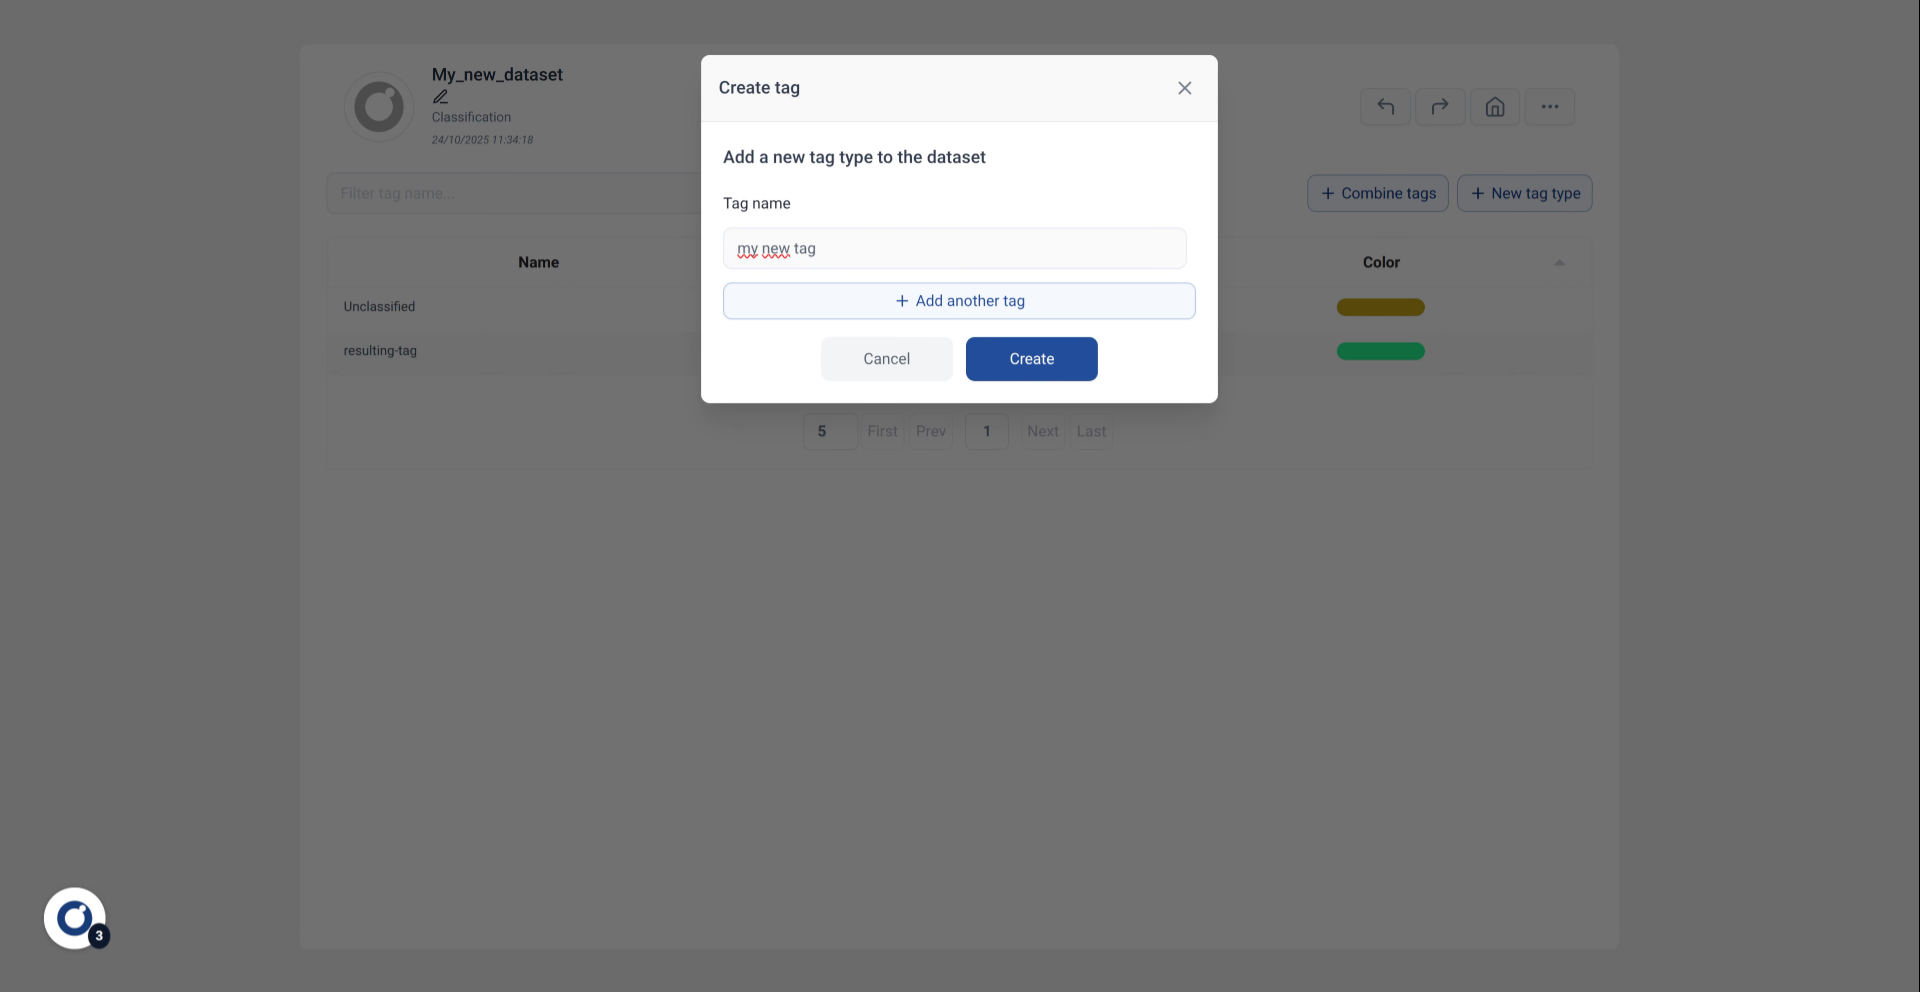
5. Enter Tag Name
Enter your new tag name to identify the tag class you want to create.
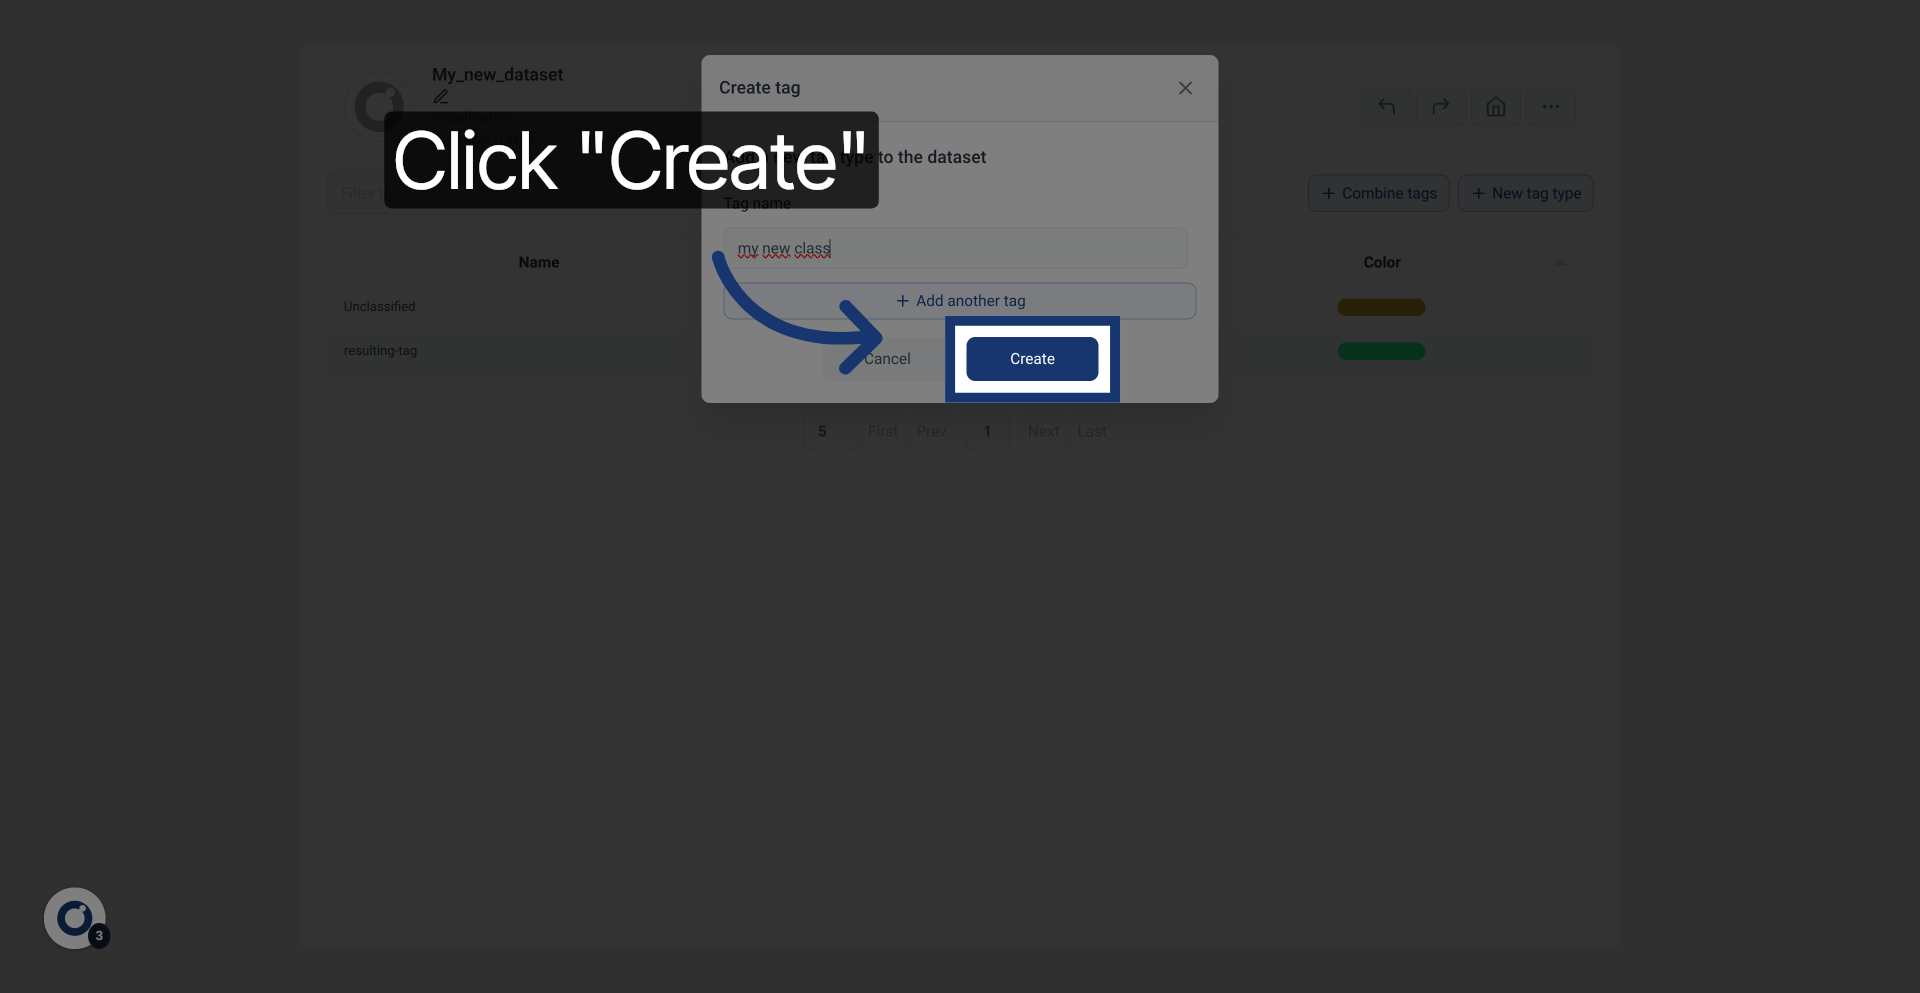
6. Create Tag
Click the Create button to add the new tag to your dataset.
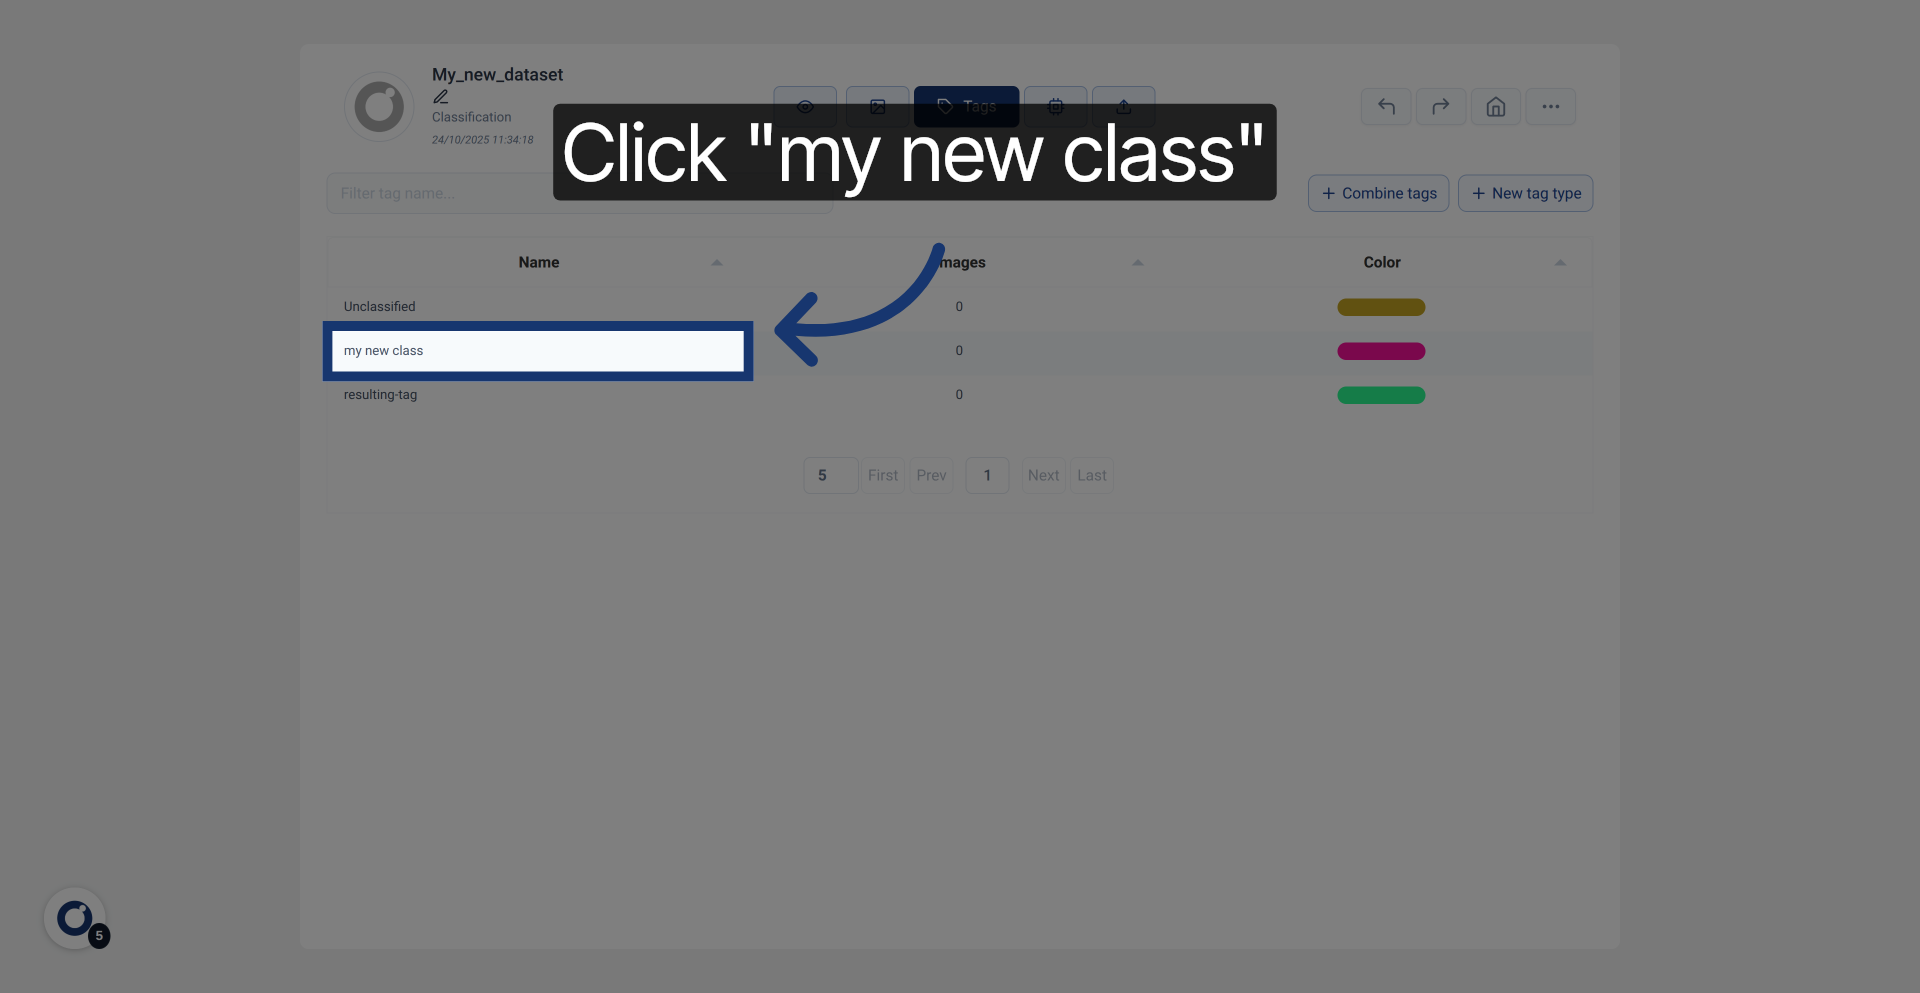
7. Select Created Tag
Click your new tag class to open its settings and details.
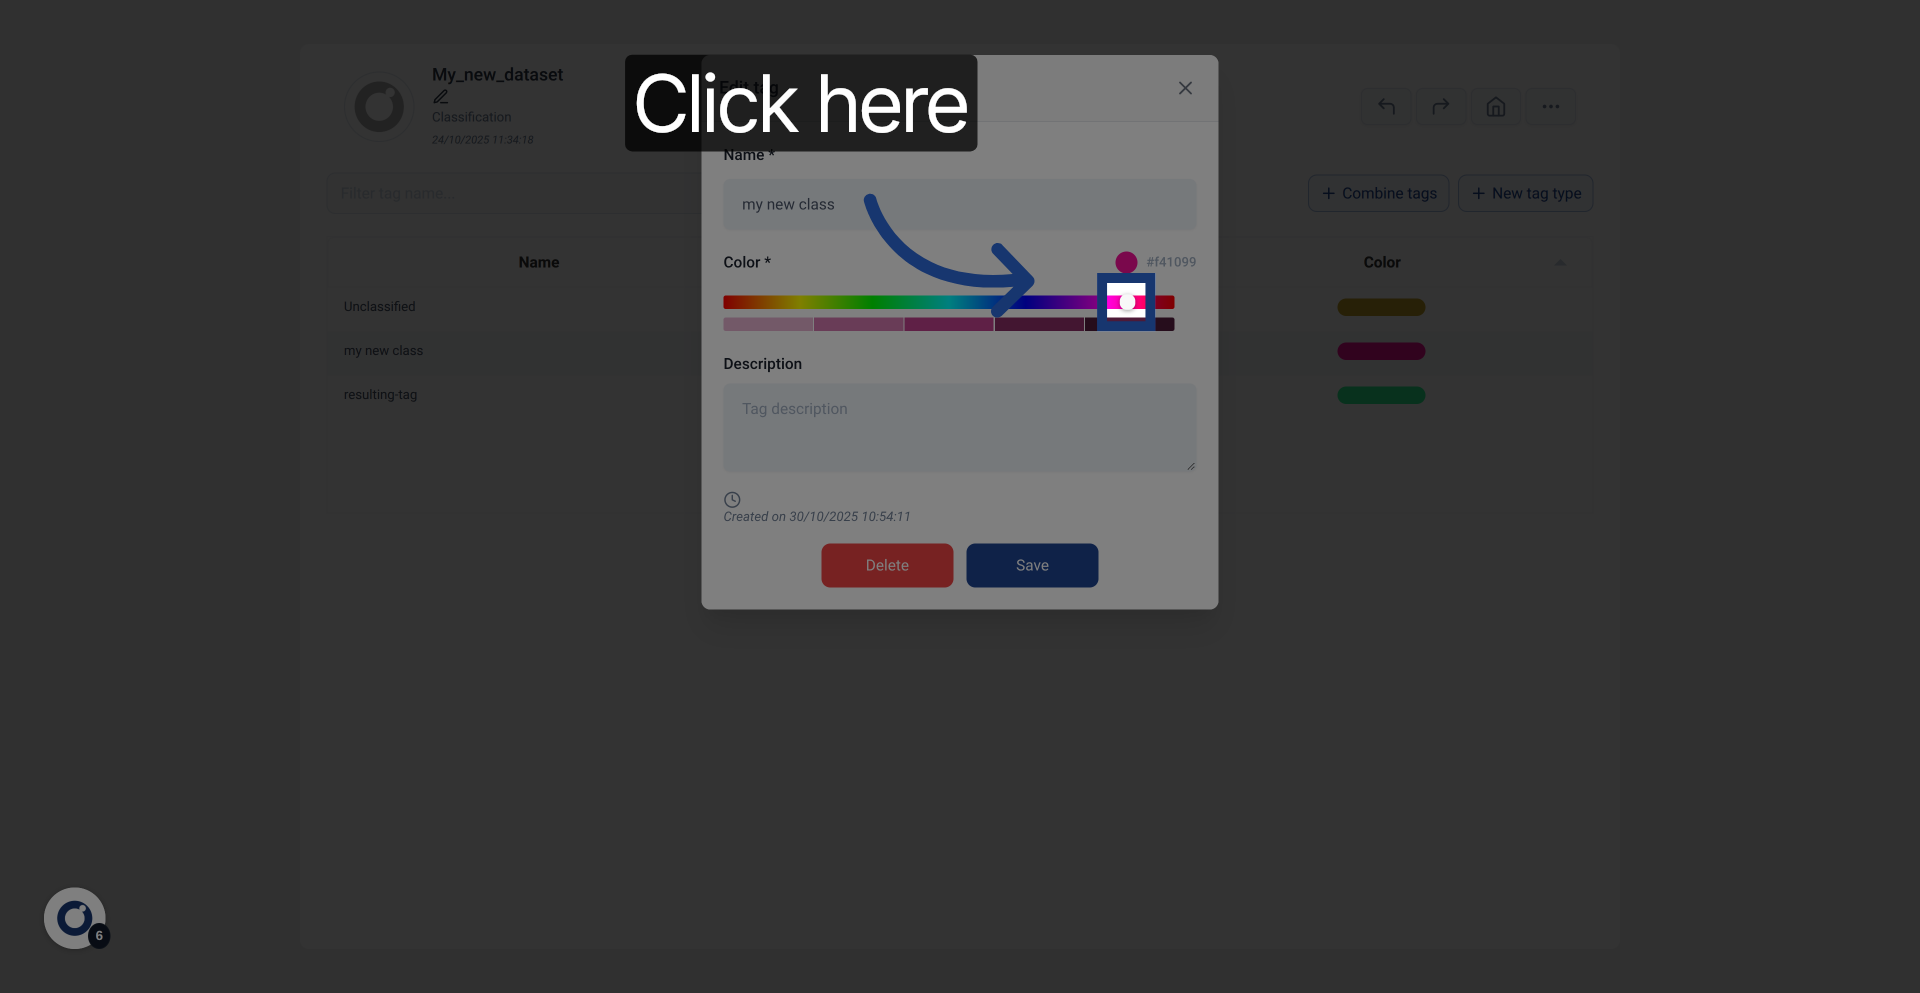
8. Open Tag Options
Select a color for the tag.
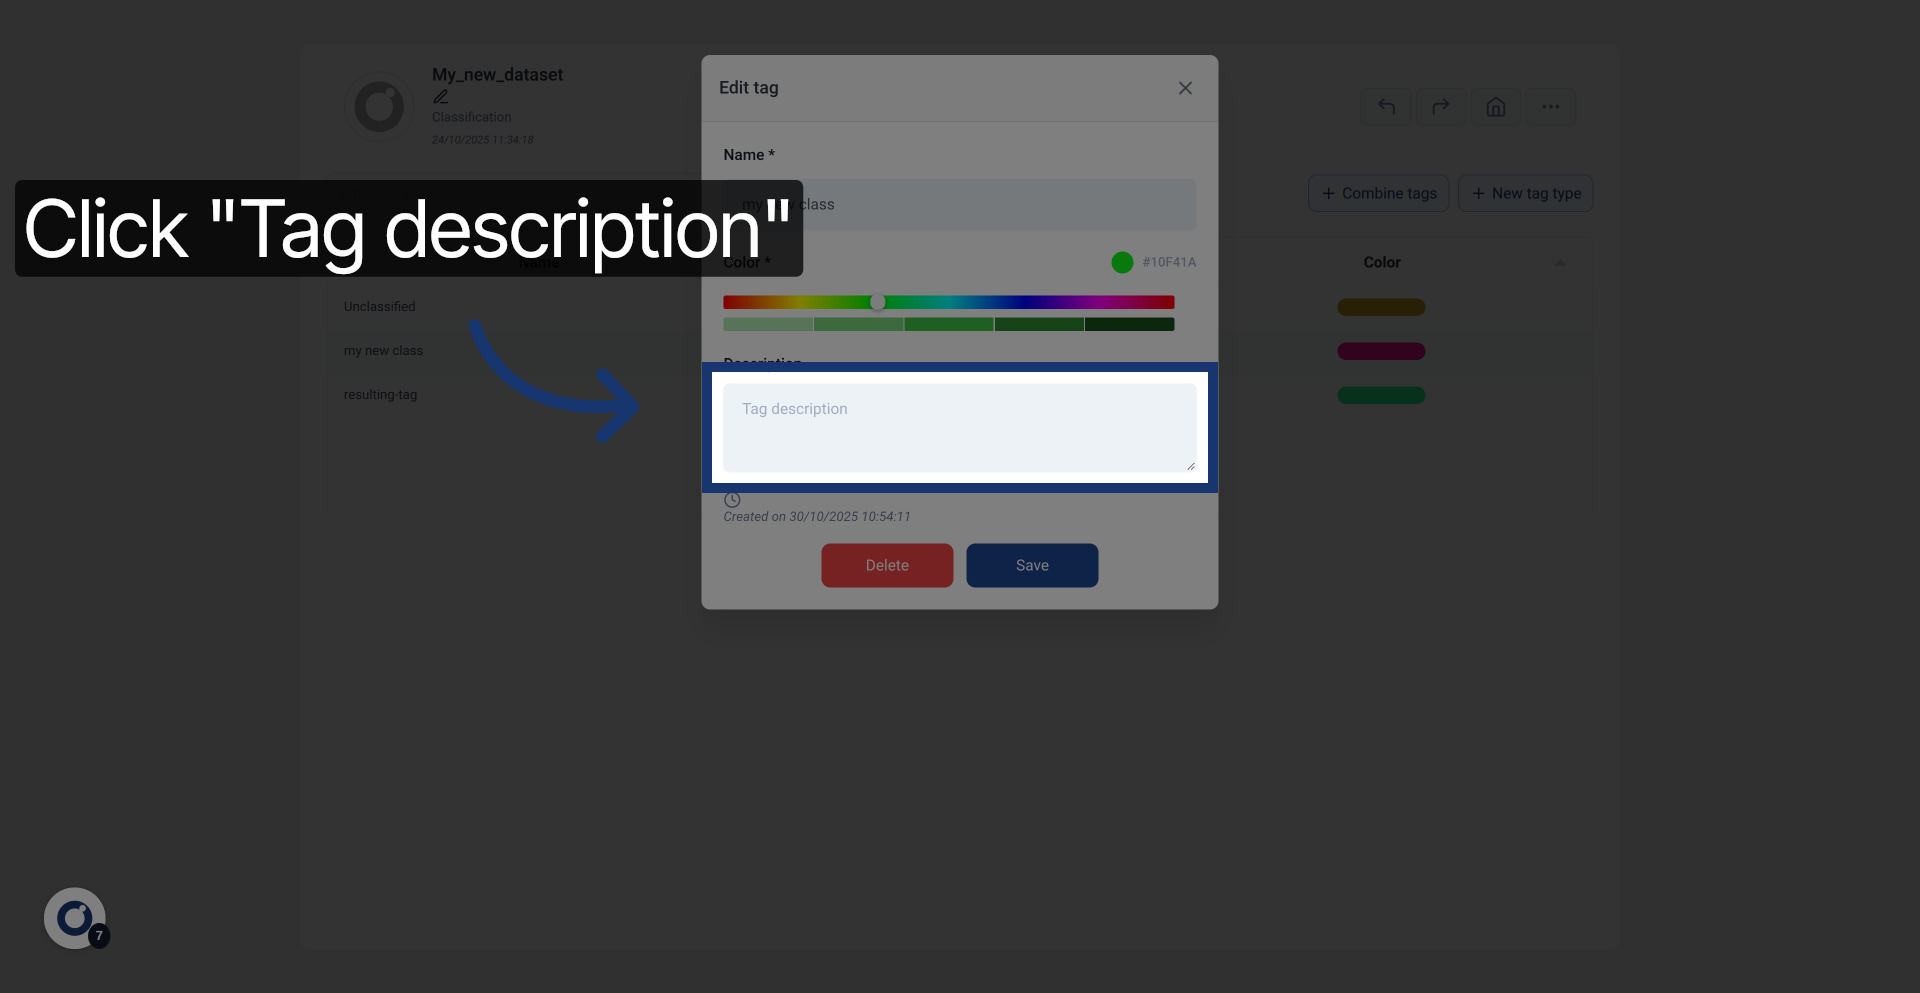
9. Edit Tag Description
Click the Tag description field to add or modify the tag's details.
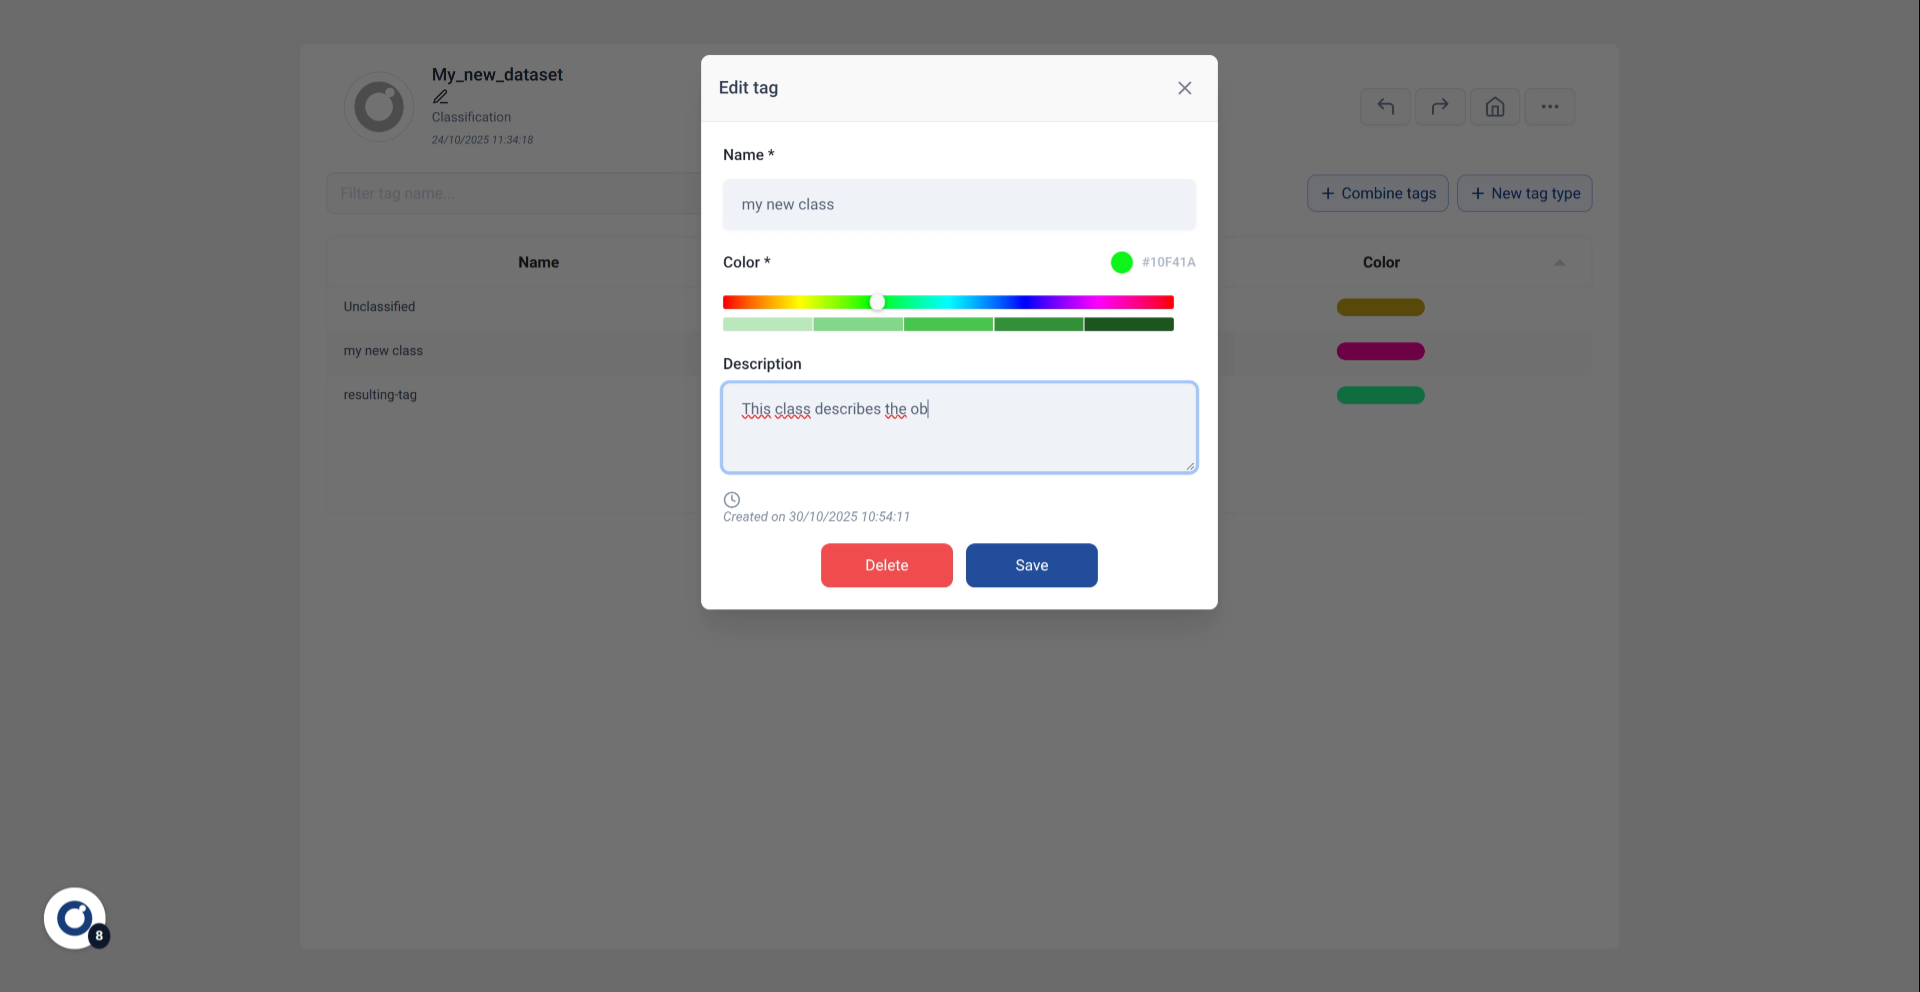
10. Enter Tag Description
Enter a description that explains the purpose of this tag class clearly.
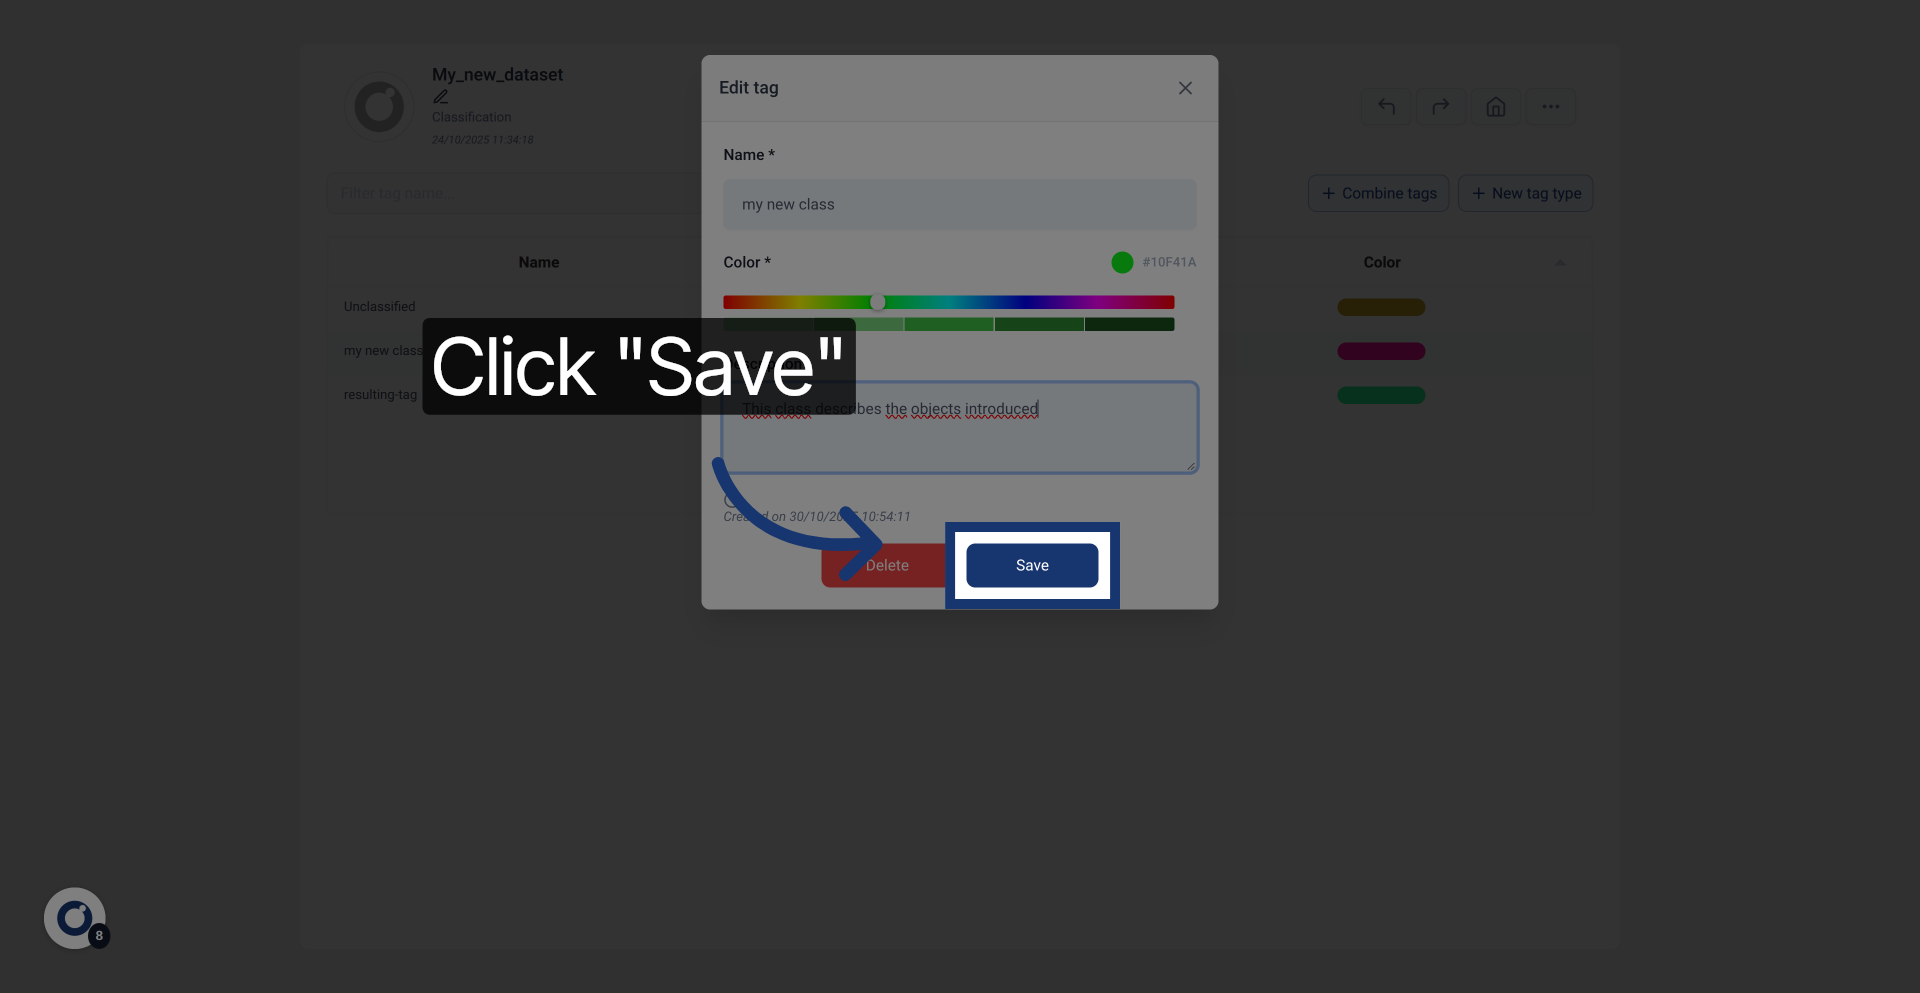
11. Save Tag Details
Click Save to apply the description and update the tag information.
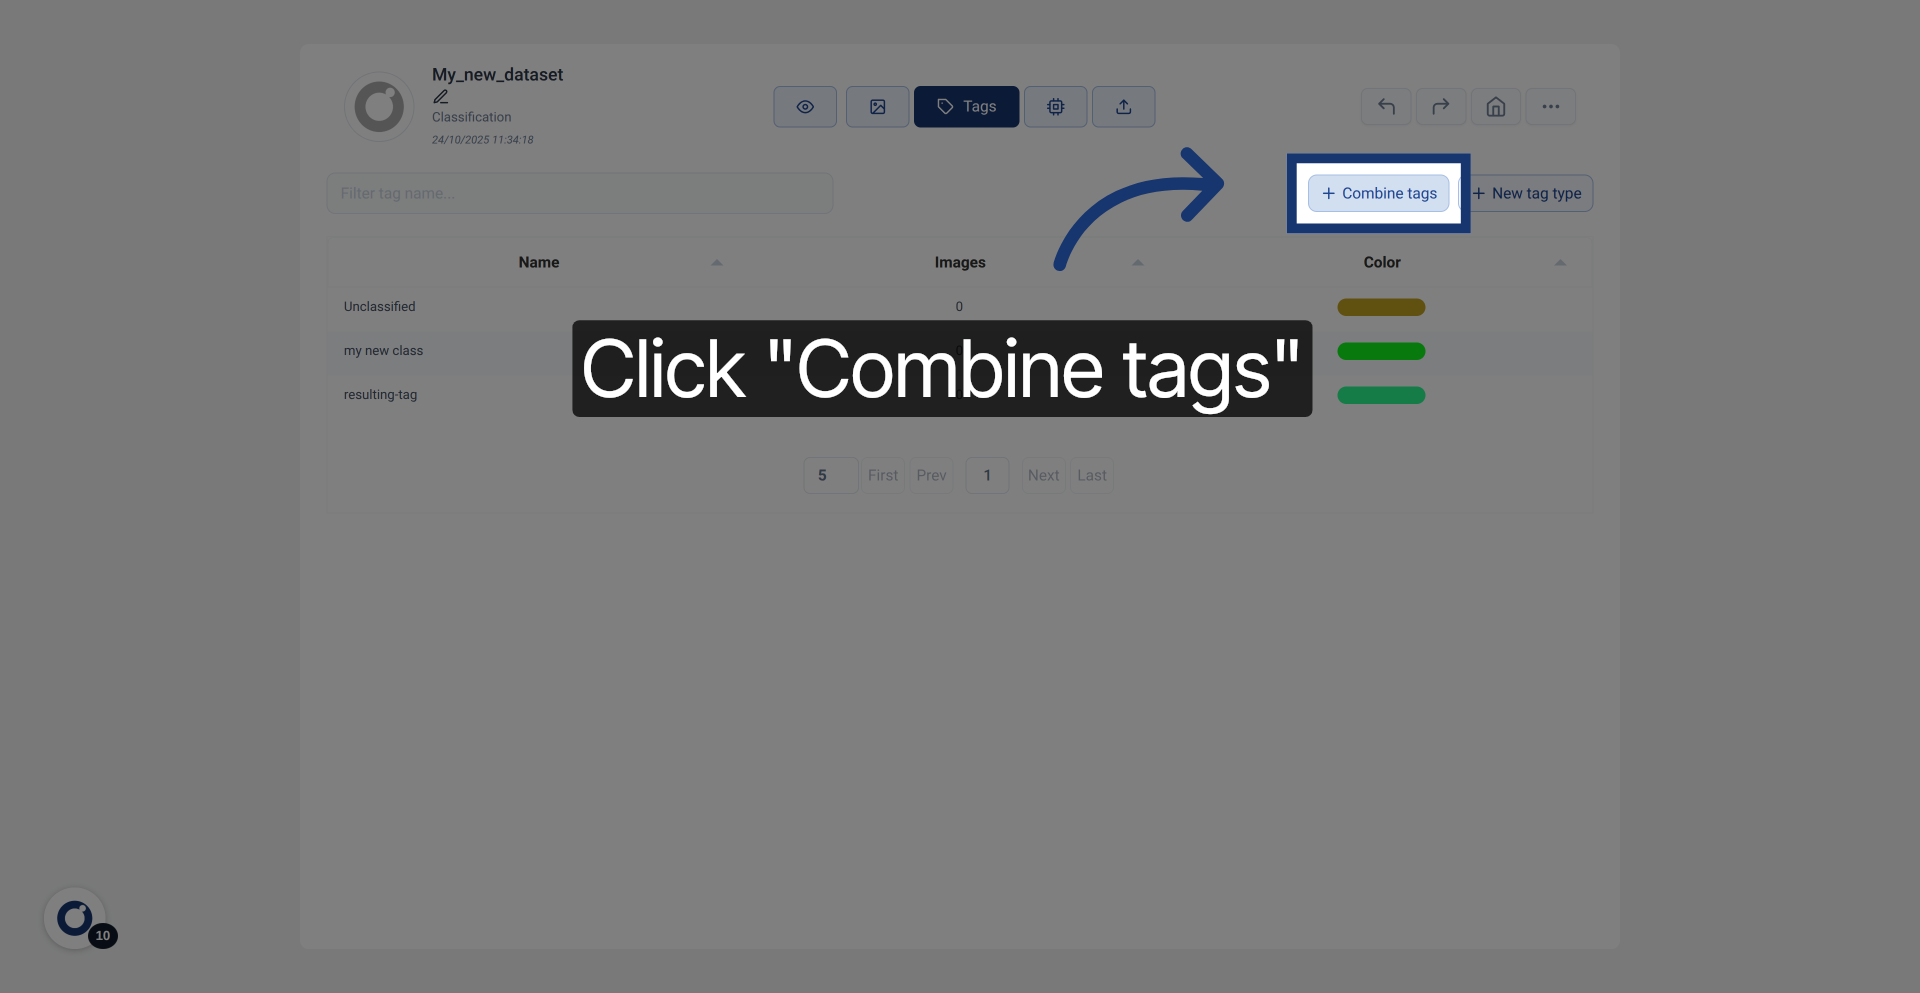
12. Open Combine Tags Feature
Click Combine tags to merge multiple tags into a single tag for better organization.
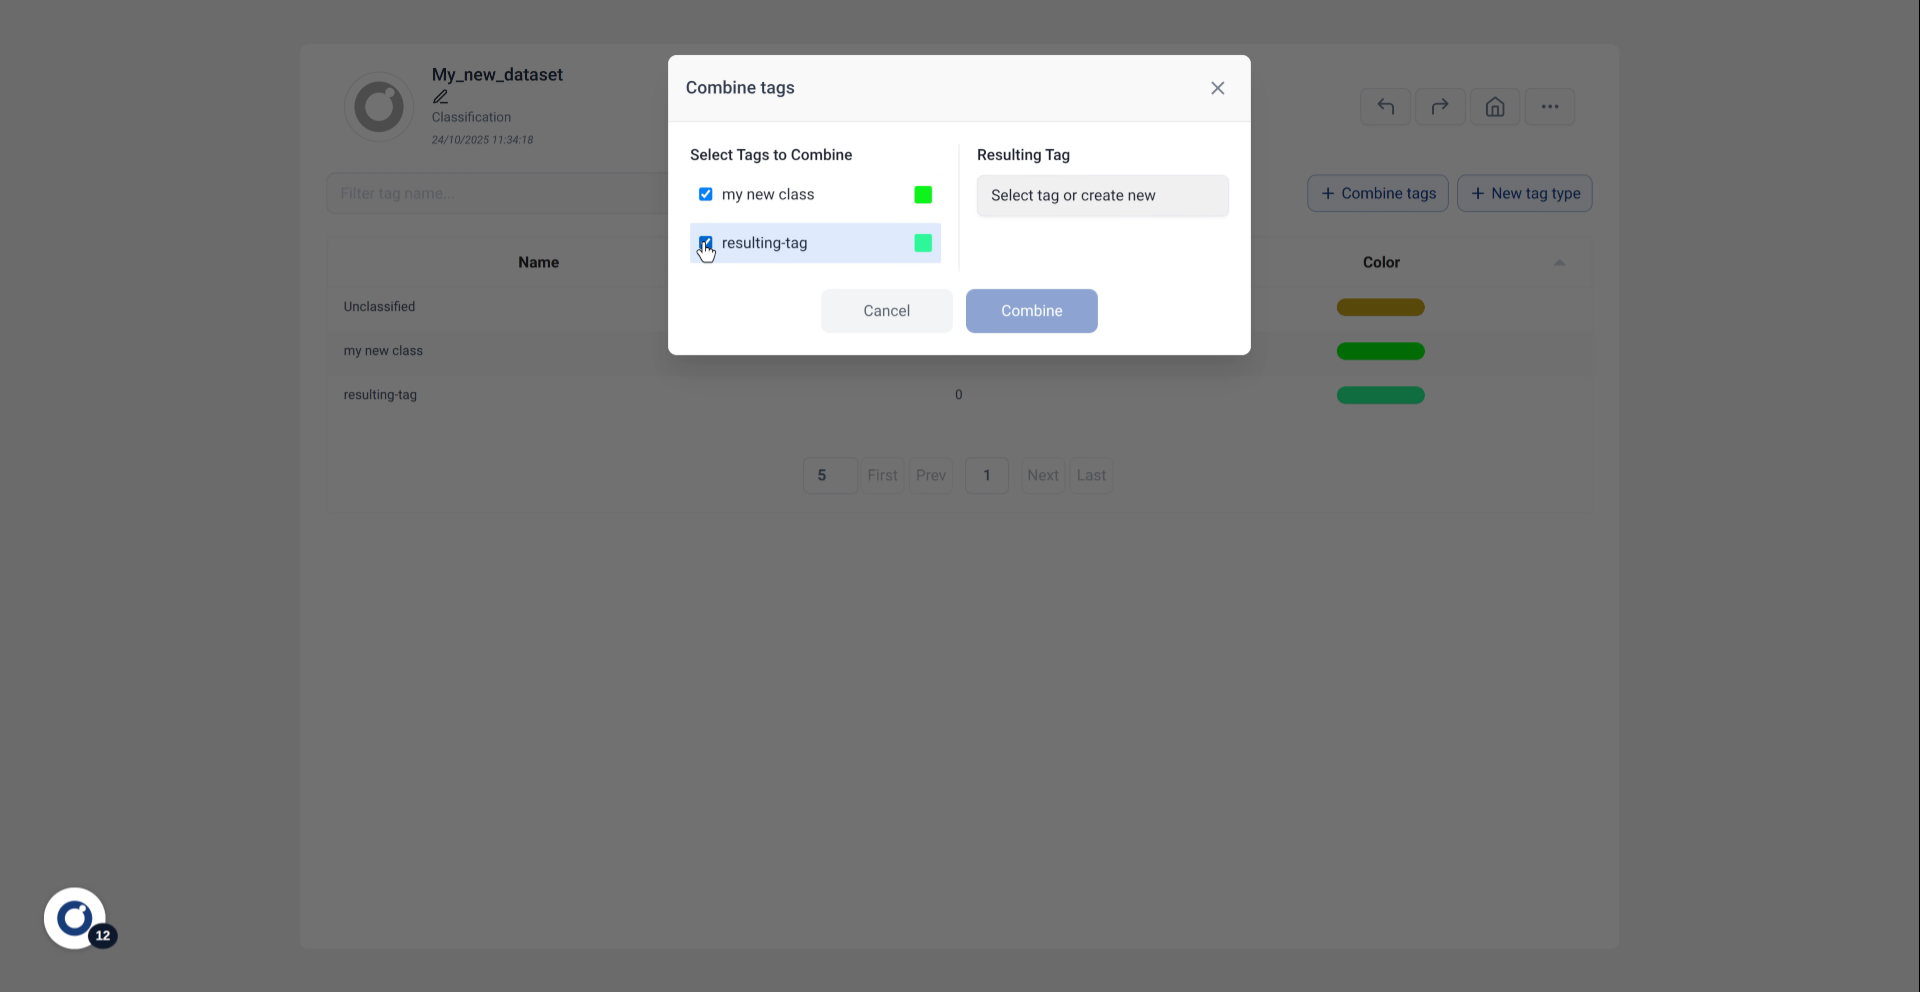
13. Confirm Tag Selection
Fill in the selection to confirm which tags will be combined.
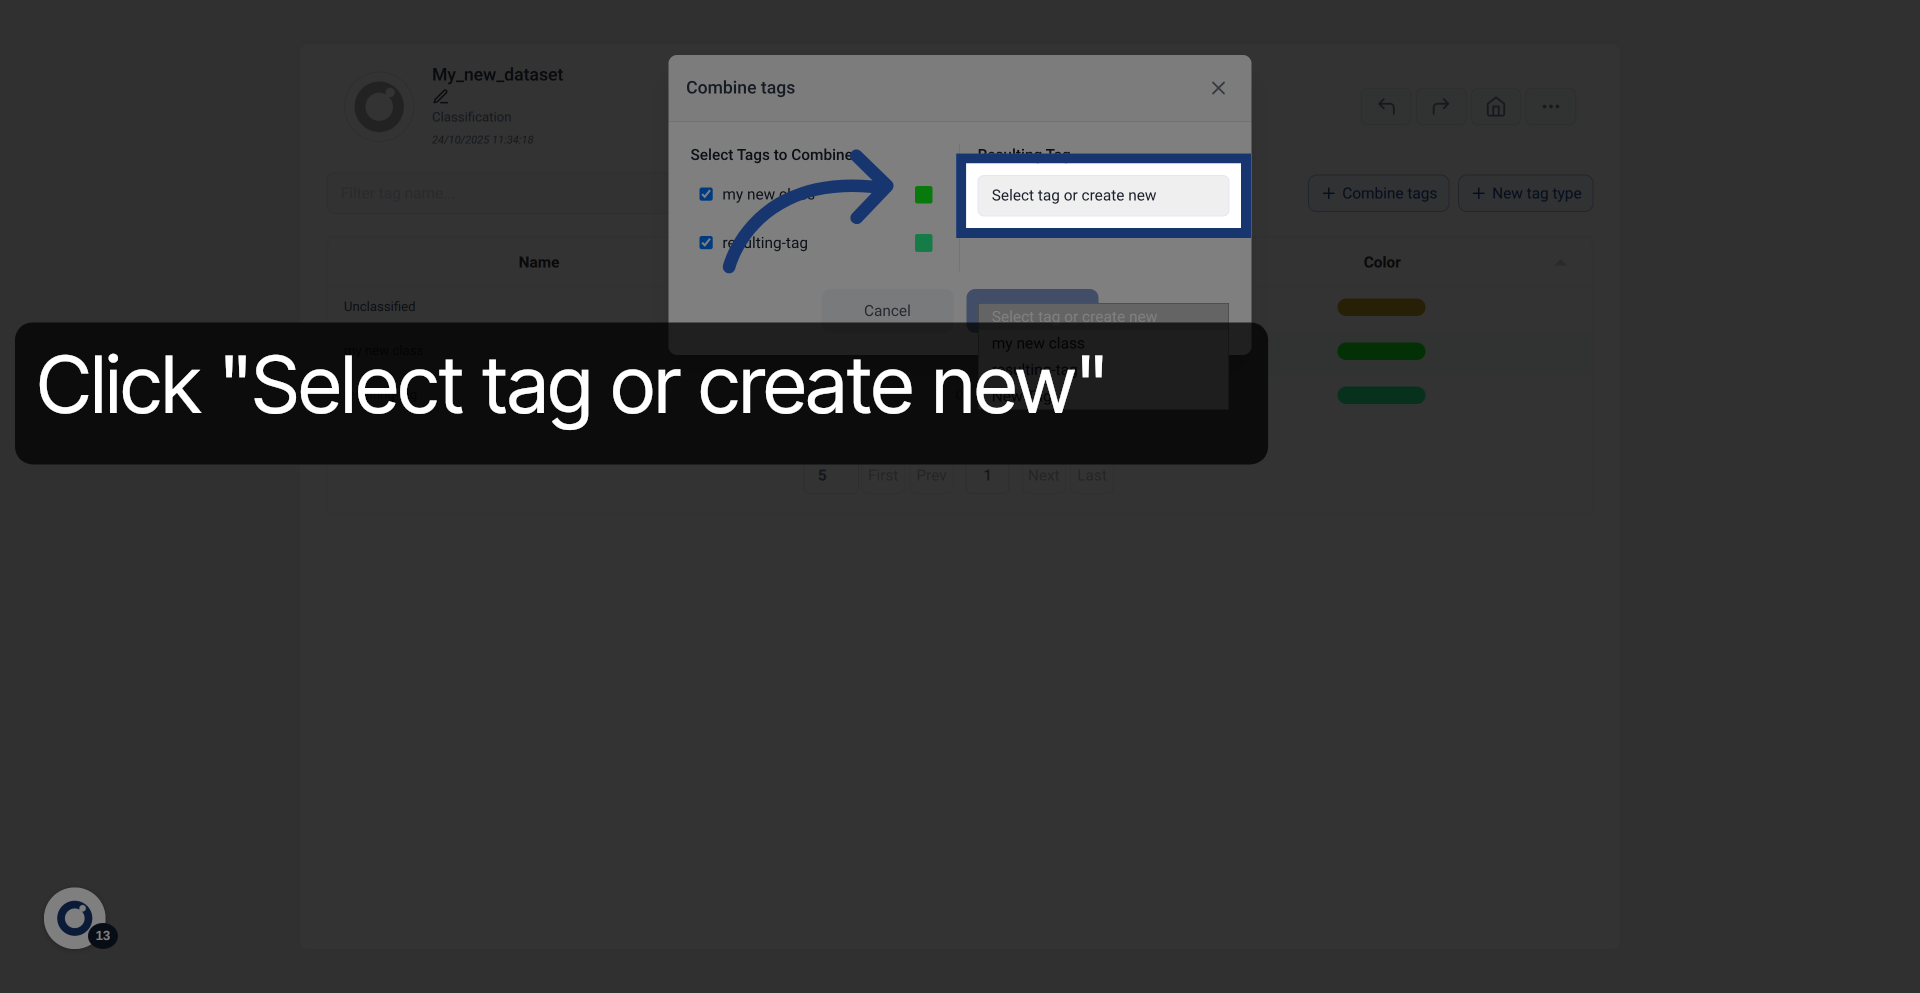
14. Open New Tag Creation
Click Select tag or create new to specify the resulting tag after combination.
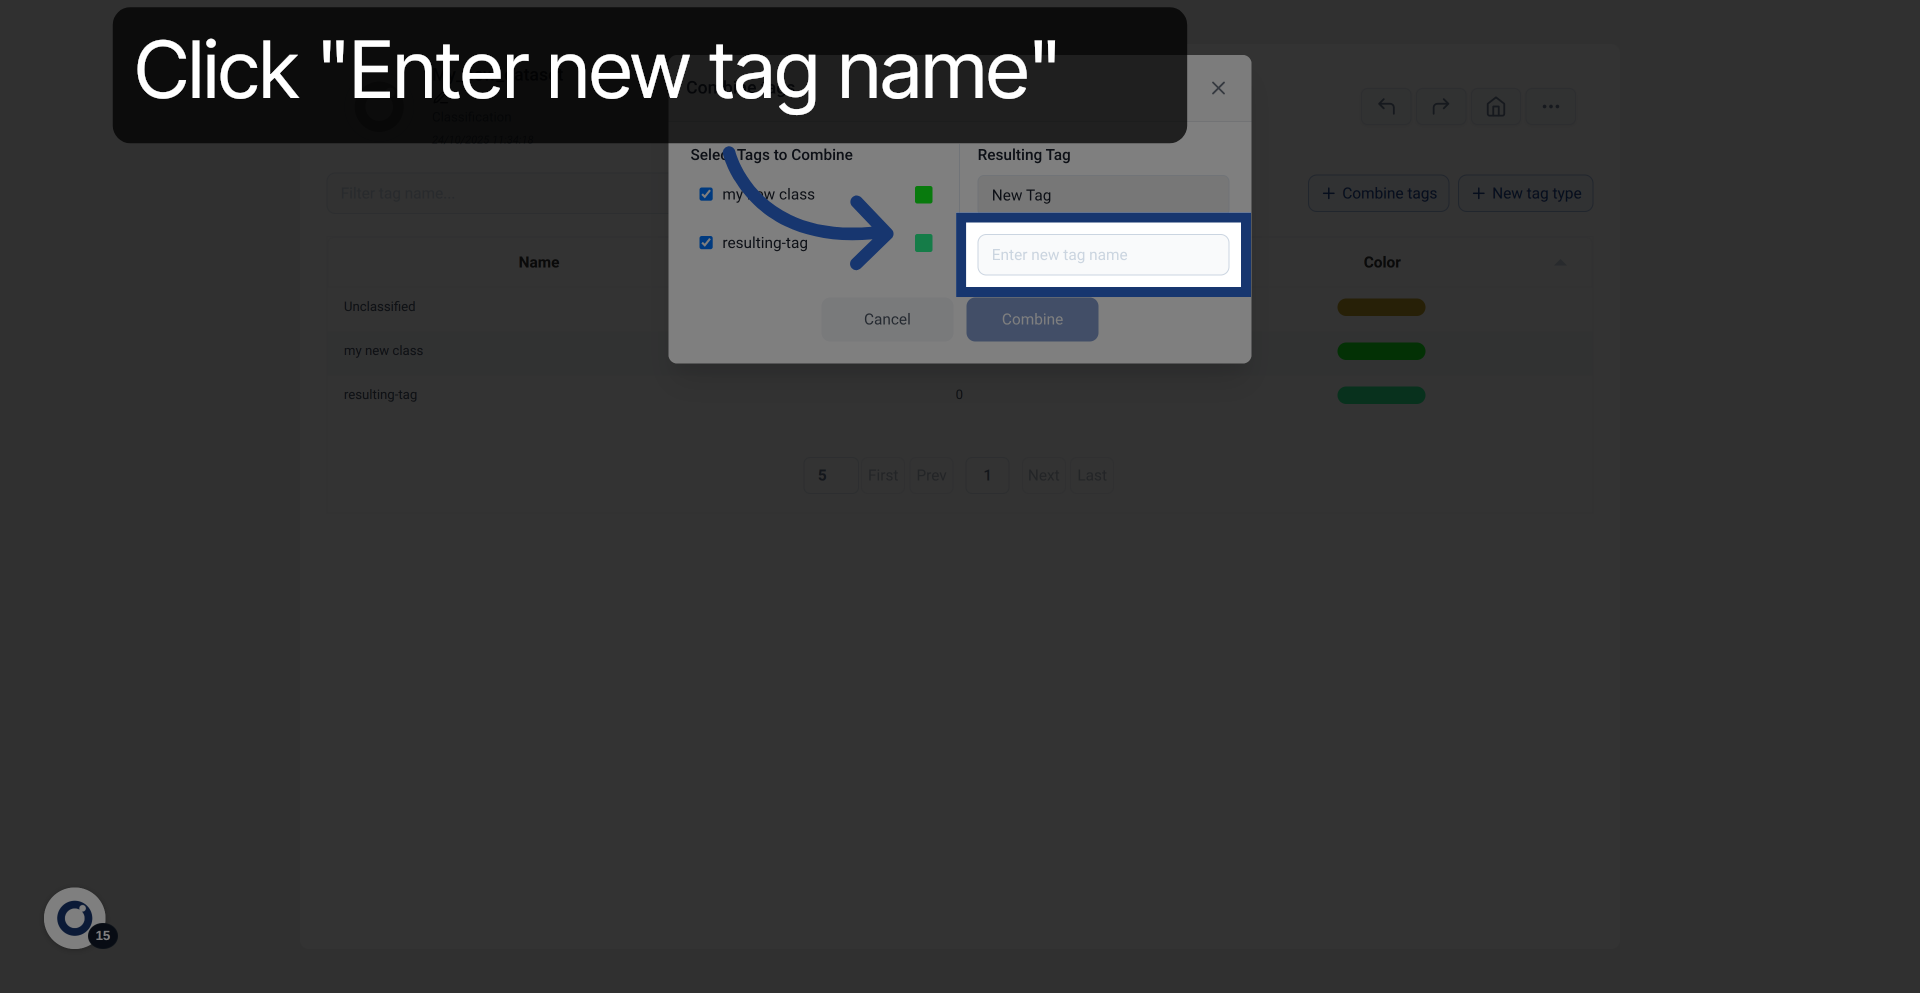
15. Enter New Tag Name
If "new tag name" was selected, provide a name for the combined tag.
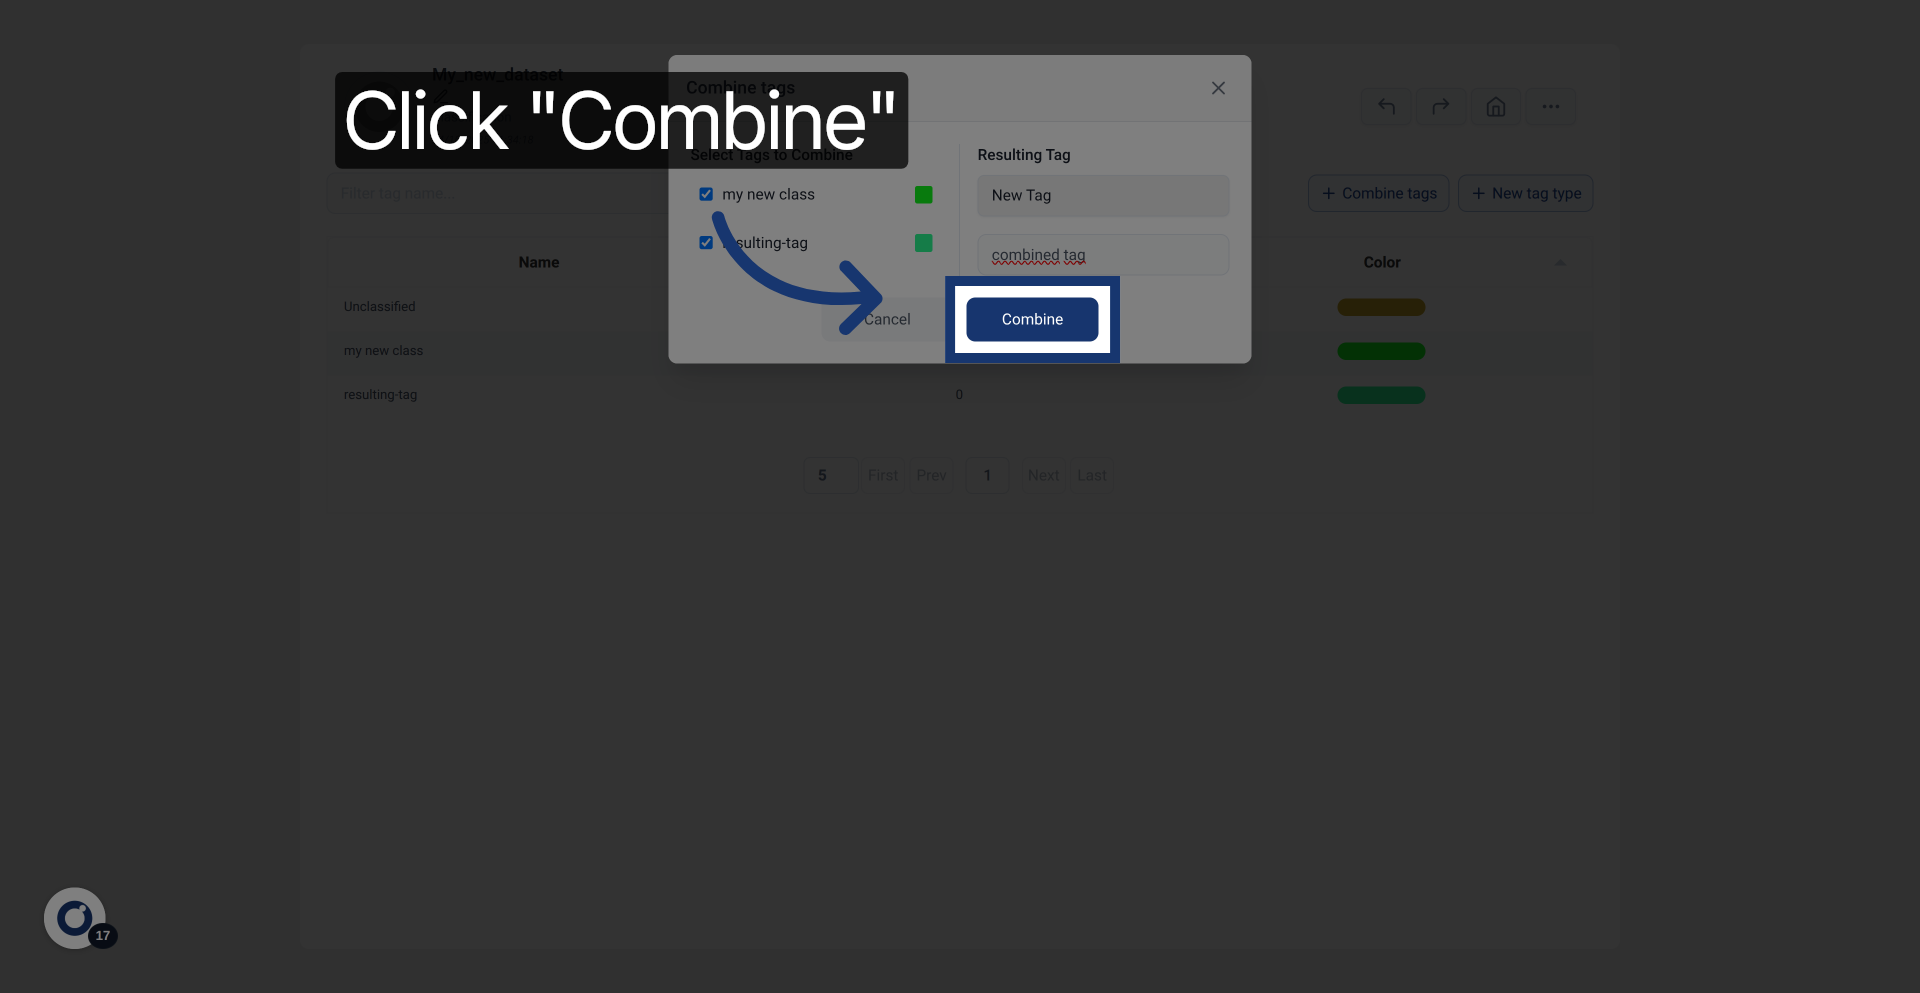
16. Execute Tag Combination
Click Combine to merge the selected tags into the new combined tag.
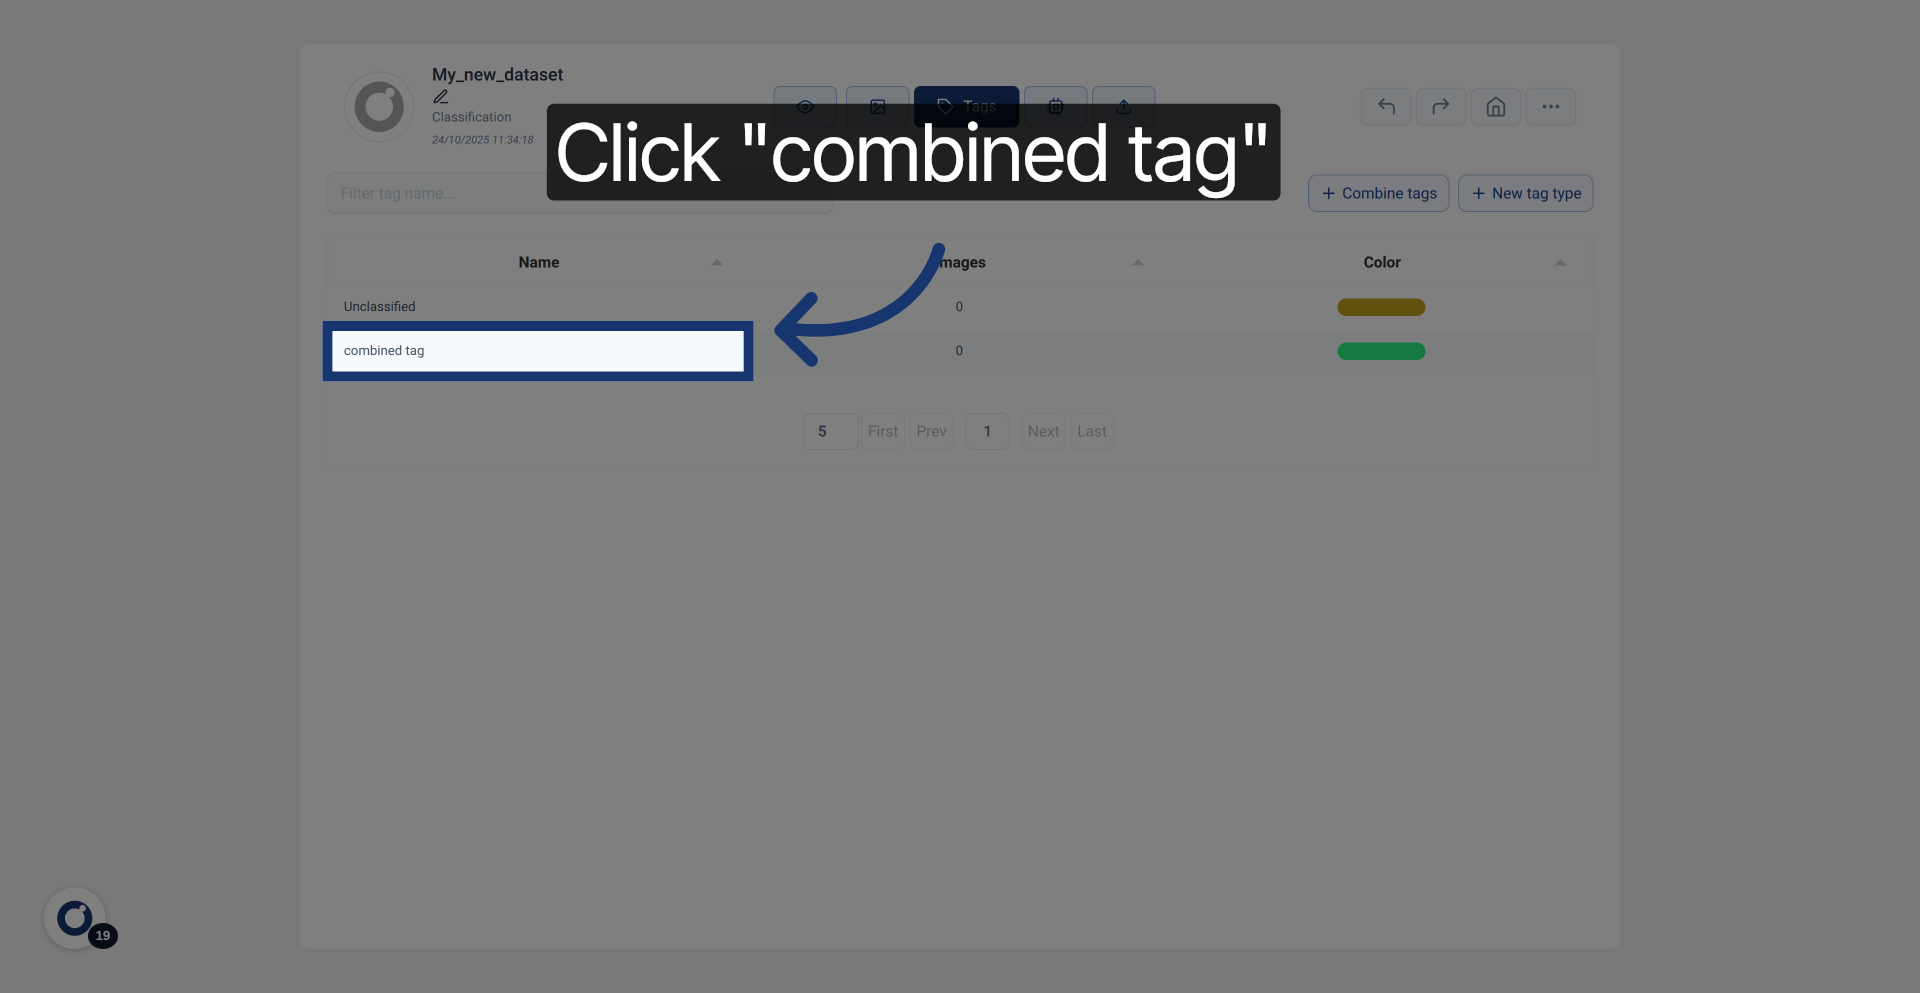
17. Select Combined Tag
To delete a tag, click on it to manage it.
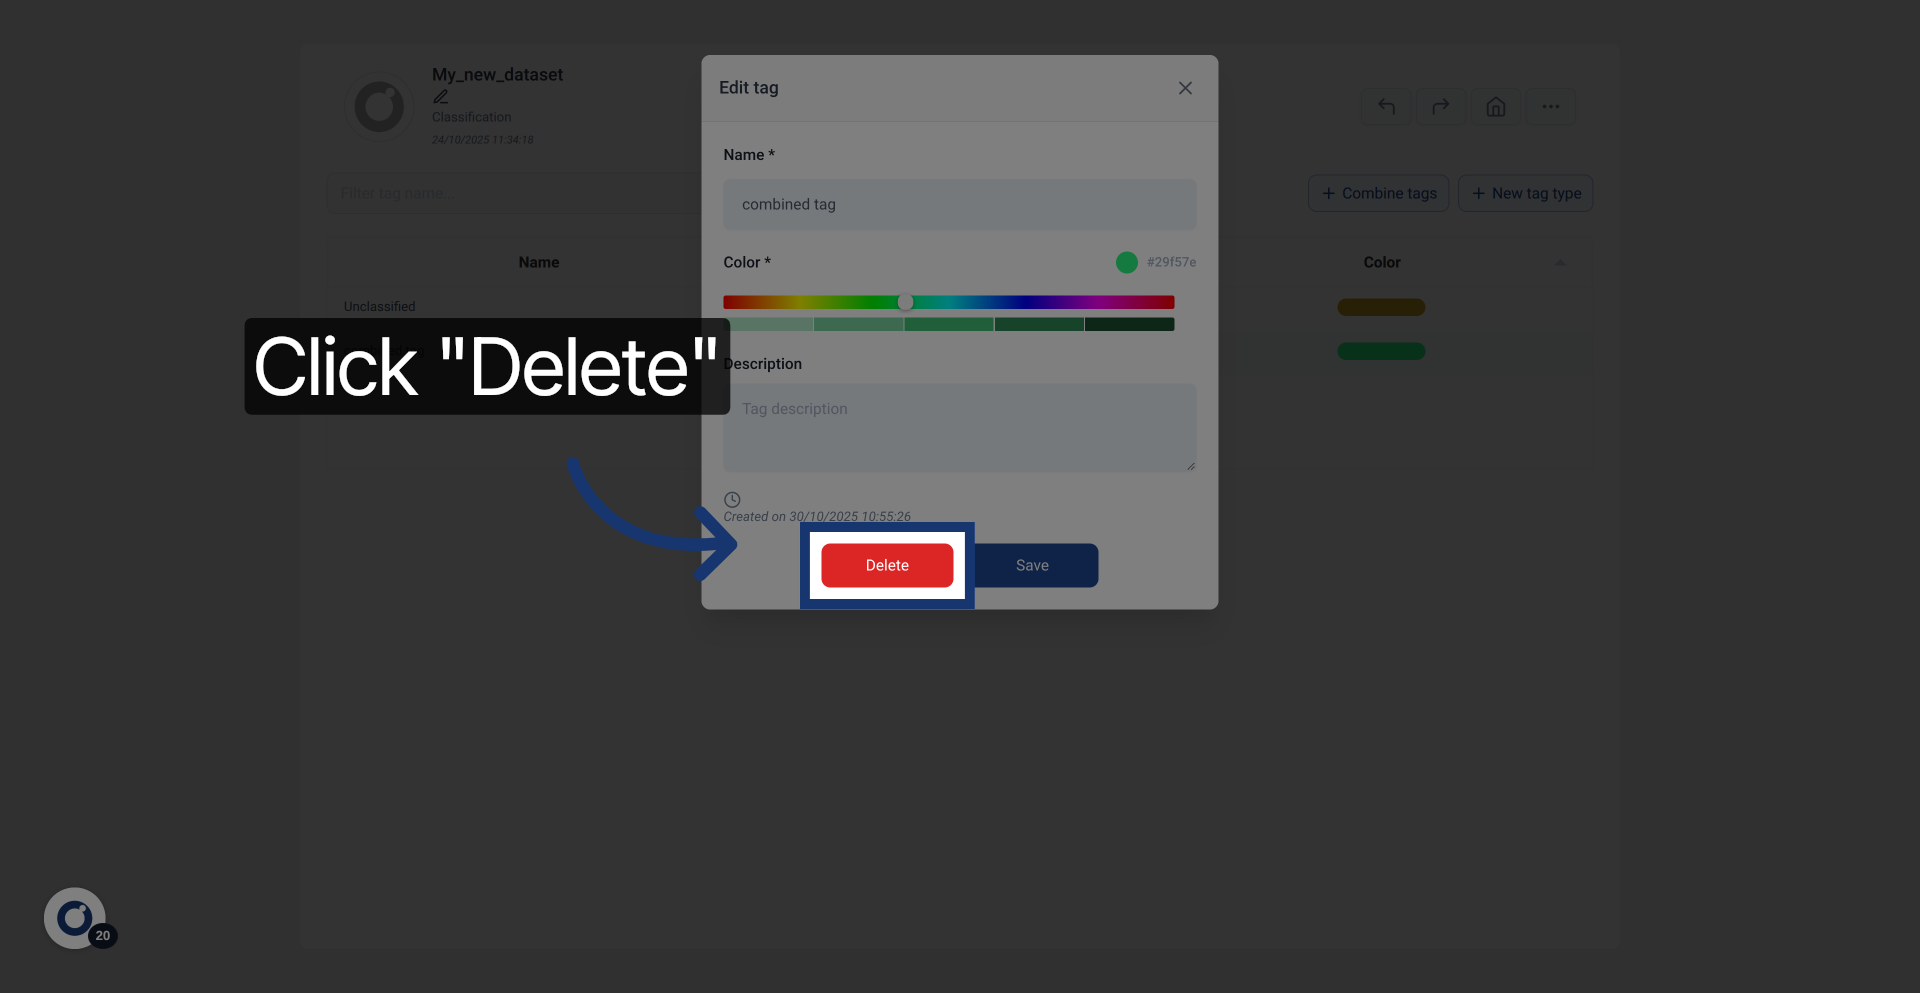
18. Initiate Tag Deletion
Click Delete to remove the selected tag from your dataset.
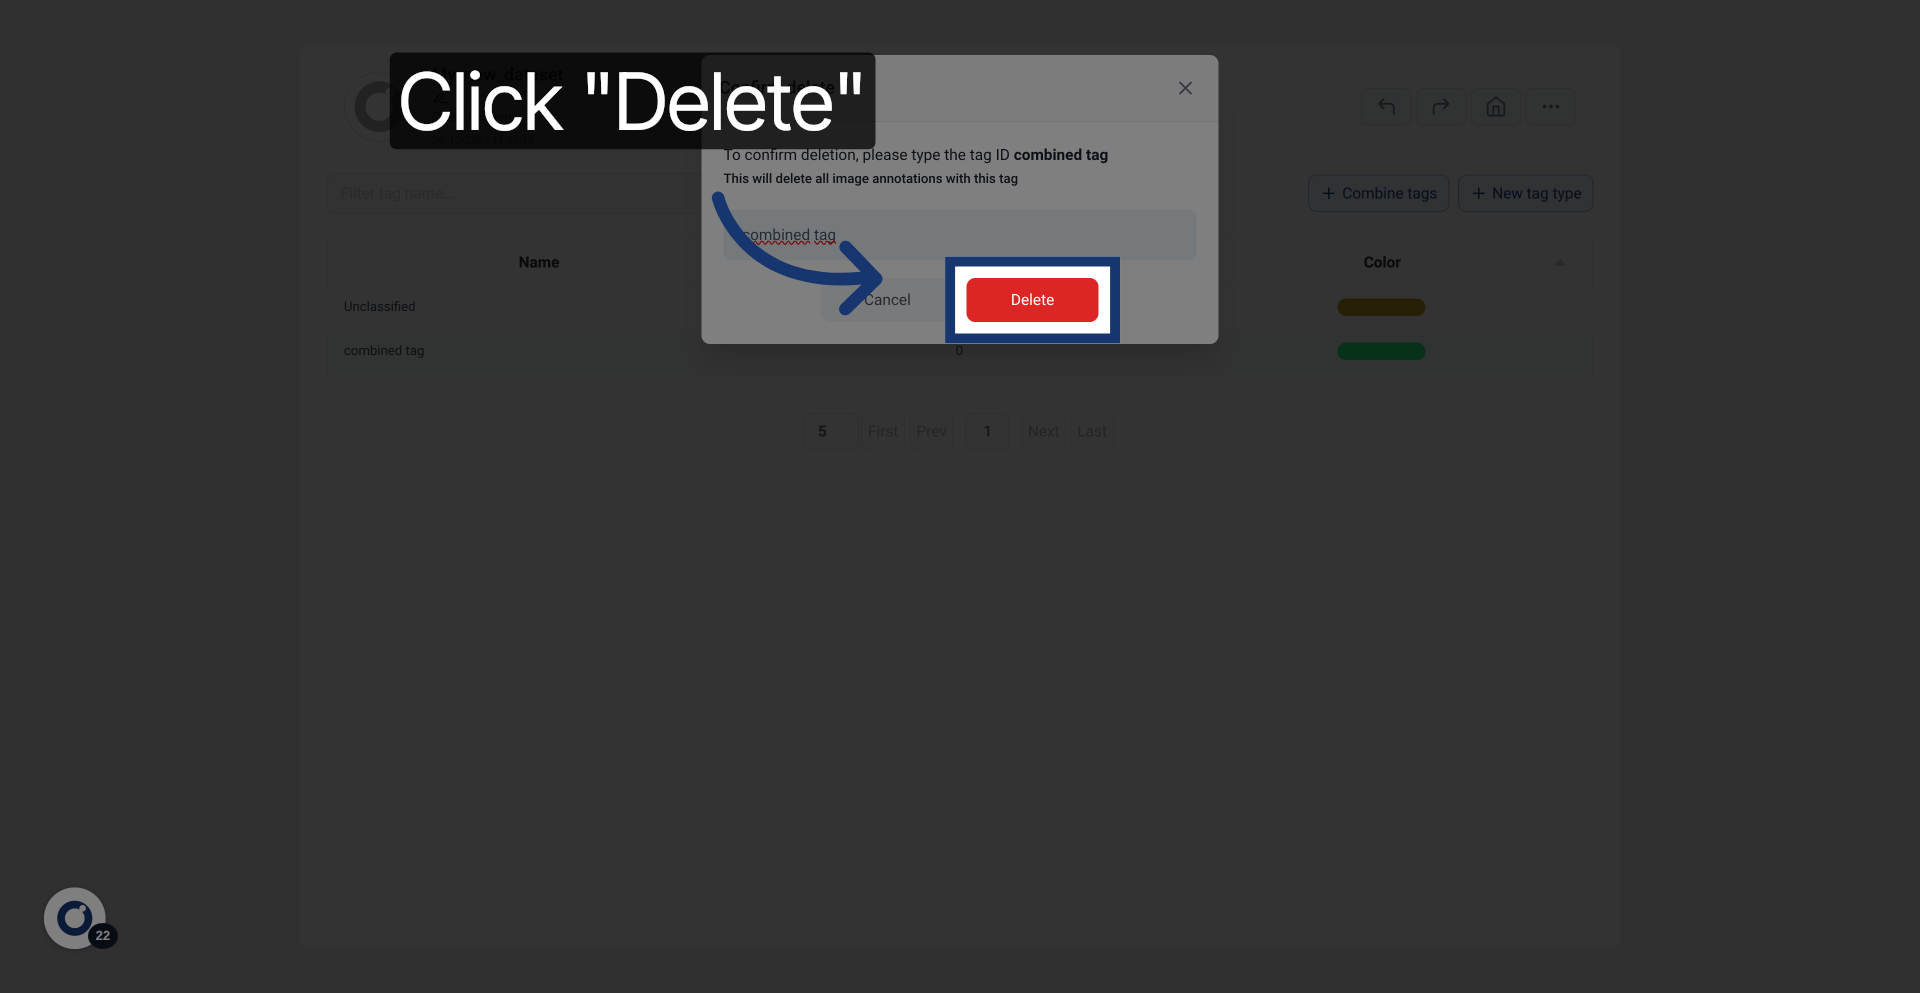
19. Confirm Tag ID Entry
Type the tag ID to confirm the identifier of the tag you want to delete.
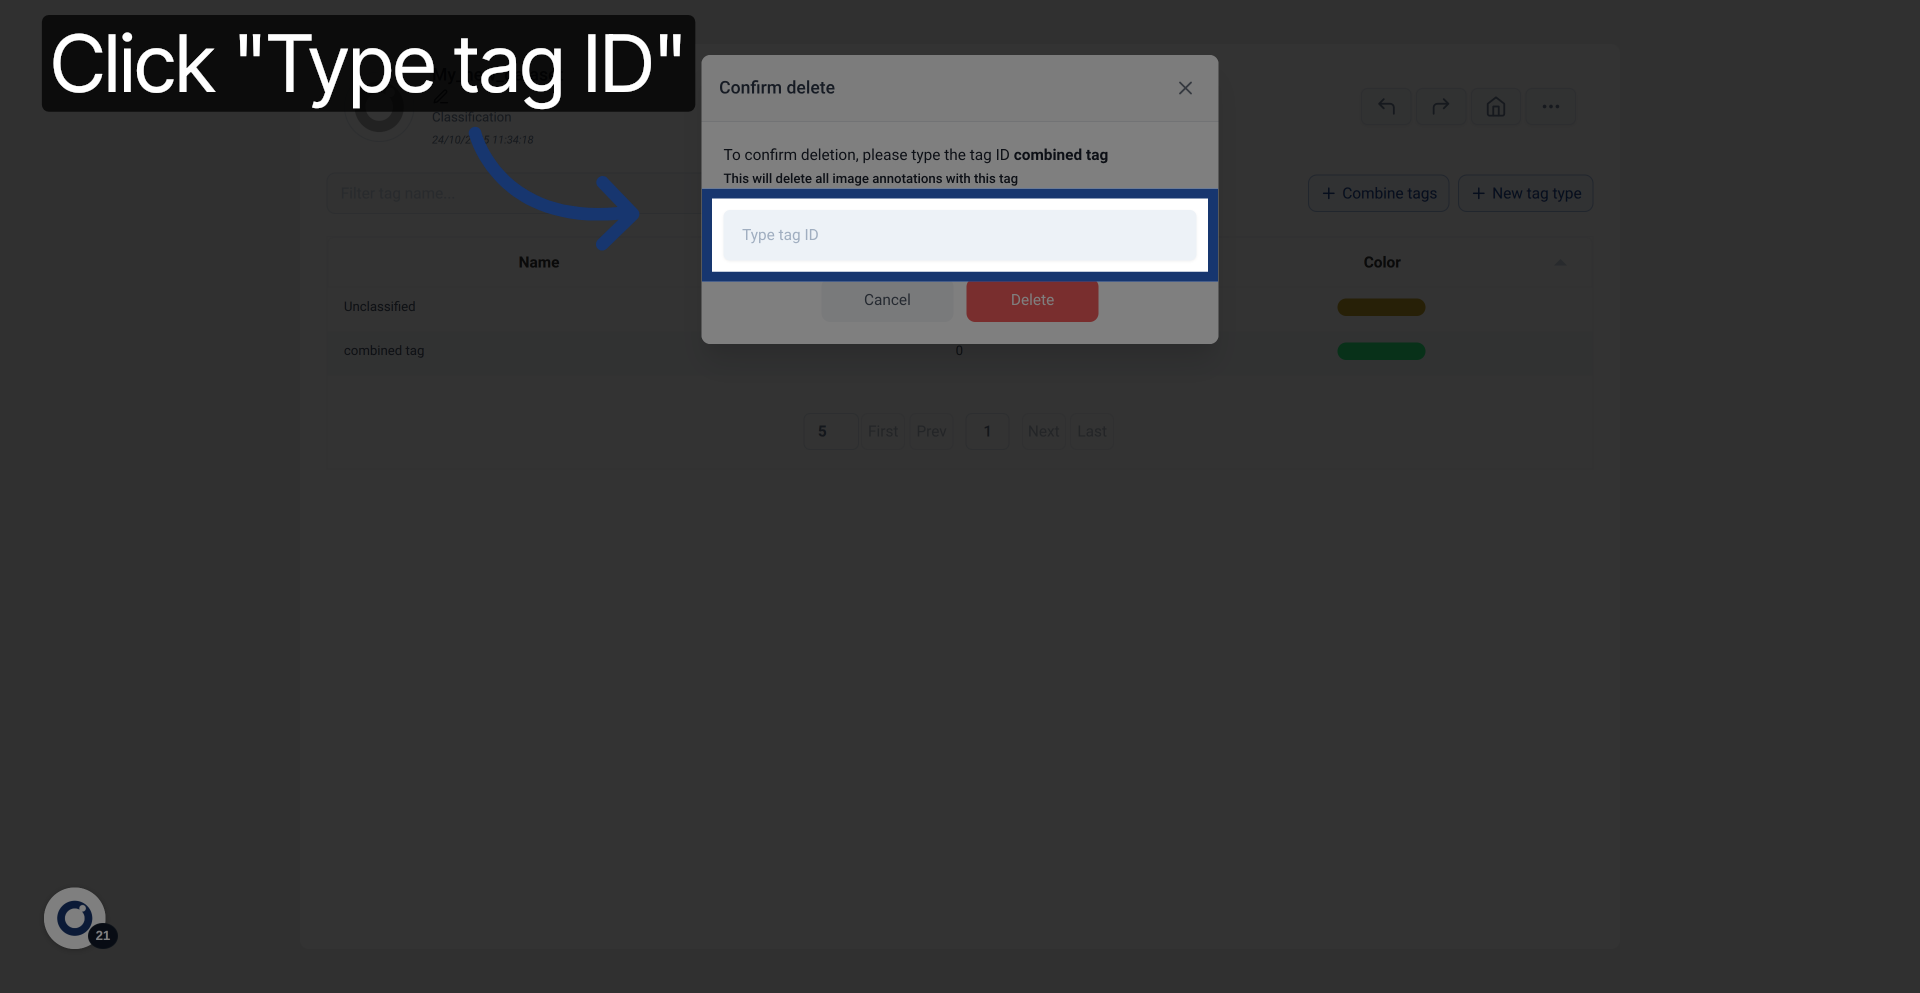
20. Confirm Tag Deletion
Click Delete to permanently remove the combined tag from your dataset.