Create and Deploy Basic Node-RED Flows for Automation
This tutorial introduces you to the basics of using Node-RED for designing data flows. You will learn how to create, connect, and deploy nodes to build simple pipelines effectively.
1. Introduce Basic Node-RED Concepts
Today, you will learn how to use Node-RED and the basic knowledge you need to have.
Node-RED is a flow tool that is used to design pipelines easily. Let's do a test to see how it works.
2. Review Available Nodes
As you can see on our left, we have all the nodes. These are default nodes but be can add other ones made by the community or by Rosepetal.
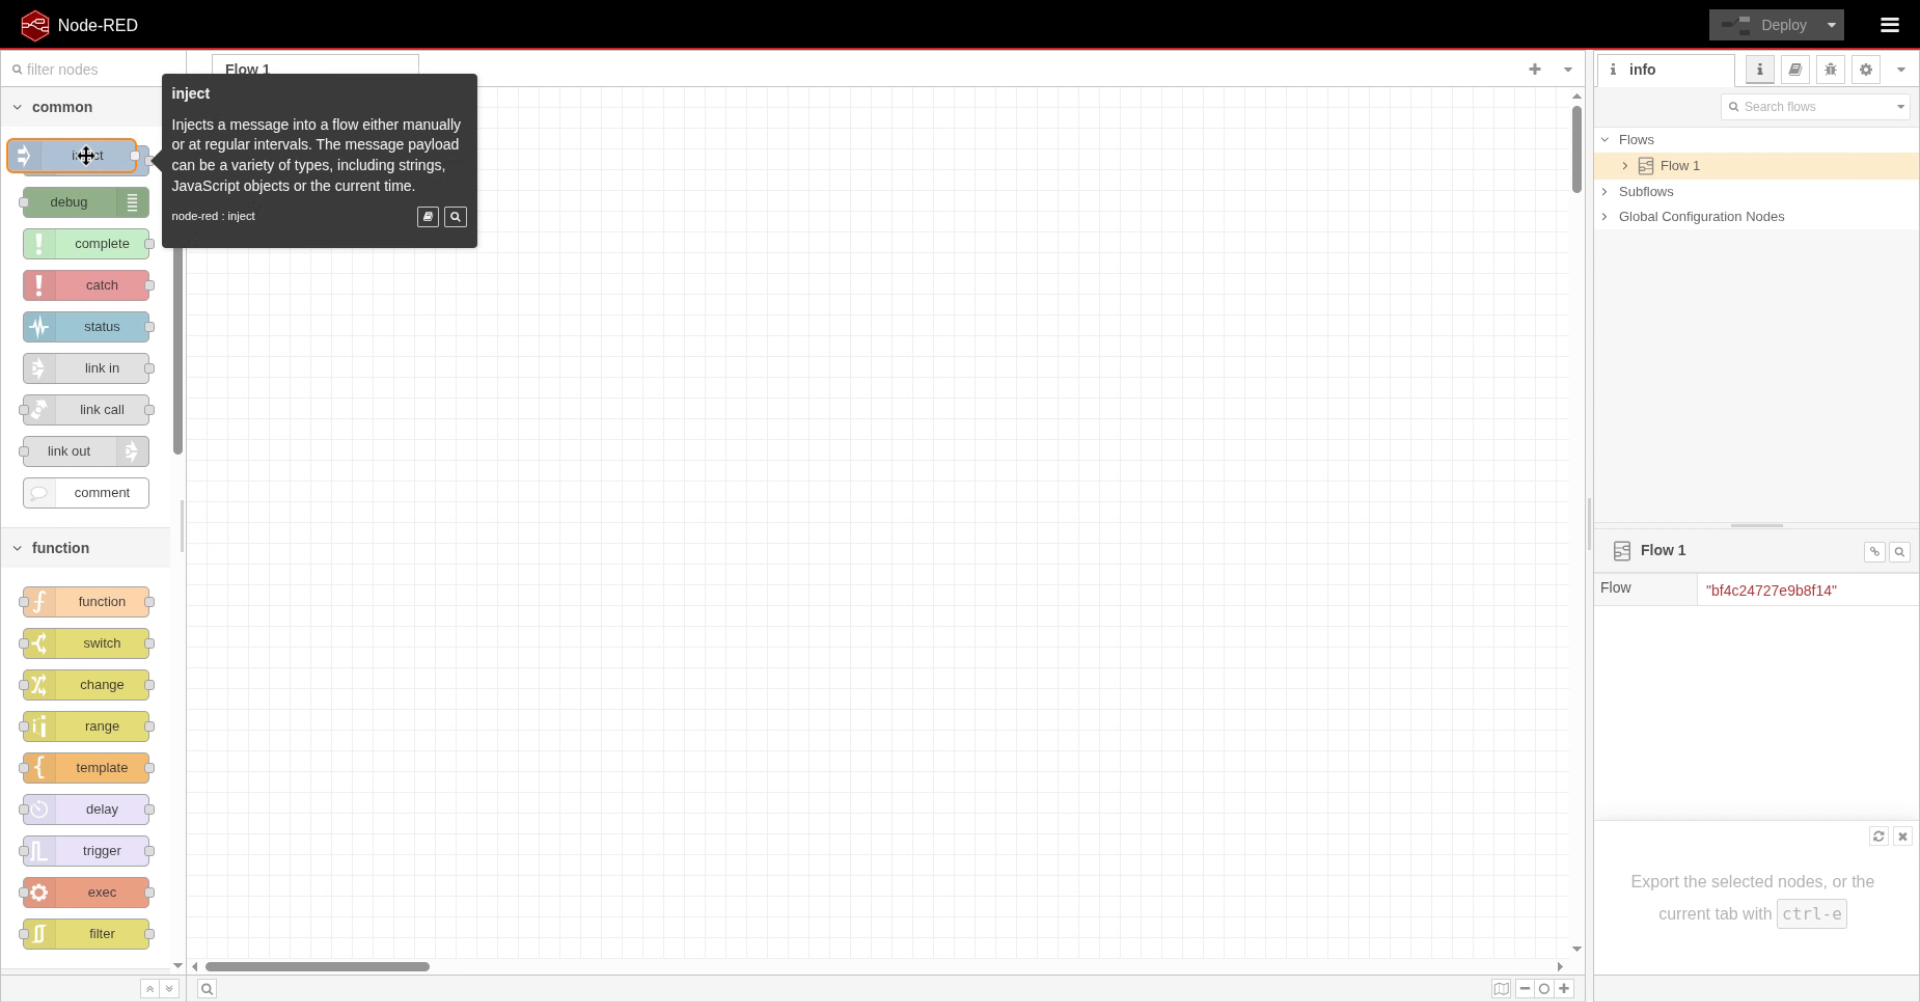
3. Add Inject and Book Nodes
Let's start by dragging an inject and debug node.
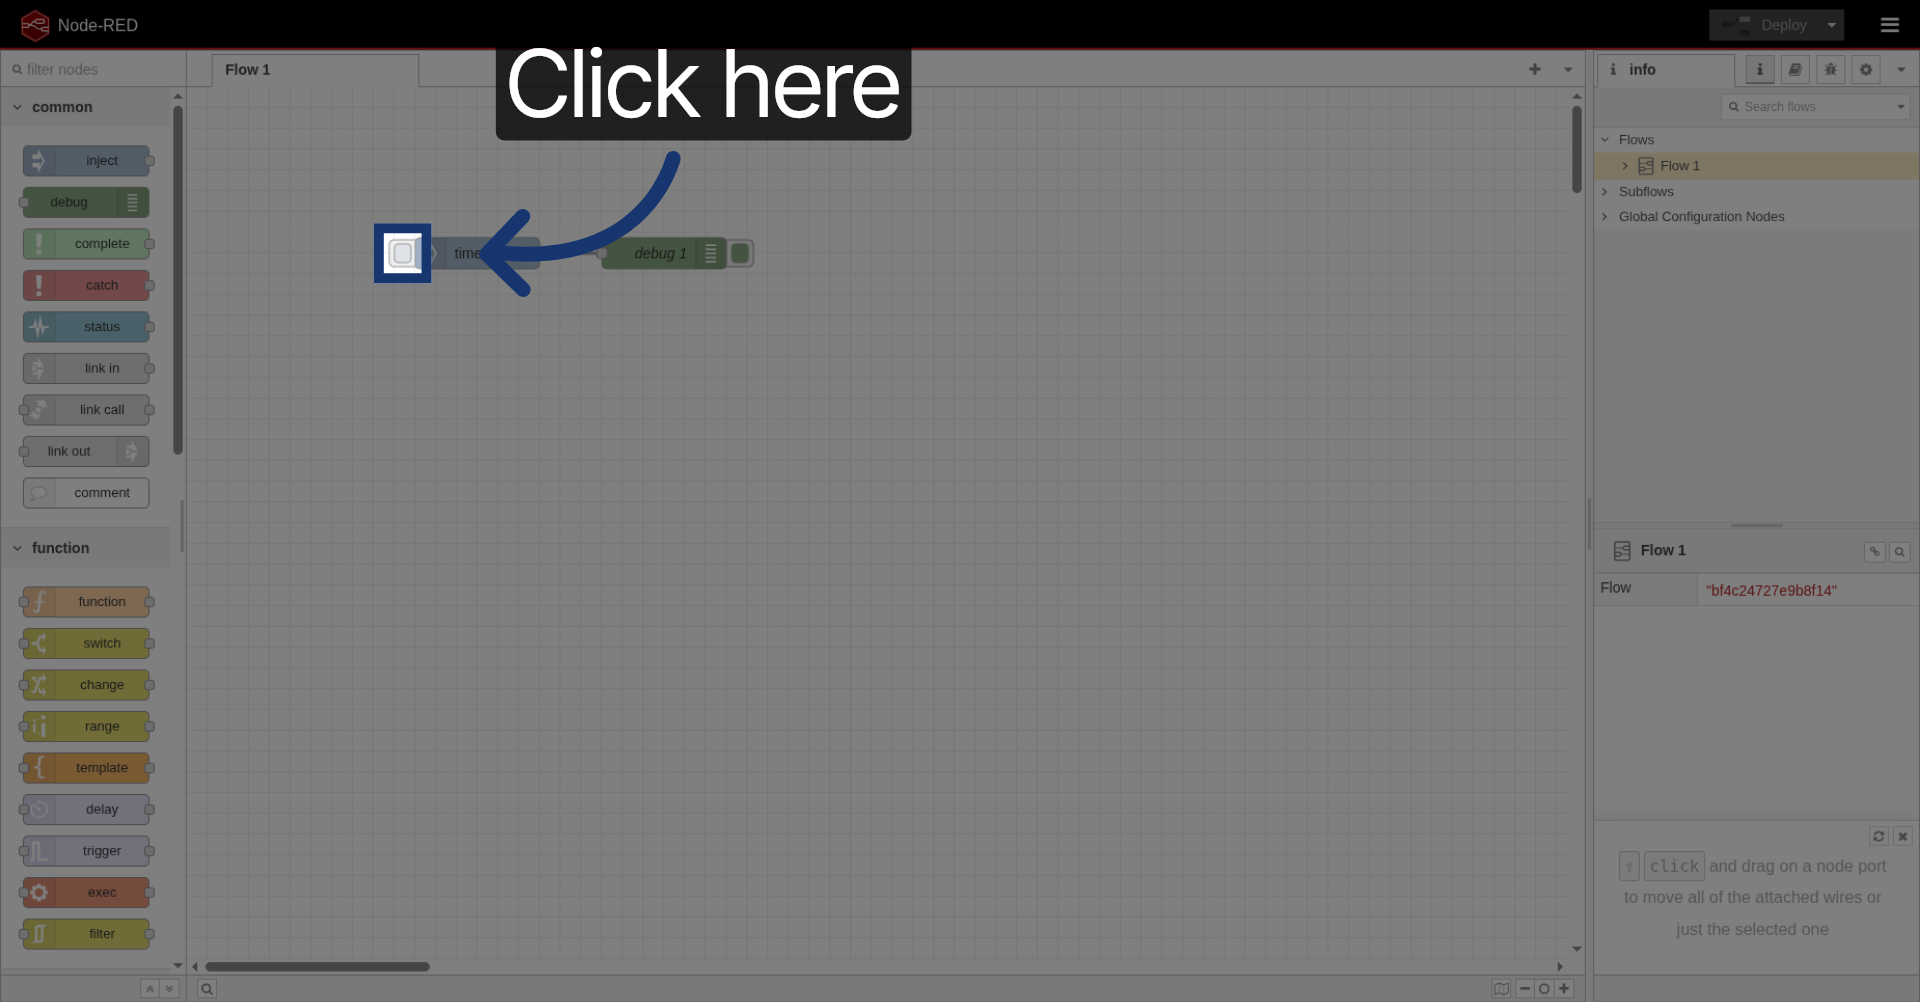
4. Connect Nodes Together
We're going to connect them.

5. Open Node Connection Interface
Click and drag from here to connect the nodes.
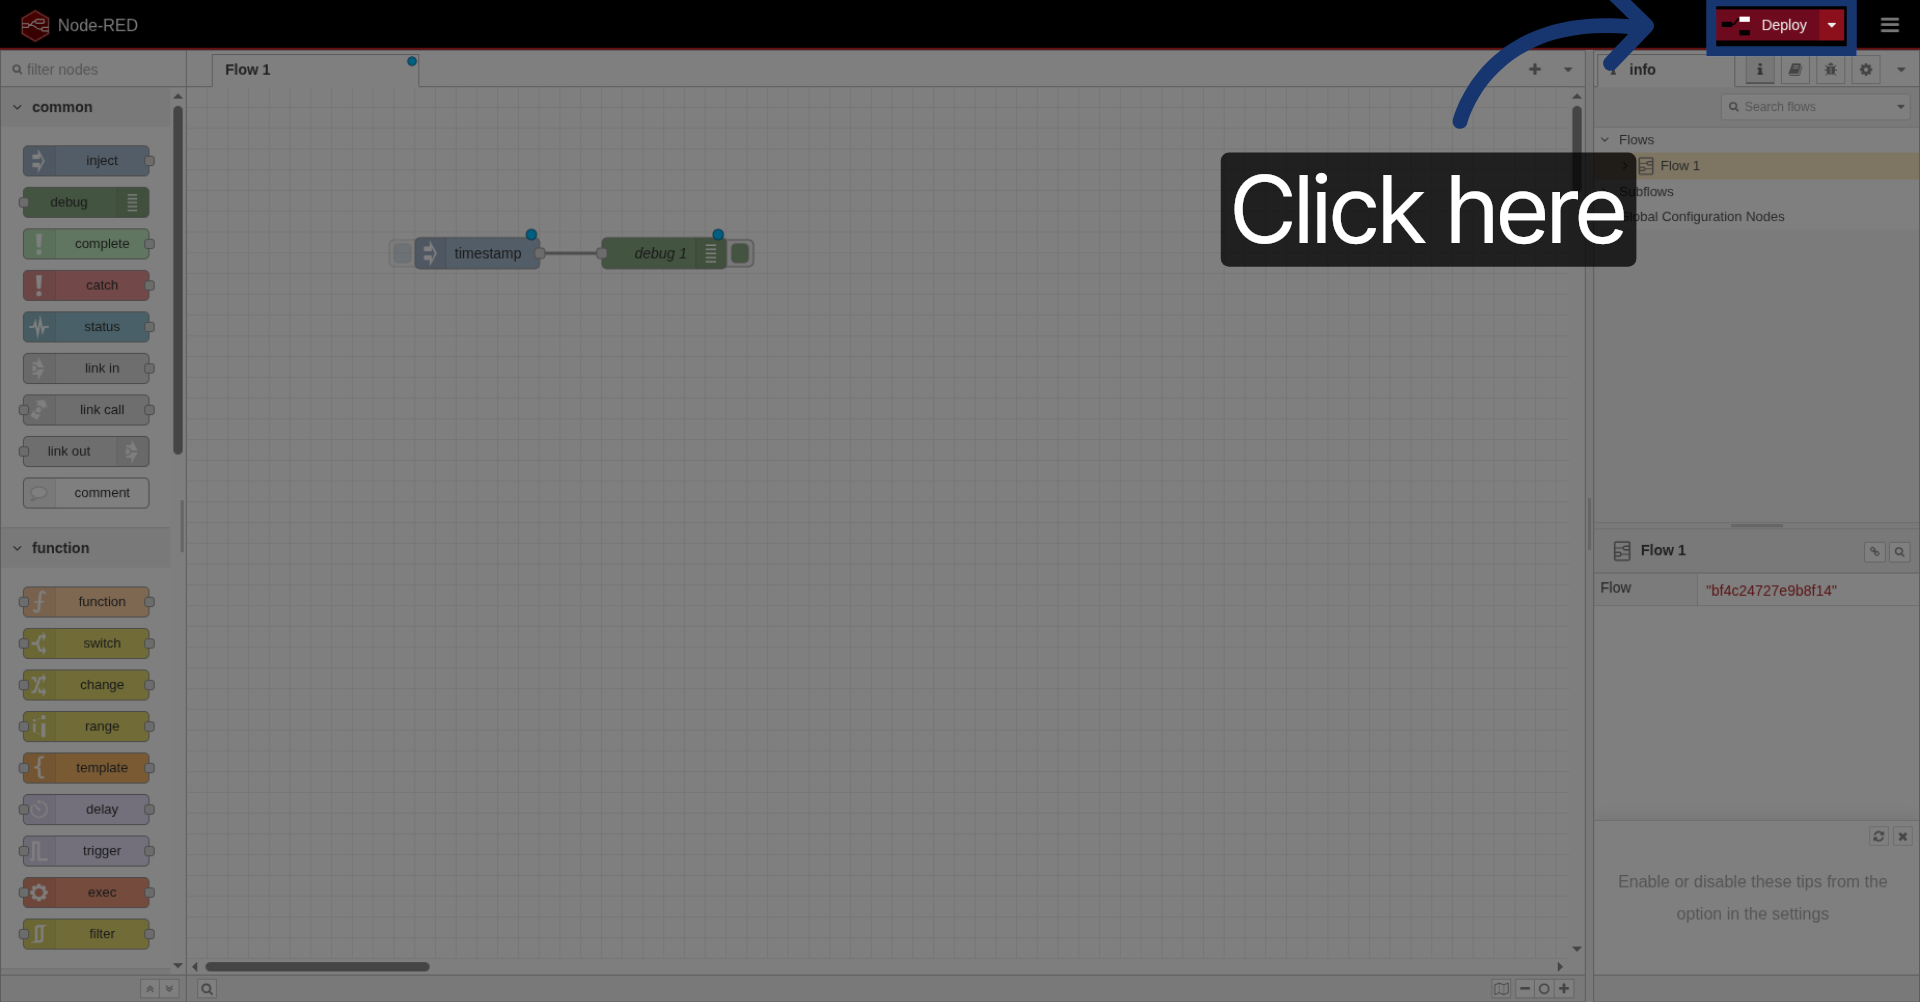
6. Deploy the Flow
And let's deploy.
7. Click Deploy Button
Click here to deploy your flow.
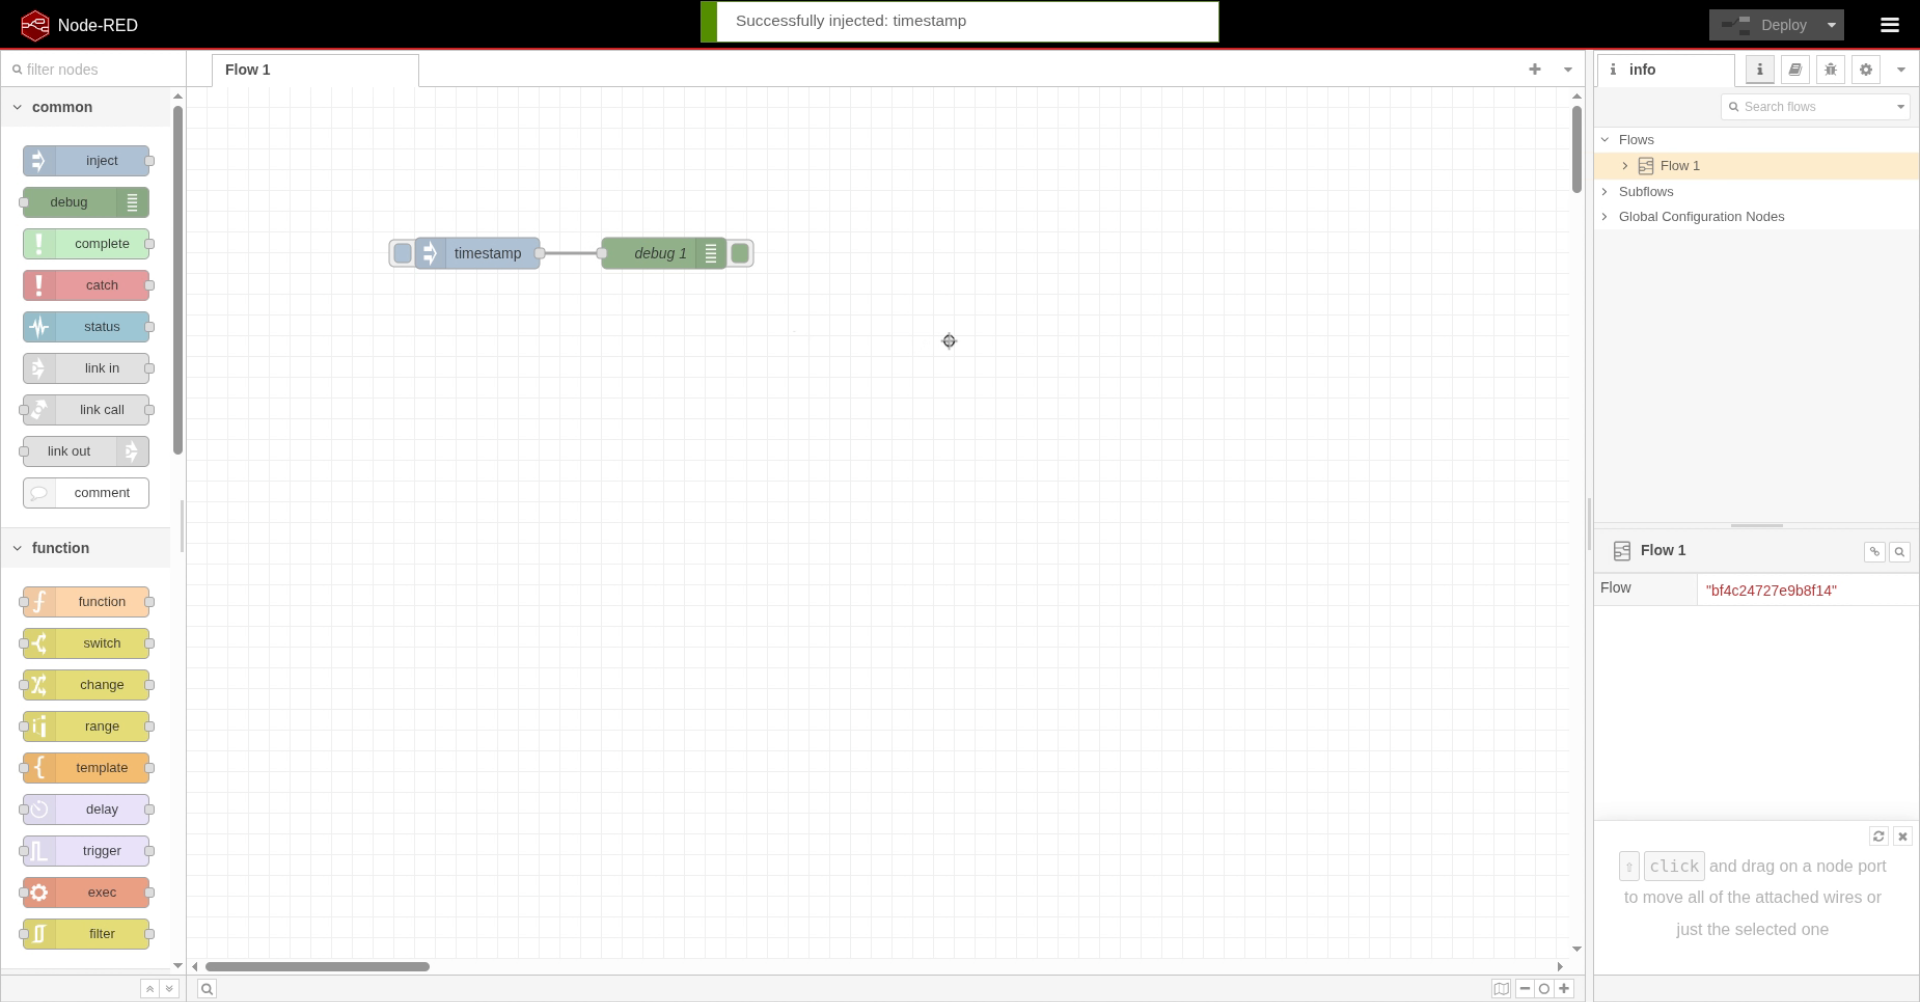
8. Press Inject Button
Perfect. Now, if you press the inject button.
Click here to trigger the inject node.
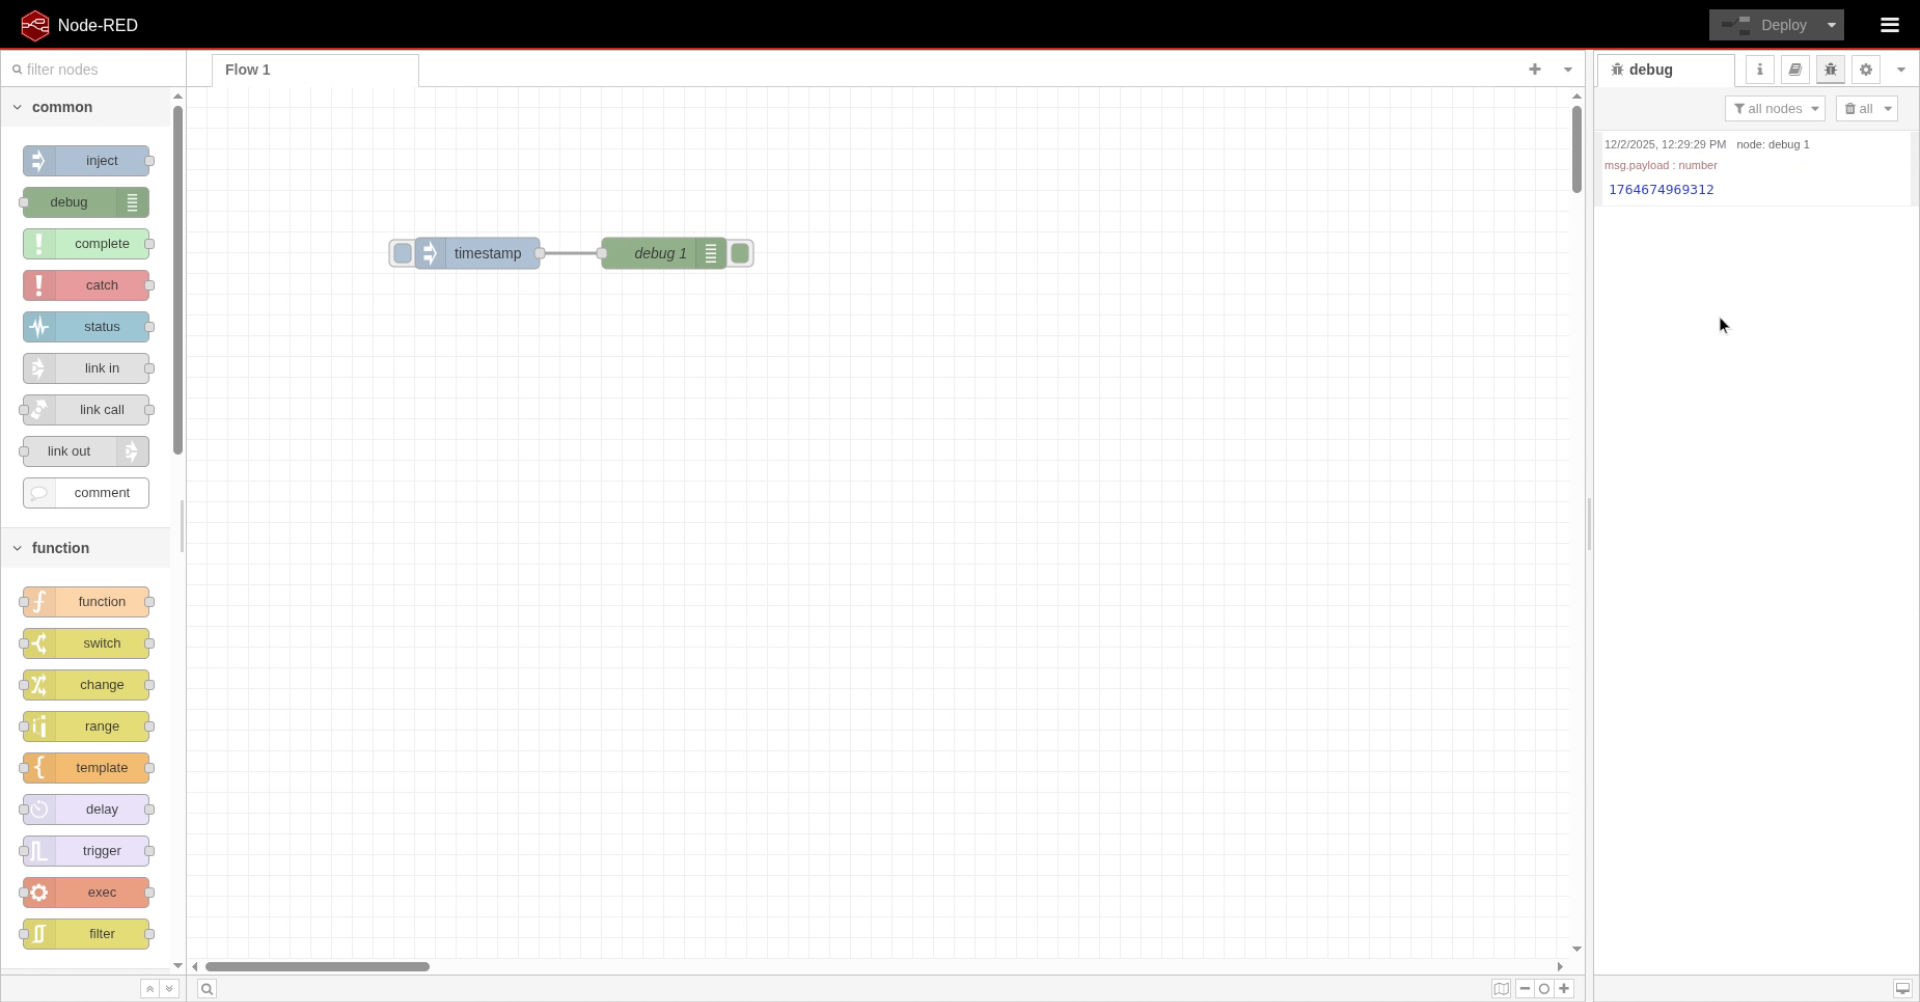
9. Navigate to Debug Tab
And we go to the debug page.
10. Open Debug Tab
Click here to view debug output.

11. View Debug Output
We can see that the debug node is outputting this number. It's the property message.payload.
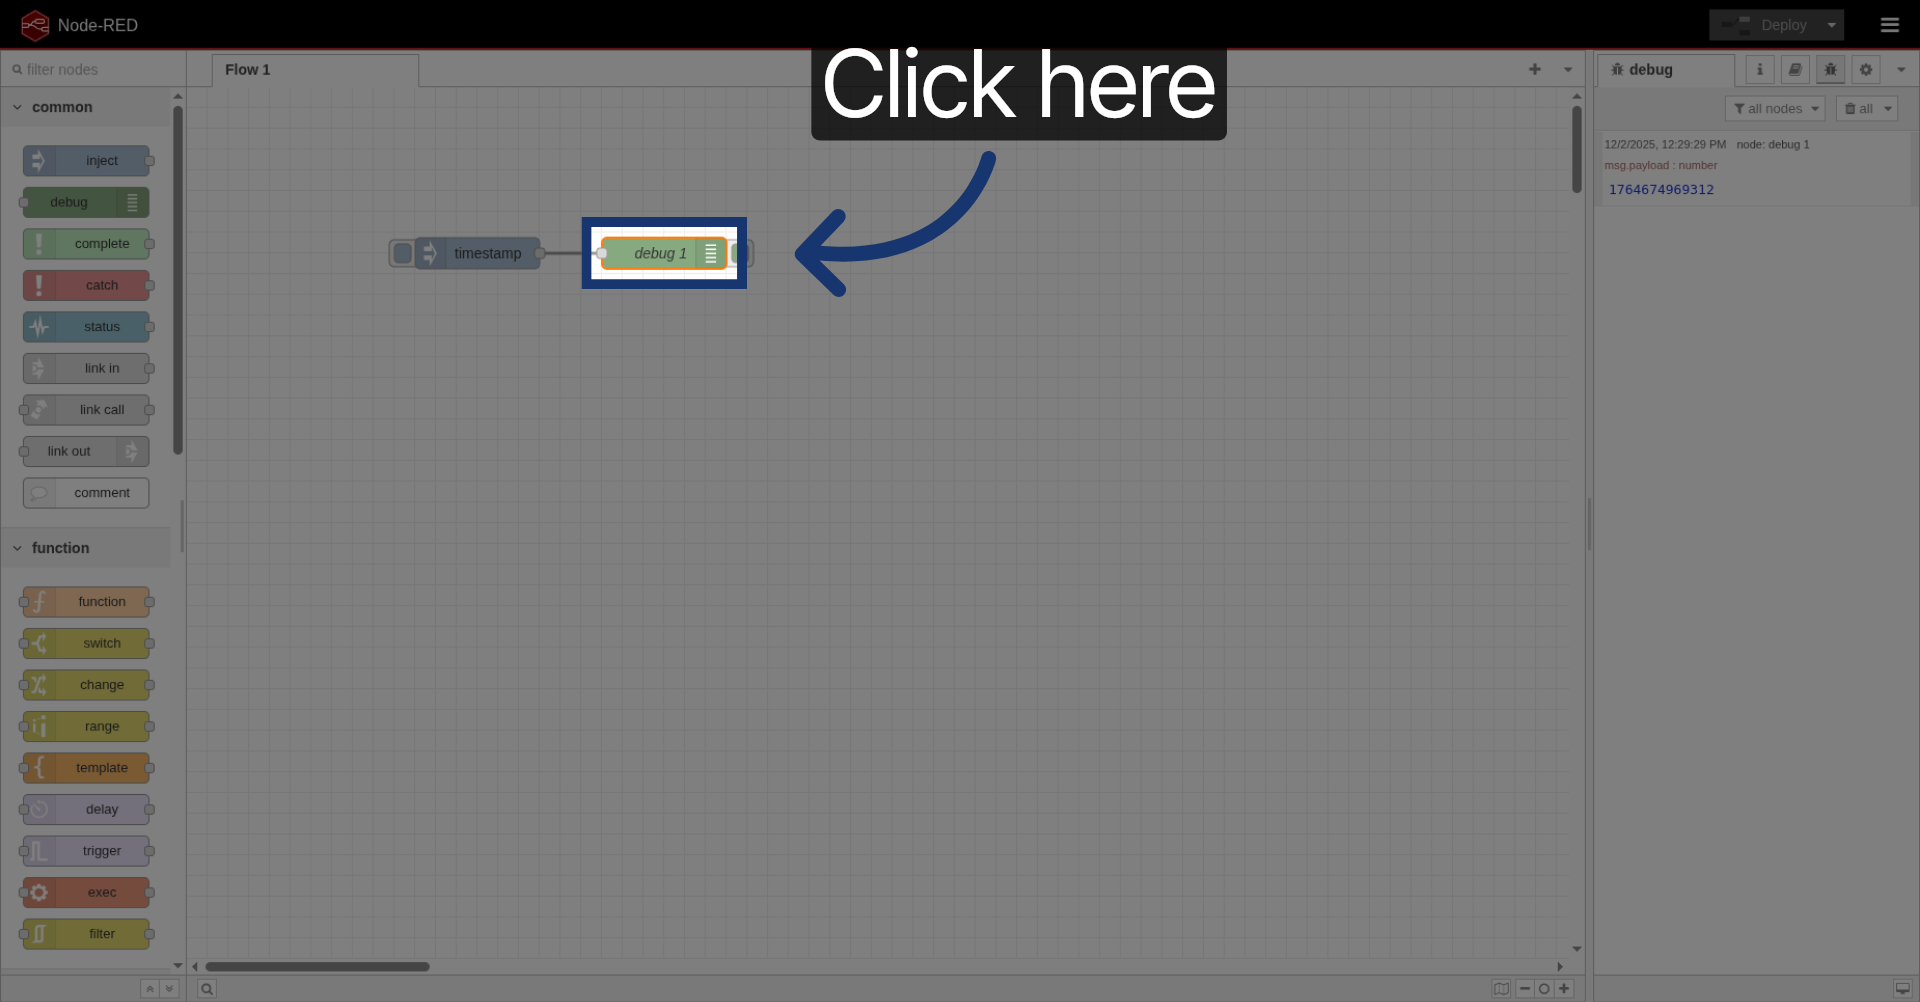
12. Expand Debug Message
Let's see how a message looks like.
Click here to expand the debug message.
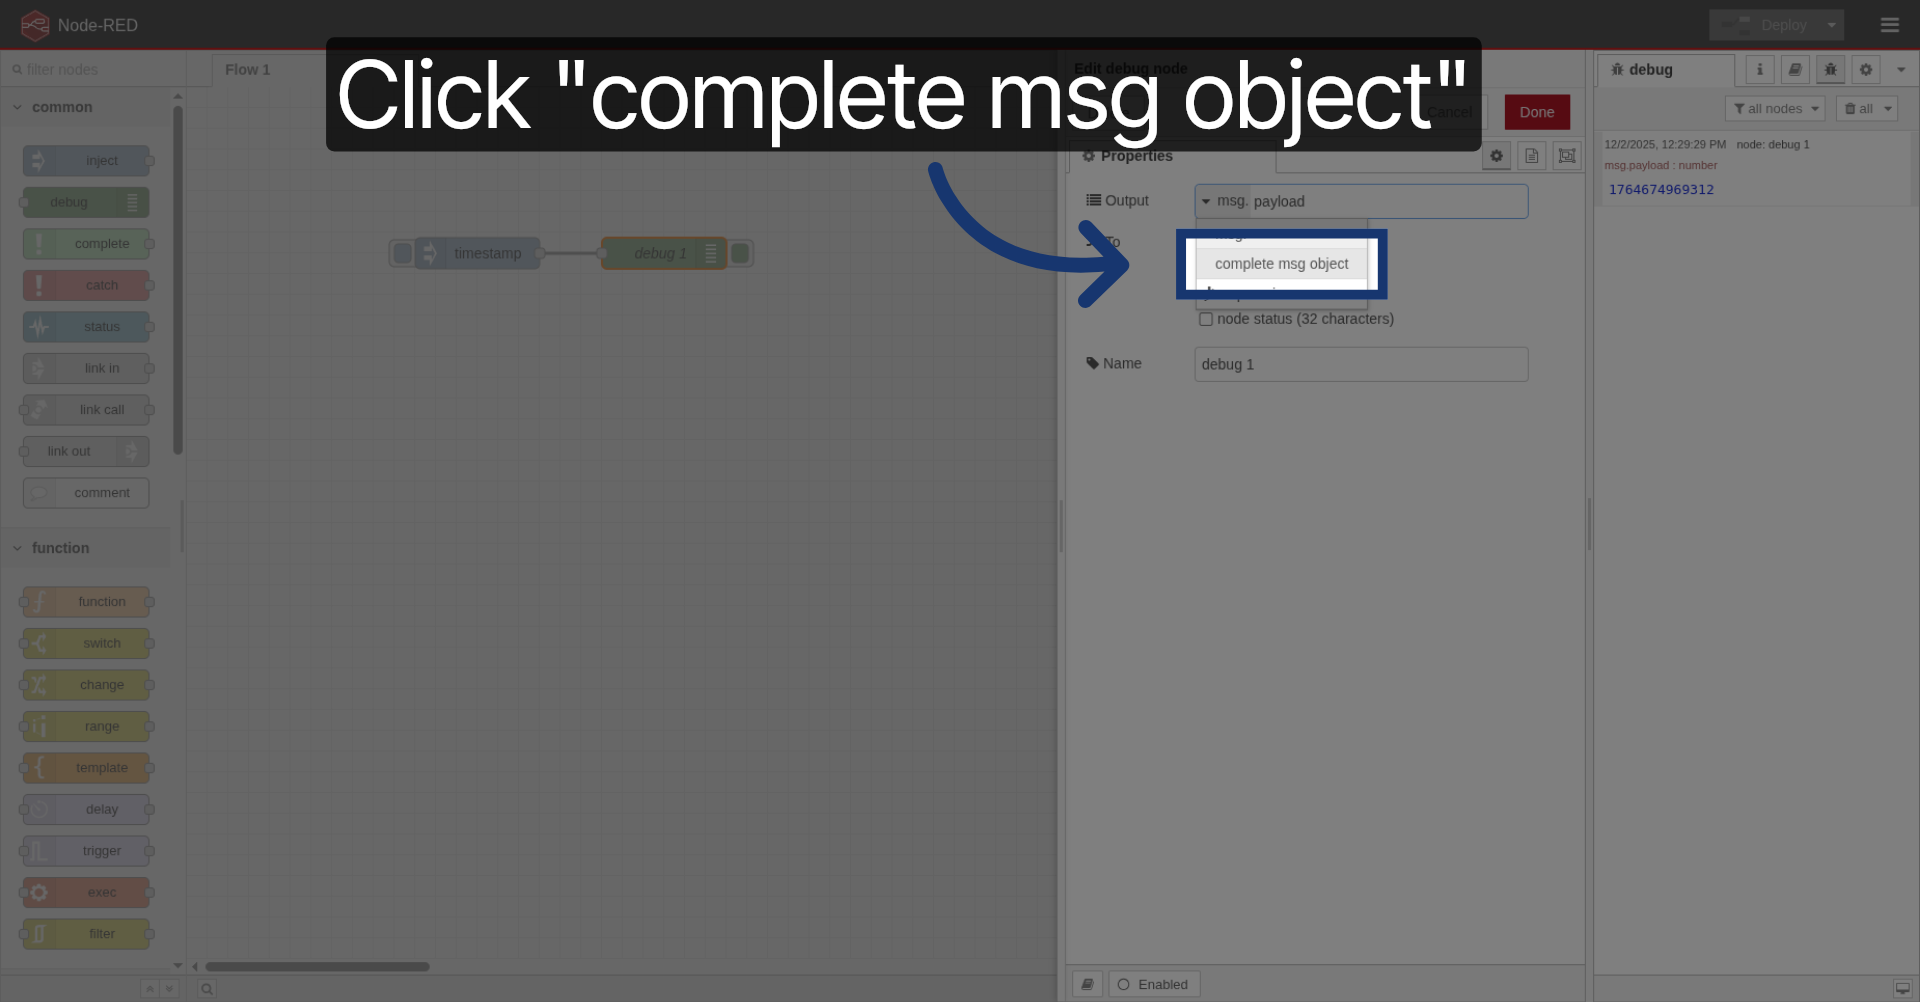
13. Display Complete Message Object
Let's output the full message.
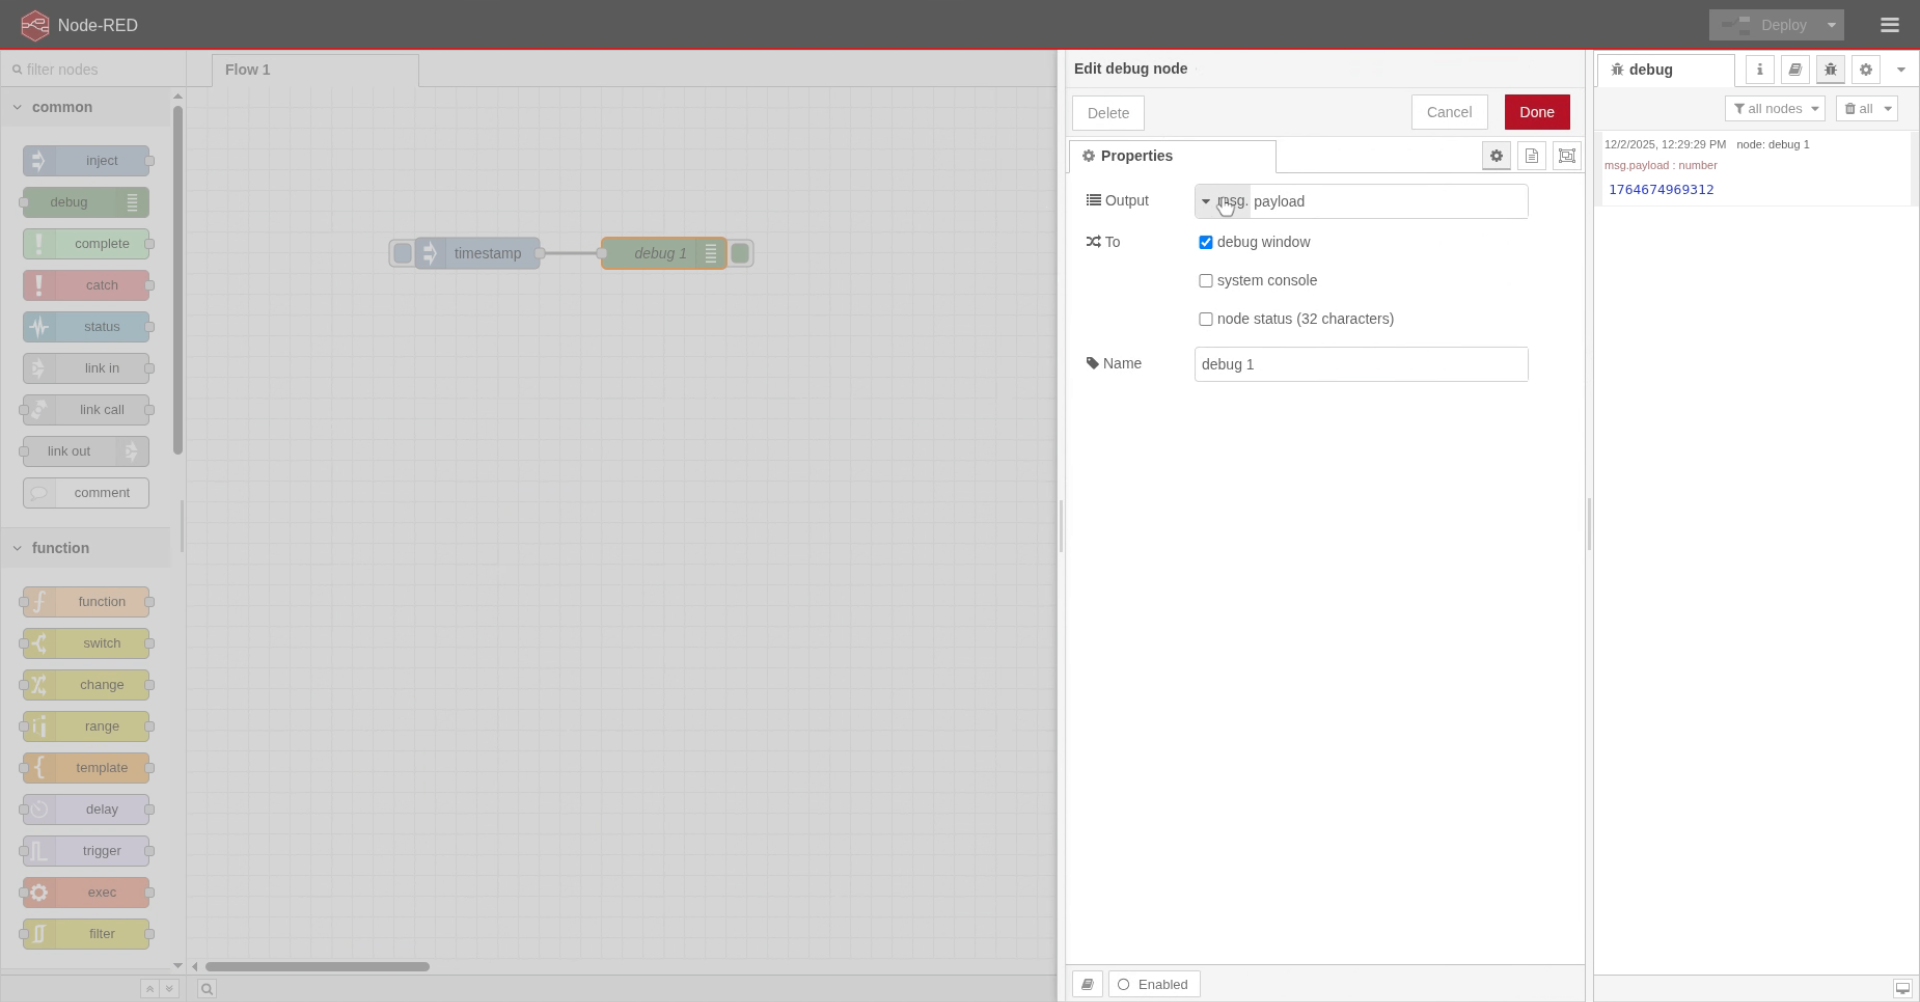
14. Select Complete Message Object
Click "complete msg object" to show all message details.
15. Confirm Message Selection
Click "Done" to confirm your selection.

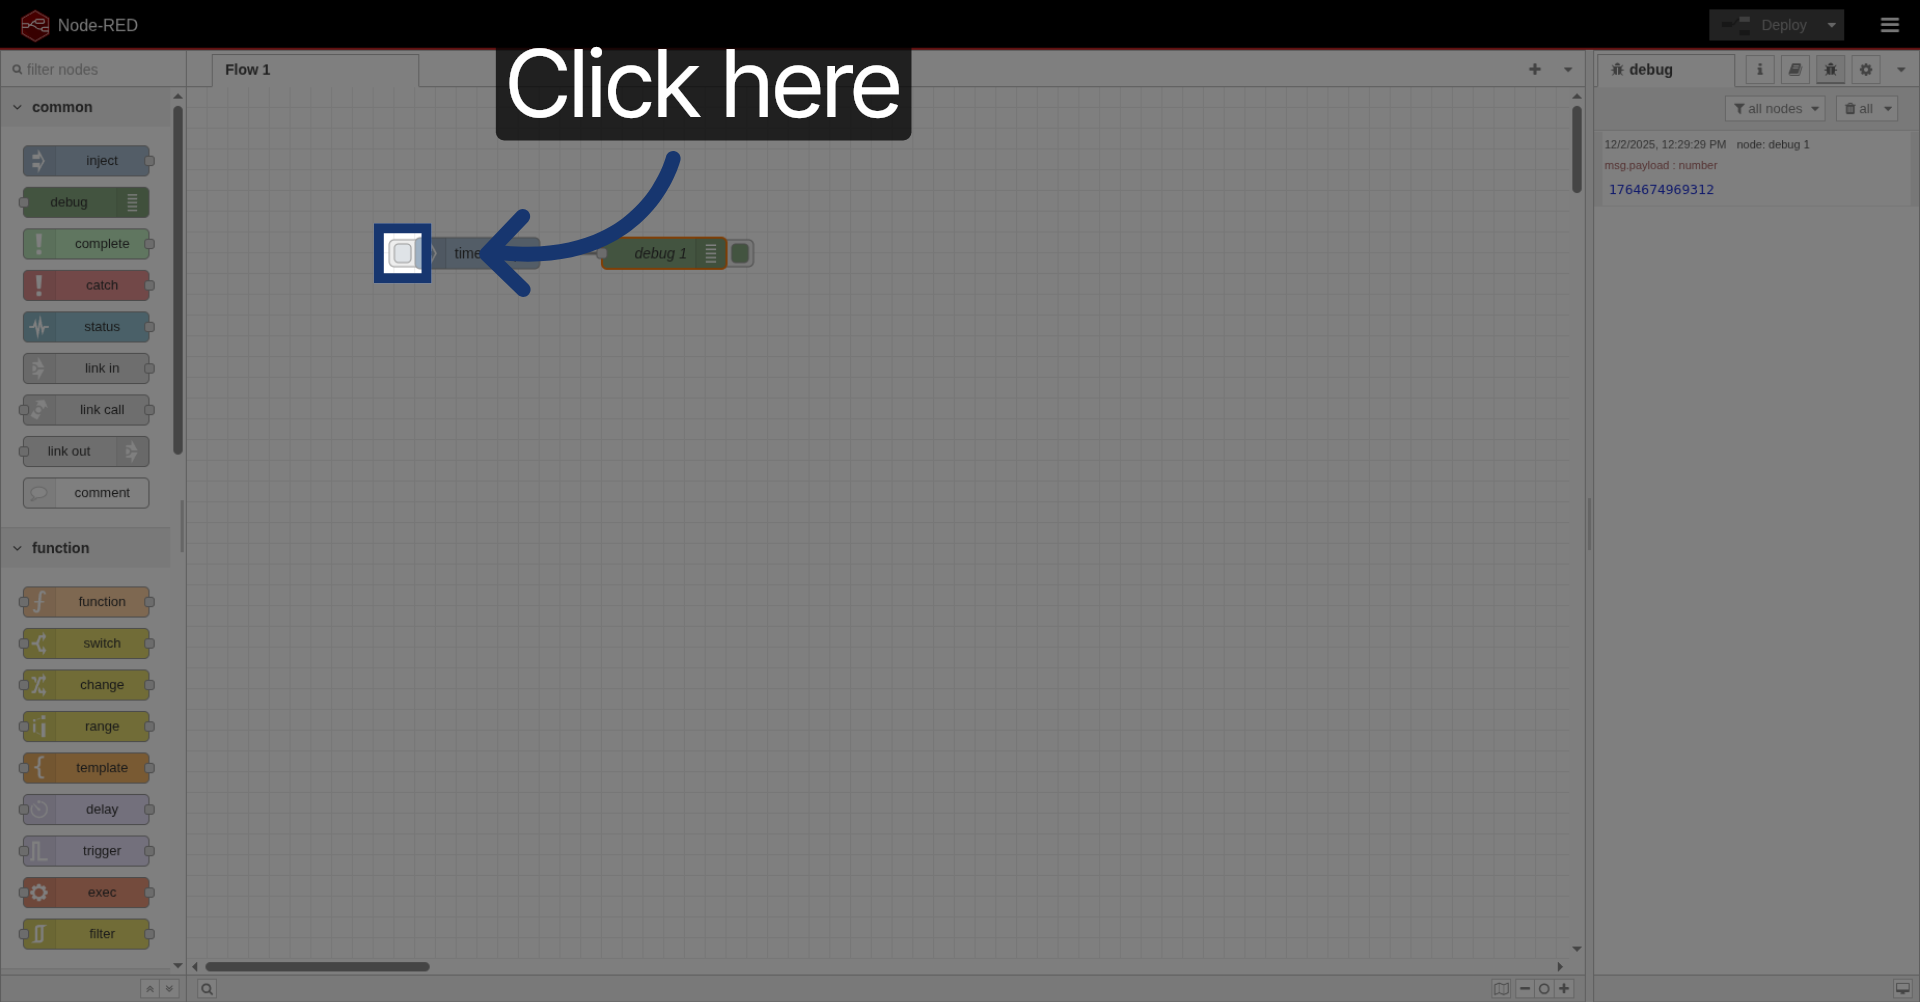
16. Trigger Inject Node Again
Deploy, now, if we press inject again,
Click here to inject the message again.
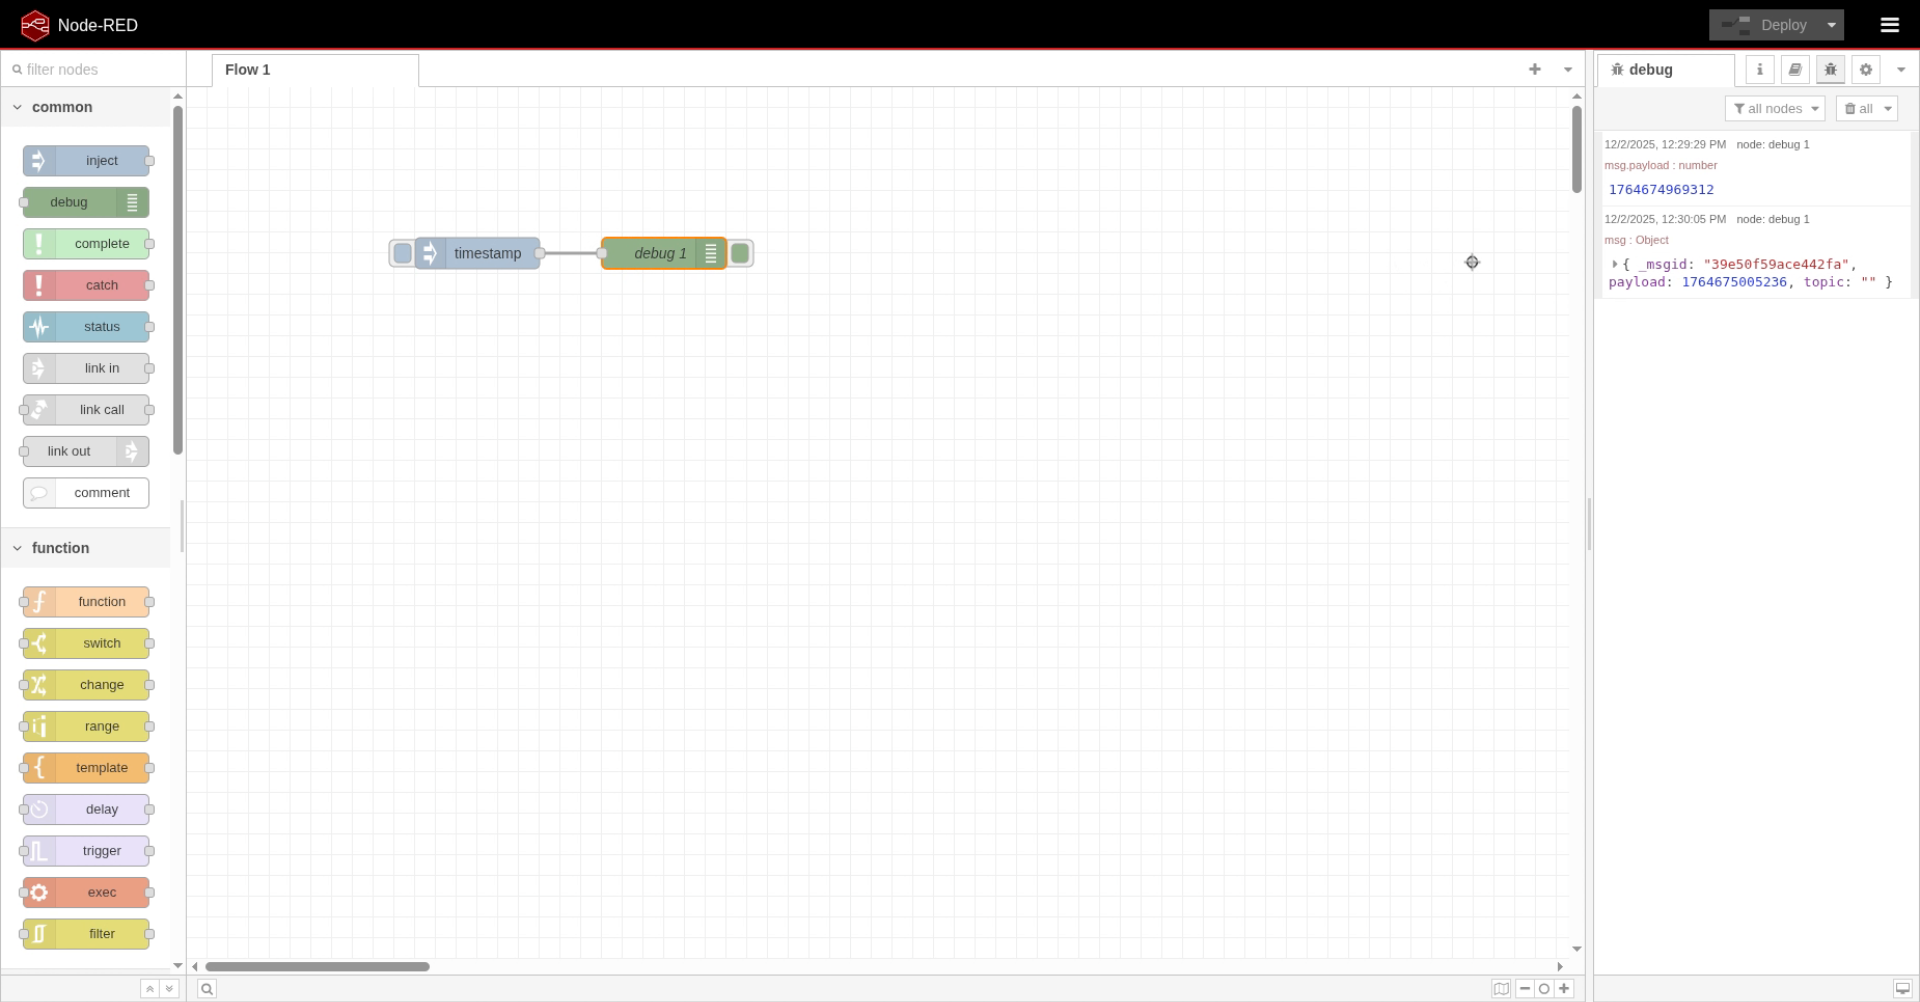
17. Observe Full Message Output
We can see the whole message. You can see that the message looks like JSON data.
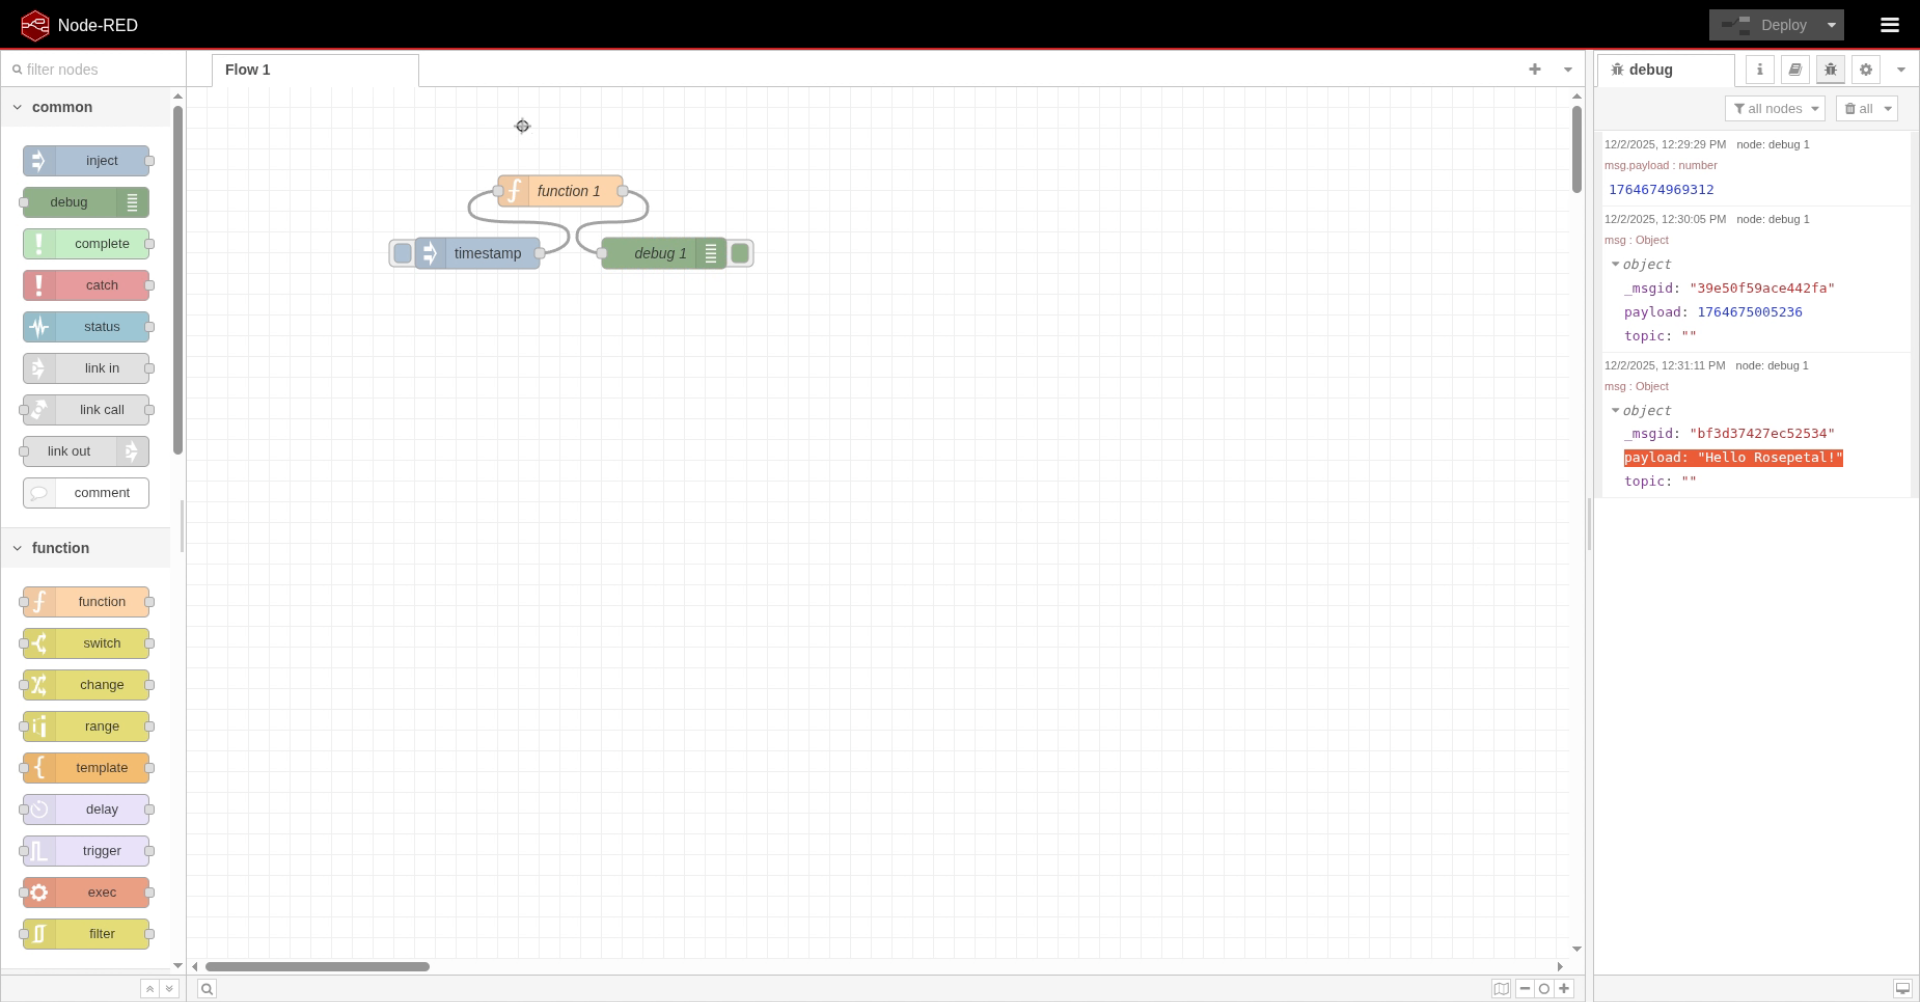
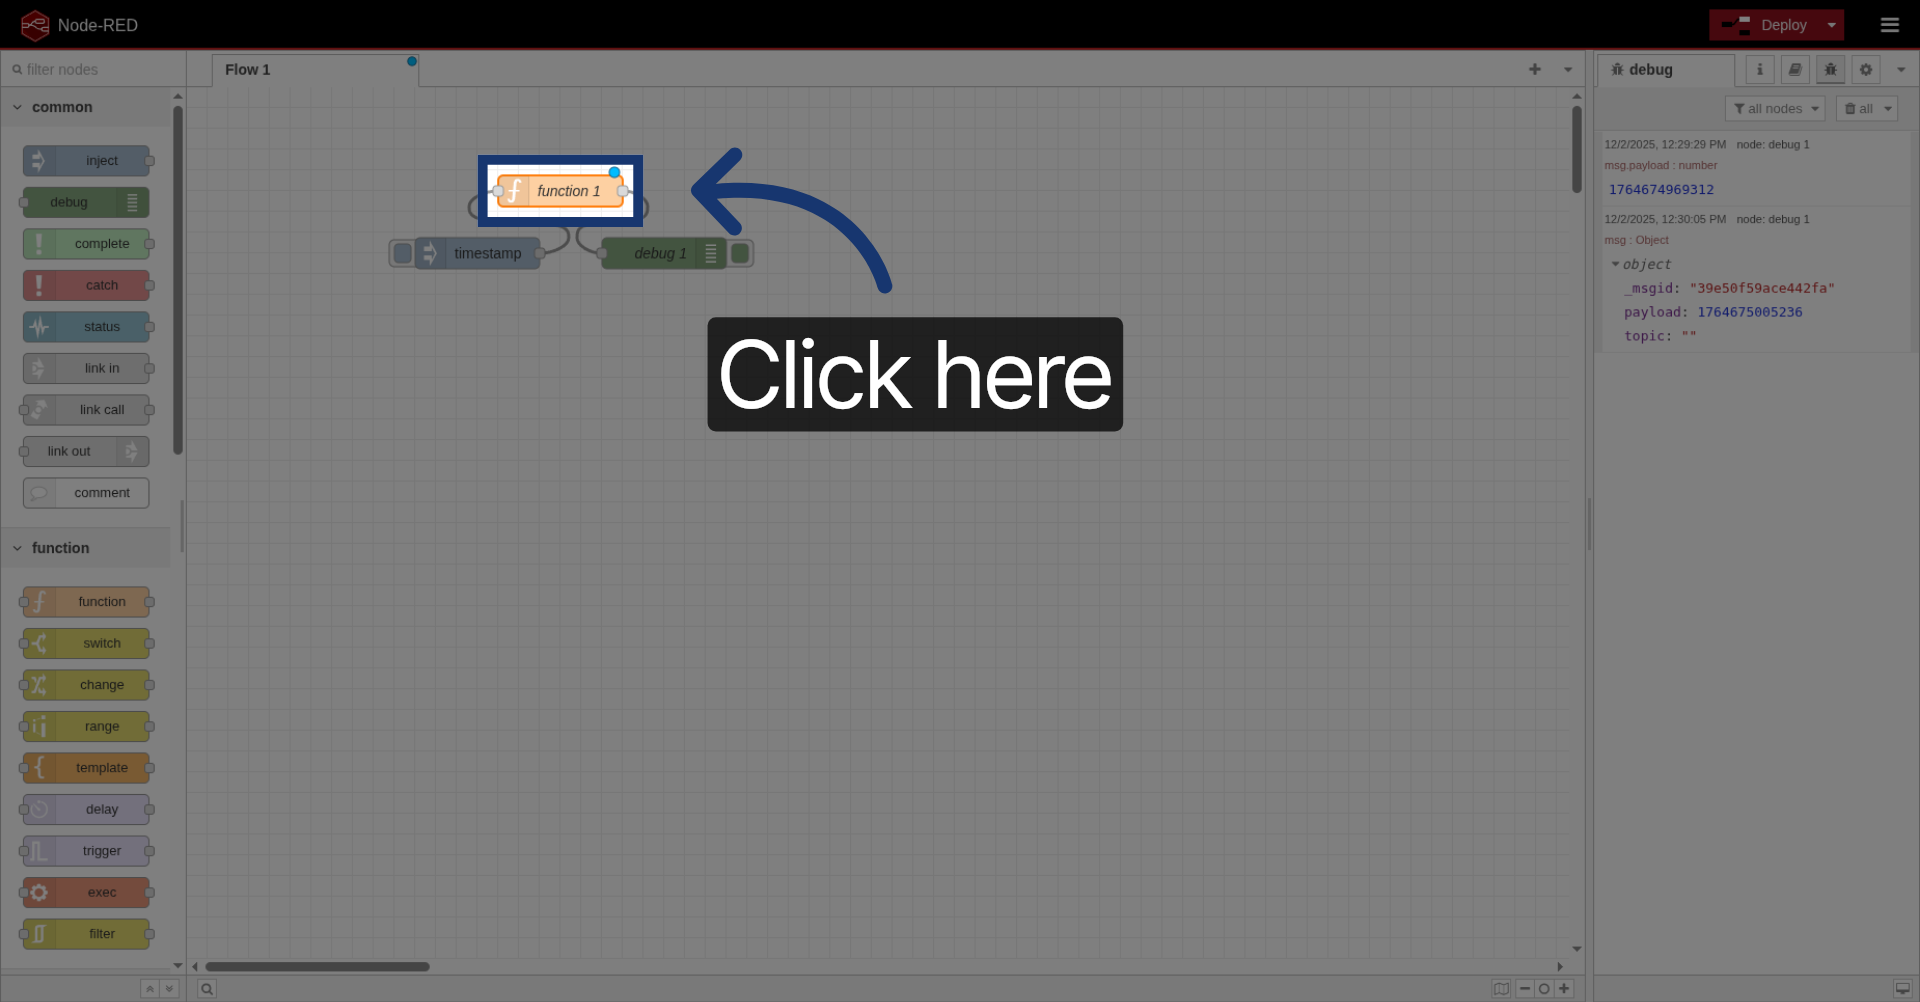
18. Add Function Node
Let's now add a function node between these two.

19. Select Function Node
Click here to open the function node.
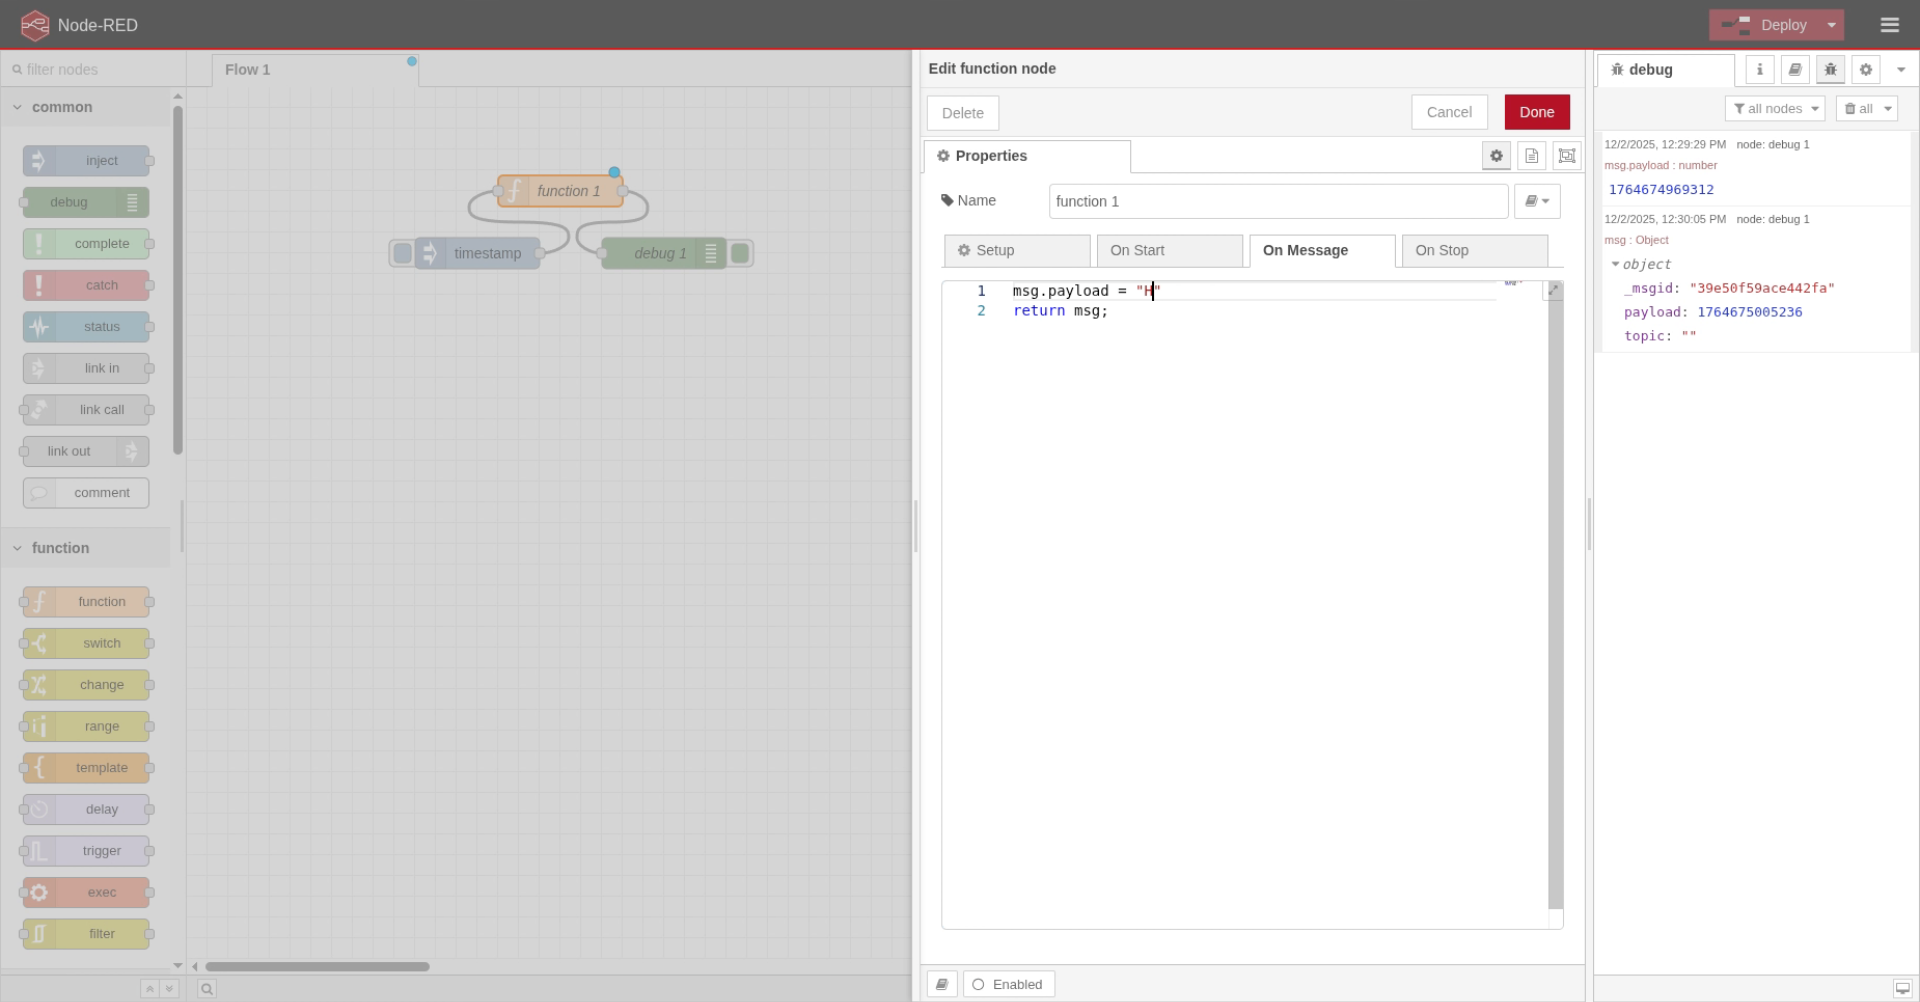
20. Set Message Property Value
Write a new message property. Set it to "Hello Rosepetal!".
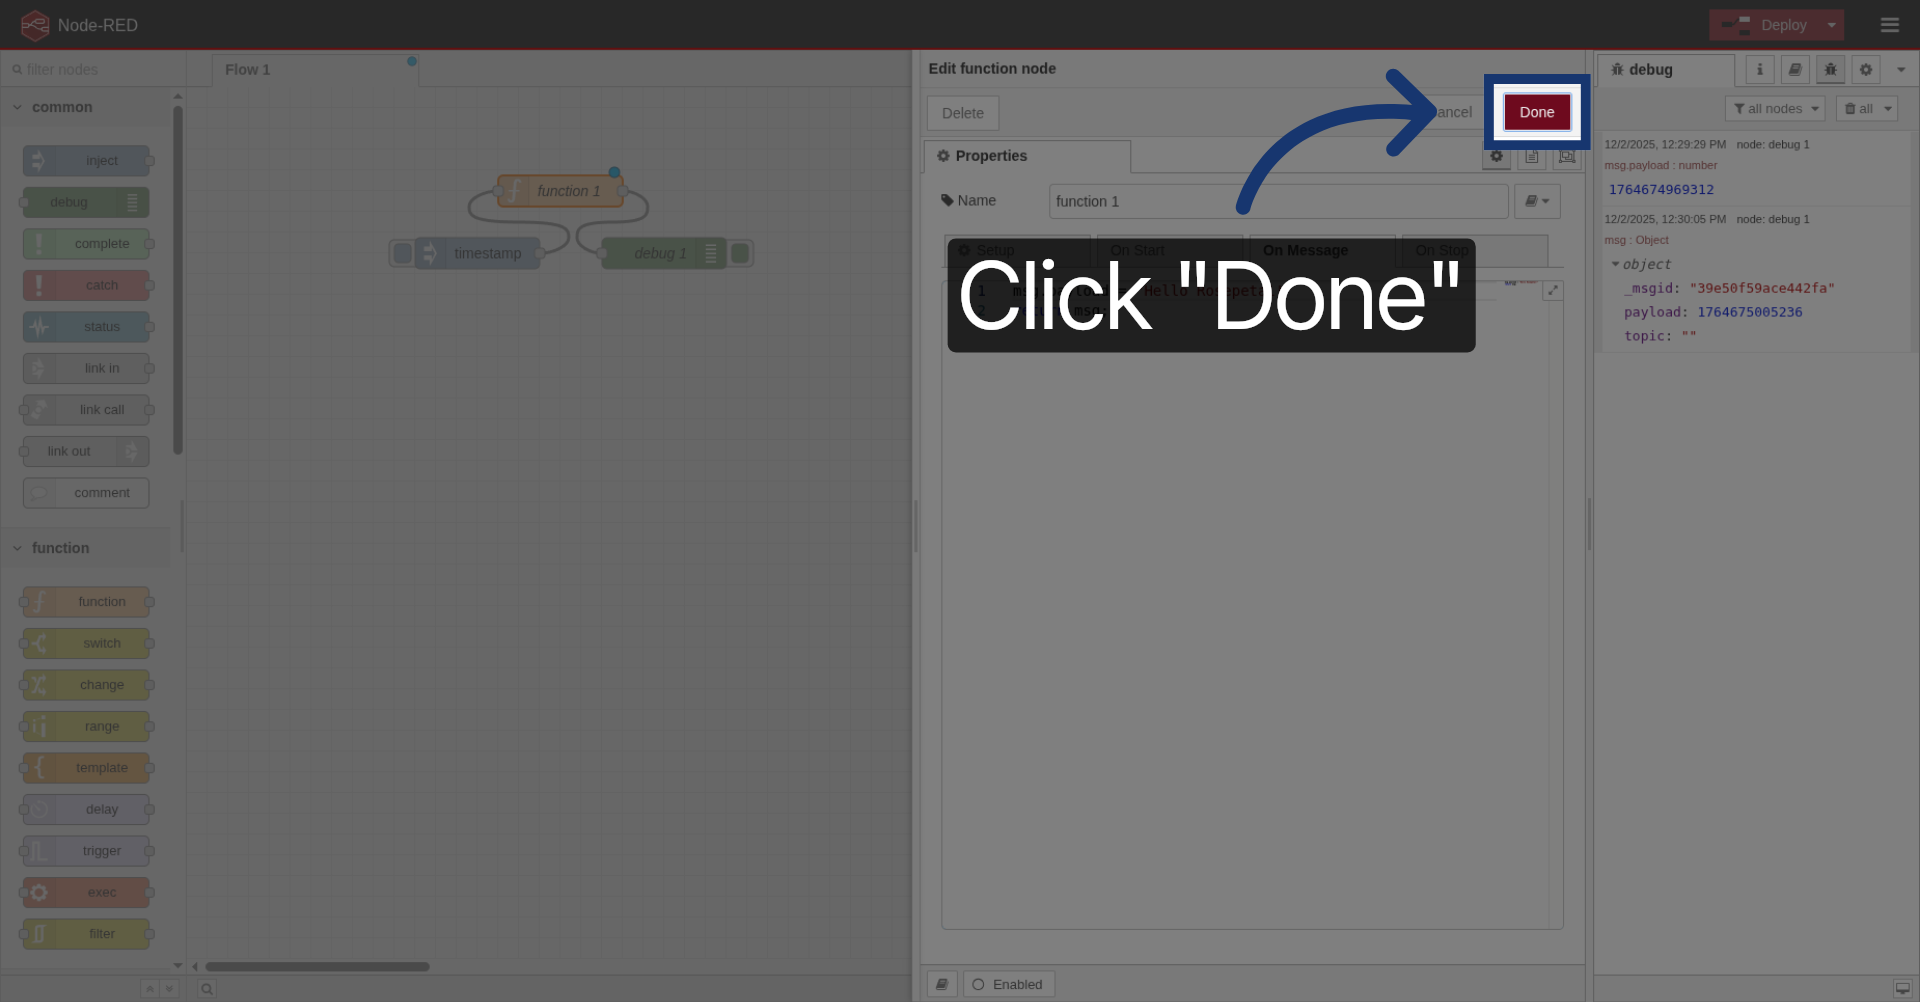
21. Confirm Function Node Changes
Click "Done" to save the function node.
22. Acknowledge Completion
If we inject, we can see that the payload property is Hello Rosepetal.
And just like that, we finished our first and simple flow. I hope you now have an idea of what is and how Node-RED works!