Manually Label Classification Dataset Using Labeling Tool
This tutorial guides you through manually labeling a classification dataset. You will learn how to create tags and assign them to images efficiently.
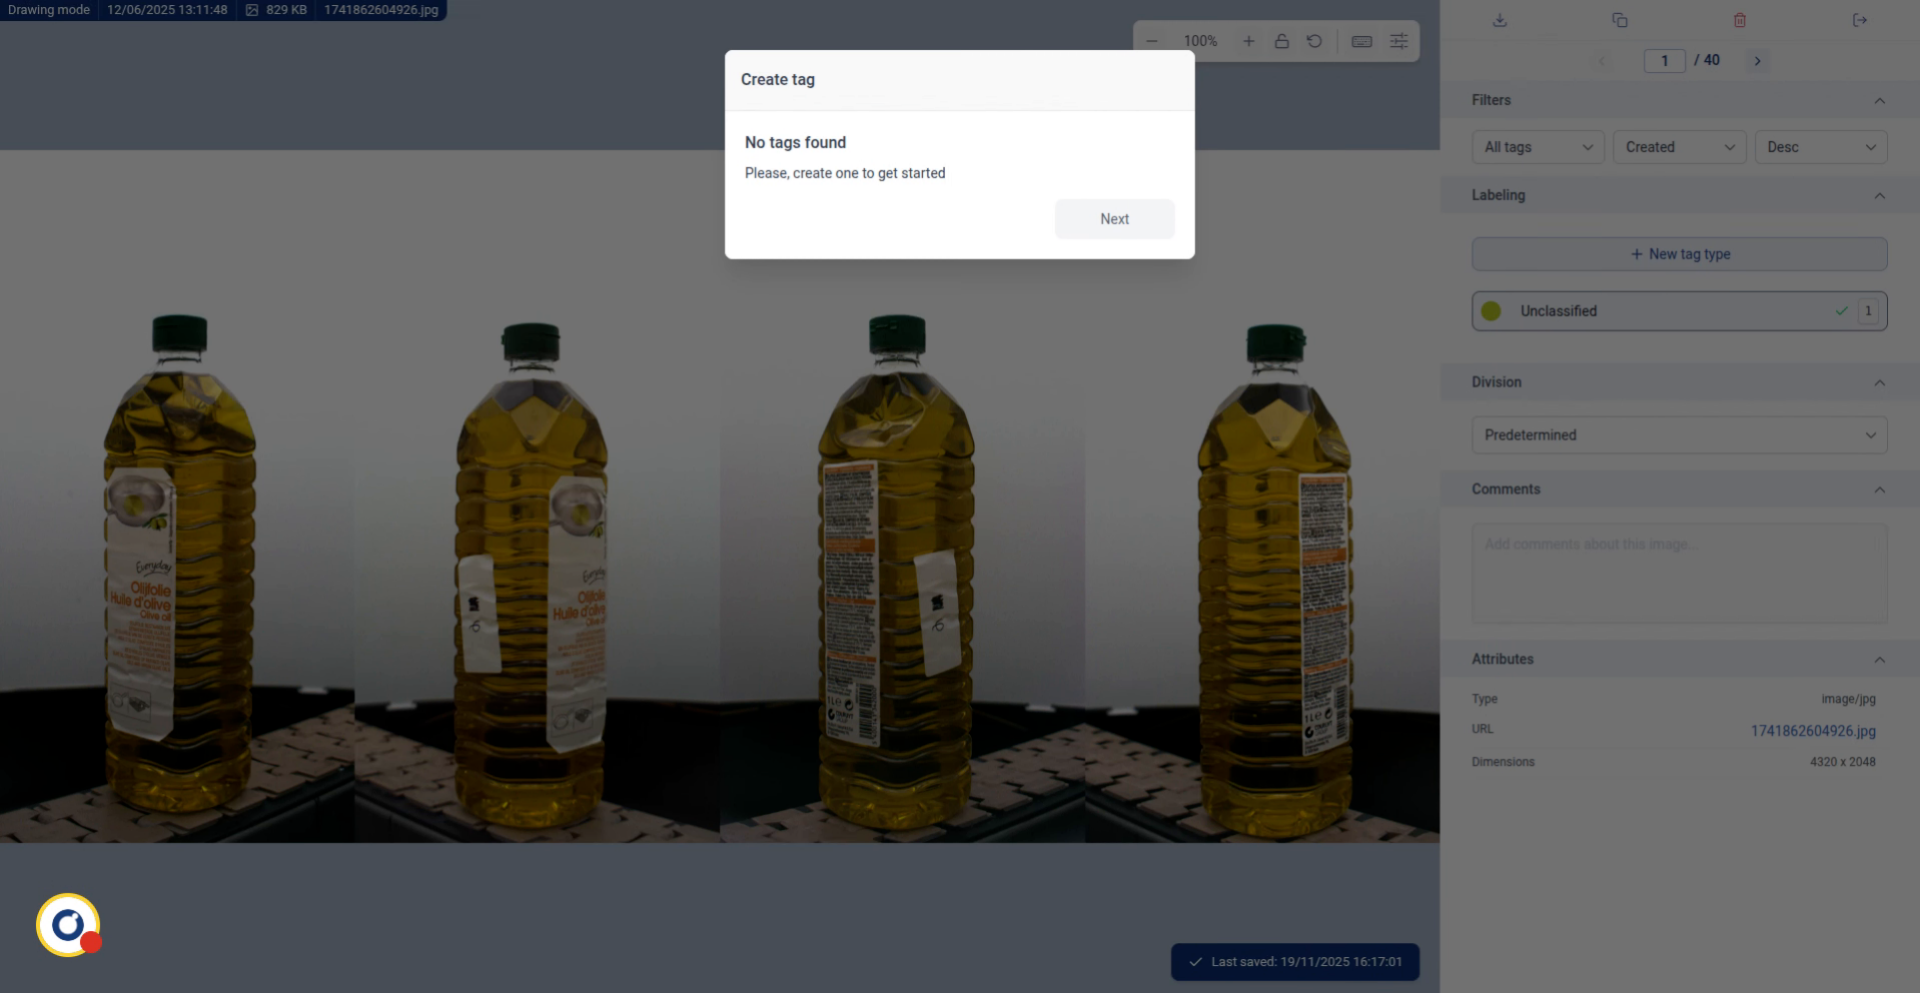
1. Introduce Classification Labeling Task
You'll begin on the main labeling screen.
Create your tags by pressing next.
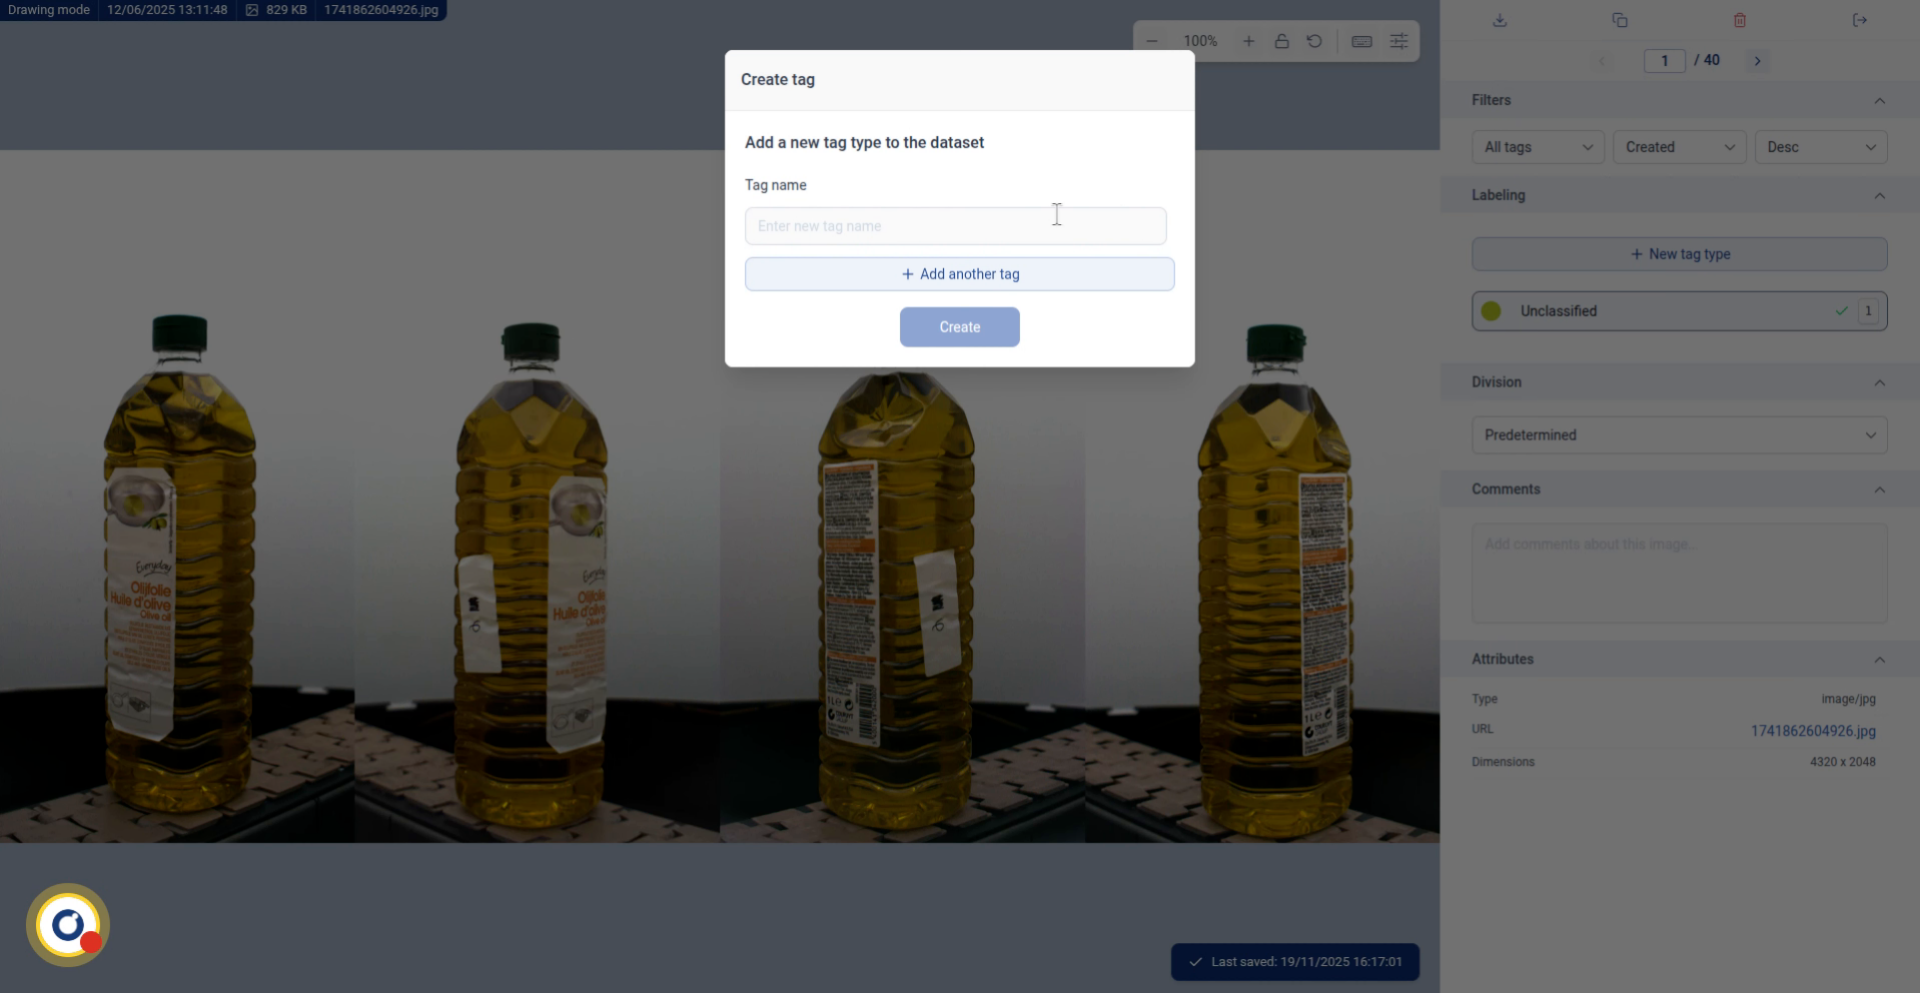
2. Enter Tag Name
Enter the name of your first tag (e.g., oil).
Click Add another tag for each additional category you need (e.g., water, wine, etc.).
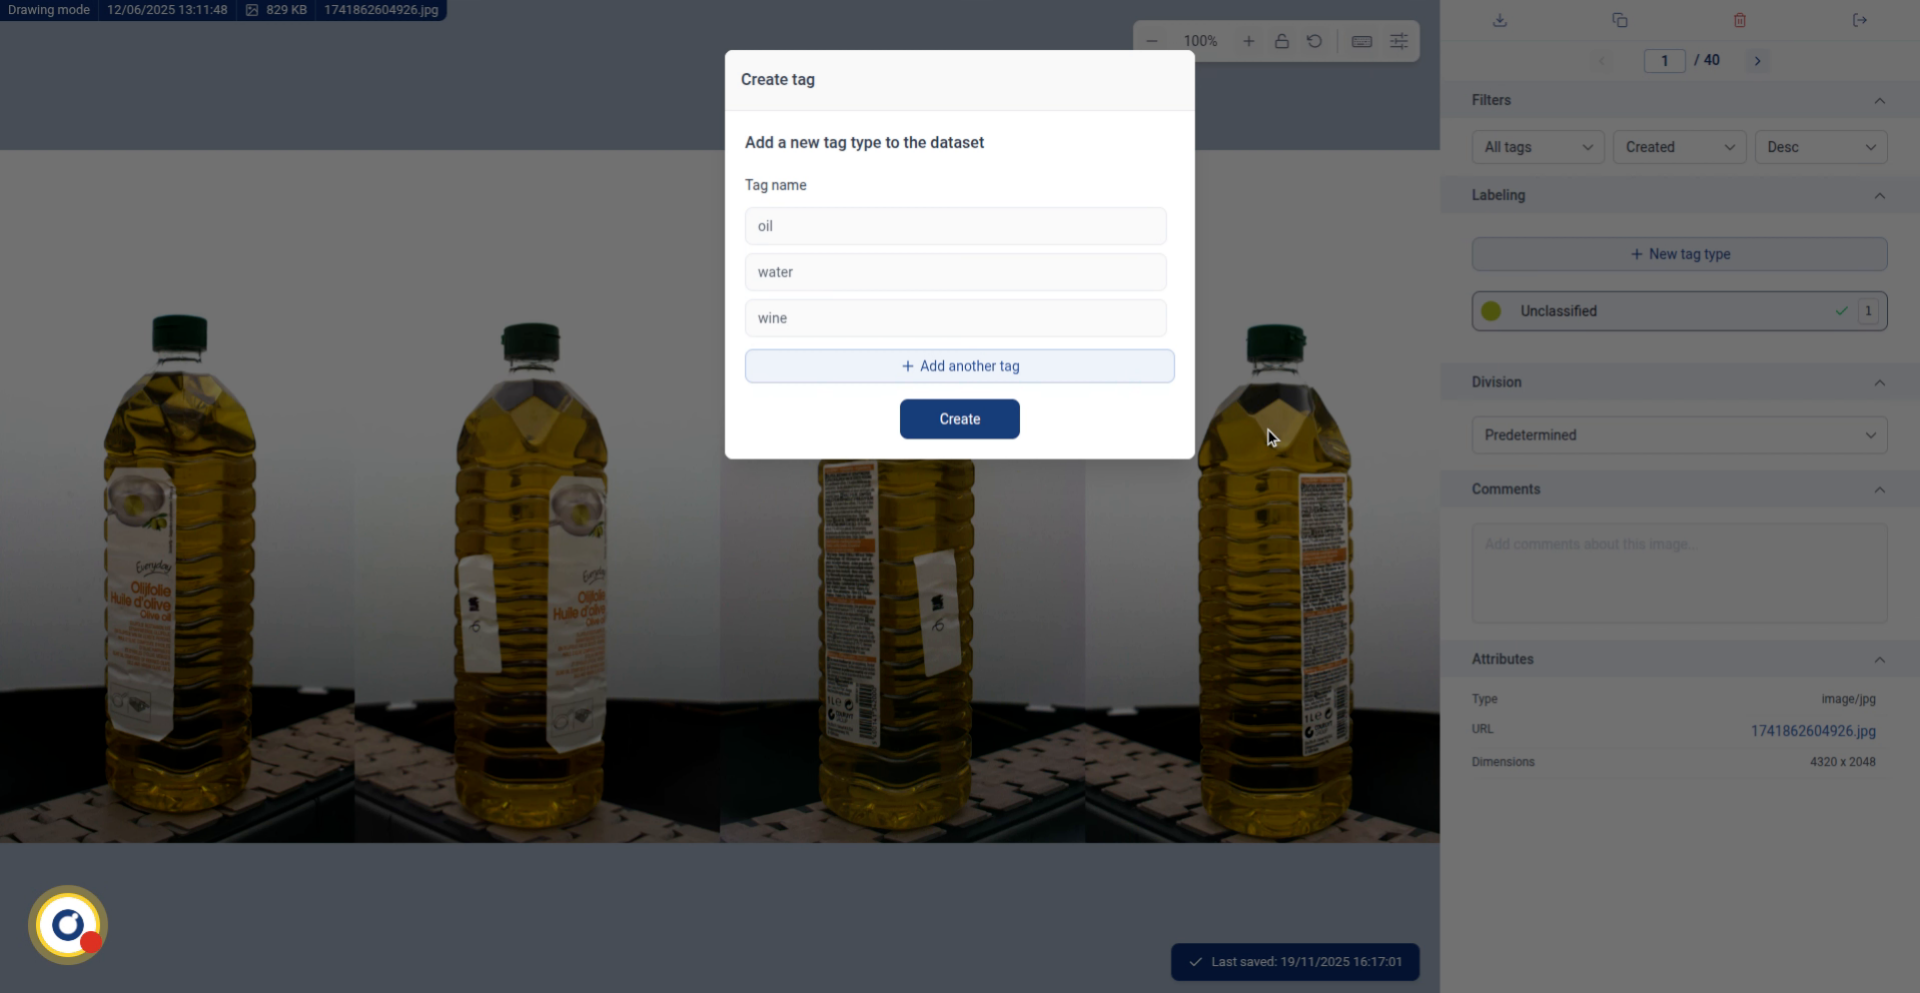
3. Confirm Tag Creation
Just like this, and we press create to finalize the tags.
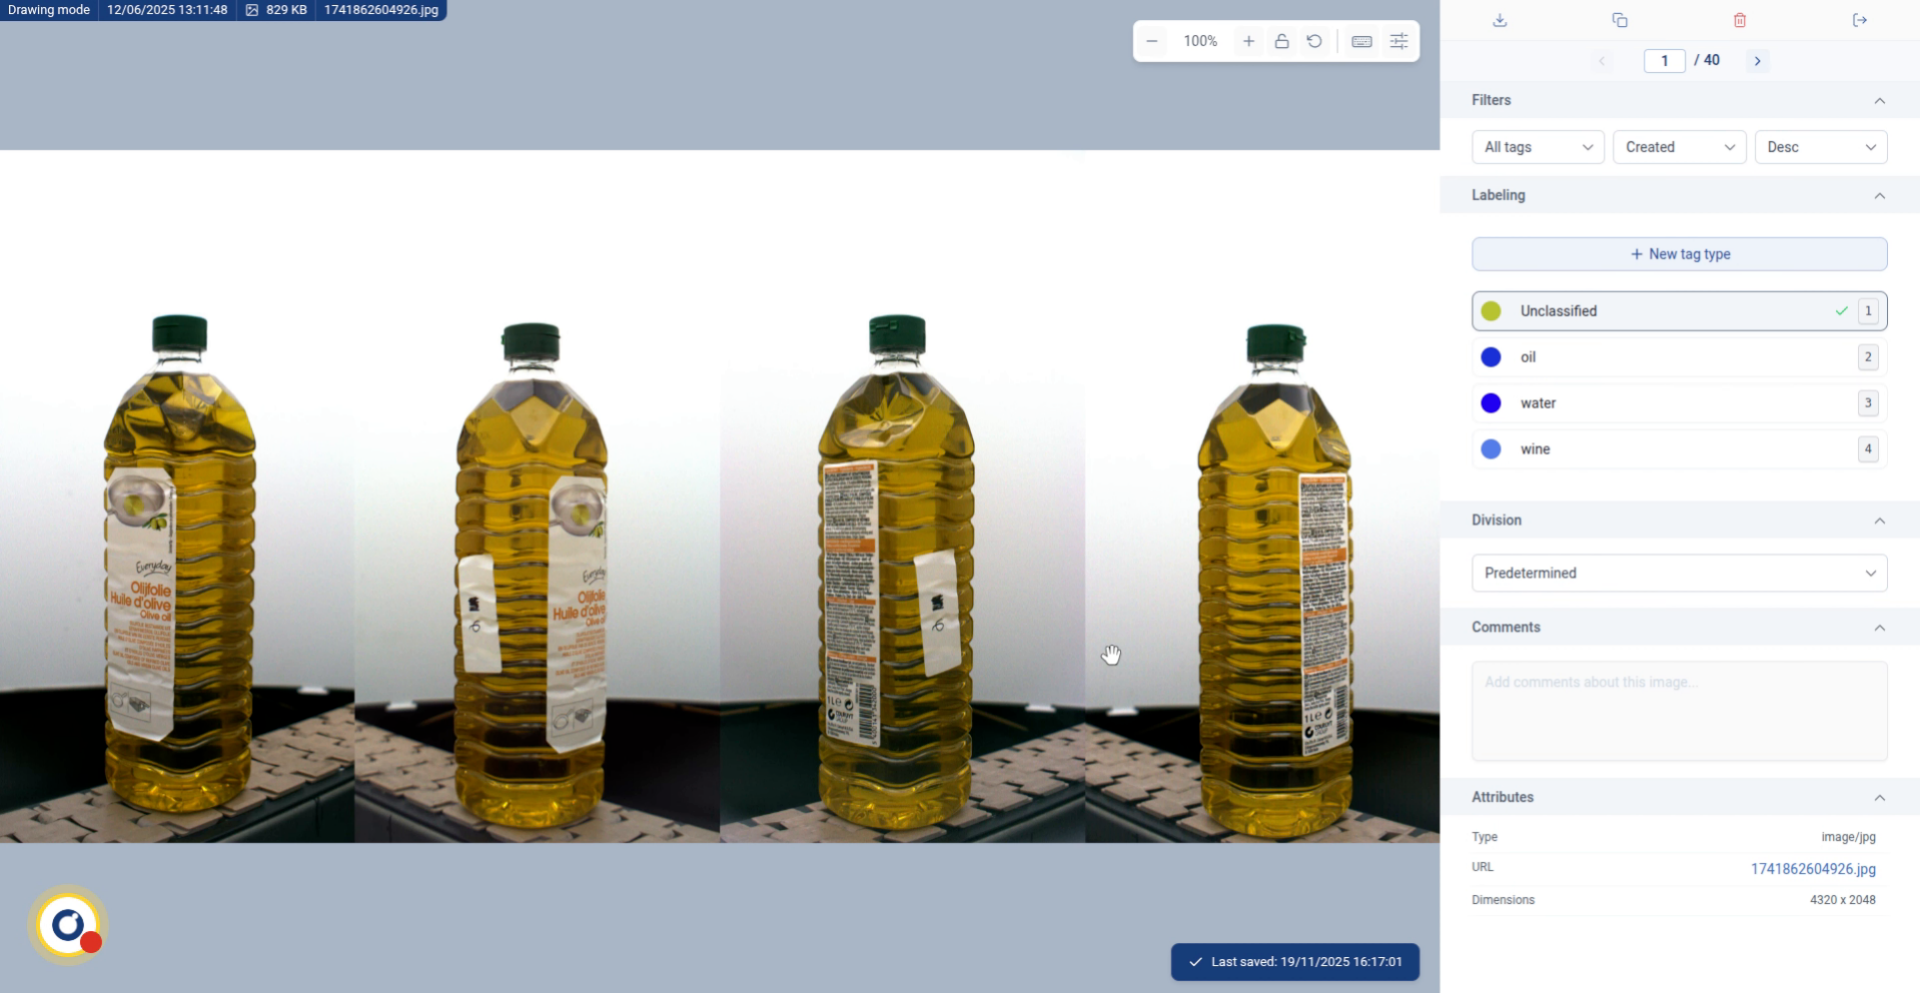
4. Select Tag for Image
Now that your tags are created, you can start labeling each image. For example, this image shows an oil bottle, so select the oil tag in the right panel.
Tip: Label a few examples of each category first, then use our Auto Classifier to speed up the rest!
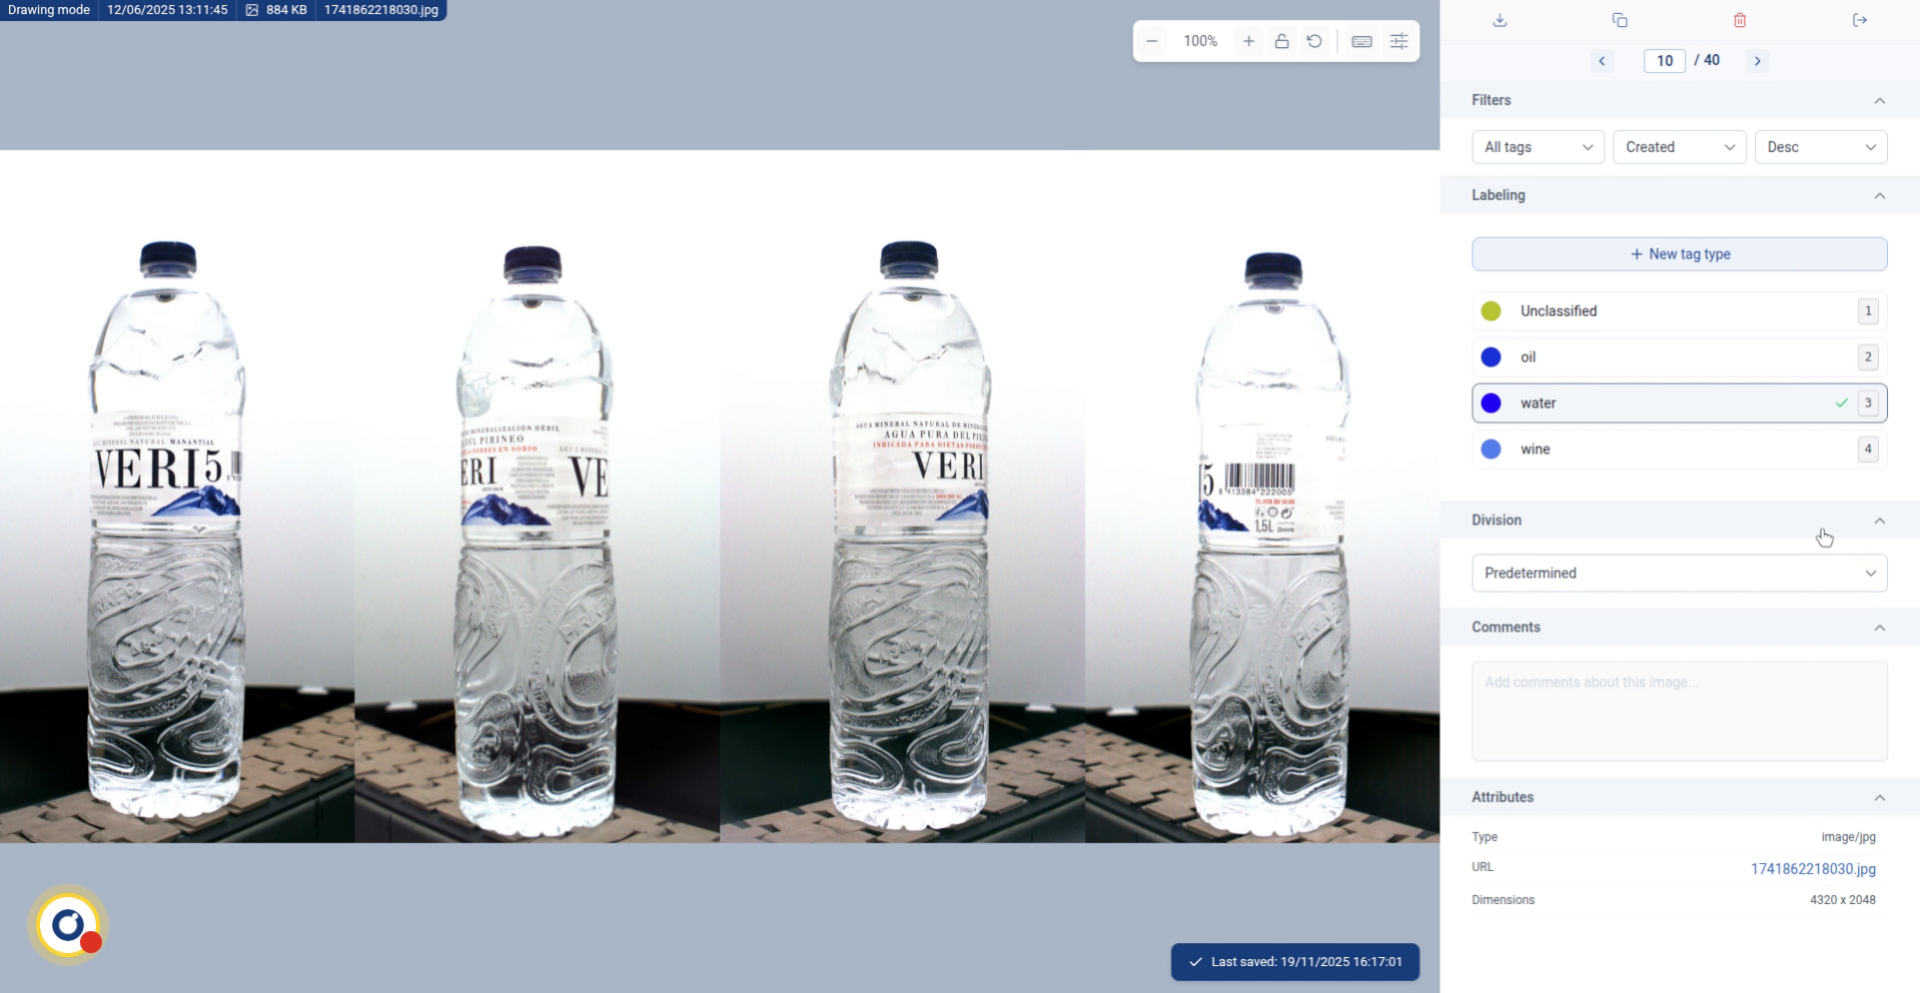
5. Continue Labeling
Continue going through all the images and assign the correct tag to each one.
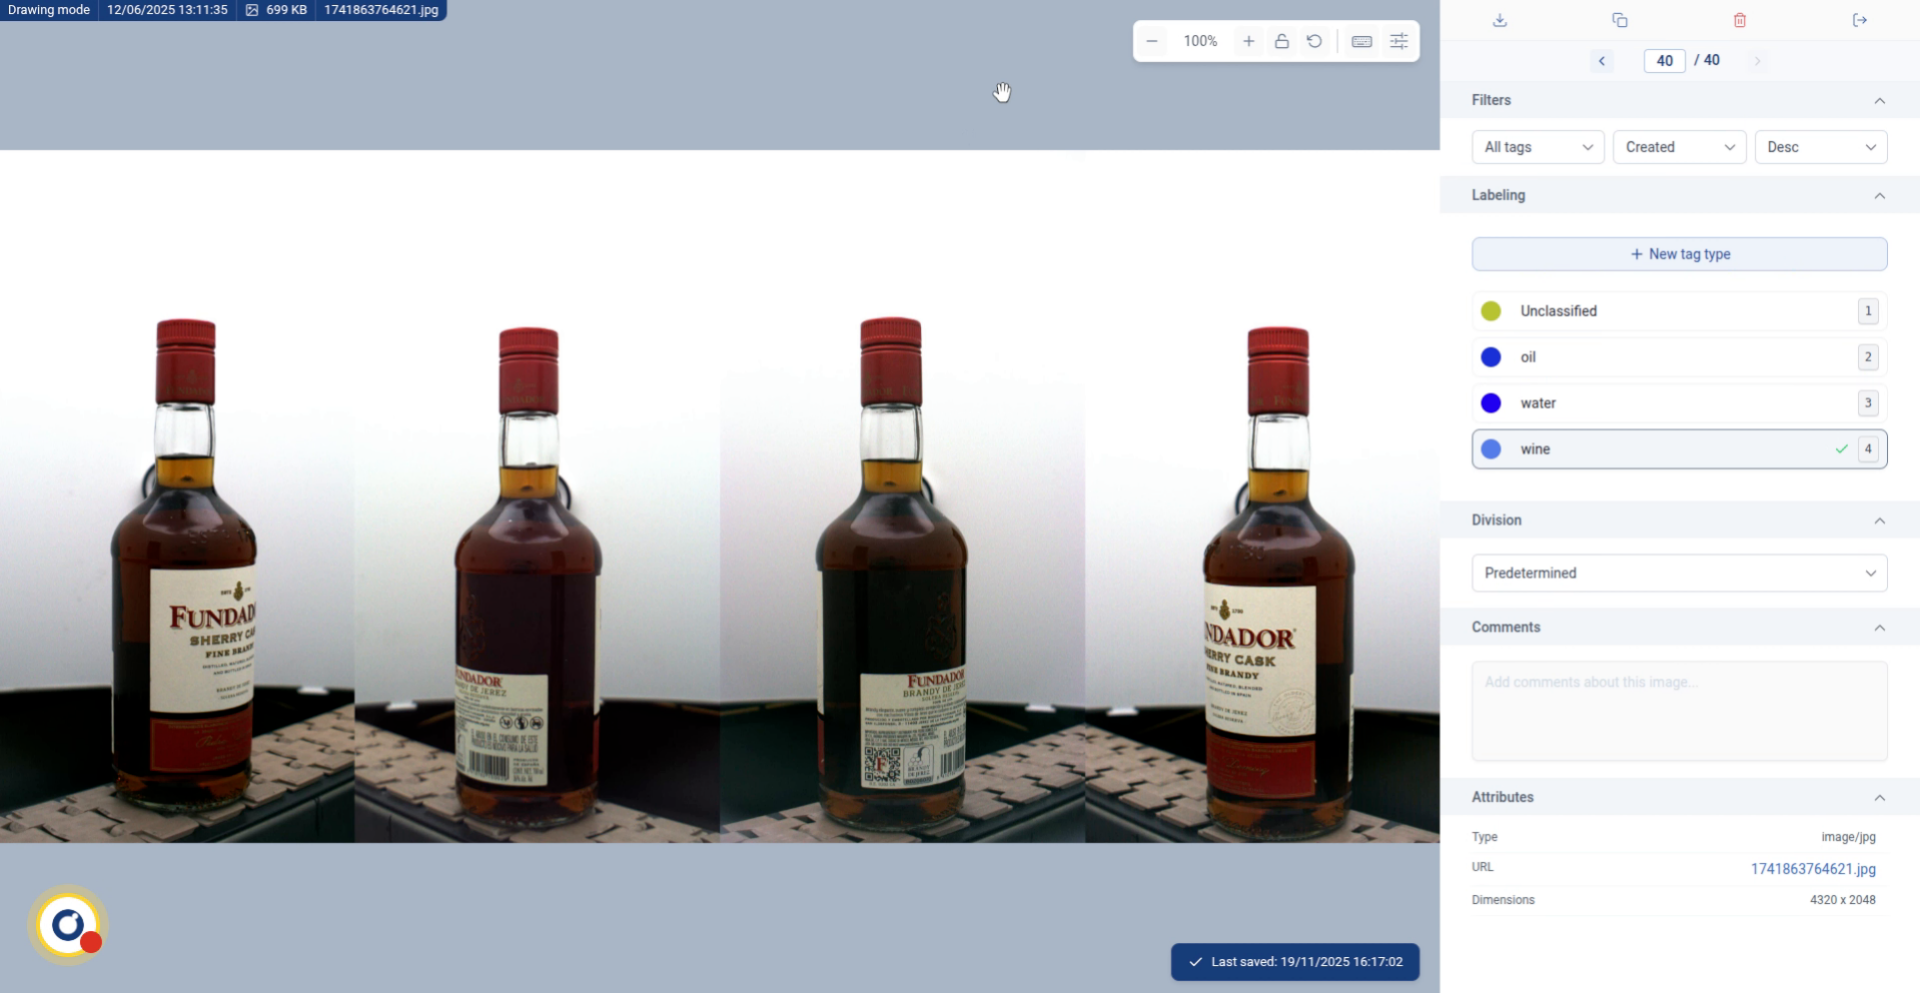
6. Last One!
Click "wine" to assign the wine tag to the last image.
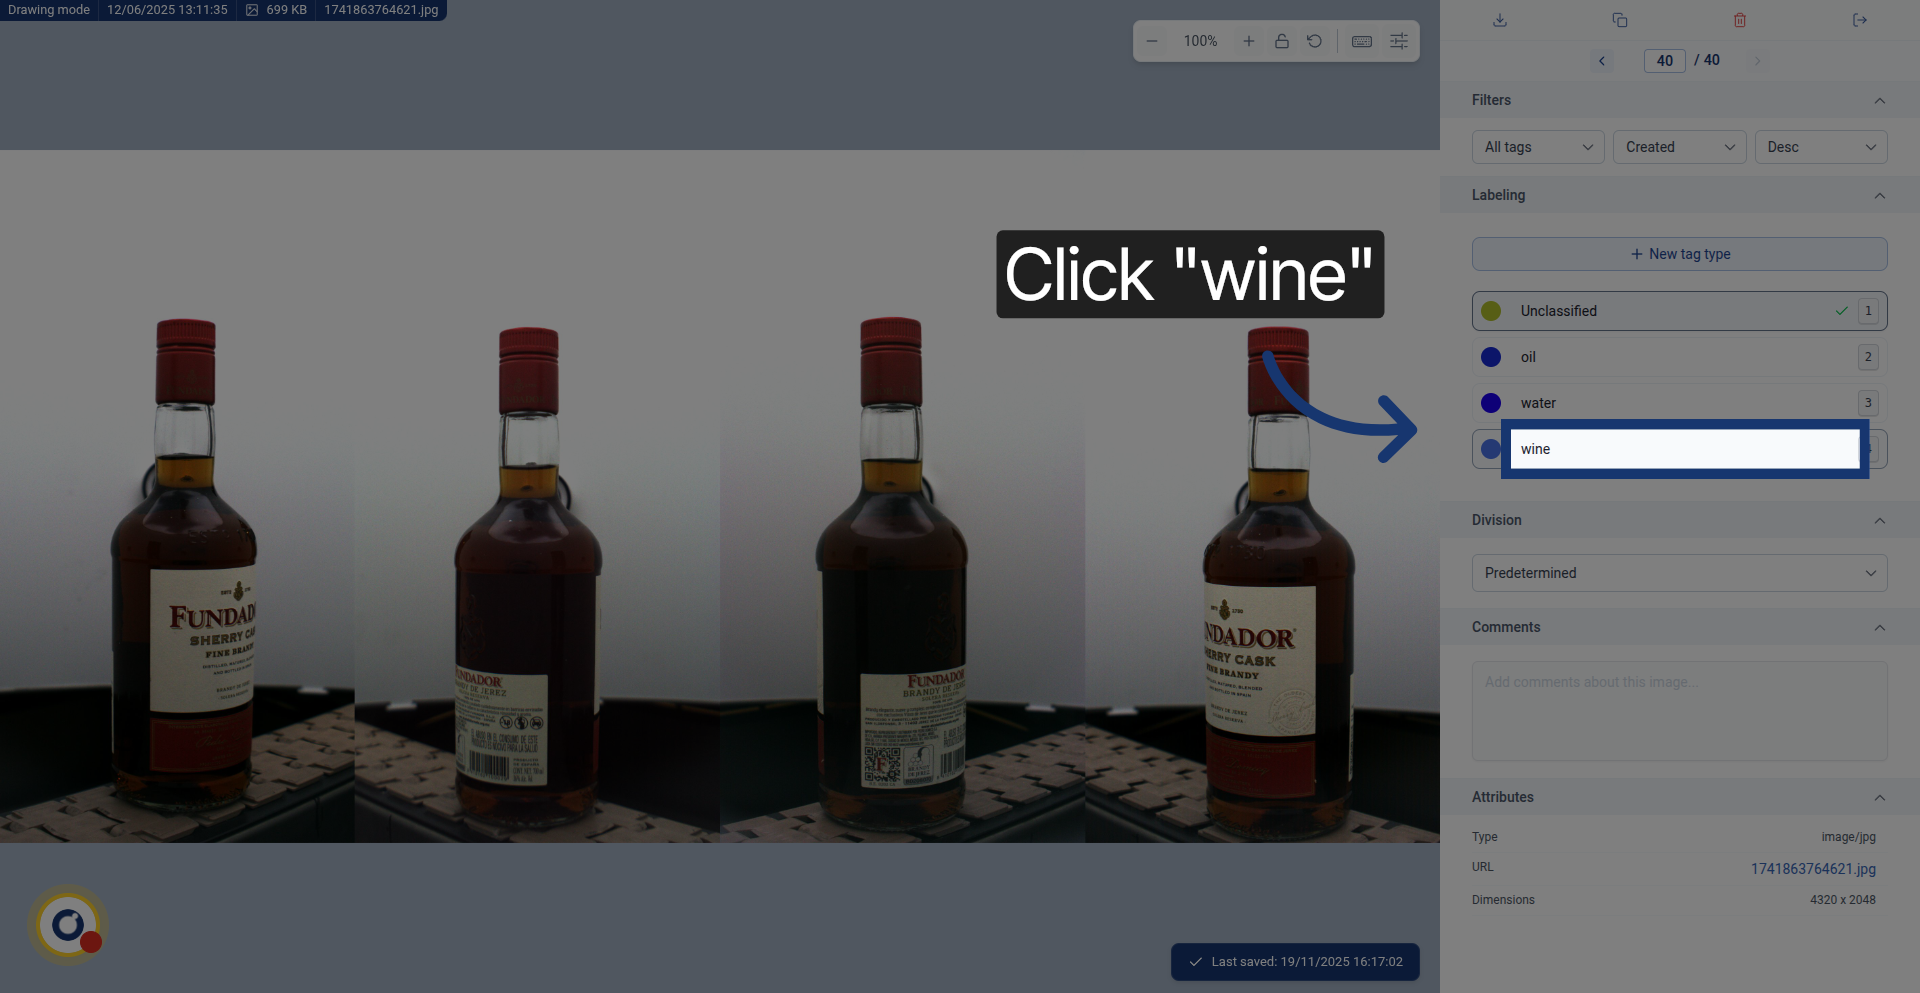
7. Complete Dataset Labeling
And just like that, we just label the whole dataset.