Validate Inferences and Annotate Datasets Using Production Models
This tutorial guides you through the process of validating model inferences on a dataset using production models. This workflow allows you to assess the model's behavior on new data or auto-annotate a dataset using a trained model (these annotations can be later refined/reviewed to help the model improve in specific edge cases after re-training).
Note: Before starting, ensure you have access to the dataset and the relevant models configured for inference.
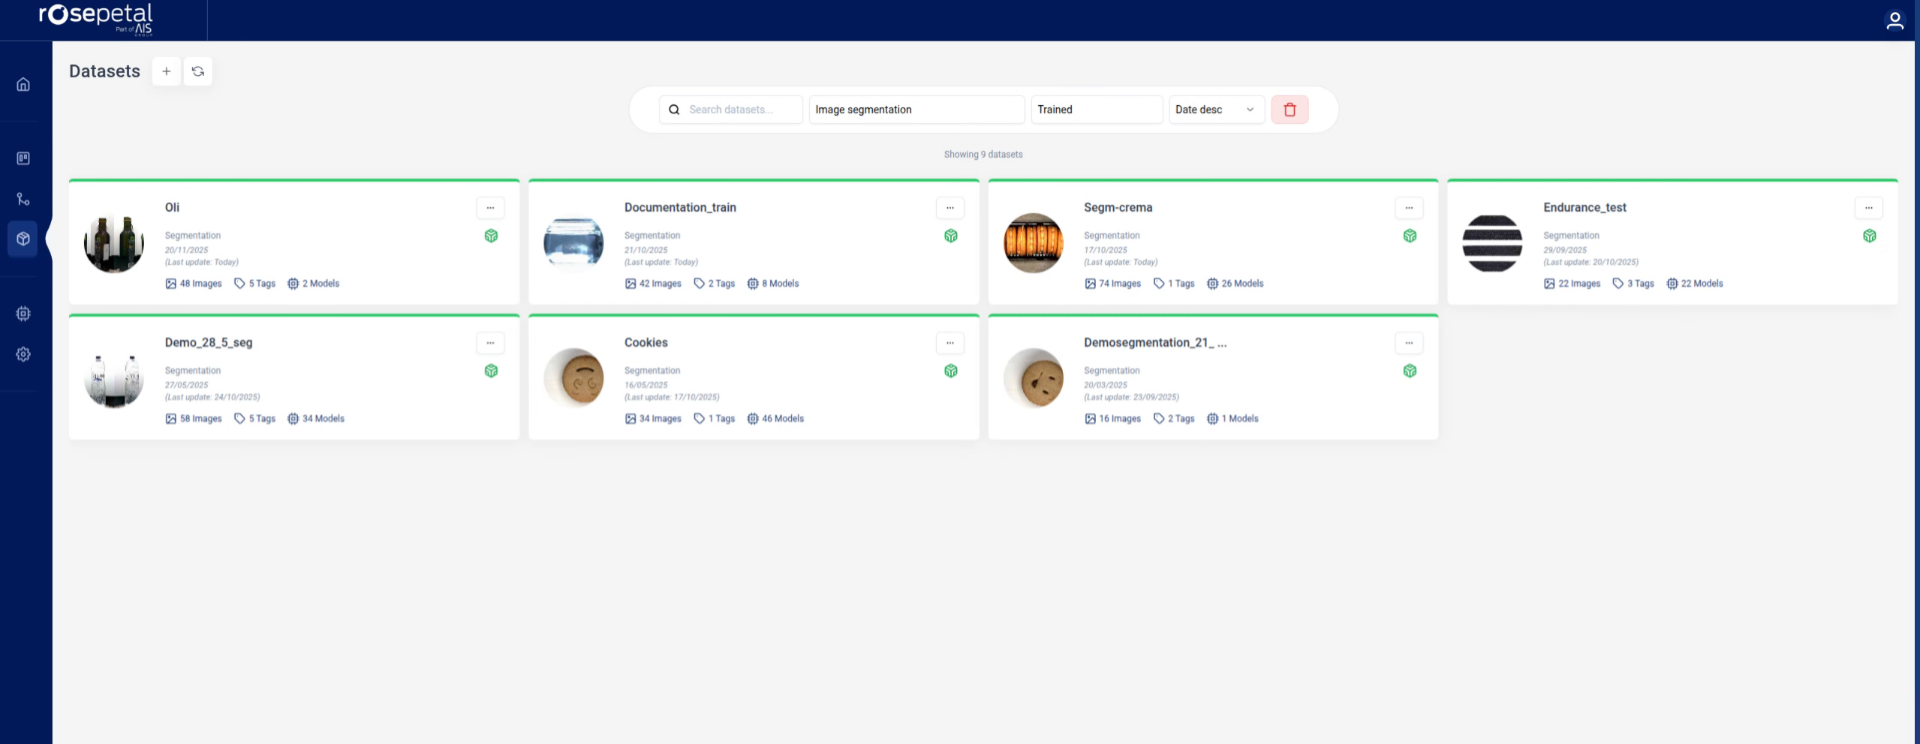
1. Select Your Dataset
We select the data set that we want to work with.
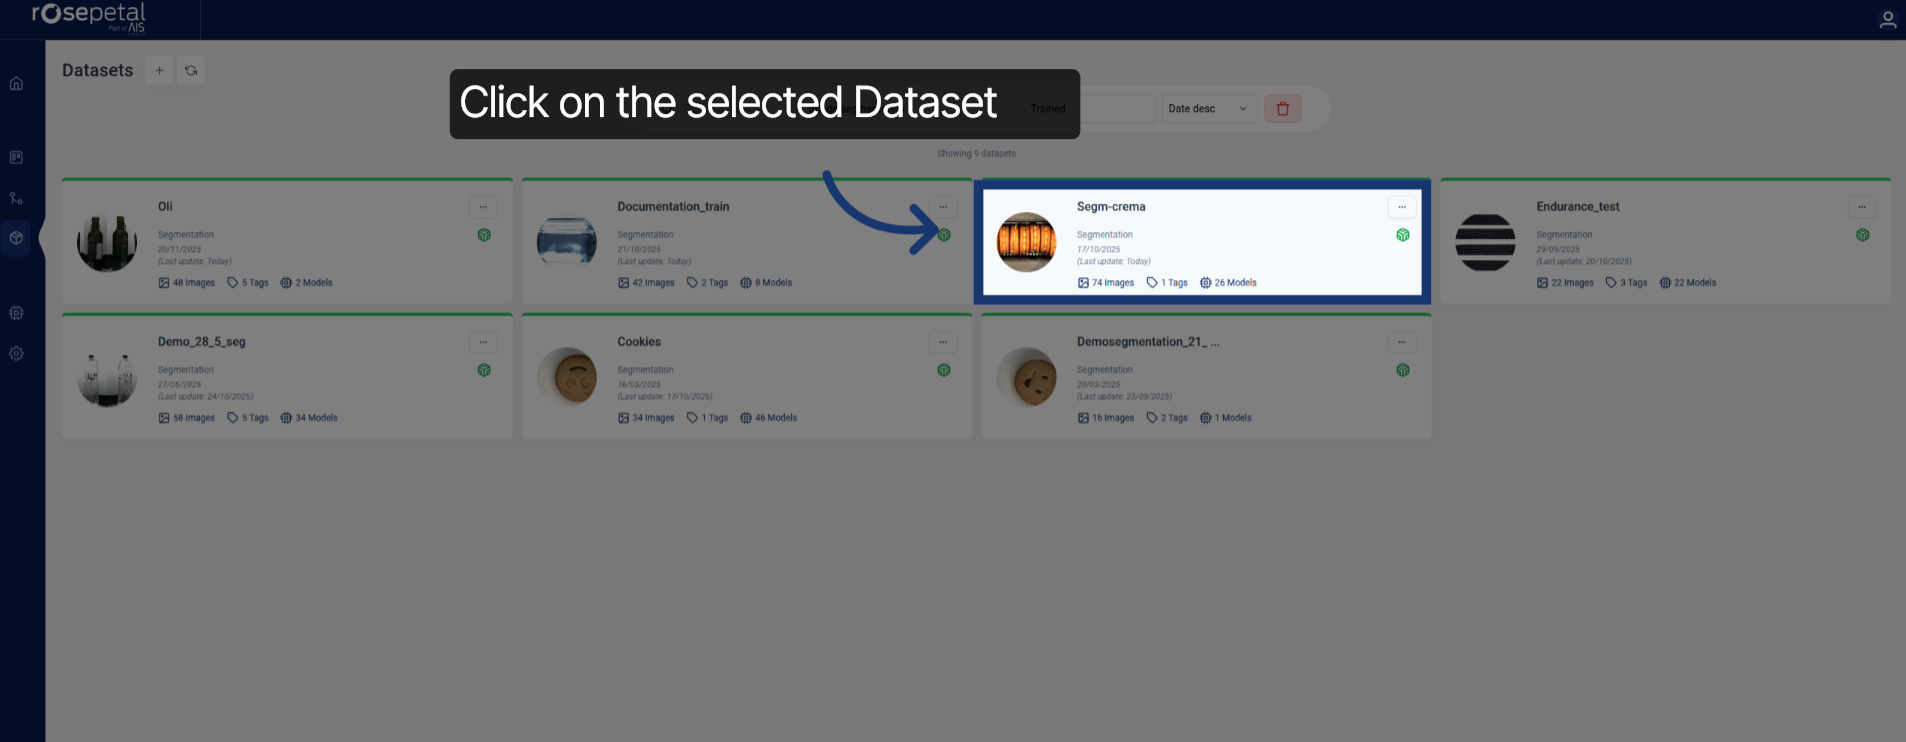
2. Open Dataset Details
Click the chosen dataset to open its details and access its images and models.
3. Navigate to Images Section
We go to the images.

4. Choose Unannotated Image
We need to choose an image that's hasn't been annotated.
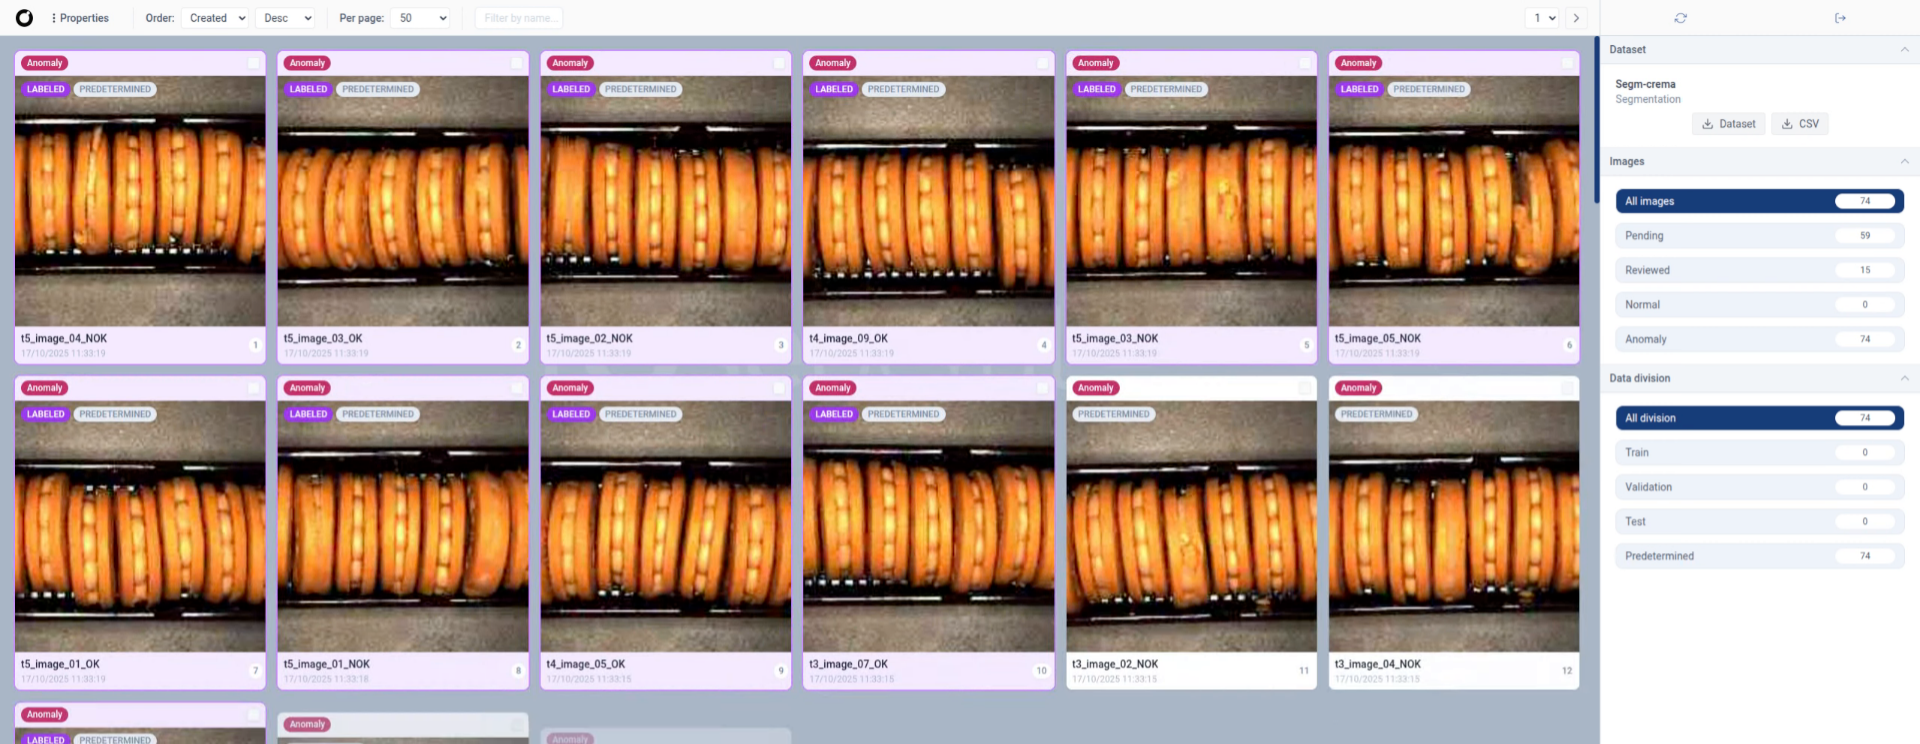
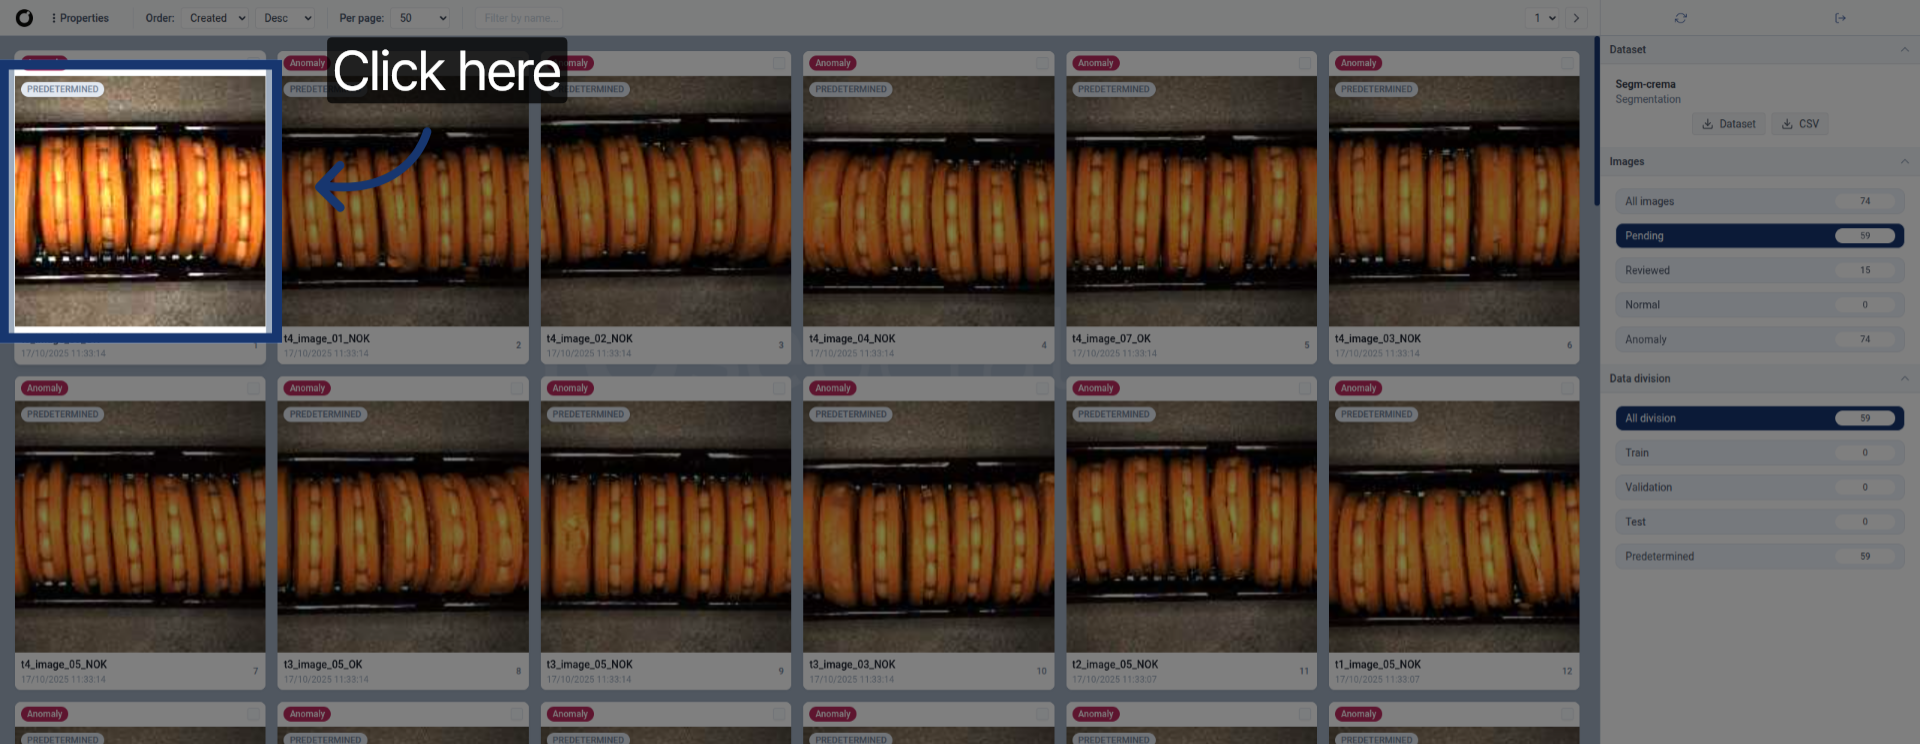
5. Filter Pending Images
We can click the "Pending" filter to view images awaiting annotation.

6. Open Image View
Select an image that hasn't been annotated
7. Open Inference Tool
Click here to open the inference tool for the selected image.
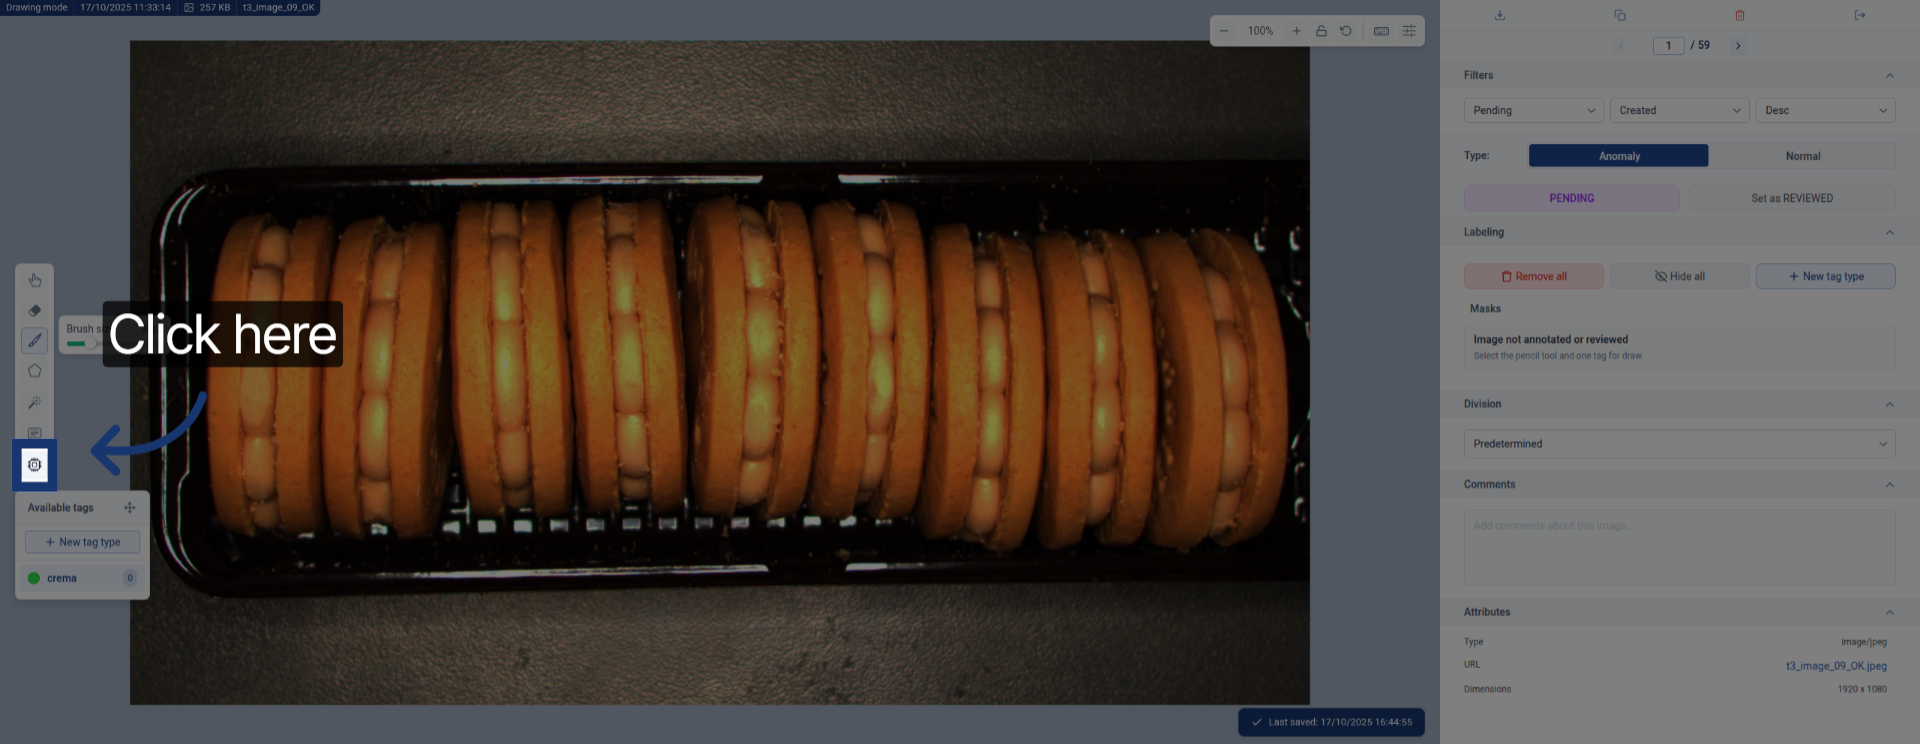
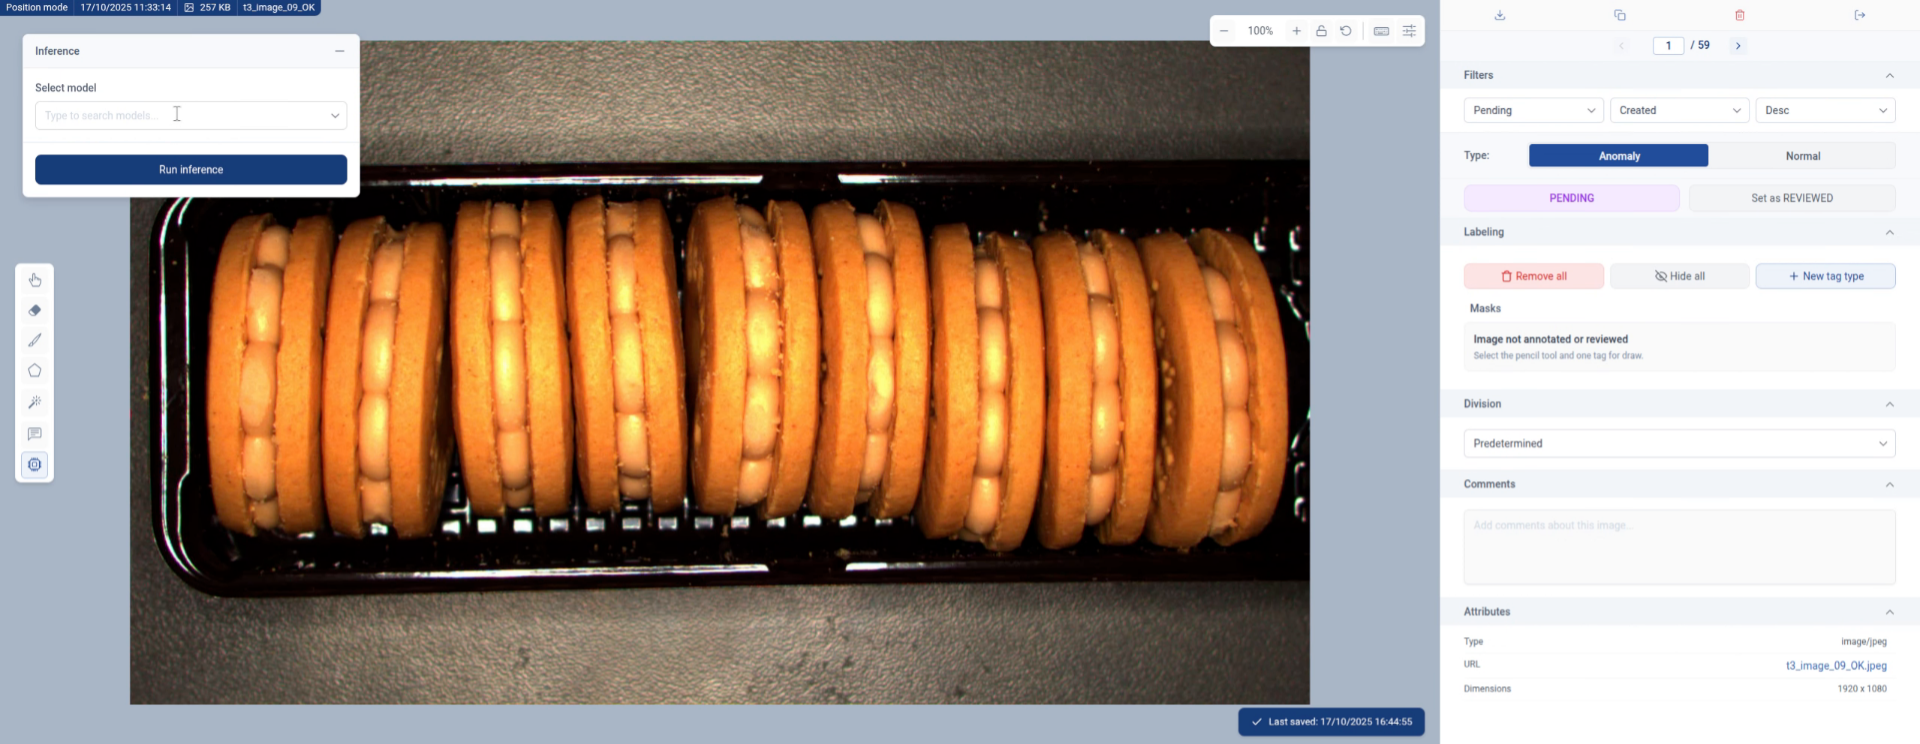
8. Choose Model for Inference
This floating menu will pop-up.
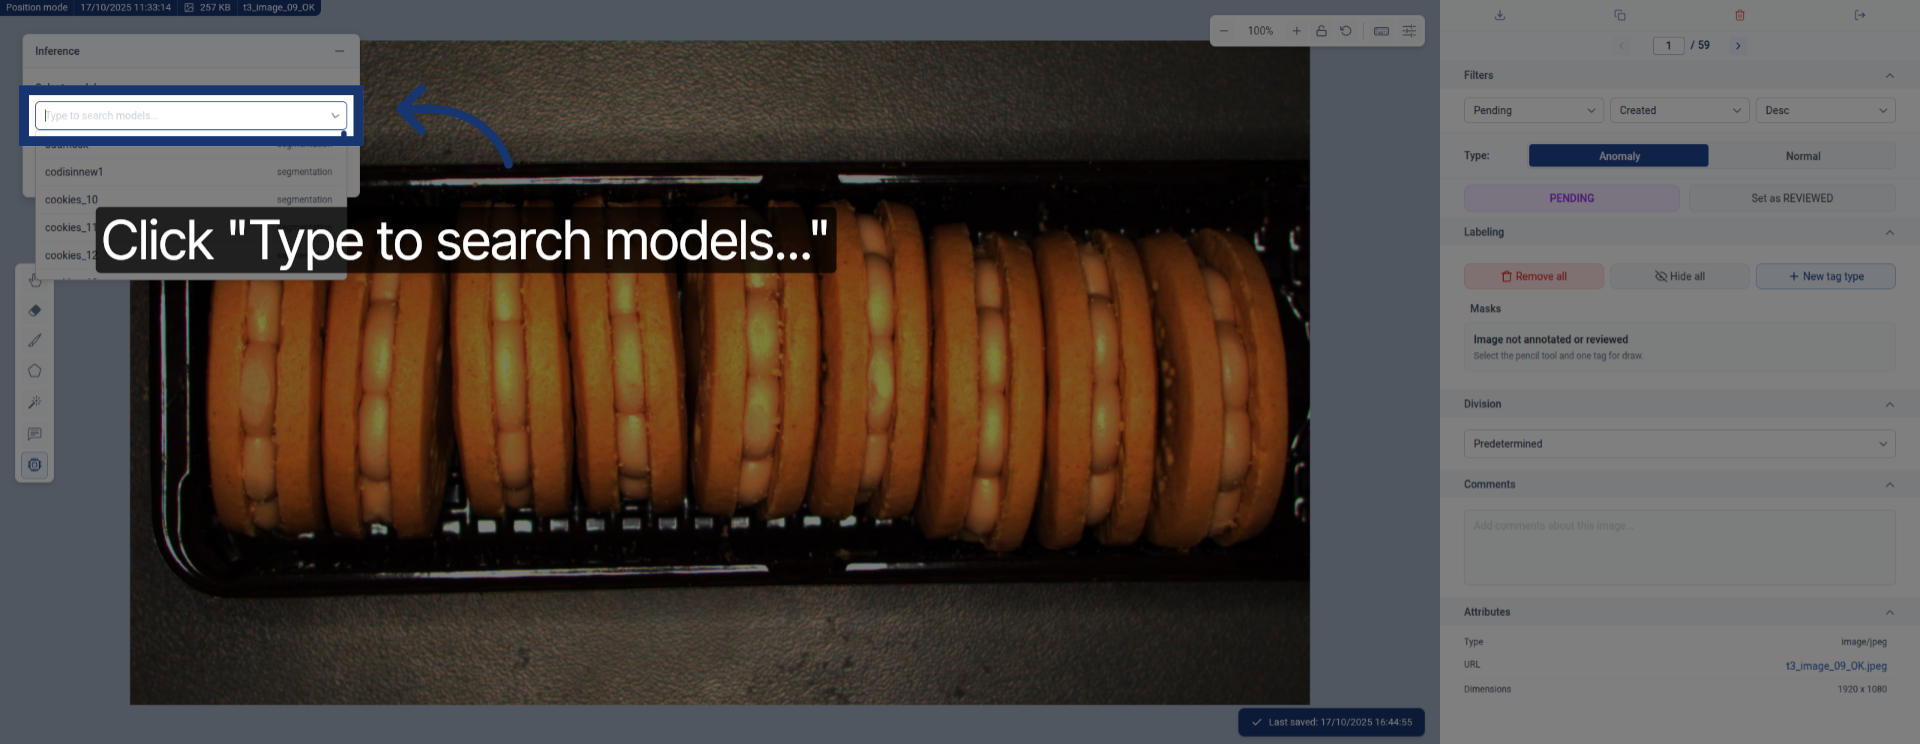
9. Search Models
Click the search field to find the model you want to use.
Enter the model name to filter available models.
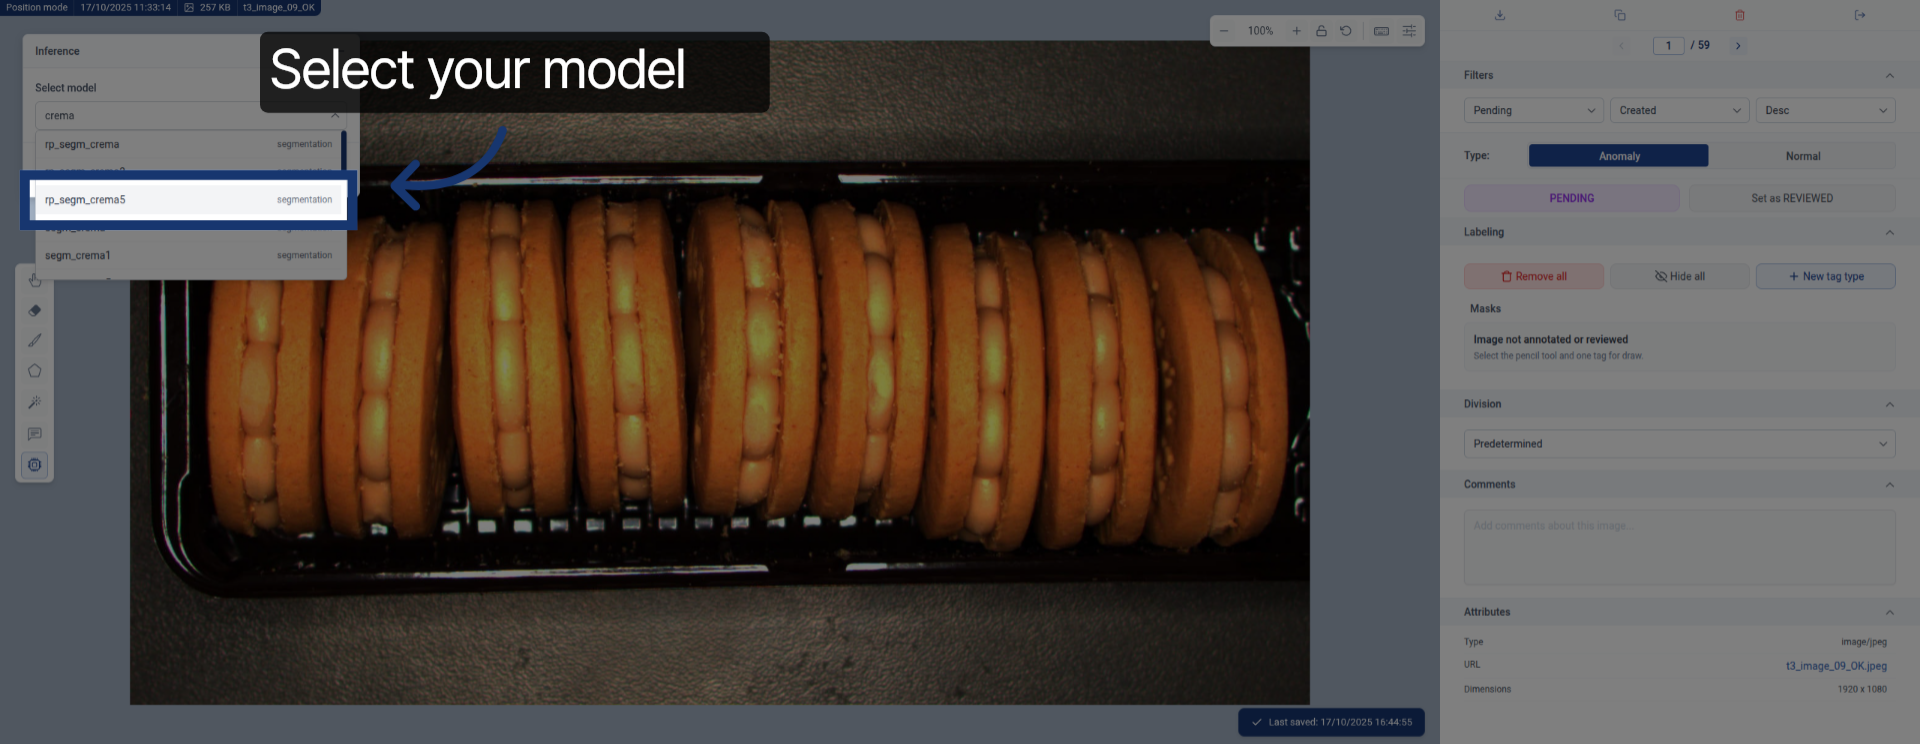
10. Select Desired Model
Select your model from the filtered list to use for inference.
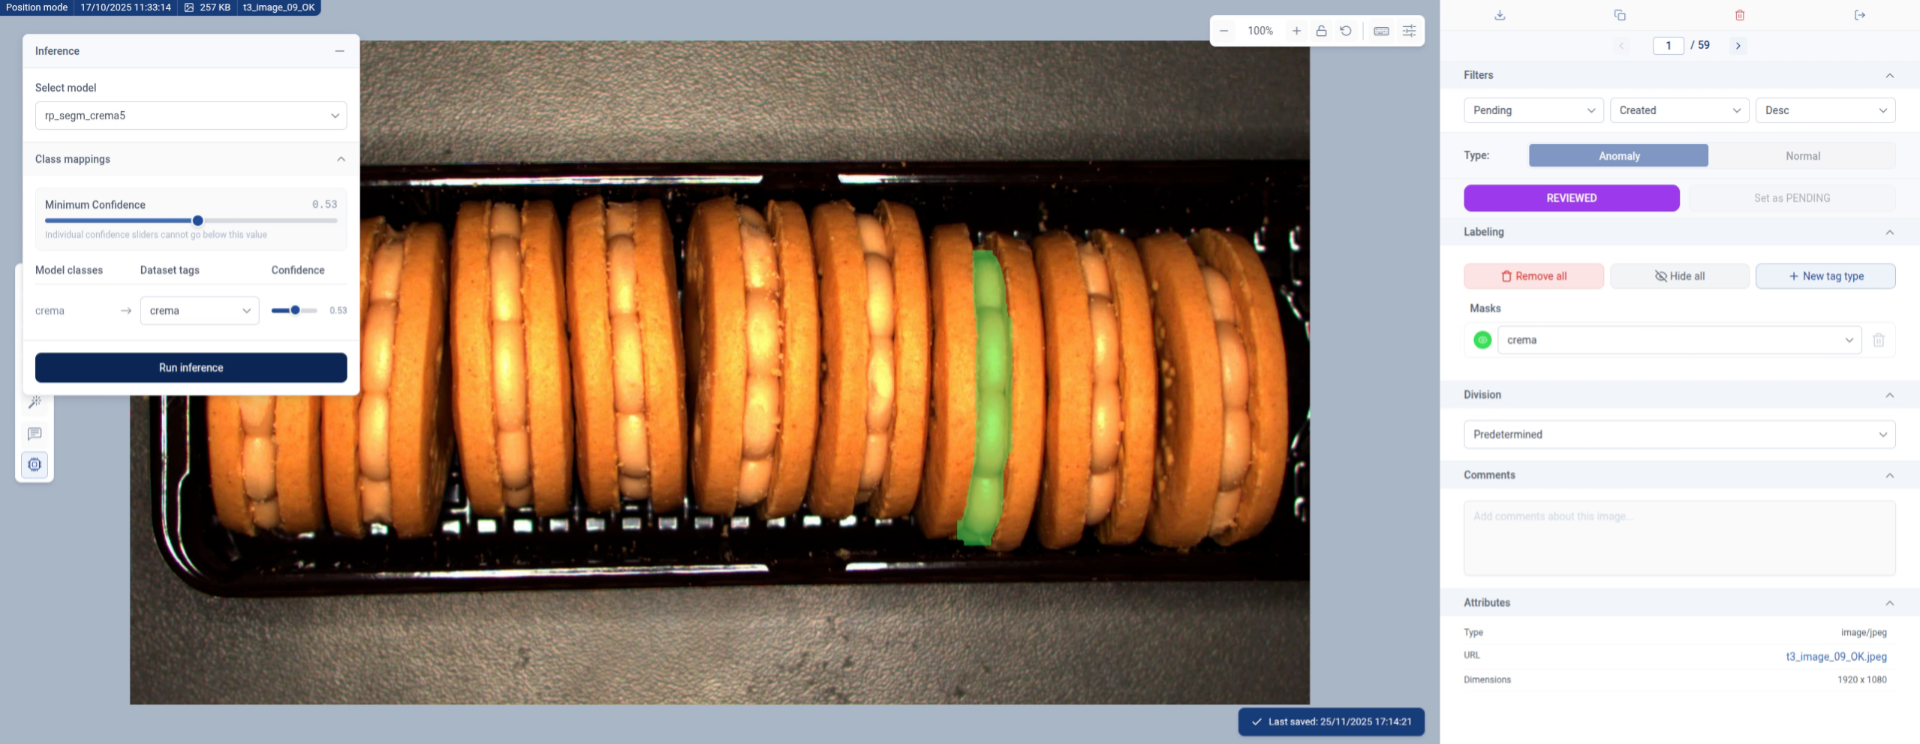
11. View Model Classes
And here the different. Classes from the model will appear in this table. We need to map them.
This table will contain one row per model-class, the name of the classes from the selected model willl appear on the left column, next to it there will be a dropdown that will allow us to choose a class from the dataset, and on the right column a slider will allow us to choose the model-specific confidence (this acts as a filter to only select those results the model is most confident of, being the closer to 1 the most confident).
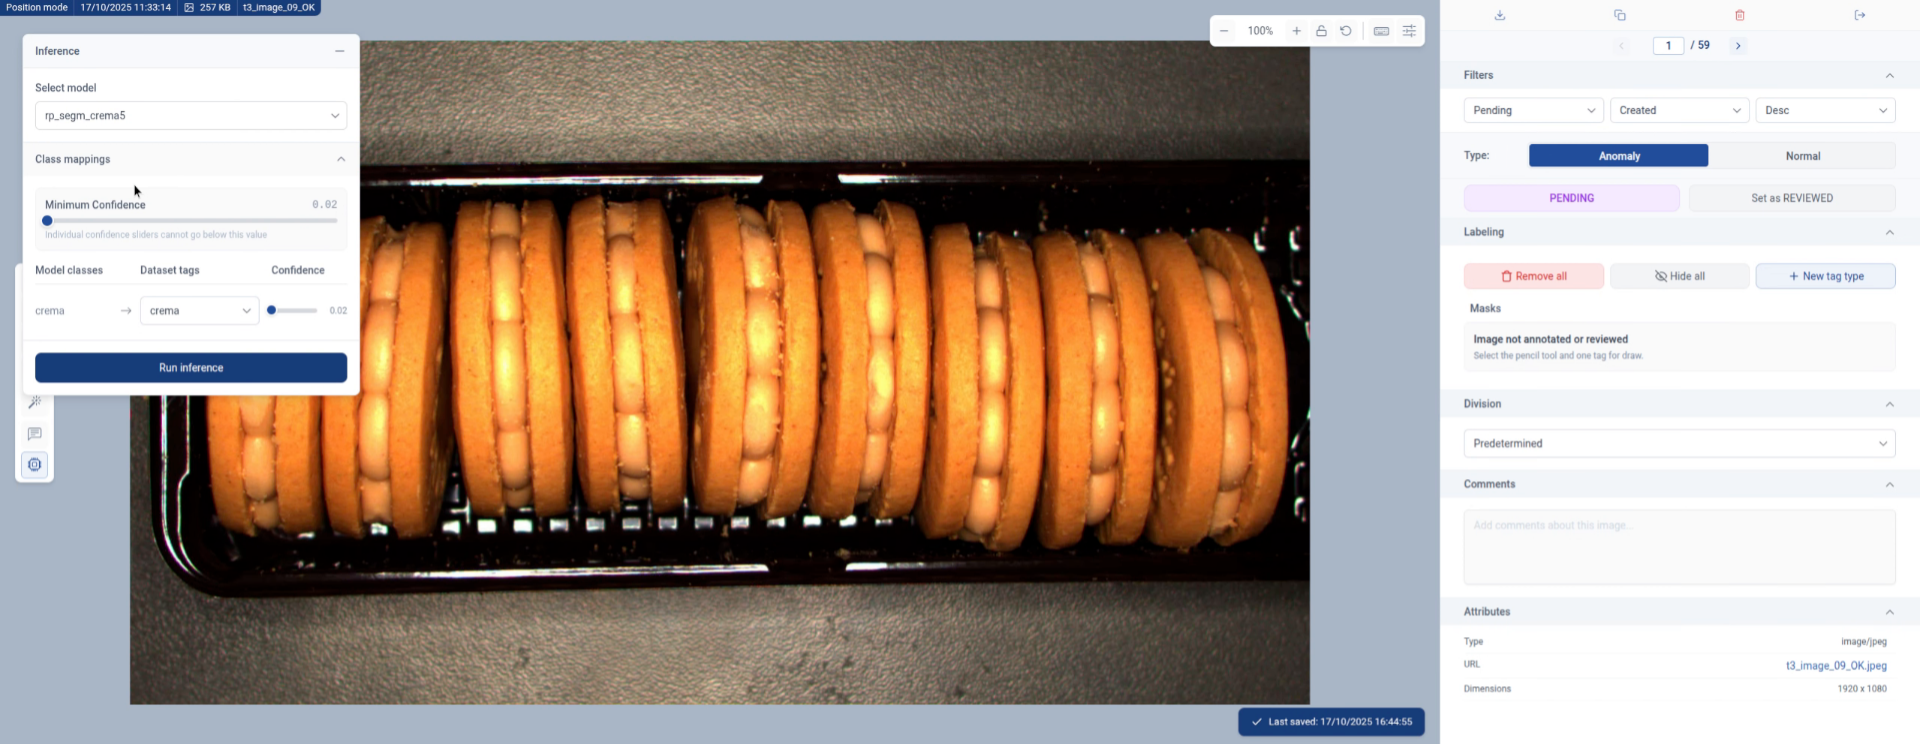
12. Confirm Class Mapping
In this example we have only 1 class on the model and 1 class on the dataset, as they are the same so they are automatically mapped.

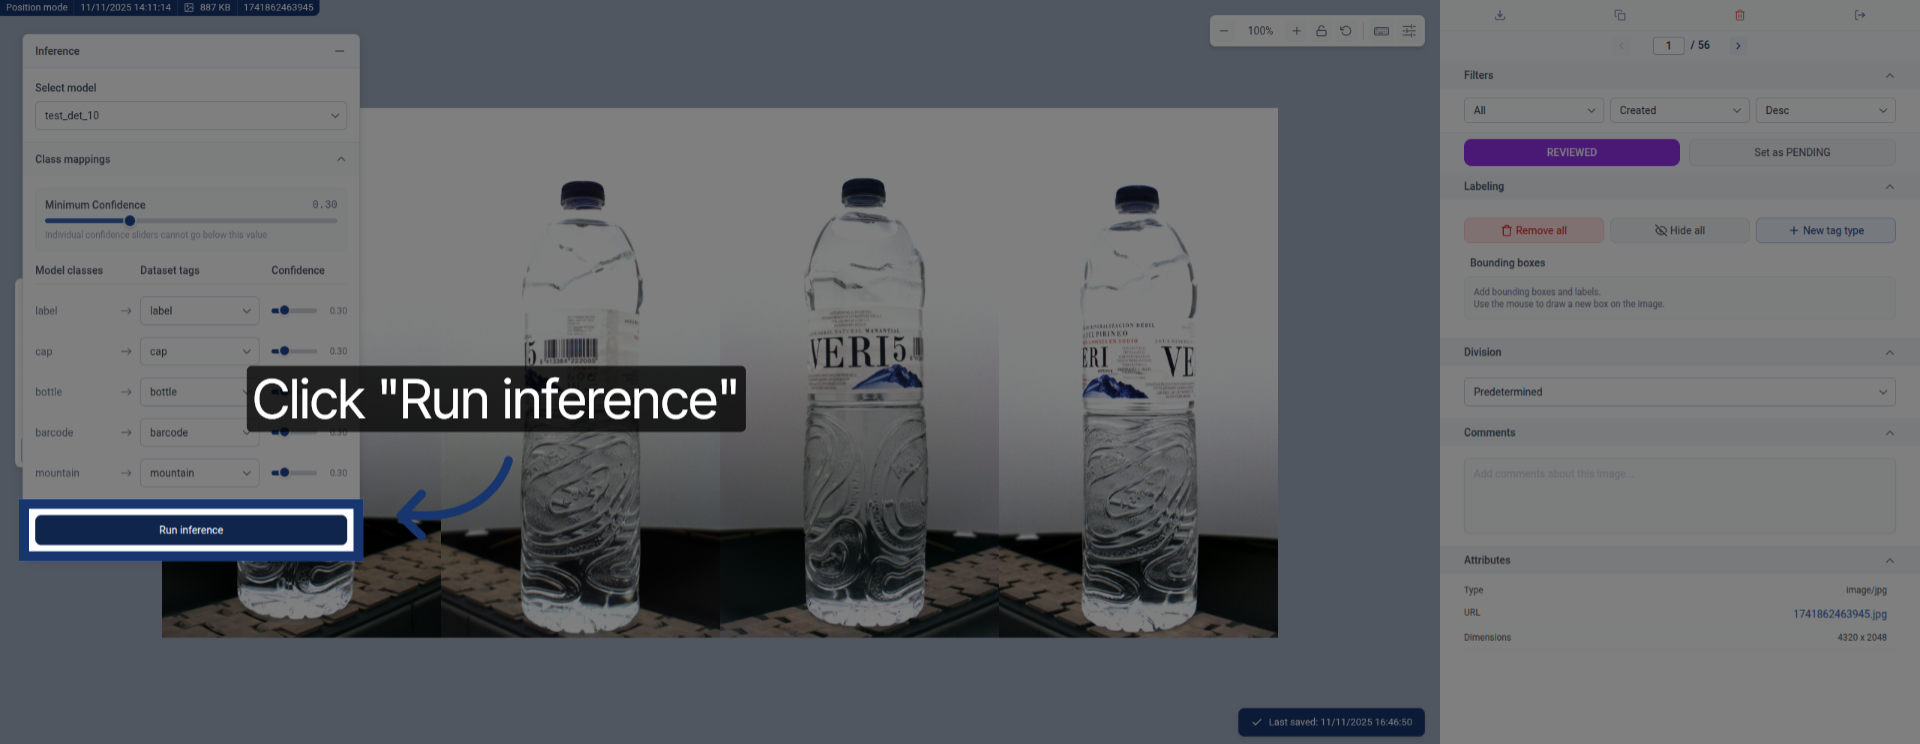
13. Set Confidence Level
Then we need to choose the confidence level.
14. Run Model Inference
Click the Run inference button to start the model prediction process.
15. Evaluate Inference Results
The results are dependent on these confidence levels we previsly setted, we can change them and repeat the inference to retrieve new results.
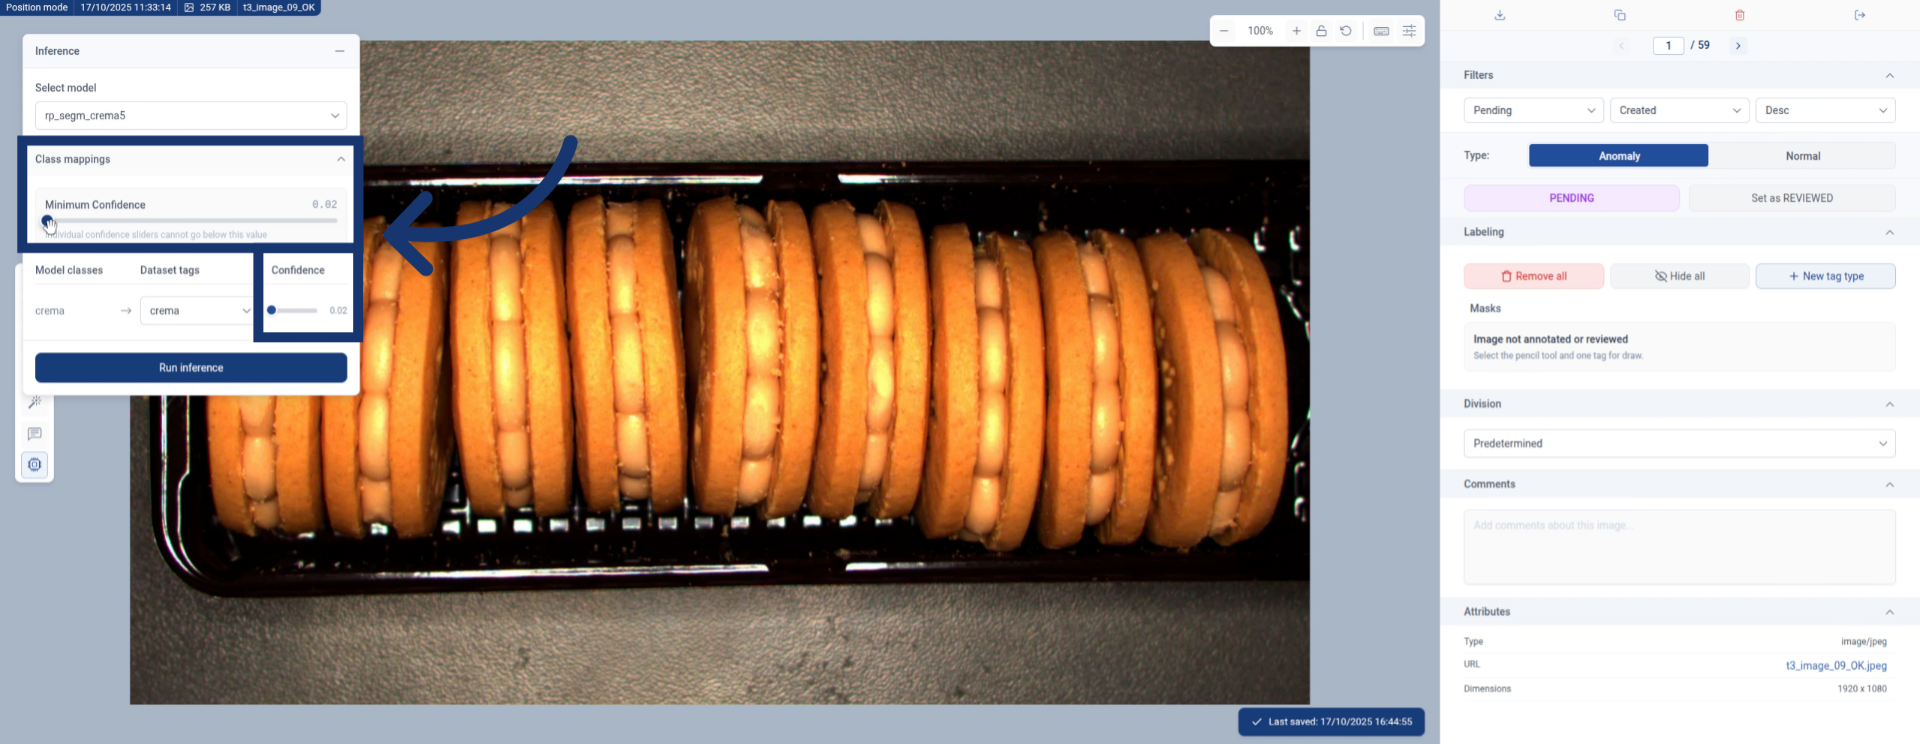
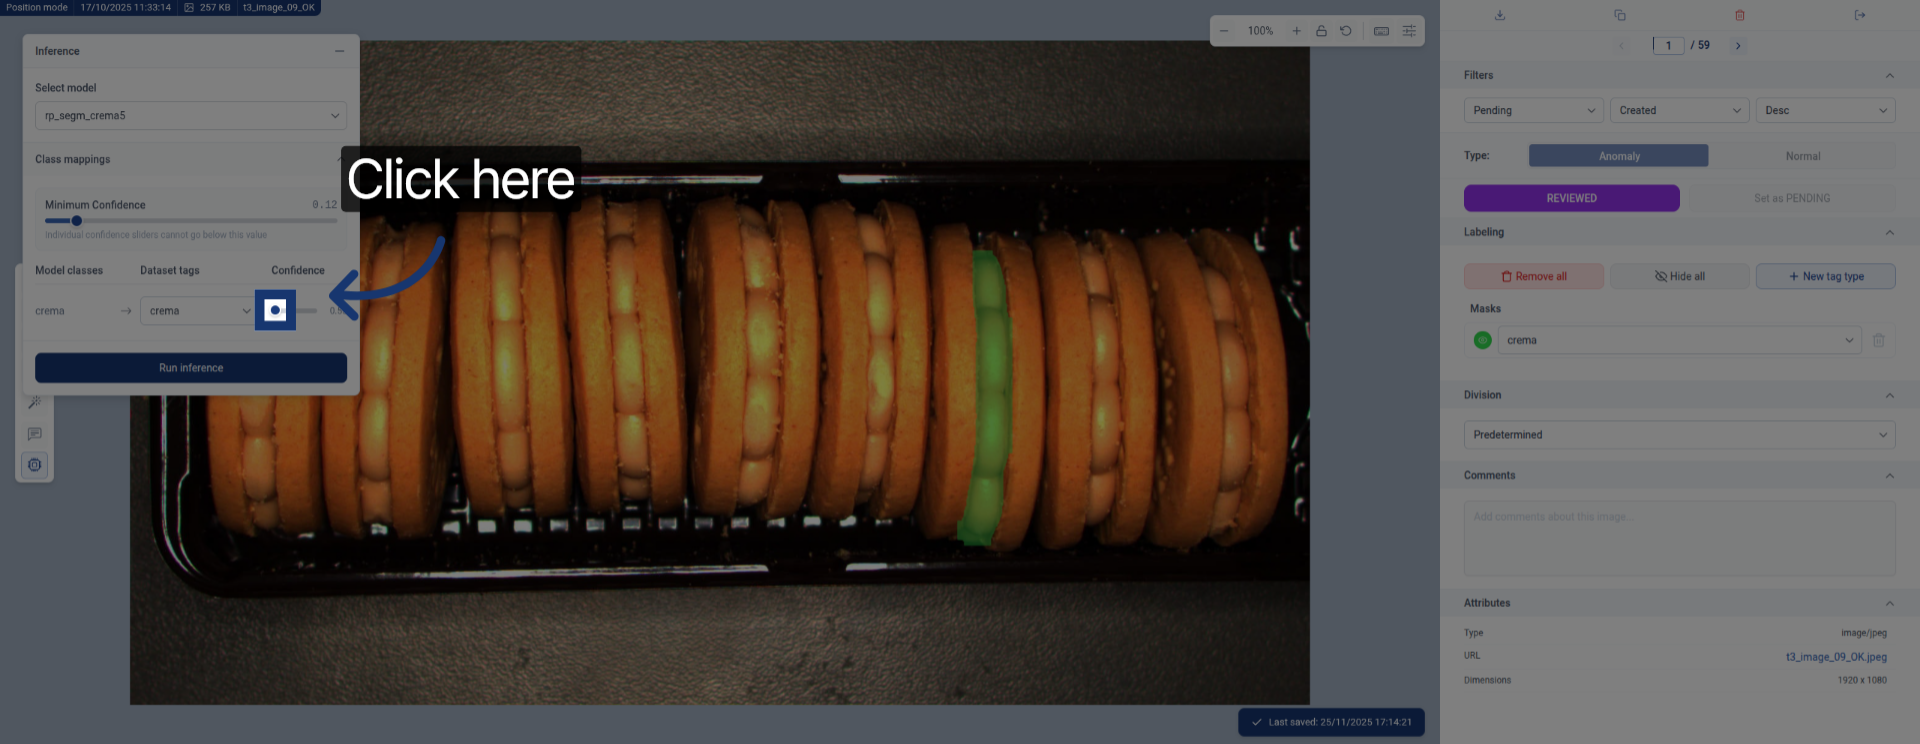
16. Open Threshold Settings
We can modify the confidence threshold by modifying both the general minimum and class specific confidences.
Click here to adjust the confidence threshold settings.
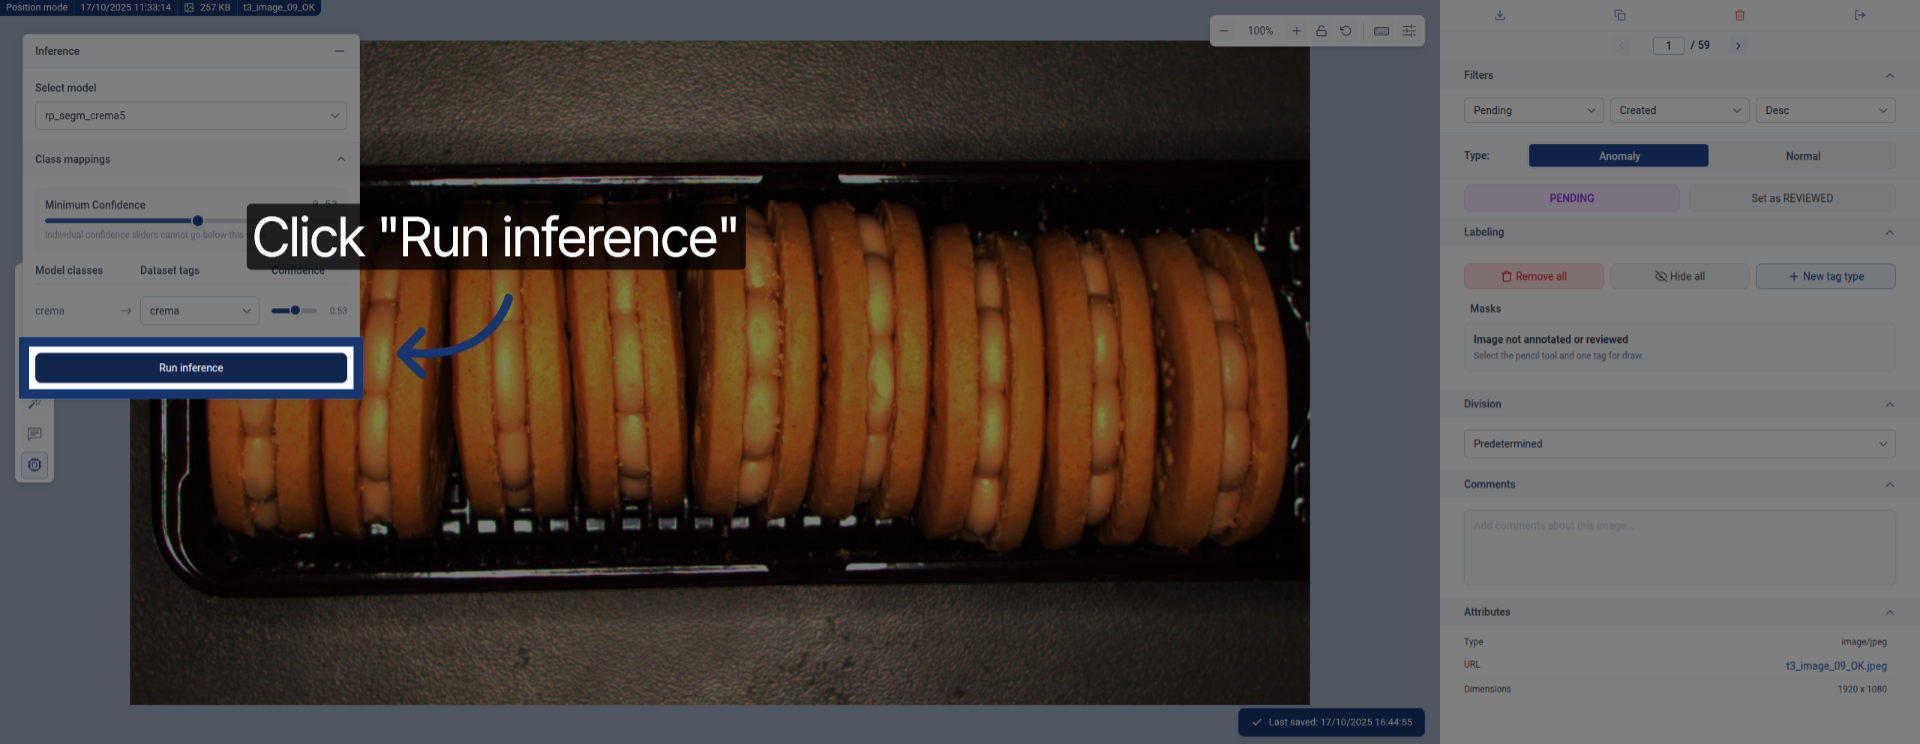
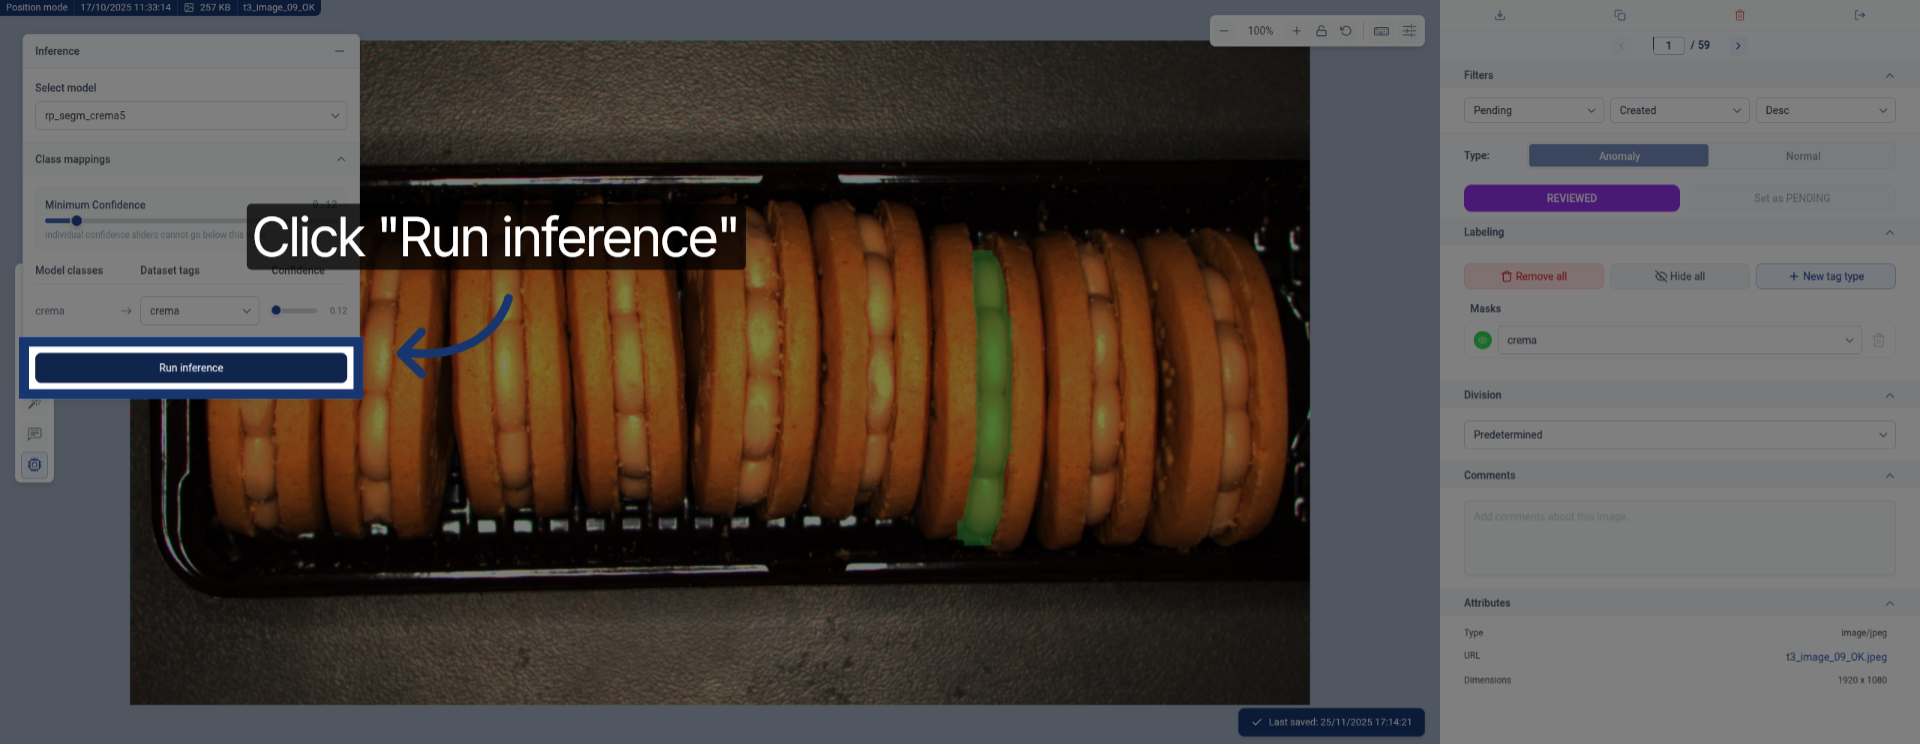
17. Run Inference Again
Click the Run inference button to apply the new settings and generate updated results.
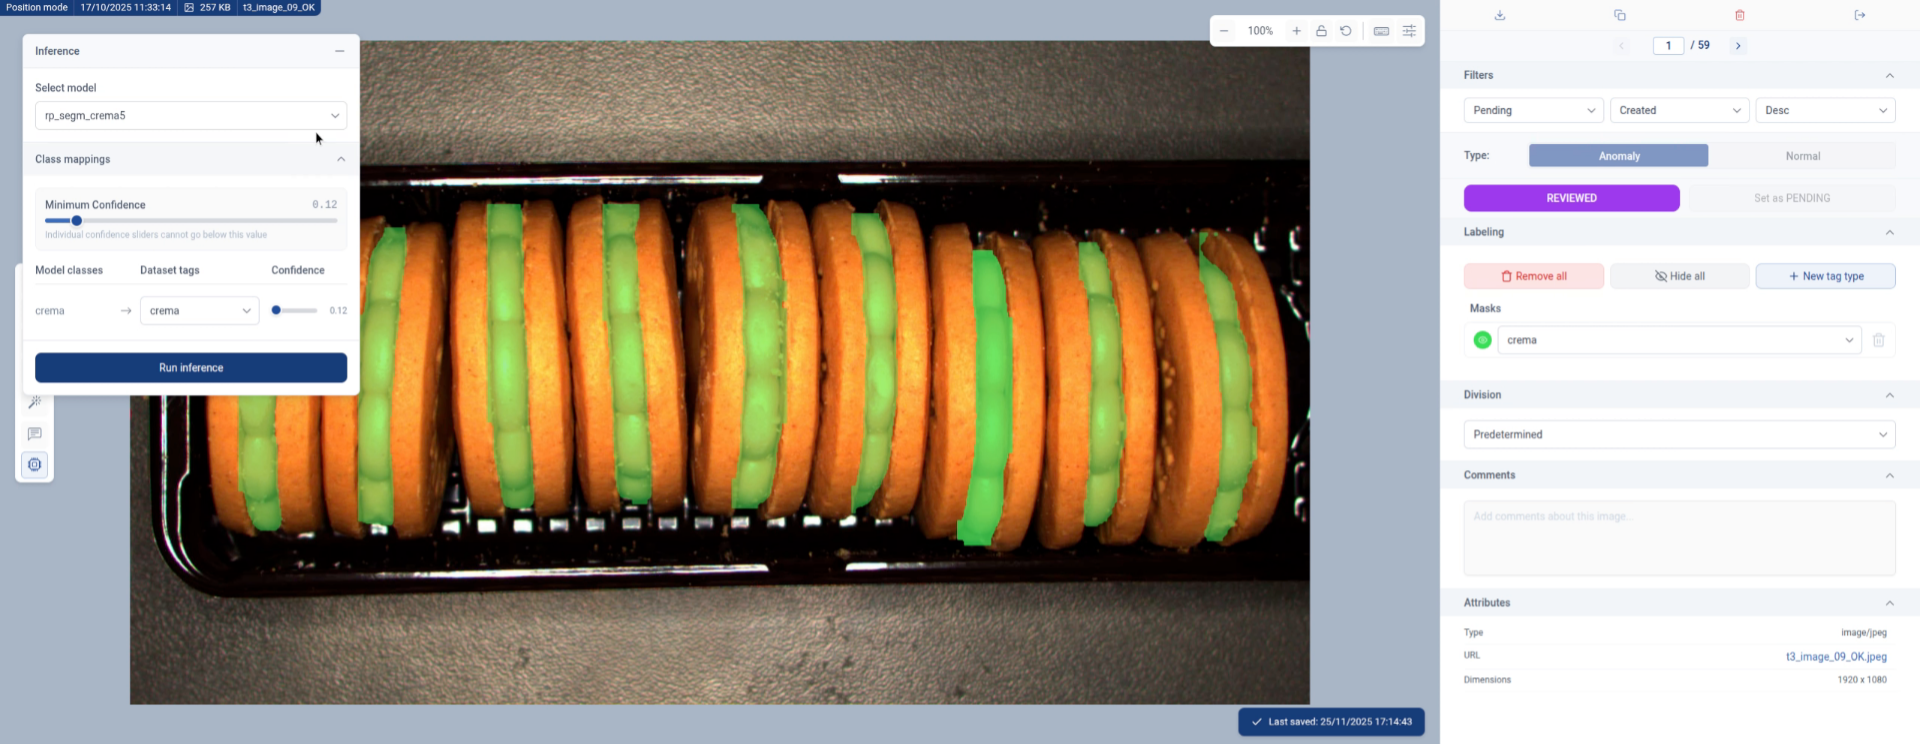
18. Complete Inference Process
By lowering the confidence threshold we have retrieved more results.
Here we could continue tweaking the confidence levels until finding the optimal results for out application.
We could also decide to refine the segmentations by manually correcting those places where the model has made an error, to later re-train a model and improve its performance
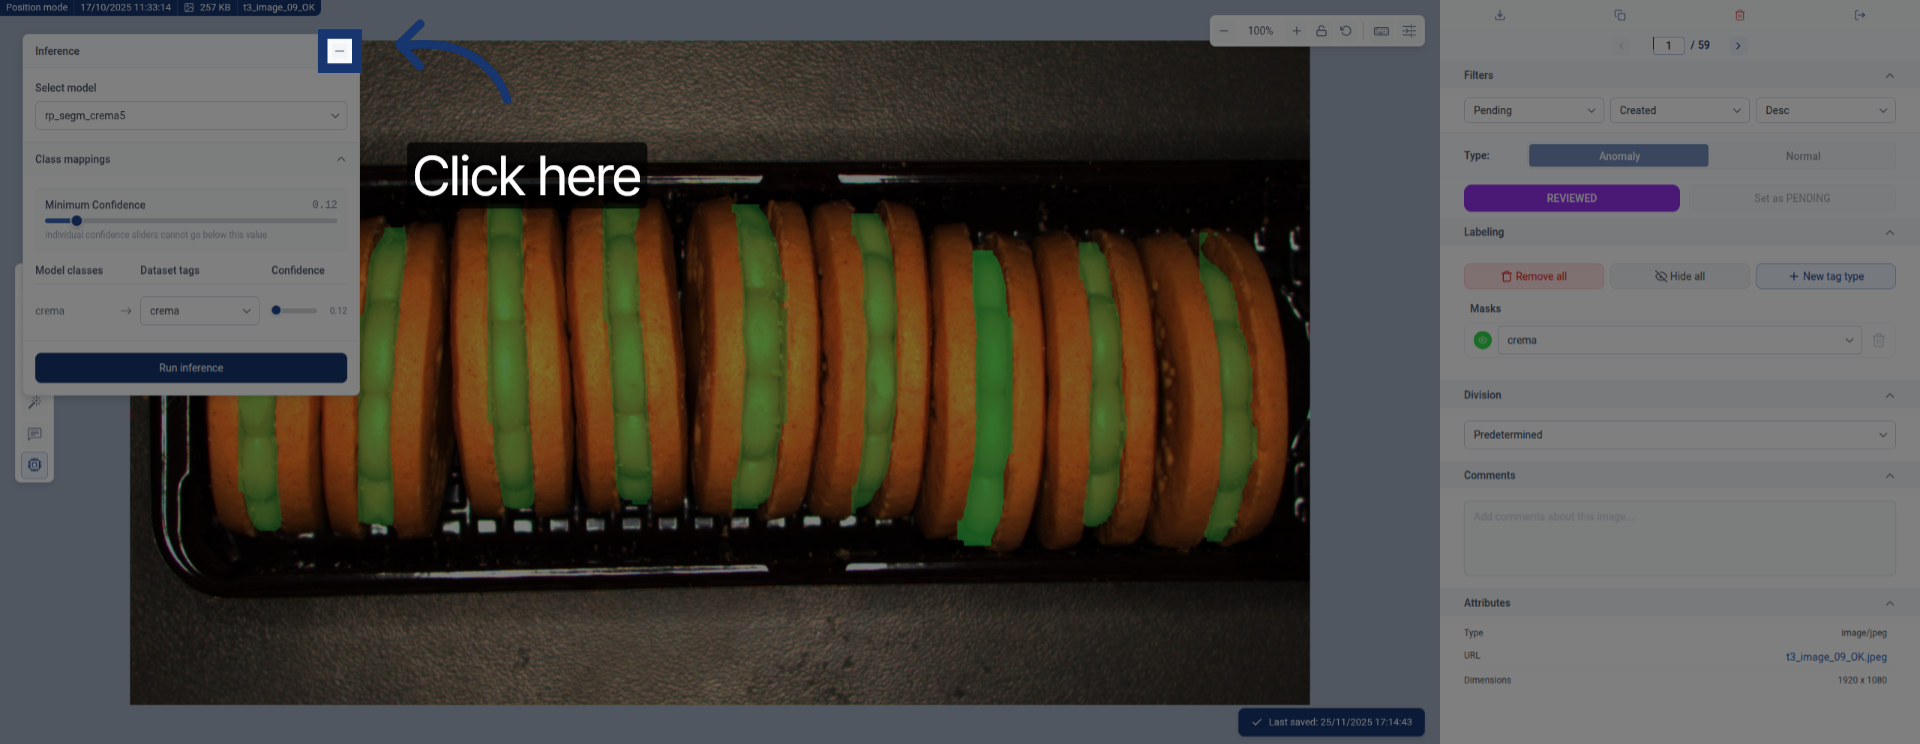
19. Close Inference Tool
Click here to close the inference tool after completing the process.
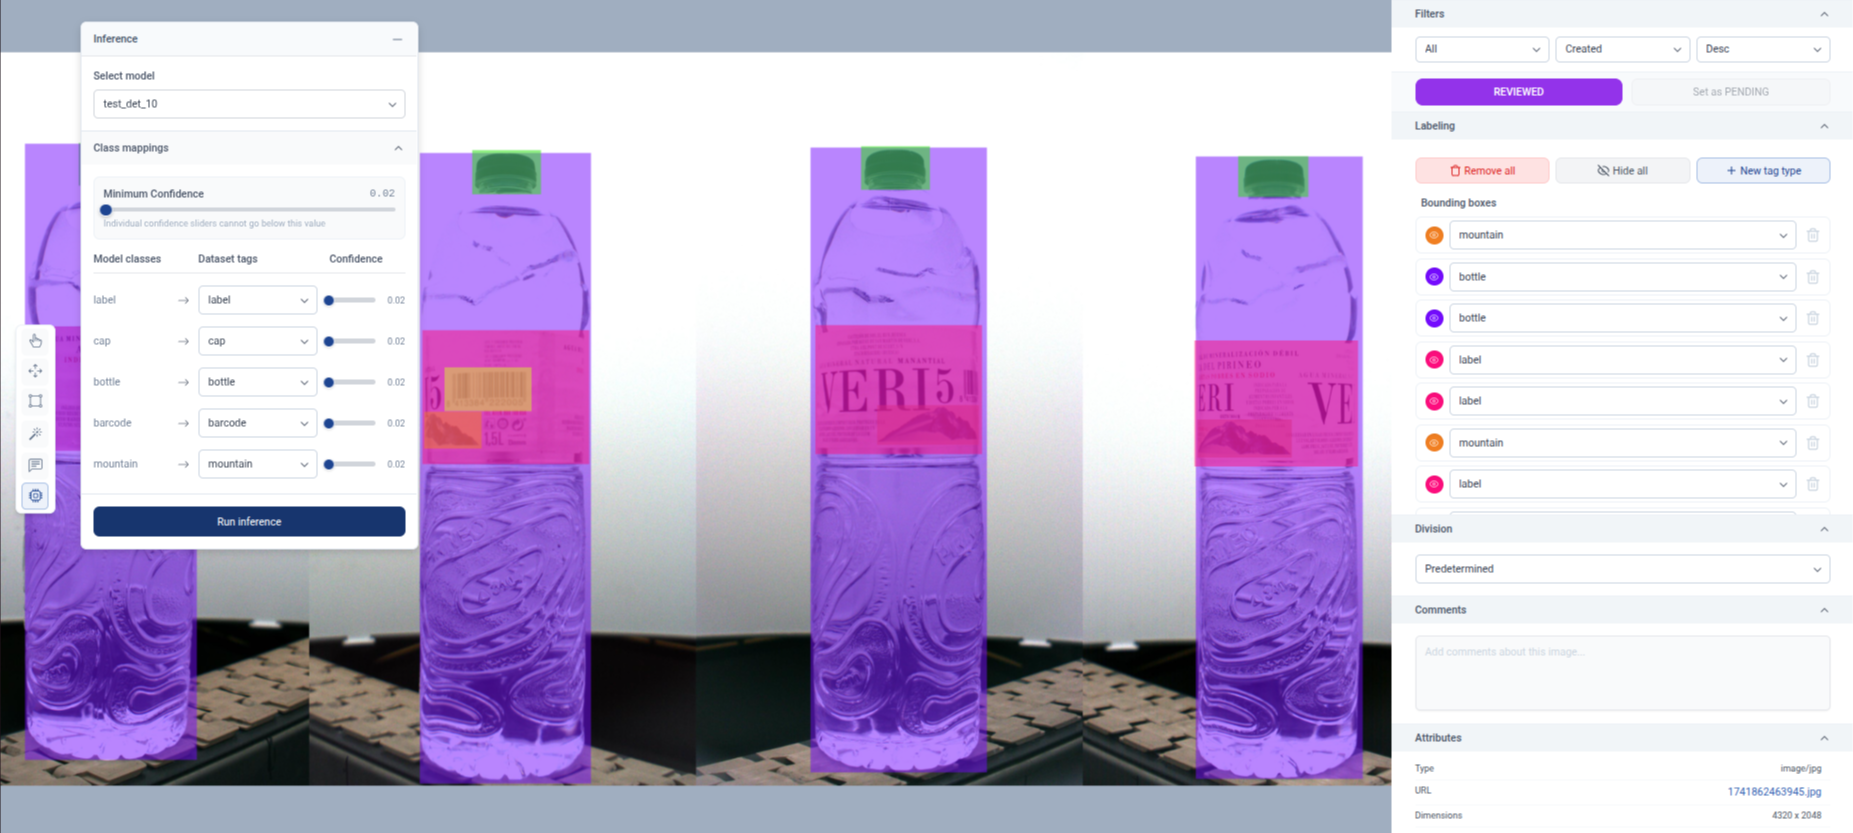
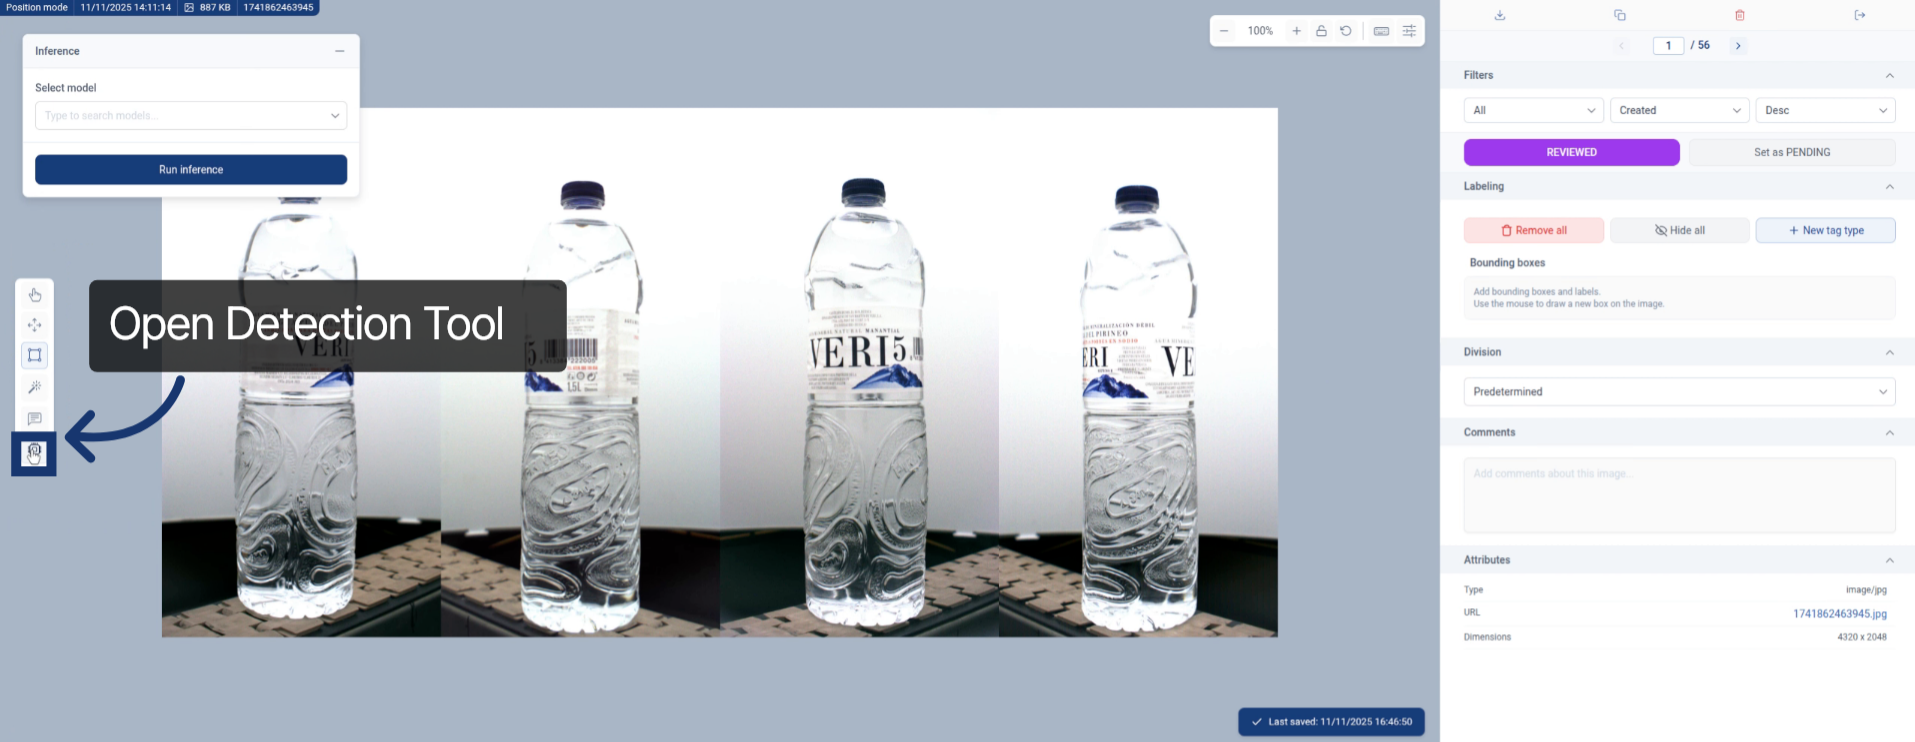
20. Apply Process to Object Detection
This same process can also be run for. For object detection models. The procedure is the same.
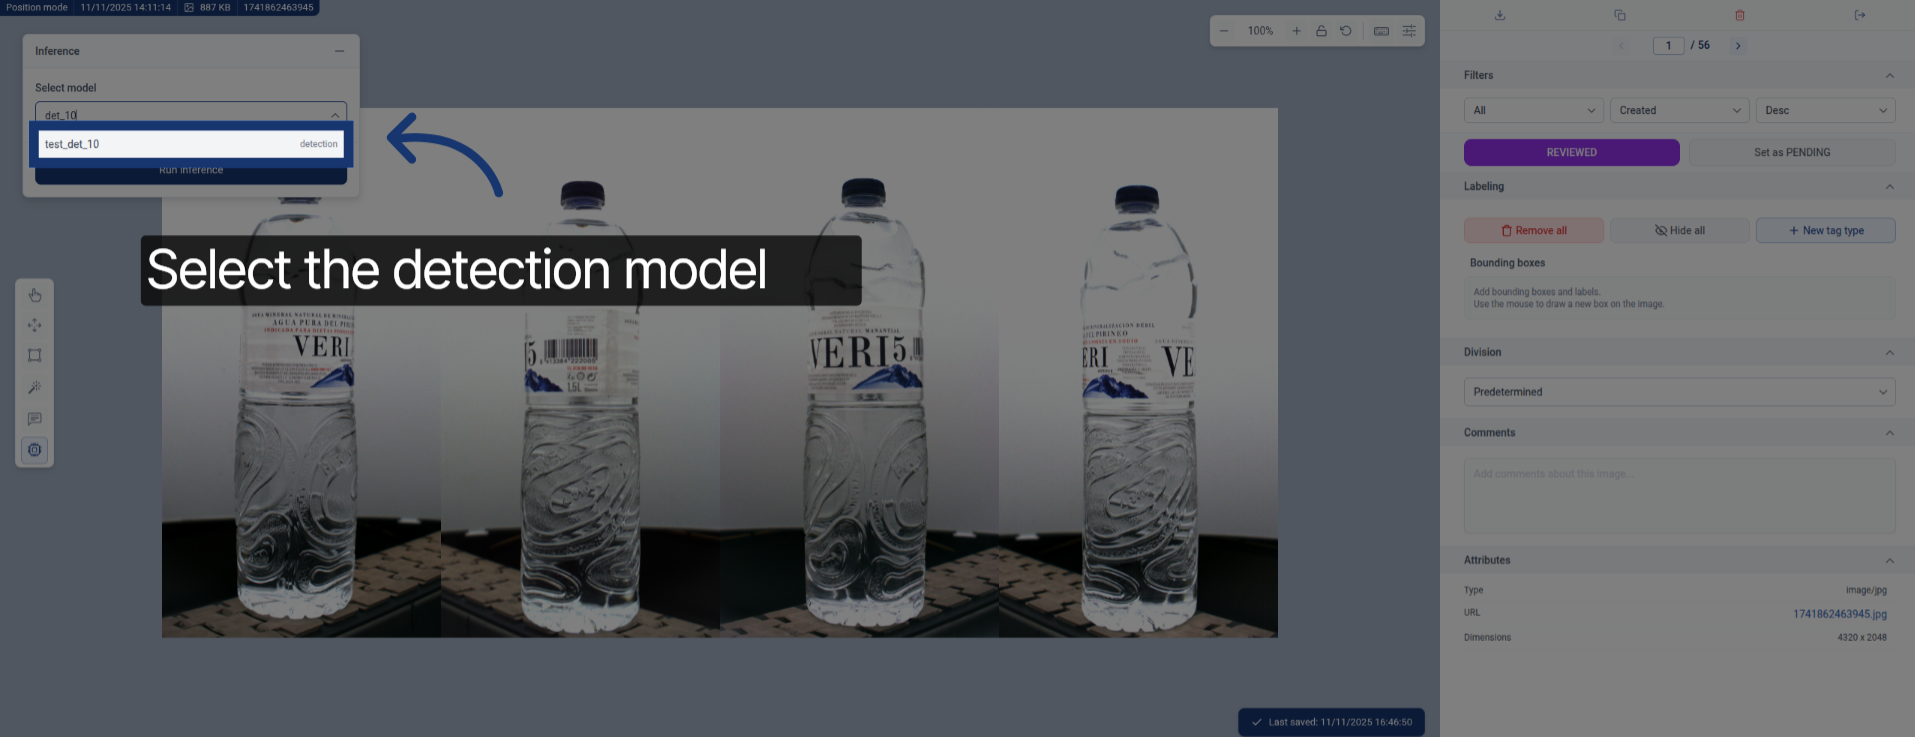
21. Search Detection Model
Enter the detection model name to find it in the list, and select it.
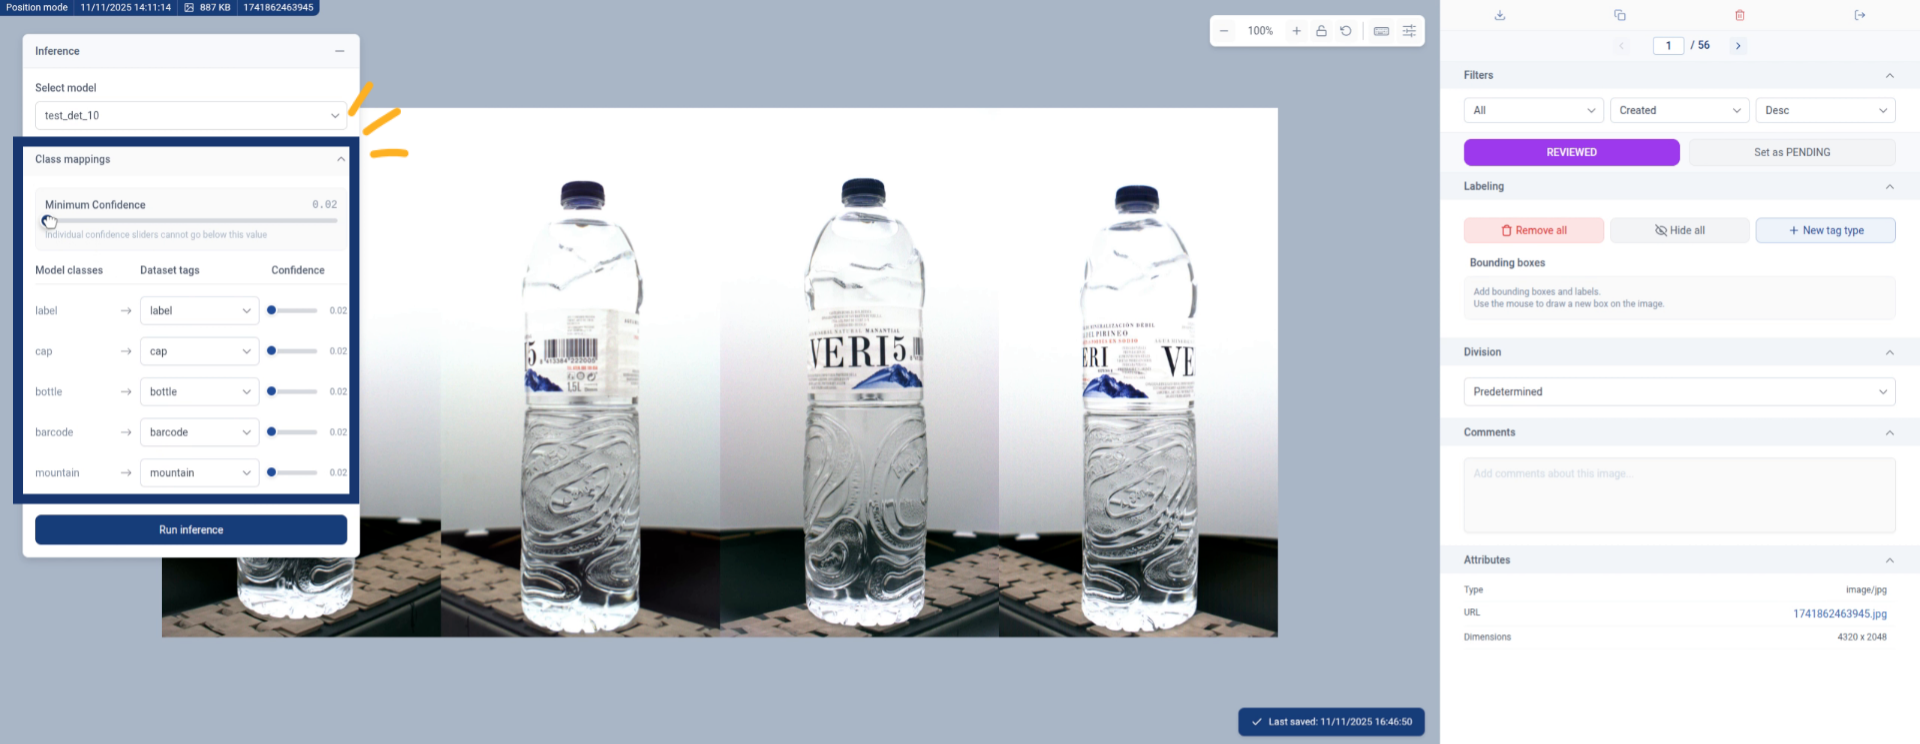
22. Map Detection Classes
And, we need to map again the model classes and the dataset classes. (this got automatically mapped because the model and dataset have the same classes)
We can also set a low confidence threshold to see all model predictions
23. Run Detection Inference
Click the Run inference button to start the detection model inference.
24. Wait for Detection Results
Once the model run we can observe, accept or edit them and move into a new image.