Manually Label Segmentation Dataset Using Rosepetal Tool
This tutorial guides you through manually labeling a segmentation dataset (identifying and outlining specific objects or regions in images pixel by pixel) using the Rosepetal labeling tool. You'll learn how to mark objects precisely so AI models can learn to recognize and segment them automatically.
Why this matters: Accurate segmentation labels are essential for training AI models to identify and outline objects in images. Whether you're detecting defects in products, identifying objects in photos, or analyzing parts of objects, precise manual labeling creates the foundation for your AI to learn from.
Note: While this guide uses cookie images as examples (segmenting cream filling and cracks), the same techniques apply to any segmentation task - products, defects, or any objects you need to identify.
What You'll Need
- Access to a segmentation dataset in Rosepetal Vision Platform
- Images uploaded to your dataset
- Understanding of what objects/regions you want to segment (label)
- A mouse or trackpad for drawing (recommended: mouse for more precision)
Step 1: Select Your Dataset
Start by choosing the segmentation dataset you want to work with.
Navigate to your datasets and select the one you'll be labeling:
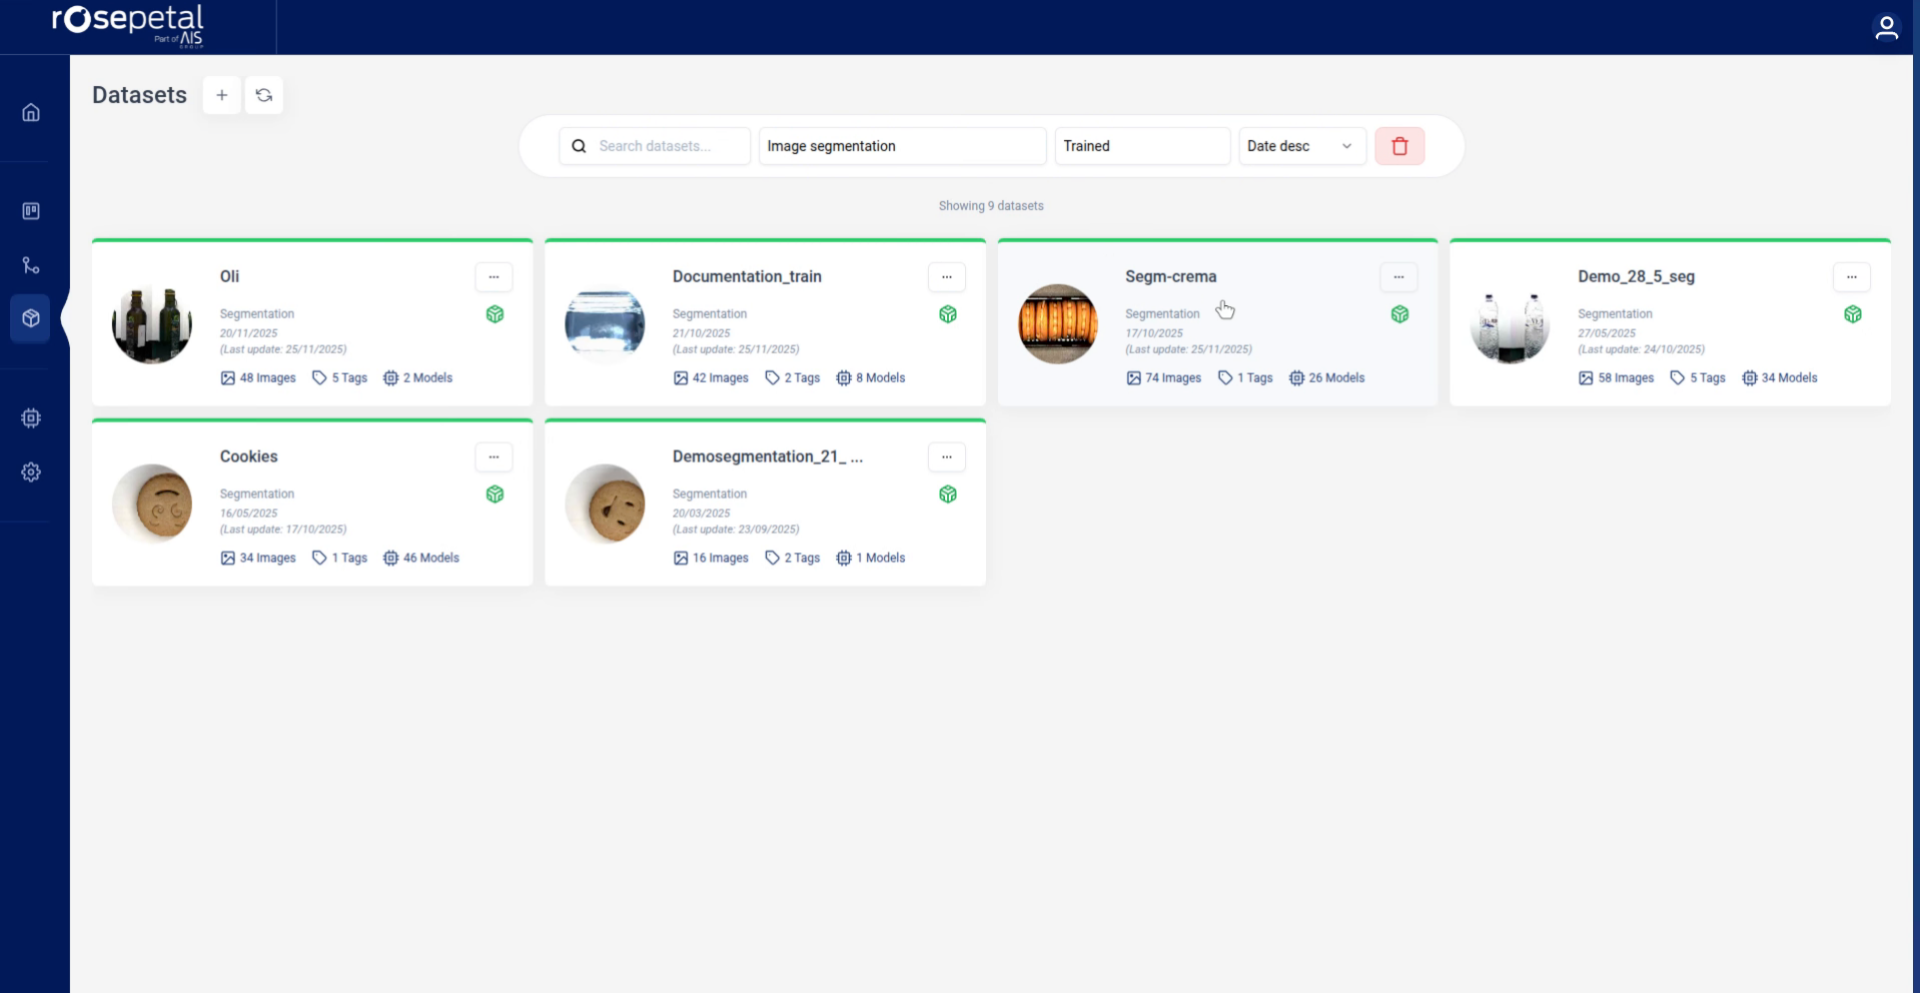
Click on your segmentation dataset:

In this example, we're using a cookie segmentation dataset where the goal is to segment the cream between the two cookies. Your dataset might contain different objects - the labeling process is the same regardless of what you're segmenting.
Step 2: Navigate to Labeling Workspace
Now you'll open the labeling interface and find images that need to be labeled.
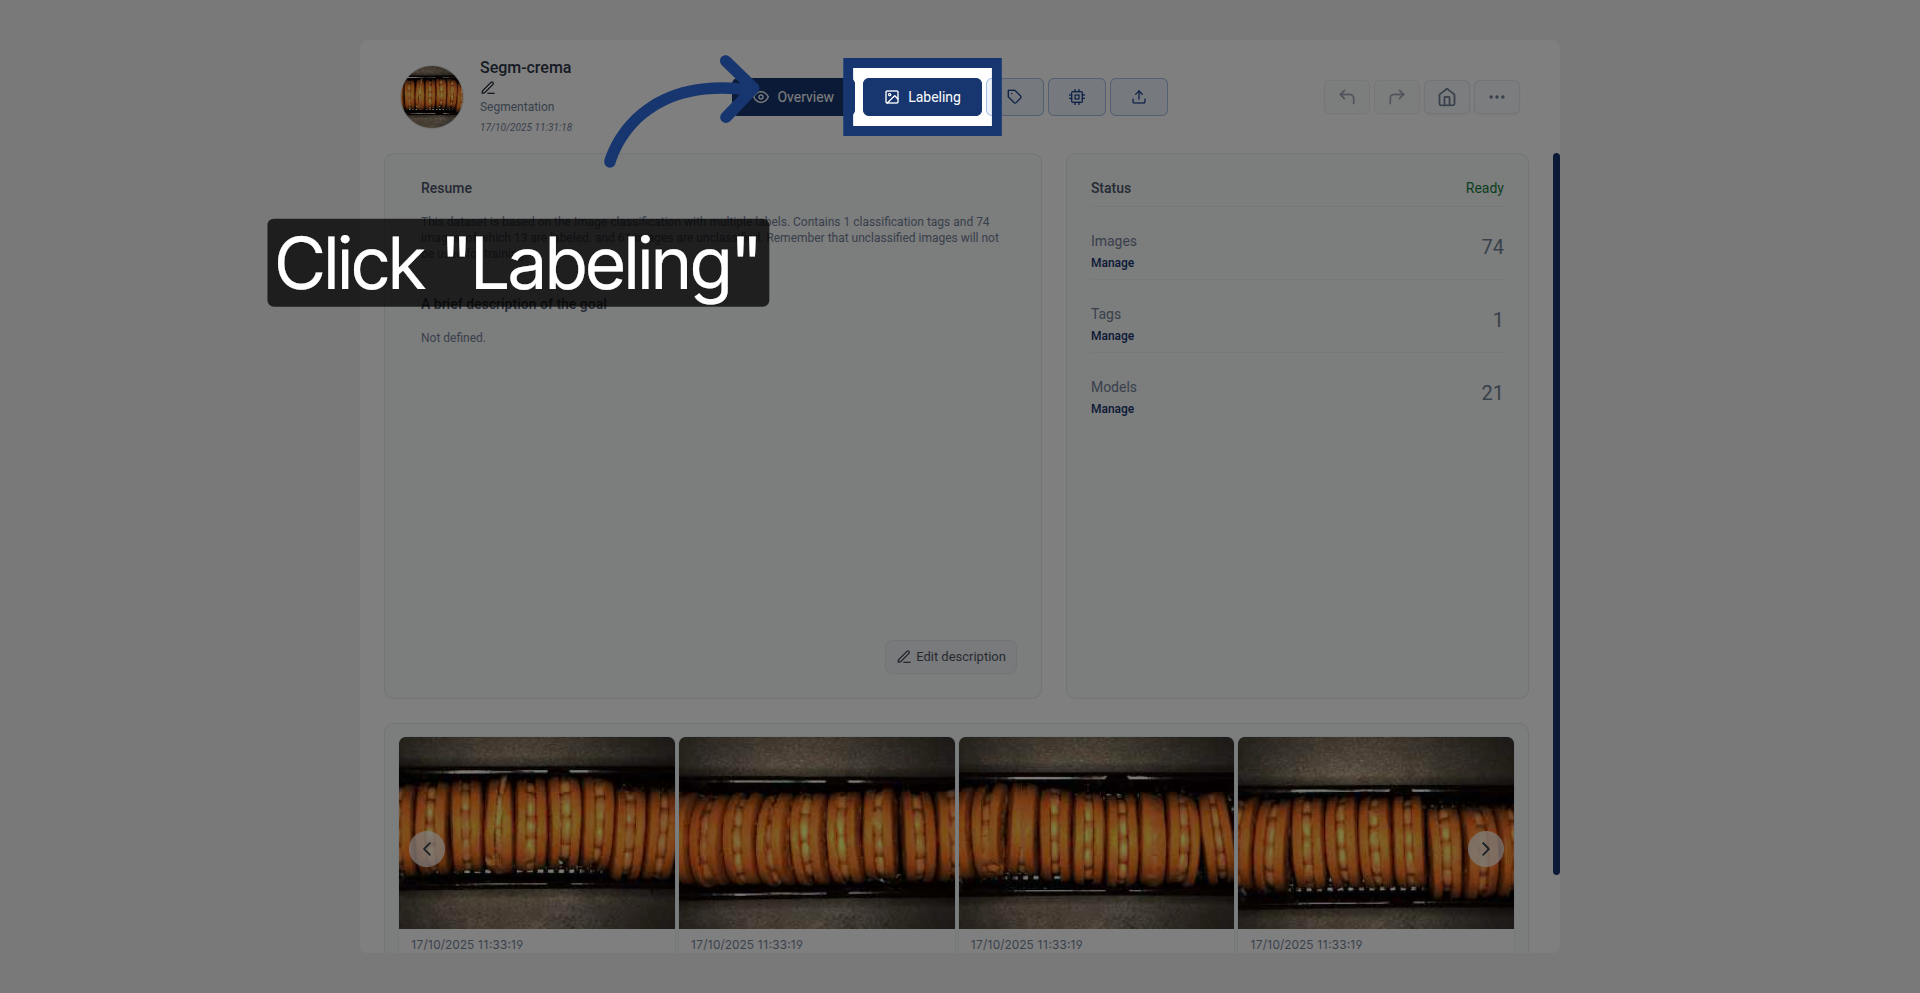
Click "Labeling" to enter the labeling workspace:
Click "Pending" to filter and show only images awaiting labeling:
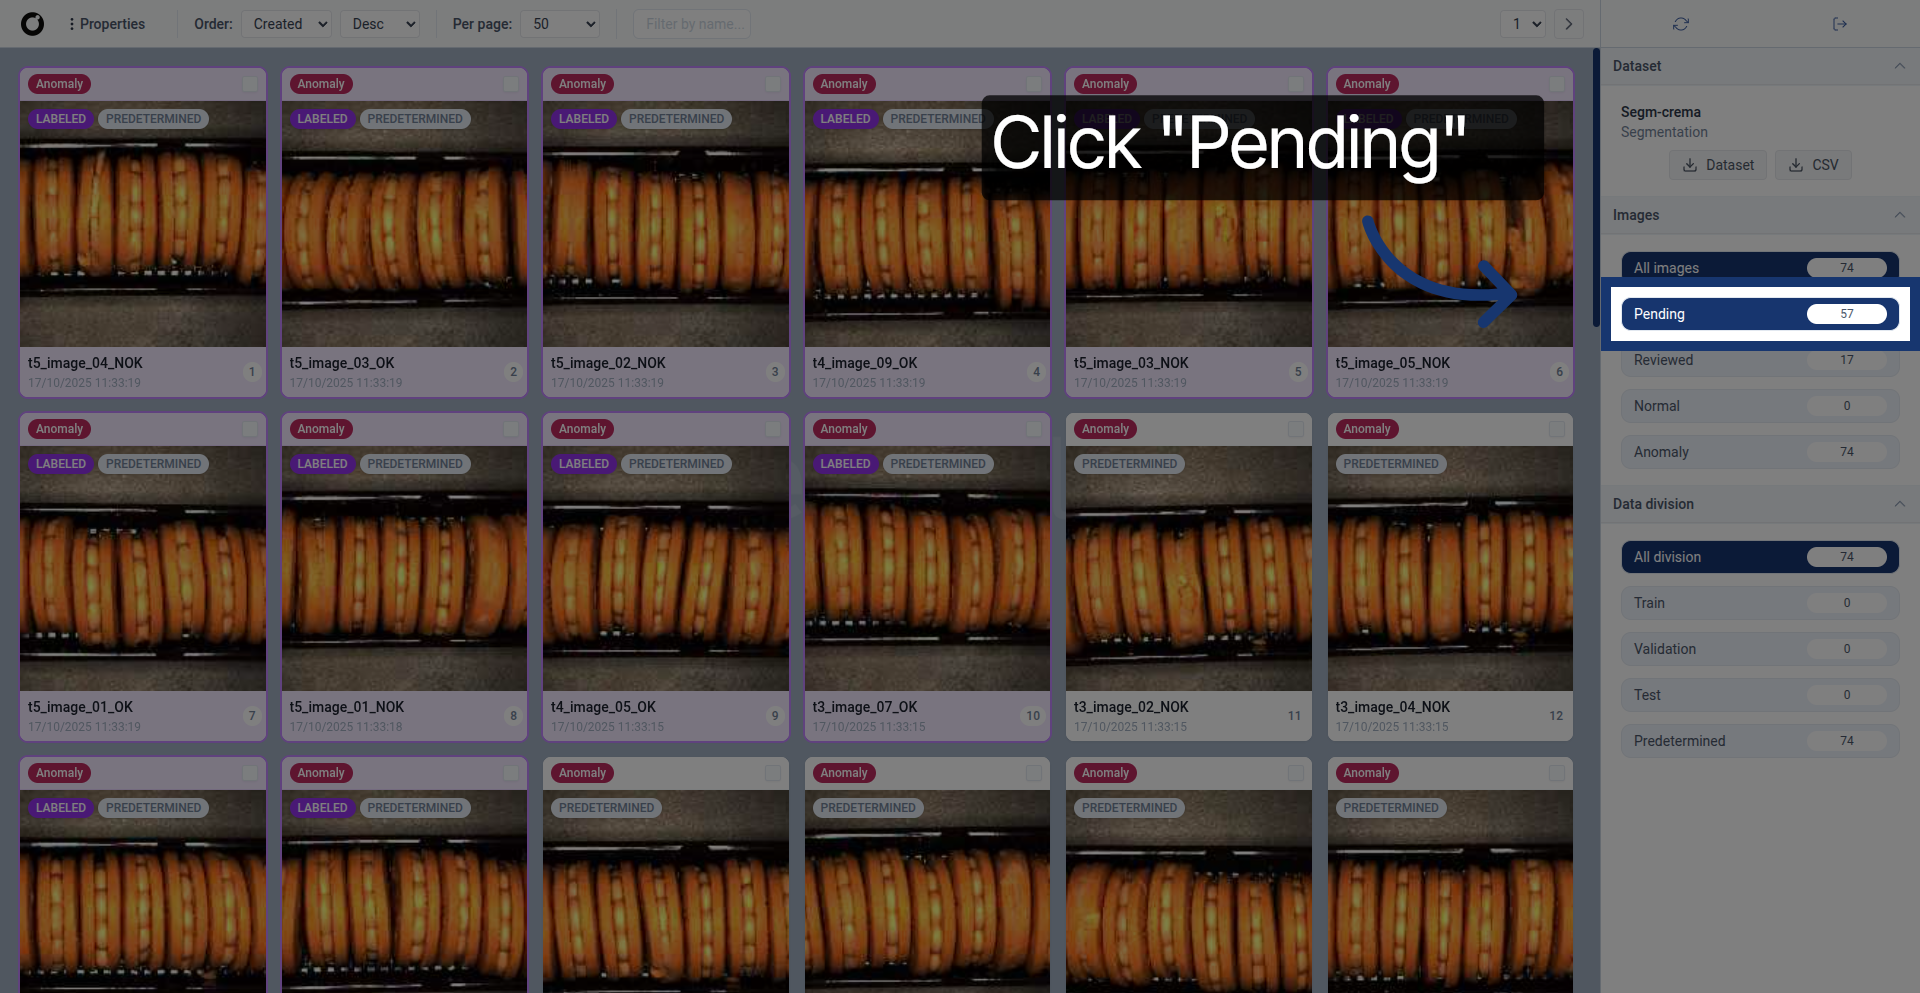
This filters your view to show only images that haven't been labeled yet, making it easier to track your progress.
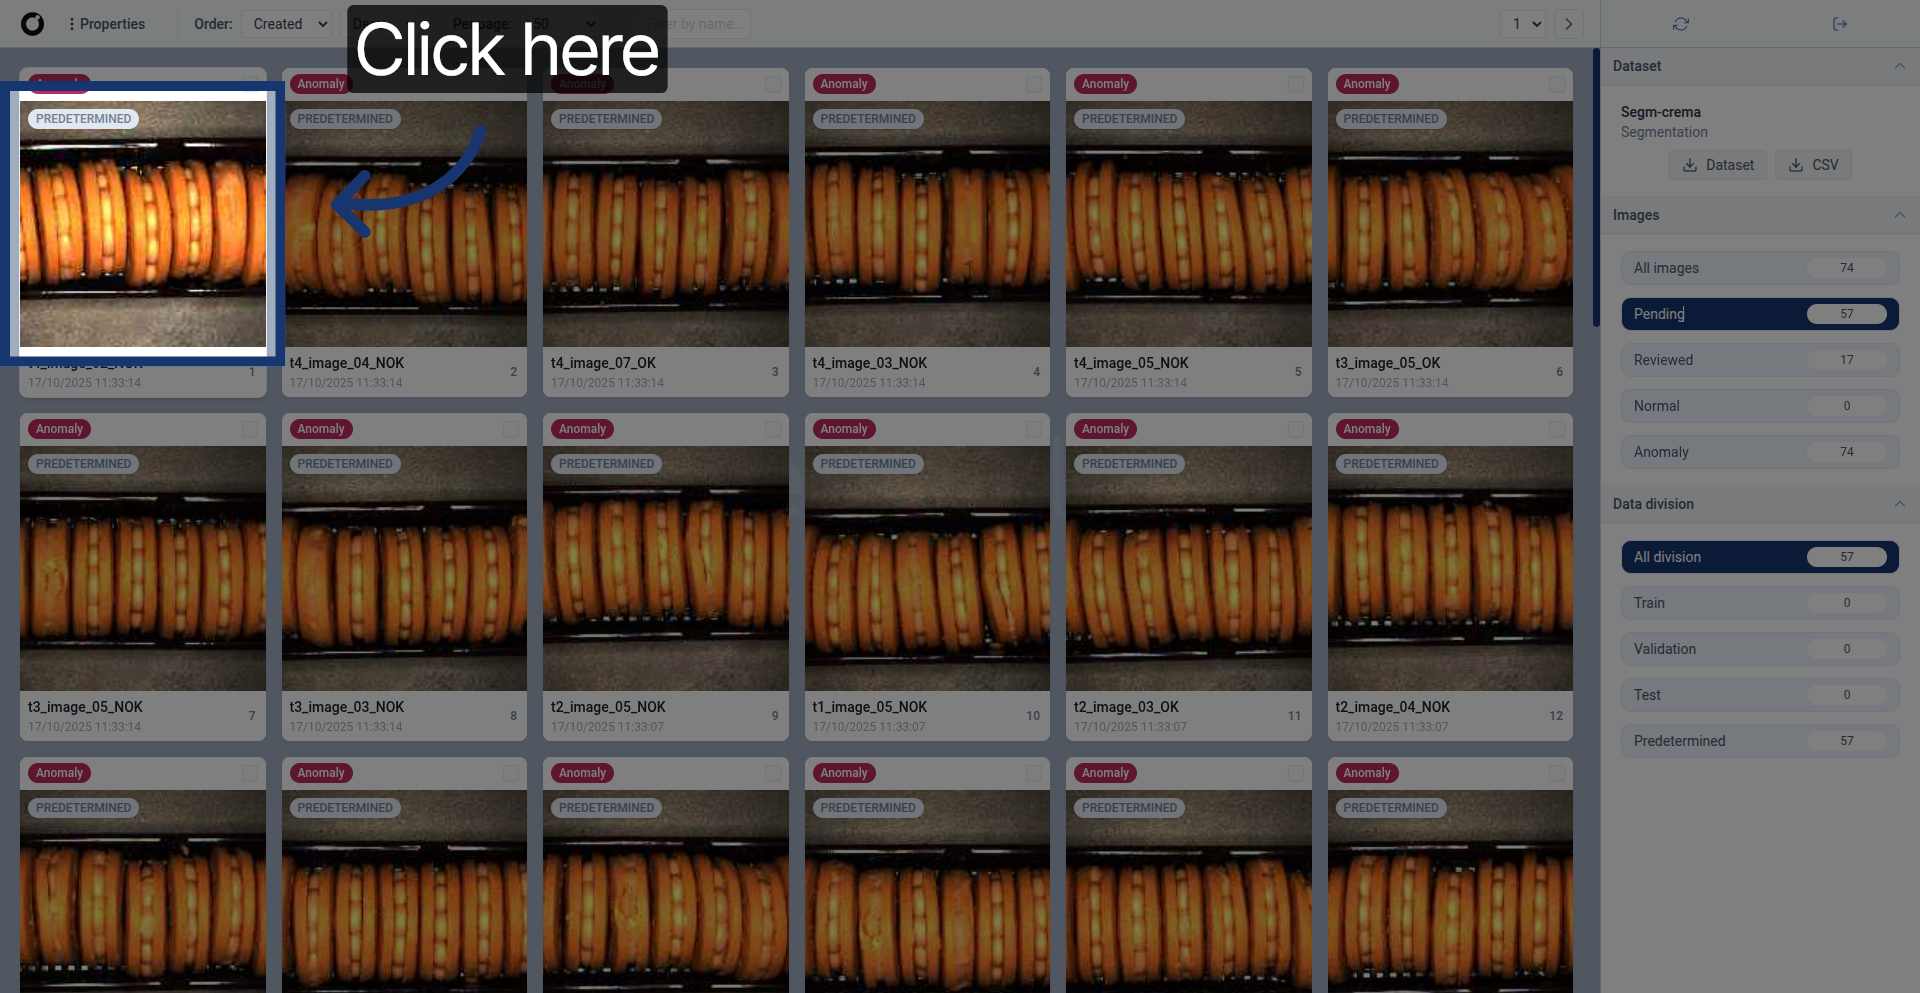
Click on any image in the pending list to open it for labeling:
Step 3: Understanding the Labeling Tools
When you open an image, a panel of labeling tools appears. Each tool serves a different purpose for creating accurate segmentation masks (the outlined regions showing where objects are).
The tool panel contains four main tools:
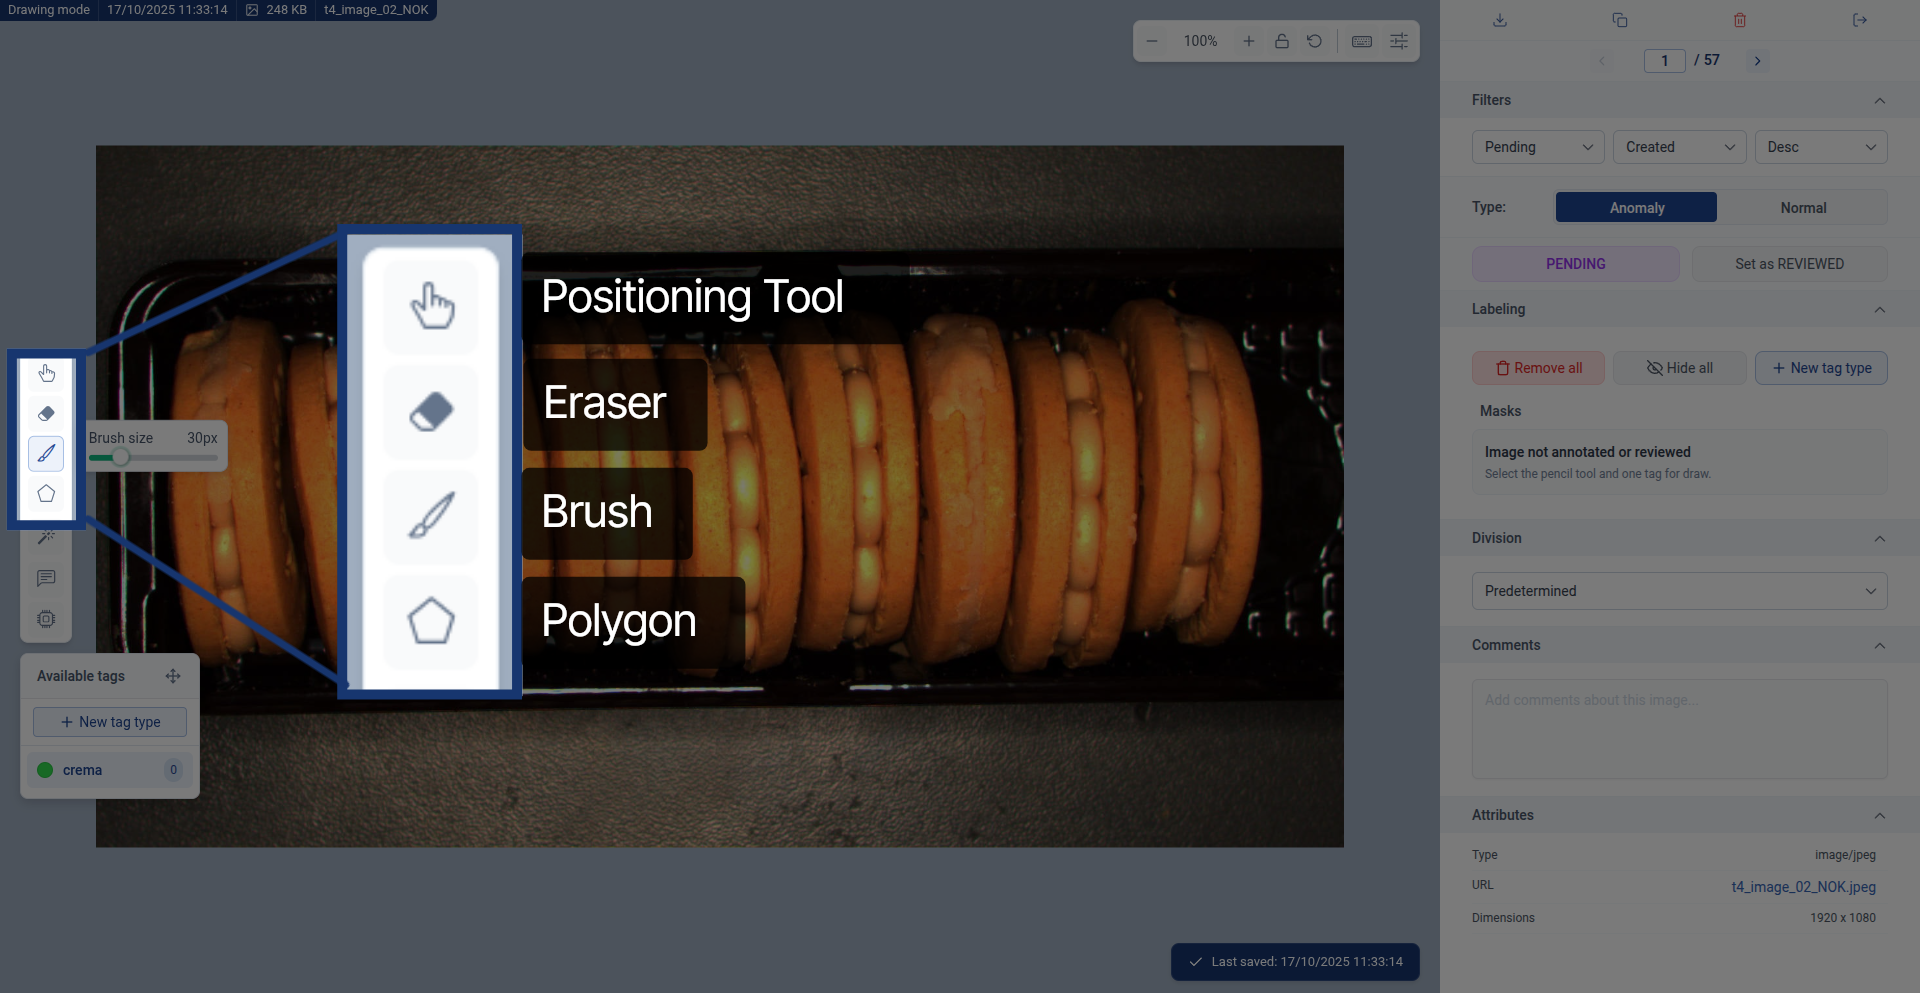
Tool overview:
- Move tool (hand icon): Moves the image canvas around for better viewing
- Eraser: Removes previously segmented sections - useful for fixing mistakes or refining edges
- Brush: Paint segmented regions with mouse movements - best for irregular shapes and organic edges
- Polygon: Create shapes by clicking points to form a filled polygon - best for geometric or angular objects
Quick tool selection guide:
- Use Brush for: Irregular shapes, organic edges, detailed work (like cream filling with uneven edges)
- Use Polygon for: Geometric shapes, straight-edged objects, quick large area coverage (like rectangular cracks)
- Use Eraser for: Fixing mistakes, refining edges, removing excess marked areas
Select your segmentation class (what you're labeling):
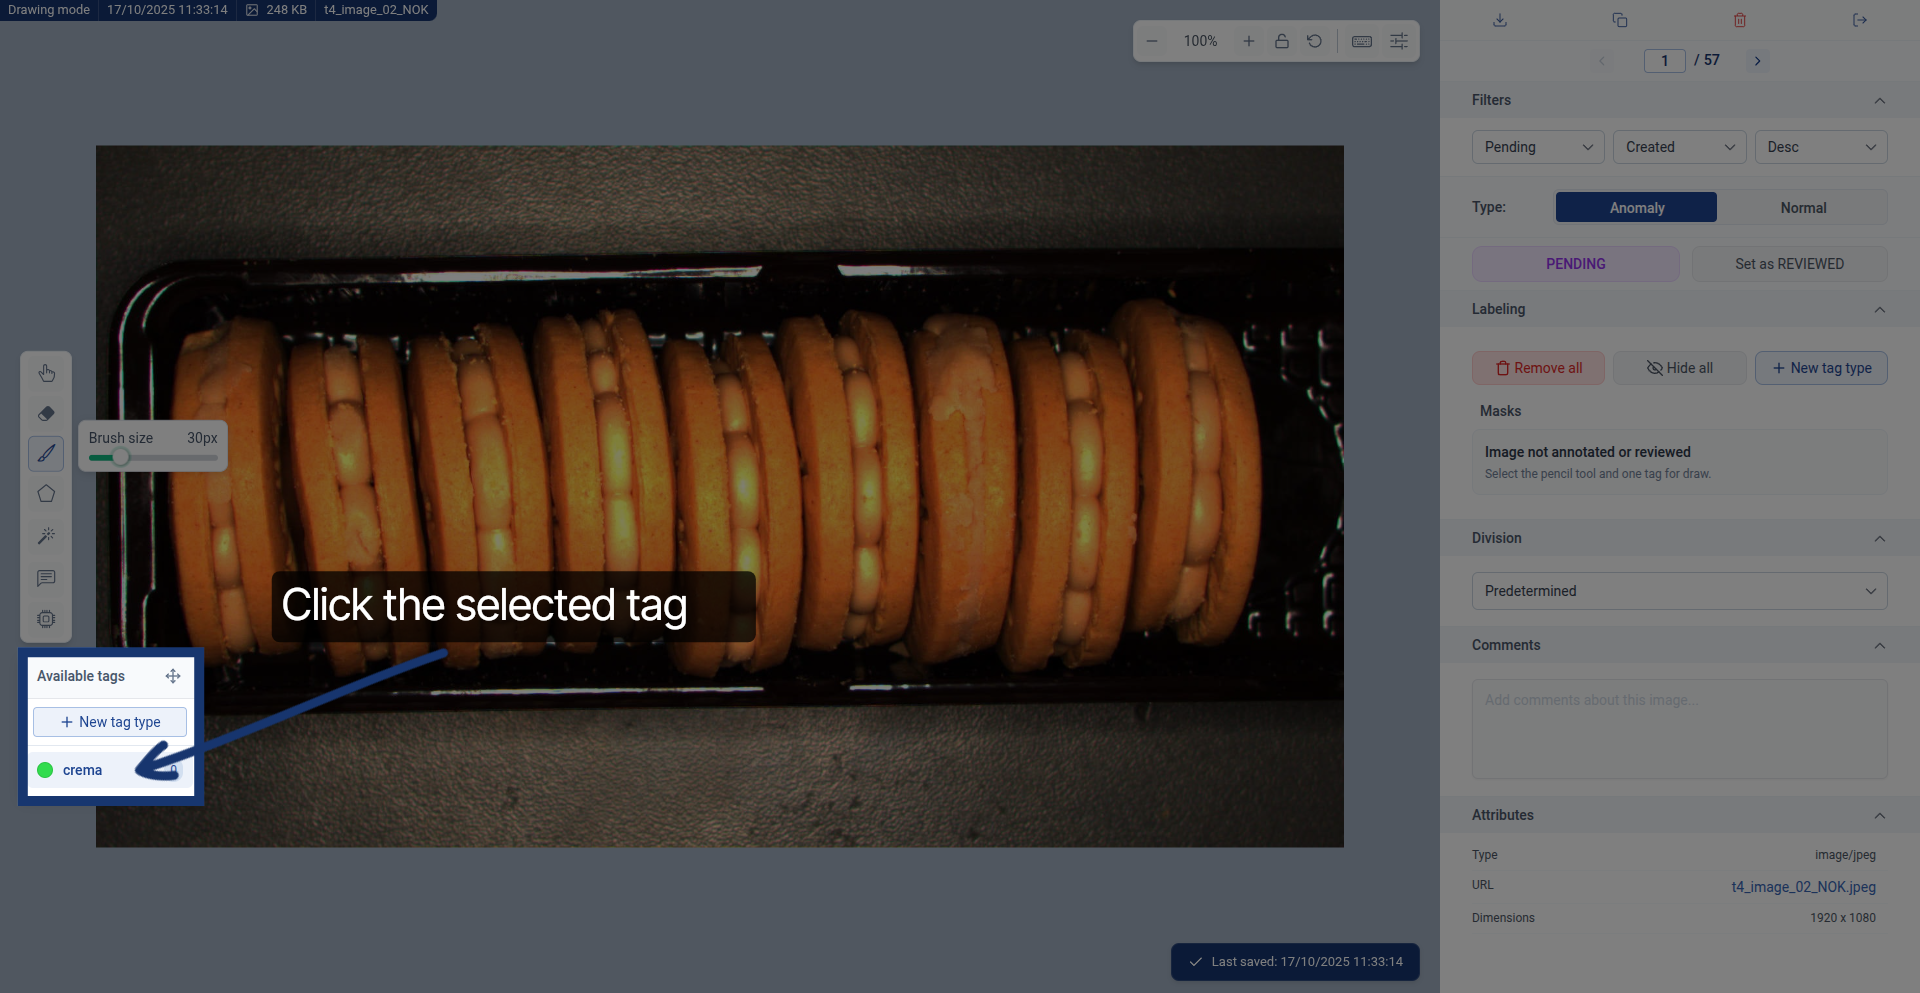
The different available segmentation classes (categories like "cream", "crack", "defect", etc.) appear in this tab. Important: Make sure to activate the correct class before using the segmentation tools - everything you mark will automatically be tagged with the active class.
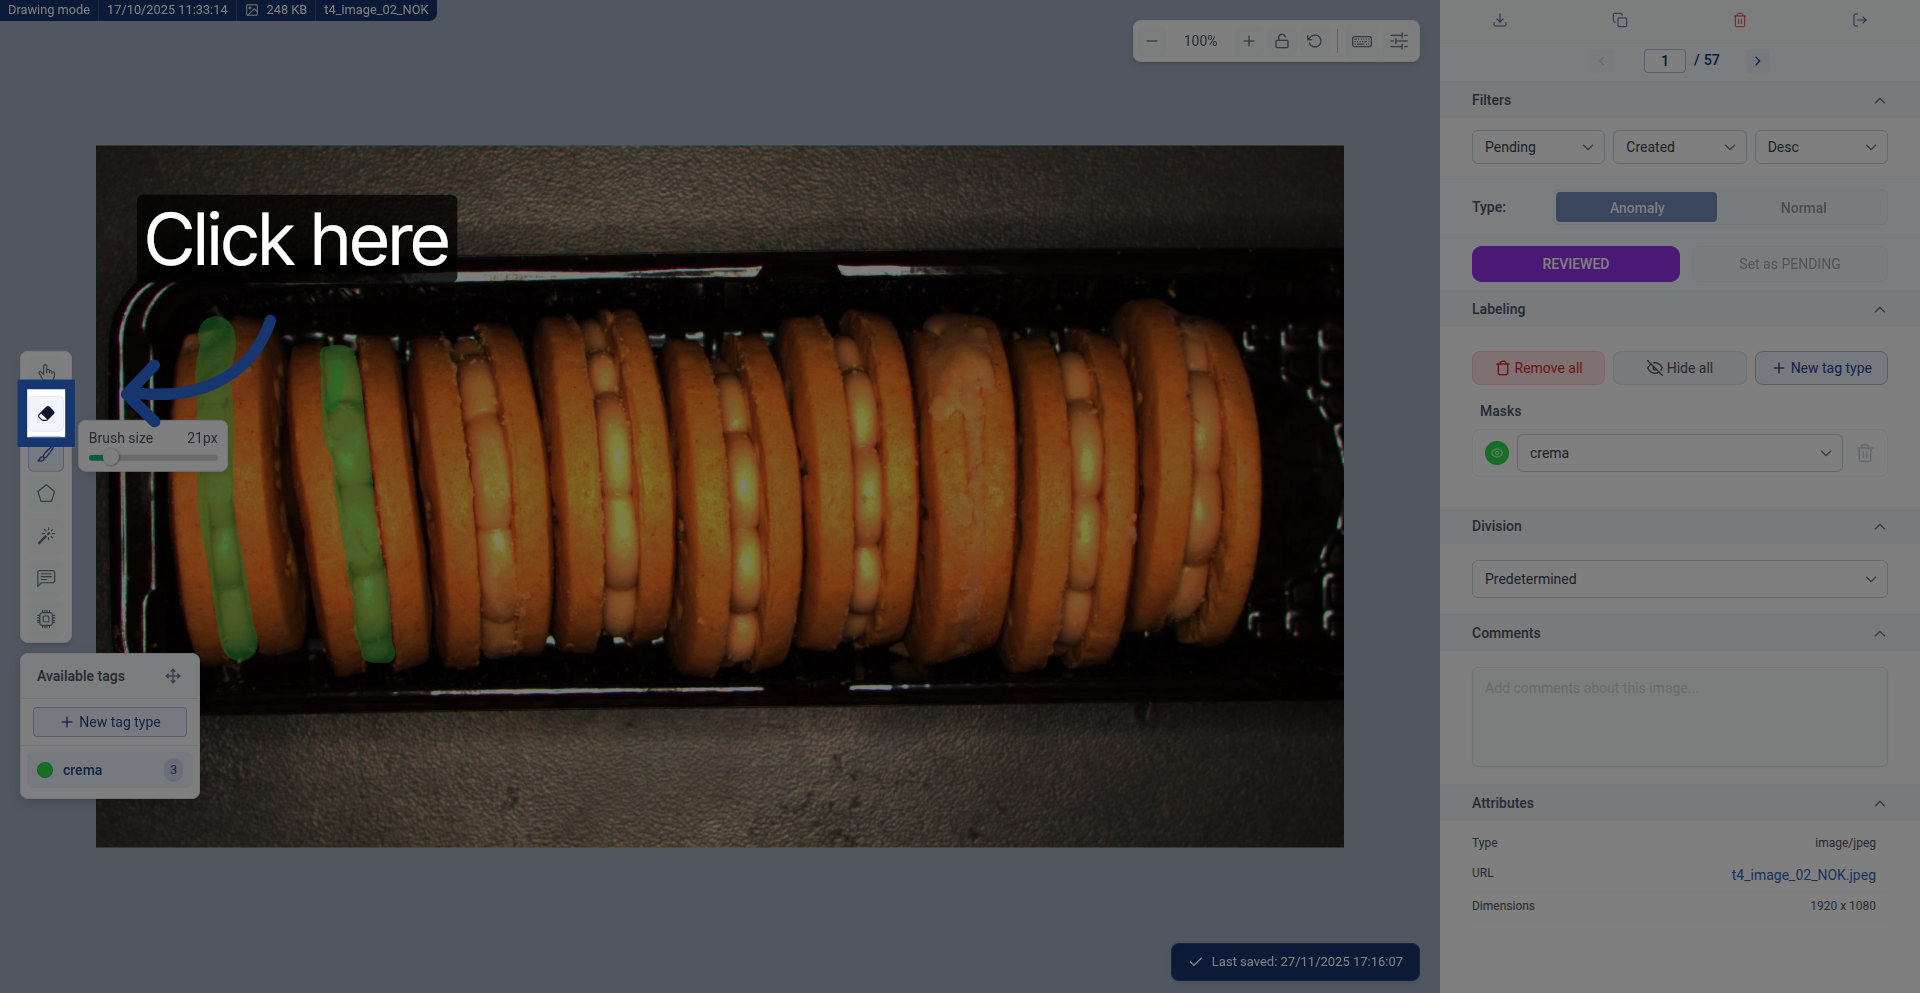
Step 4: Using the Brush Tool
The brush tool lets you paint segmentation masks by dragging your mouse. It's ideal for irregular shapes and precise edge work.
Adjust the brush size for your needs:
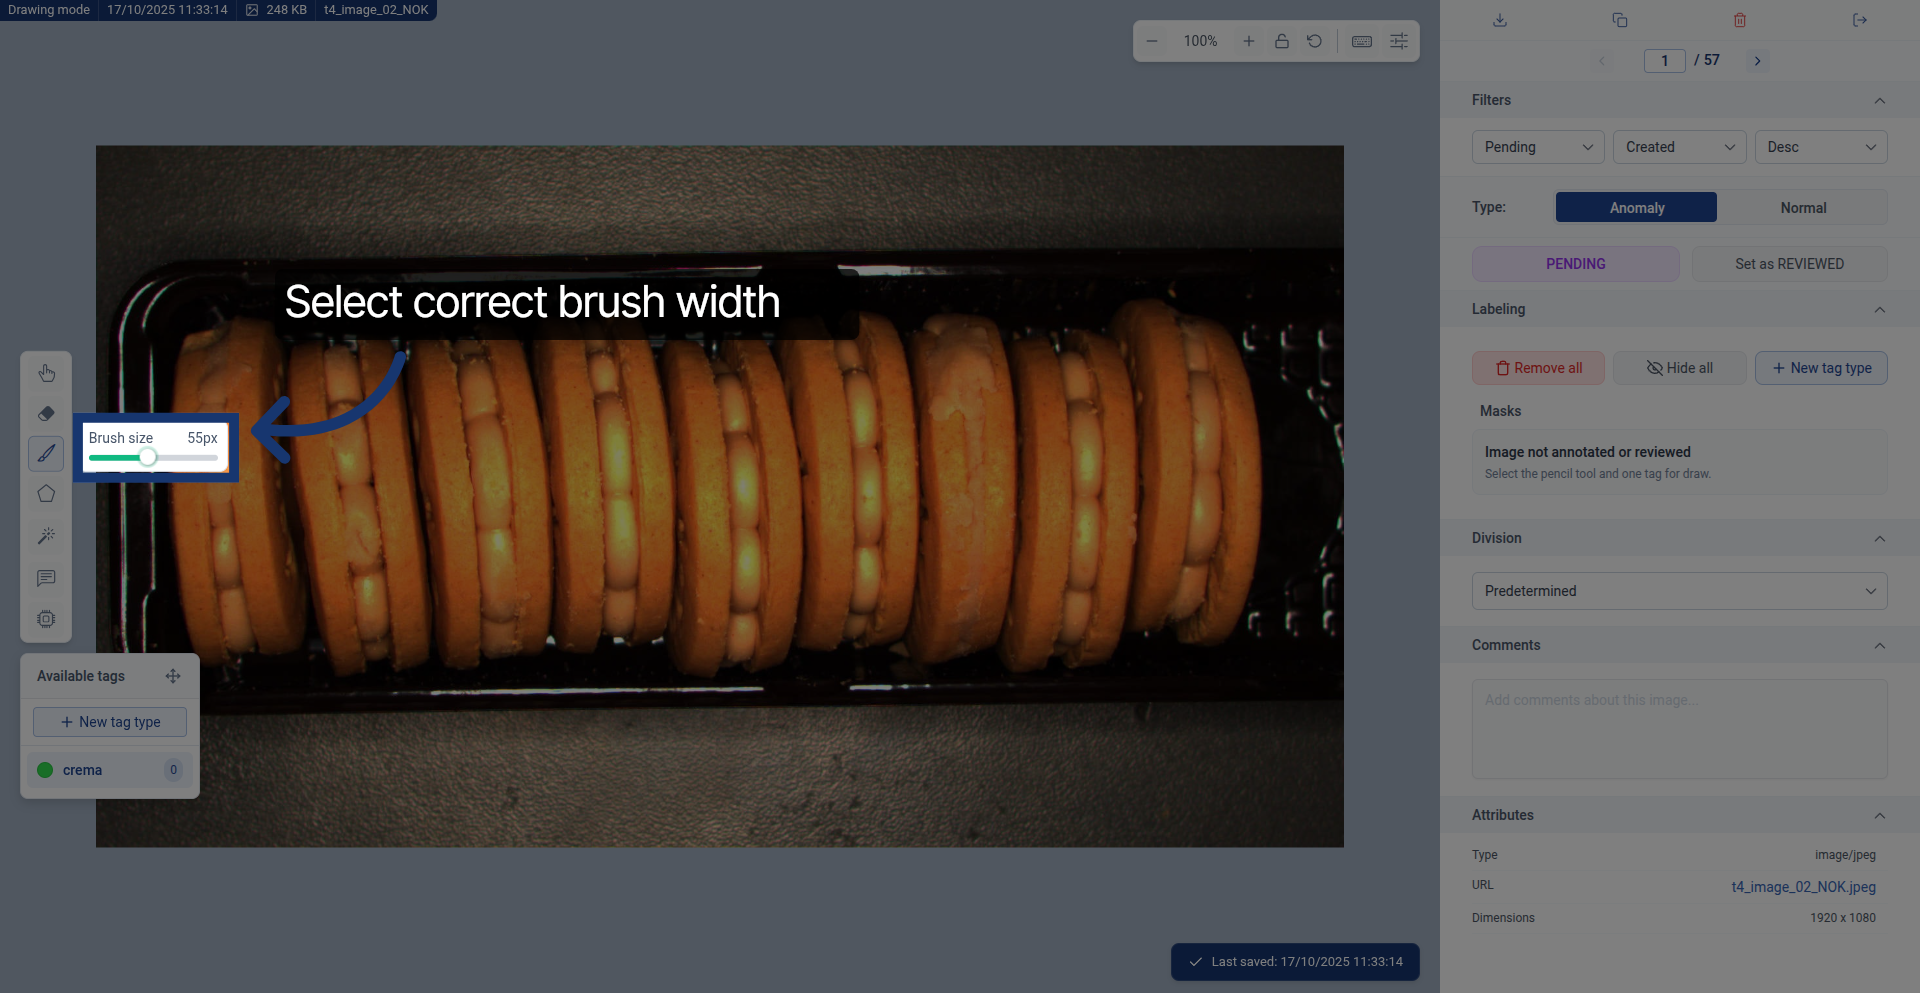
Brush size guidance:
- Larger brush: Covers more area quickly but captures less detail - good for initial rough segmentation
- Smaller brush: Slower but much more precise - better for detailed edges and final refinement
Comparing brush sizes in action:
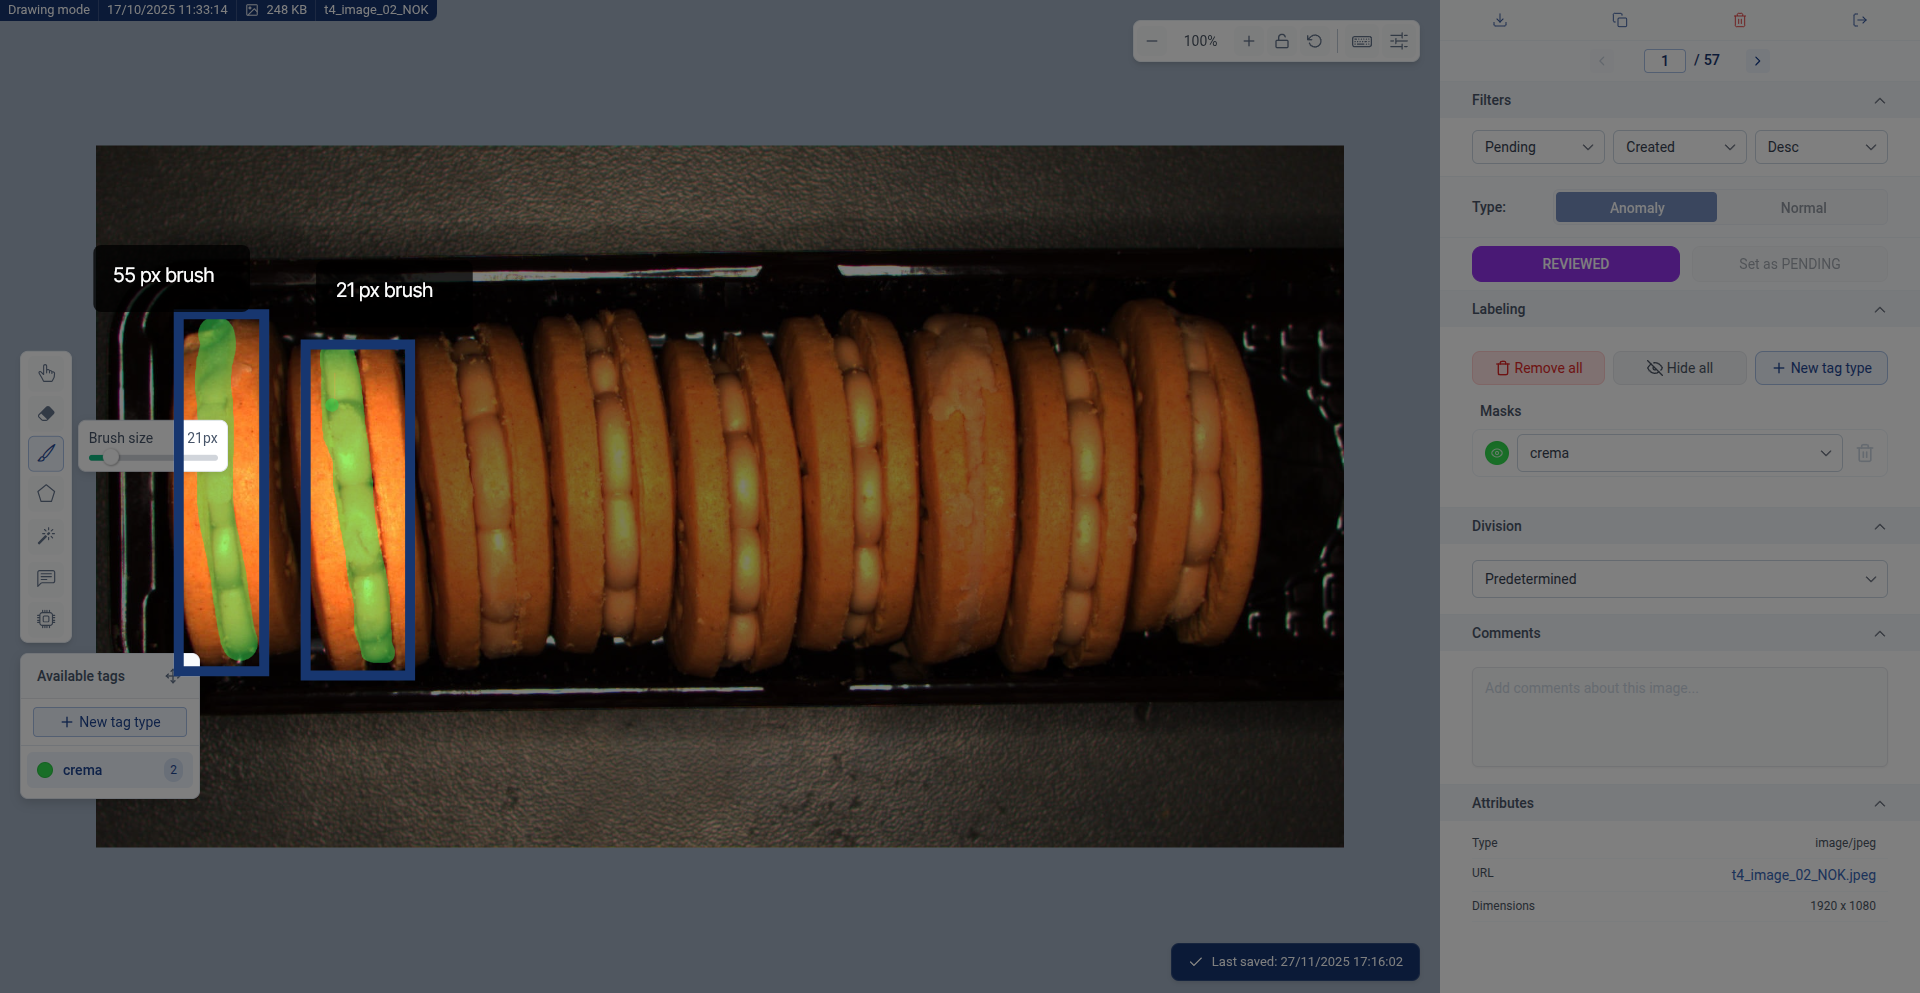
Here you can see how with a bigger brush, it's harder to capture the desired sections accurately. You always have to account for the brush width when tracing, which often results in marking extra areas. You'd then need to carefully use the eraser with a finer brush to remove those unwanted parts.
On the other hand, a finer brush allows you to segment the edges of objects more precisely from the start, creating masks that need minimal post-processing.
Tip: Start with a larger brush for the interior, then switch to a smaller brush for precise edges.
Refine your segmentation with the eraser:
The eraser tool removes unwanted segmented areas. Like the brush, it also has adjustable size settings to control how much area you erase at once. Use it to clean up edges and remove accidentally marked regions.
Step 5: Straight Line Mode (Brush & Eraser)
Both the brush and eraser tools have a special straight line mode for creating perfectly straight segments without hand tremor.
How to use straight line mode:
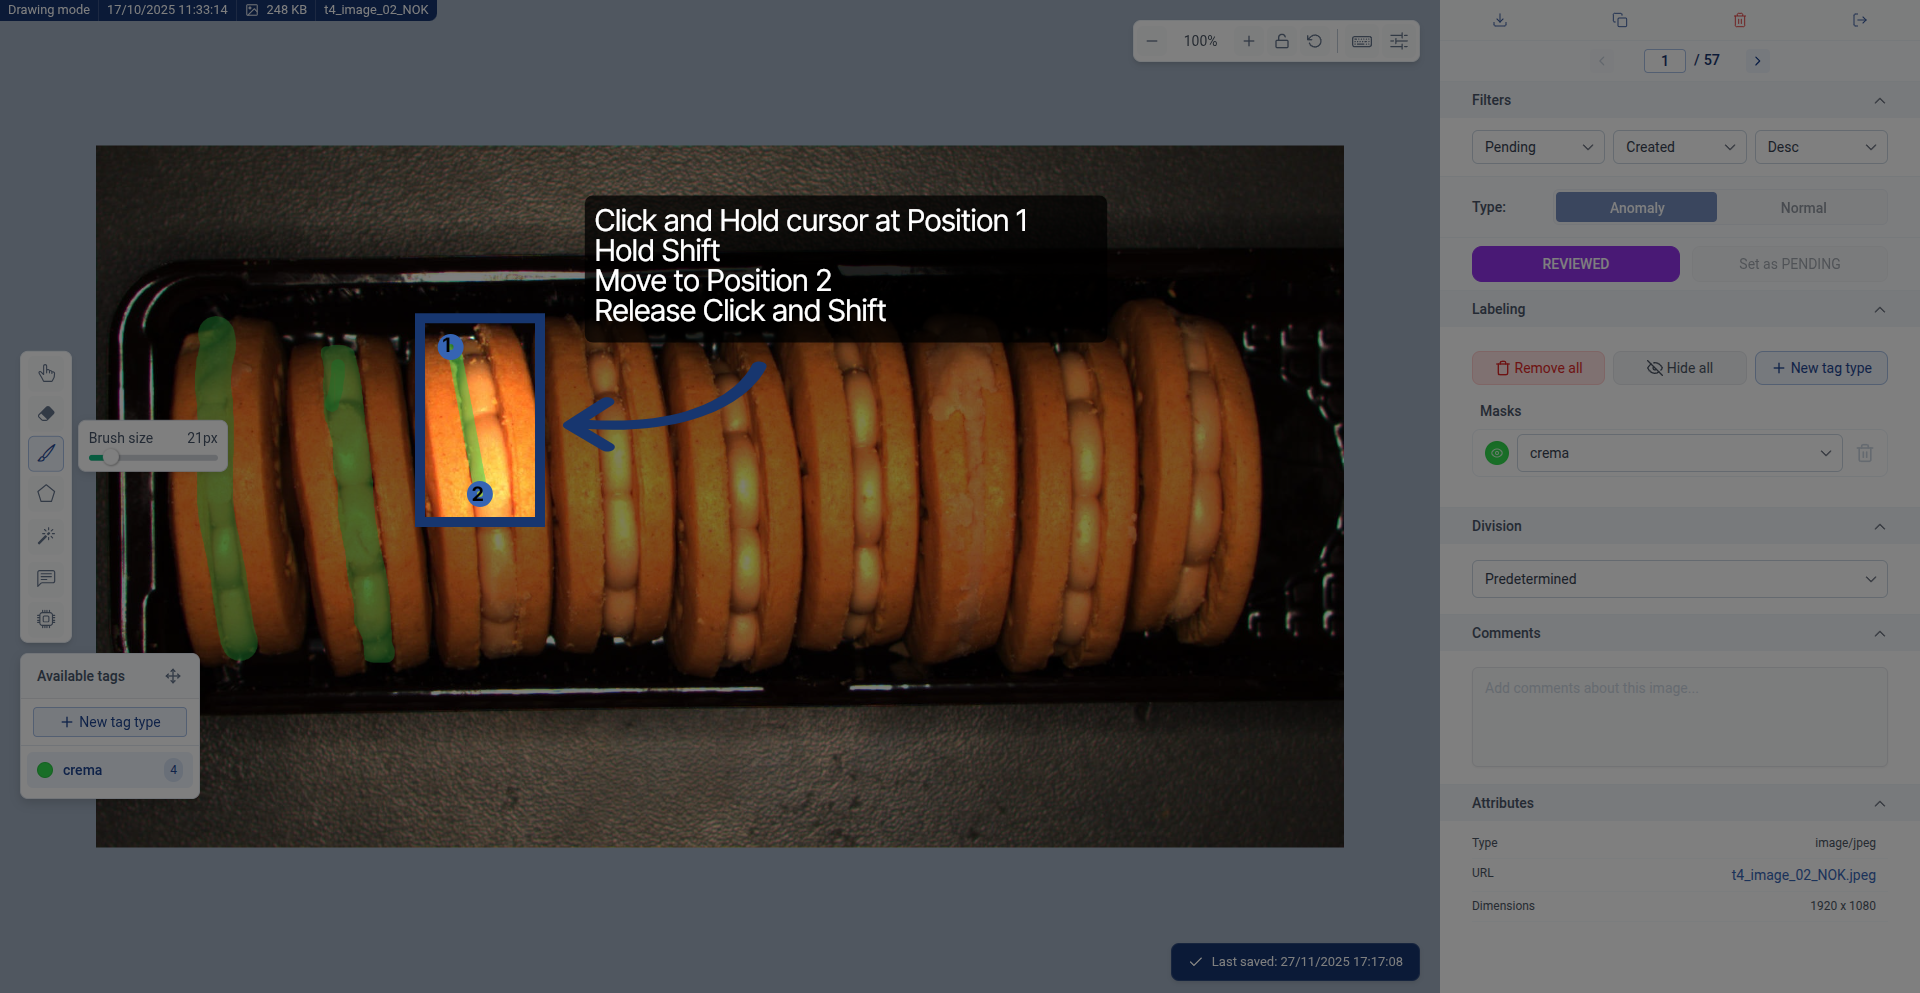
- Click and hold at your starting position
- Press and hold the Shift key
- Move your cursor to the ending position
- Release both click and Shift
Understanding straight line results:
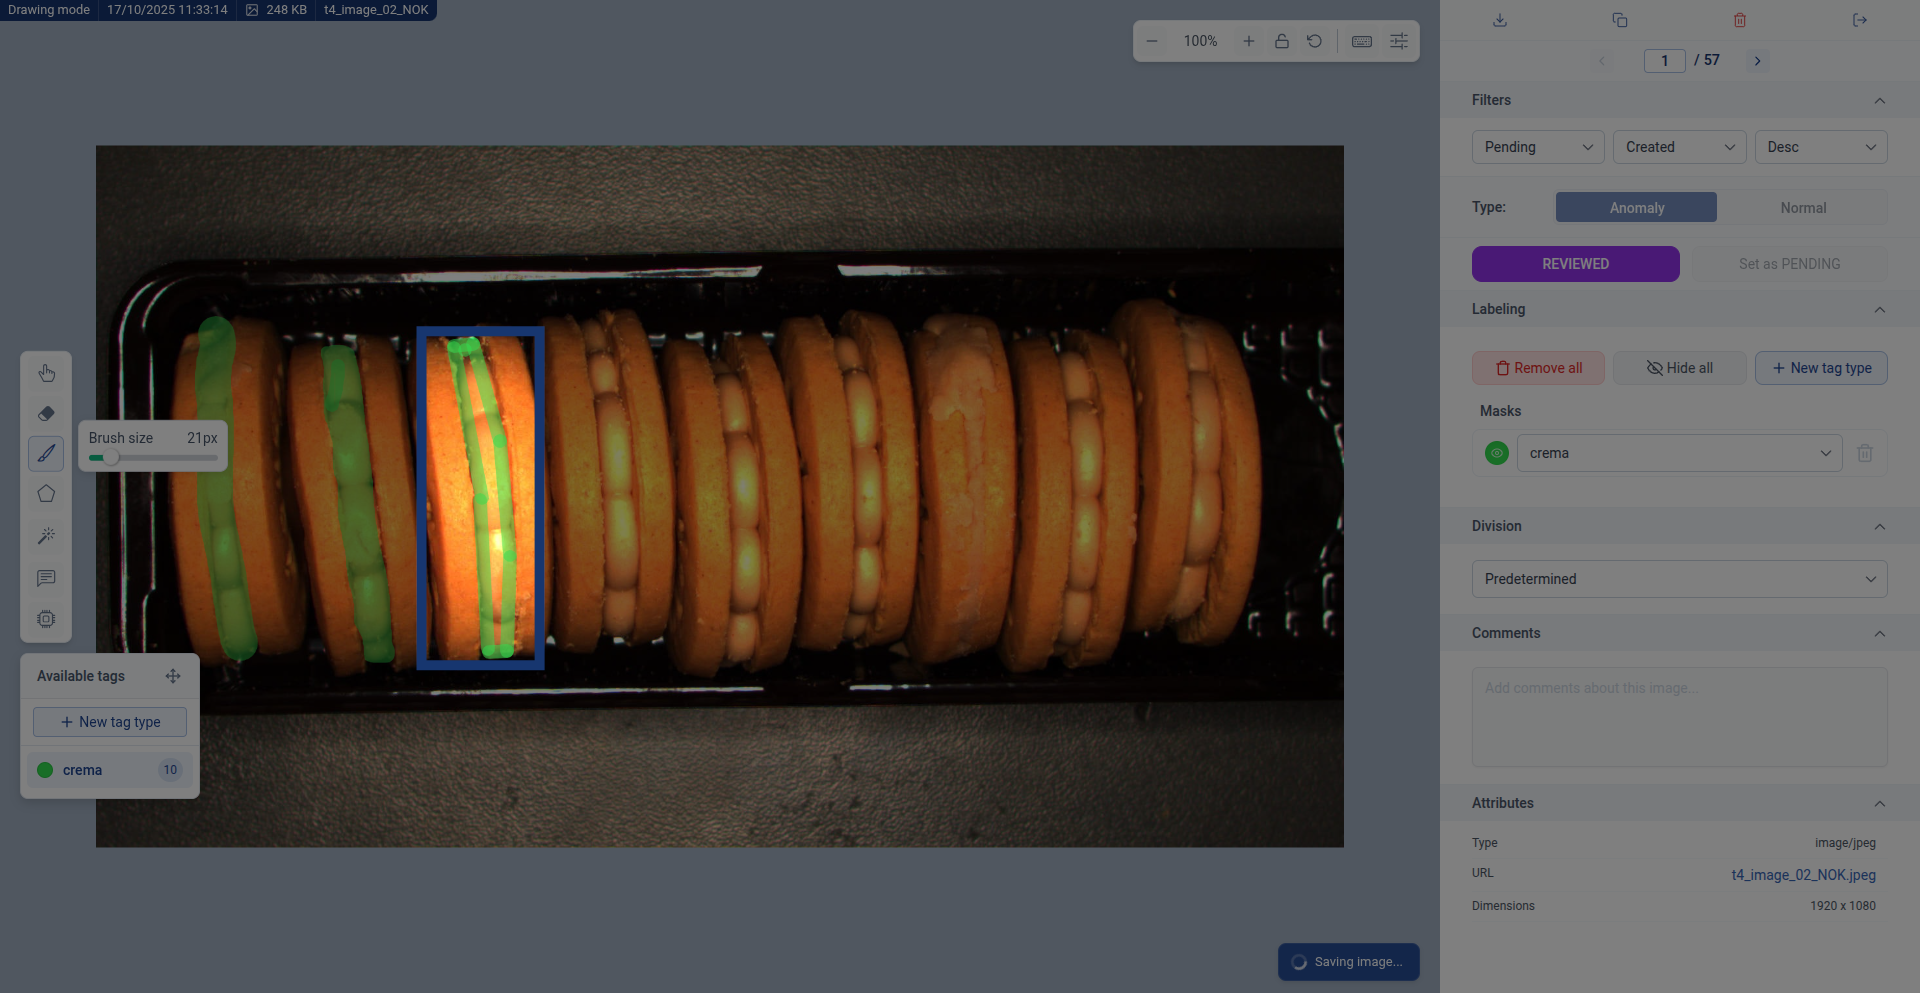
With straight line mode, you'll get perfectly straight edges, but the interior area won't be filled automatically. You'll need to fill the inside using the regular brush tool.
Straight line mode also works with the eraser:
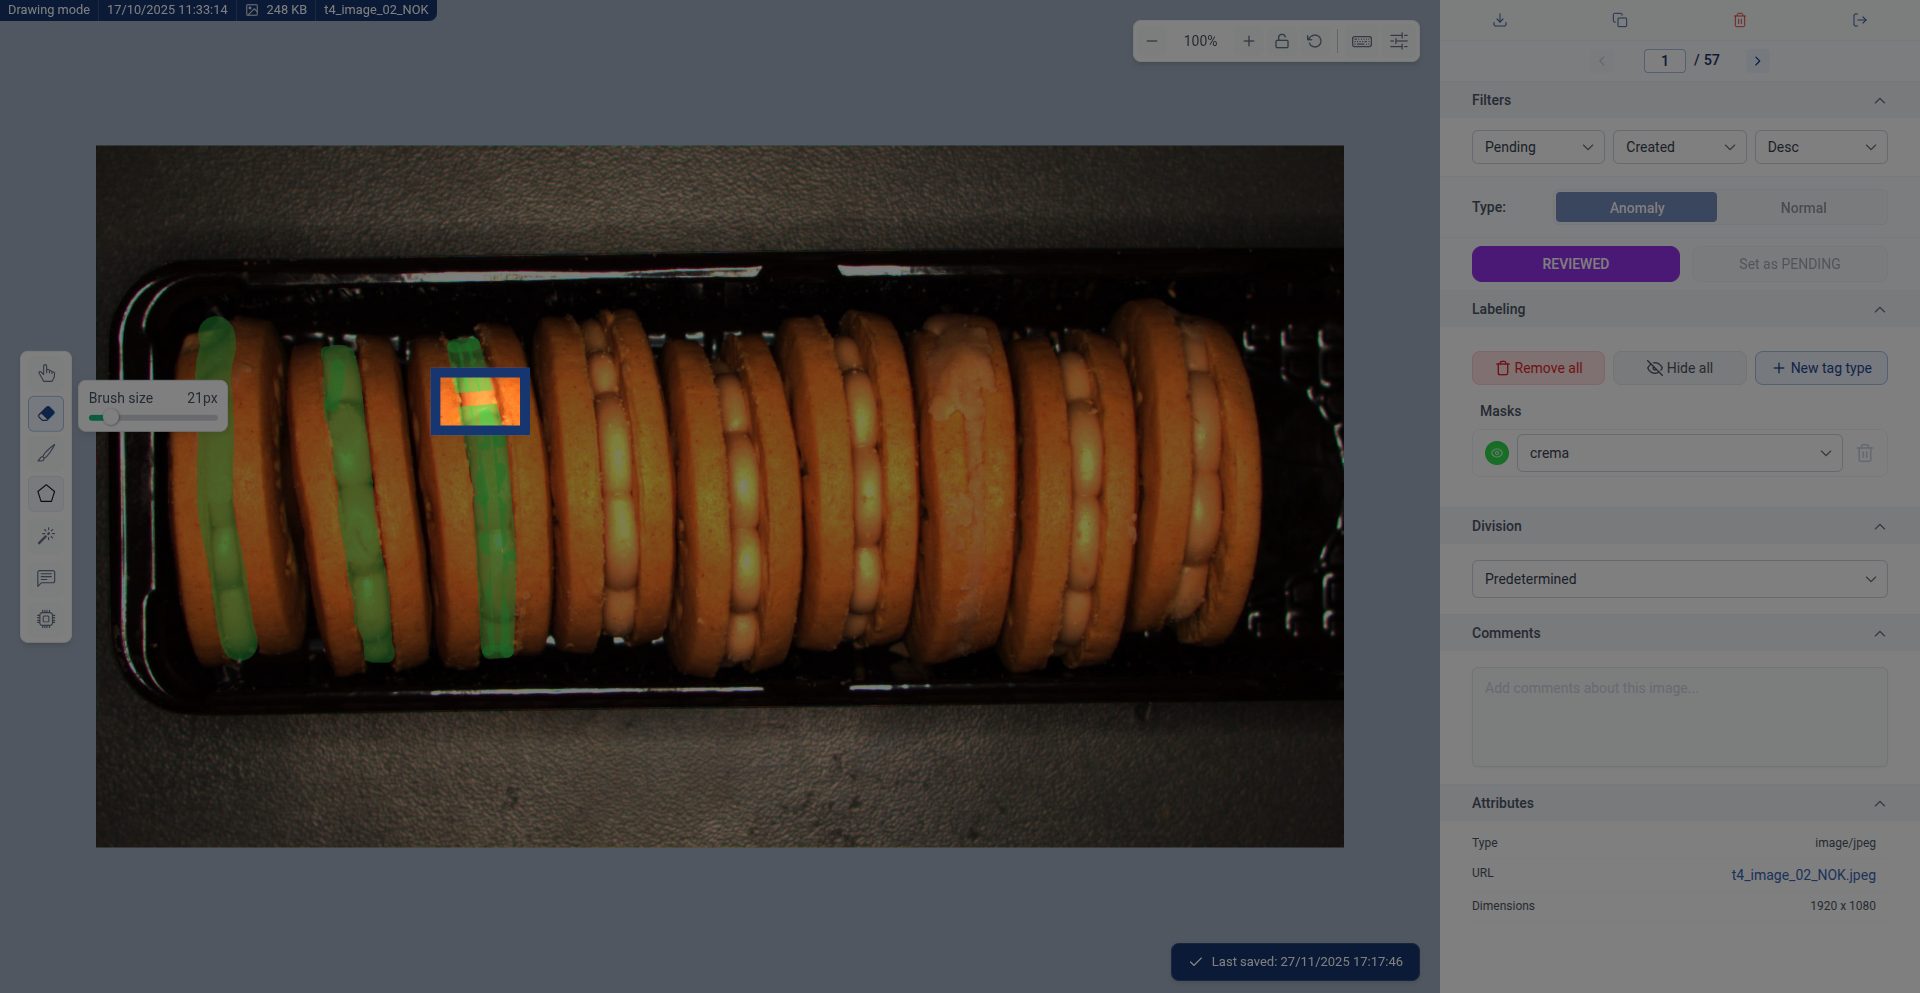
This is perfect for removing straight sections along edges without accidentally erasing curved areas.
When to use straight line mode:
- Objects with straight edges (boxes, buildings, rectangular defects)
- Cleaning up edges along straight boundaries
- Creating precise linear segments without mouse shake
Step 6: Using the Polygon Tool
The polygon tool creates filled shapes by clicking to place corner points. It's faster than the brush for geometric shapes and large areas.
Select the polygon tool:
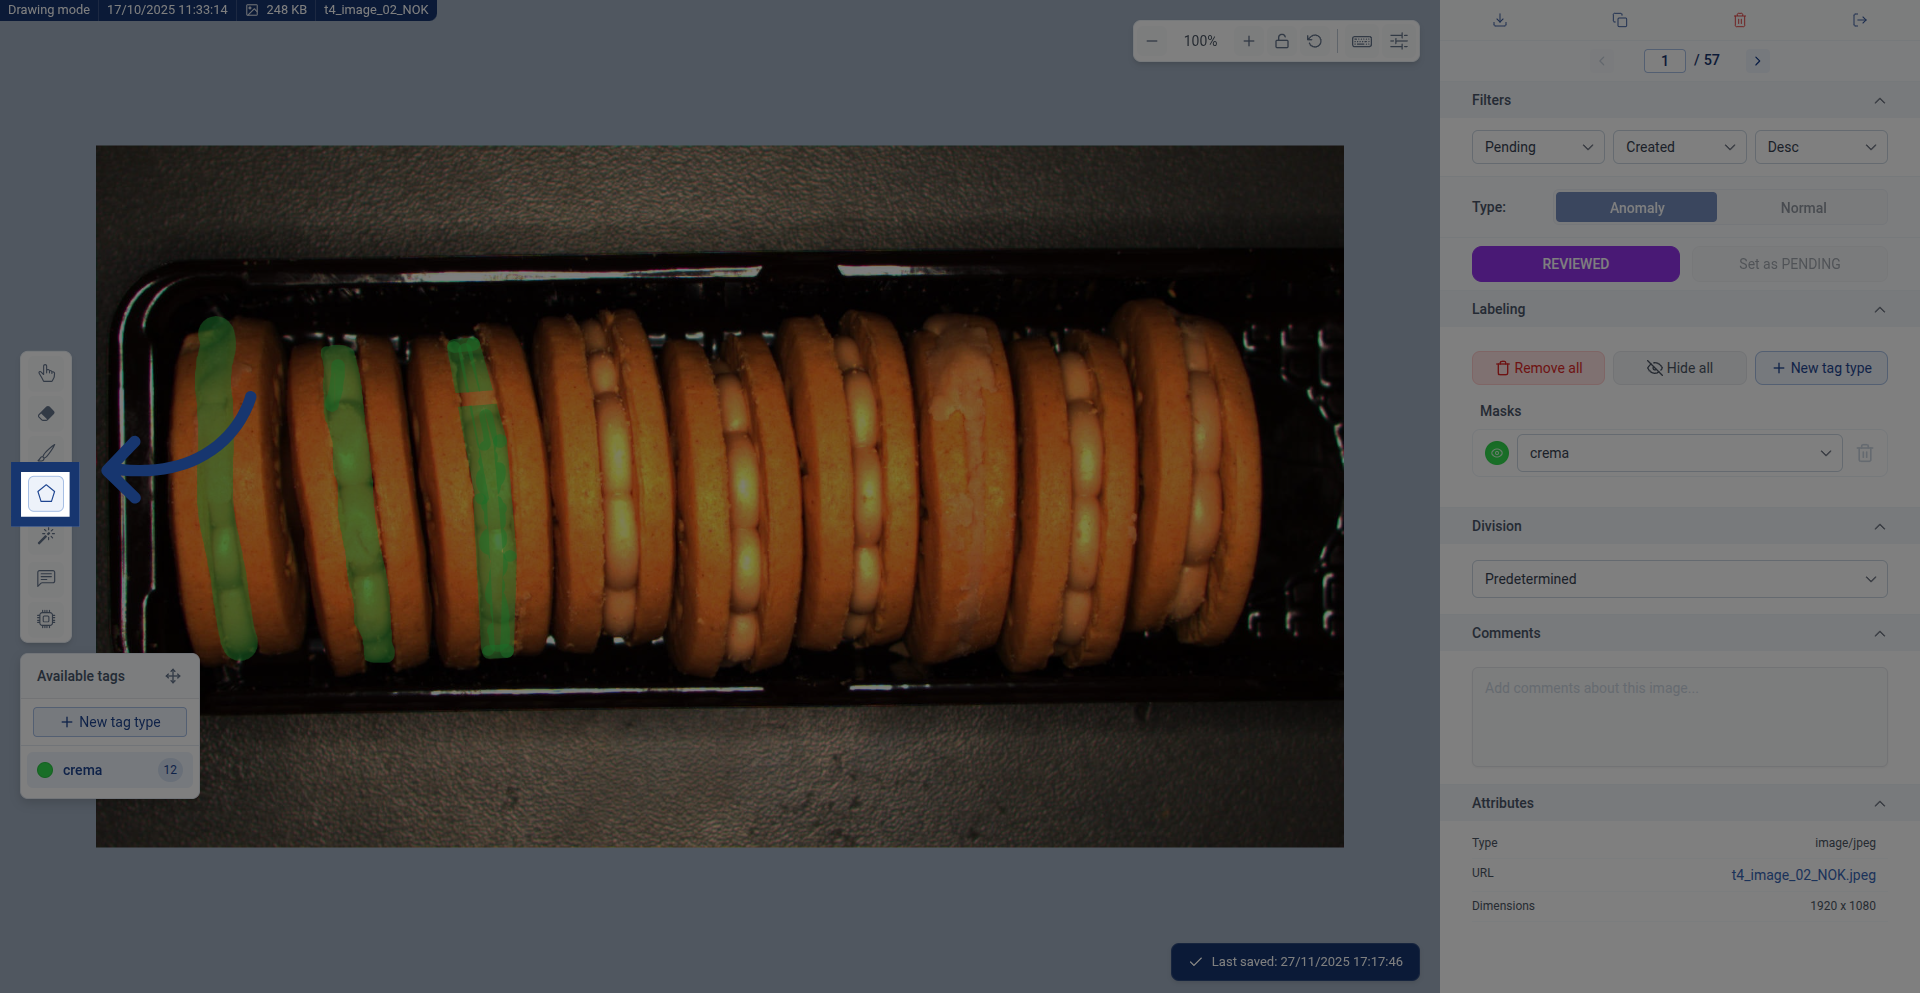
Creating a polygon:

Click around the contour of the object you want to segment. Each click places a point, and these points are connected sequentially. A small guide line shows you where the next segment will be placed as you move your cursor.
Complete the polygon to fill it:
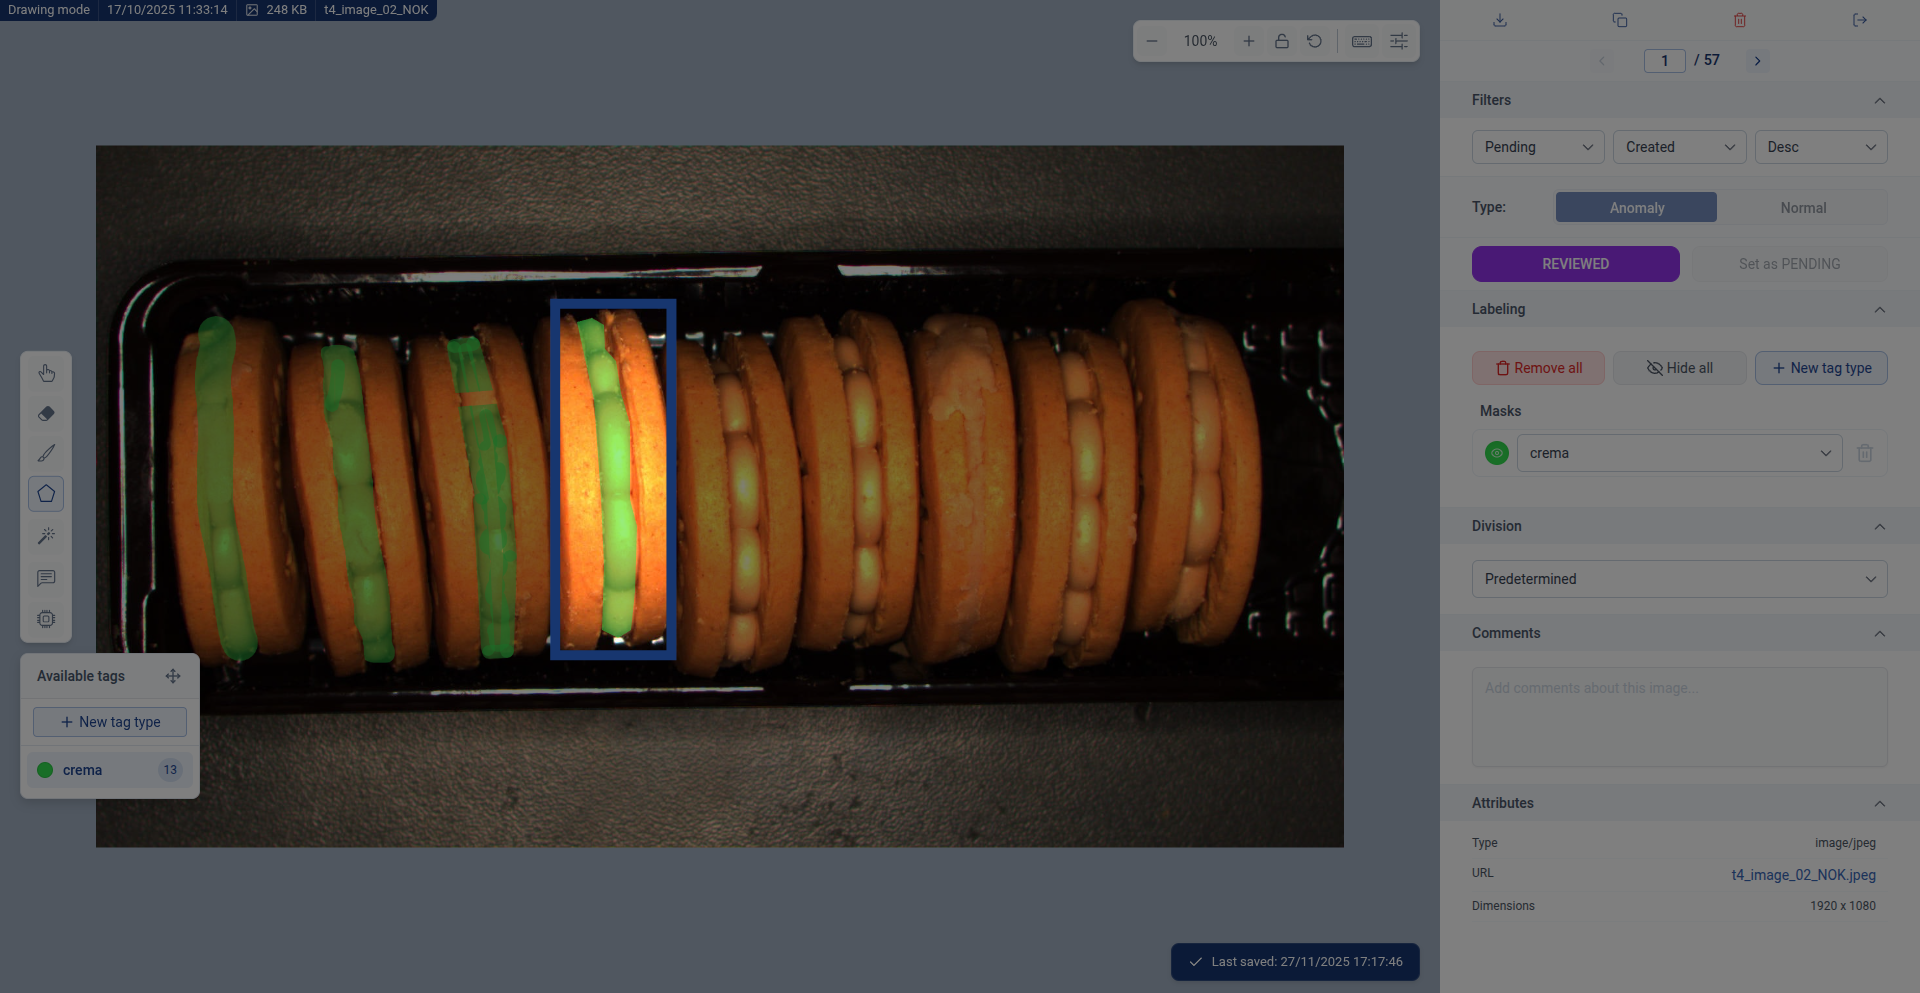
To complete the polygon, click on the starting point again. This closes the shape and automatically fills the entire interior area with your segmentation, marking it with the active class.
Polygon vs Brush - Quick decision guide:
- Polygon is faster for: Large areas, geometric shapes, angular objects, quick rough segmentation
- Brush is better for: Irregular edges, organic shapes, detailed refinement, curved boundaries
- Pro tip: Use polygon for quick coverage, then refine edges with a small brush
Step 7: Labeling Anomaly Images
Some images contain defects or unusual features (anomalies) that need special marking. In this cookie example, we're identifying cracks as anomalies.
Understanding Anomaly vs Normal:
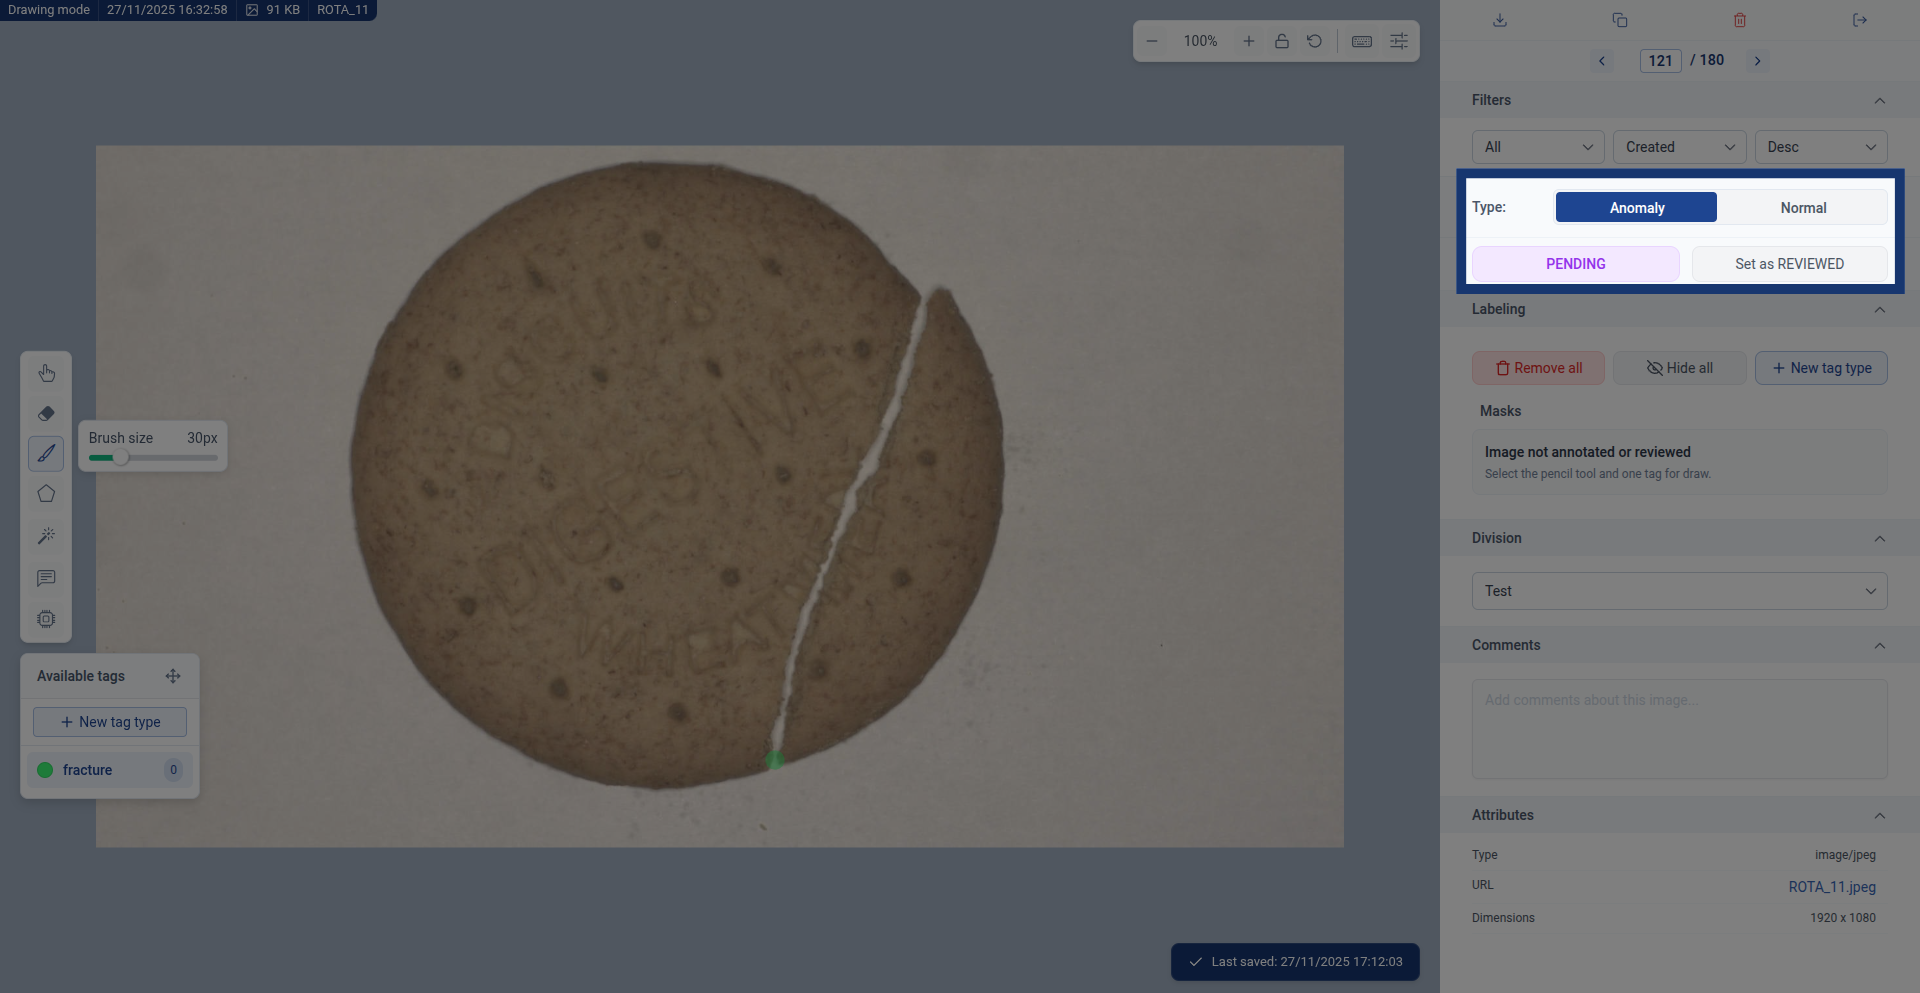
Anomaly images contain defects, cracks, or issues you want the AI to detect (like cracked cookies). Normal images have no defects and represent what "good" looks like.
In this dataset, we're segmenting the fractures in cookies. Not all images will have cracks - those with cracks should be marked as anomaly. Once you've segmented the crack, the image will automatically be marked as Reviewed.
Why both types matter: AI models need examples of both normal (good) and anomaly (defective) items to learn the difference and accurately detect problems.
Confirm the image is marked as reviewed:
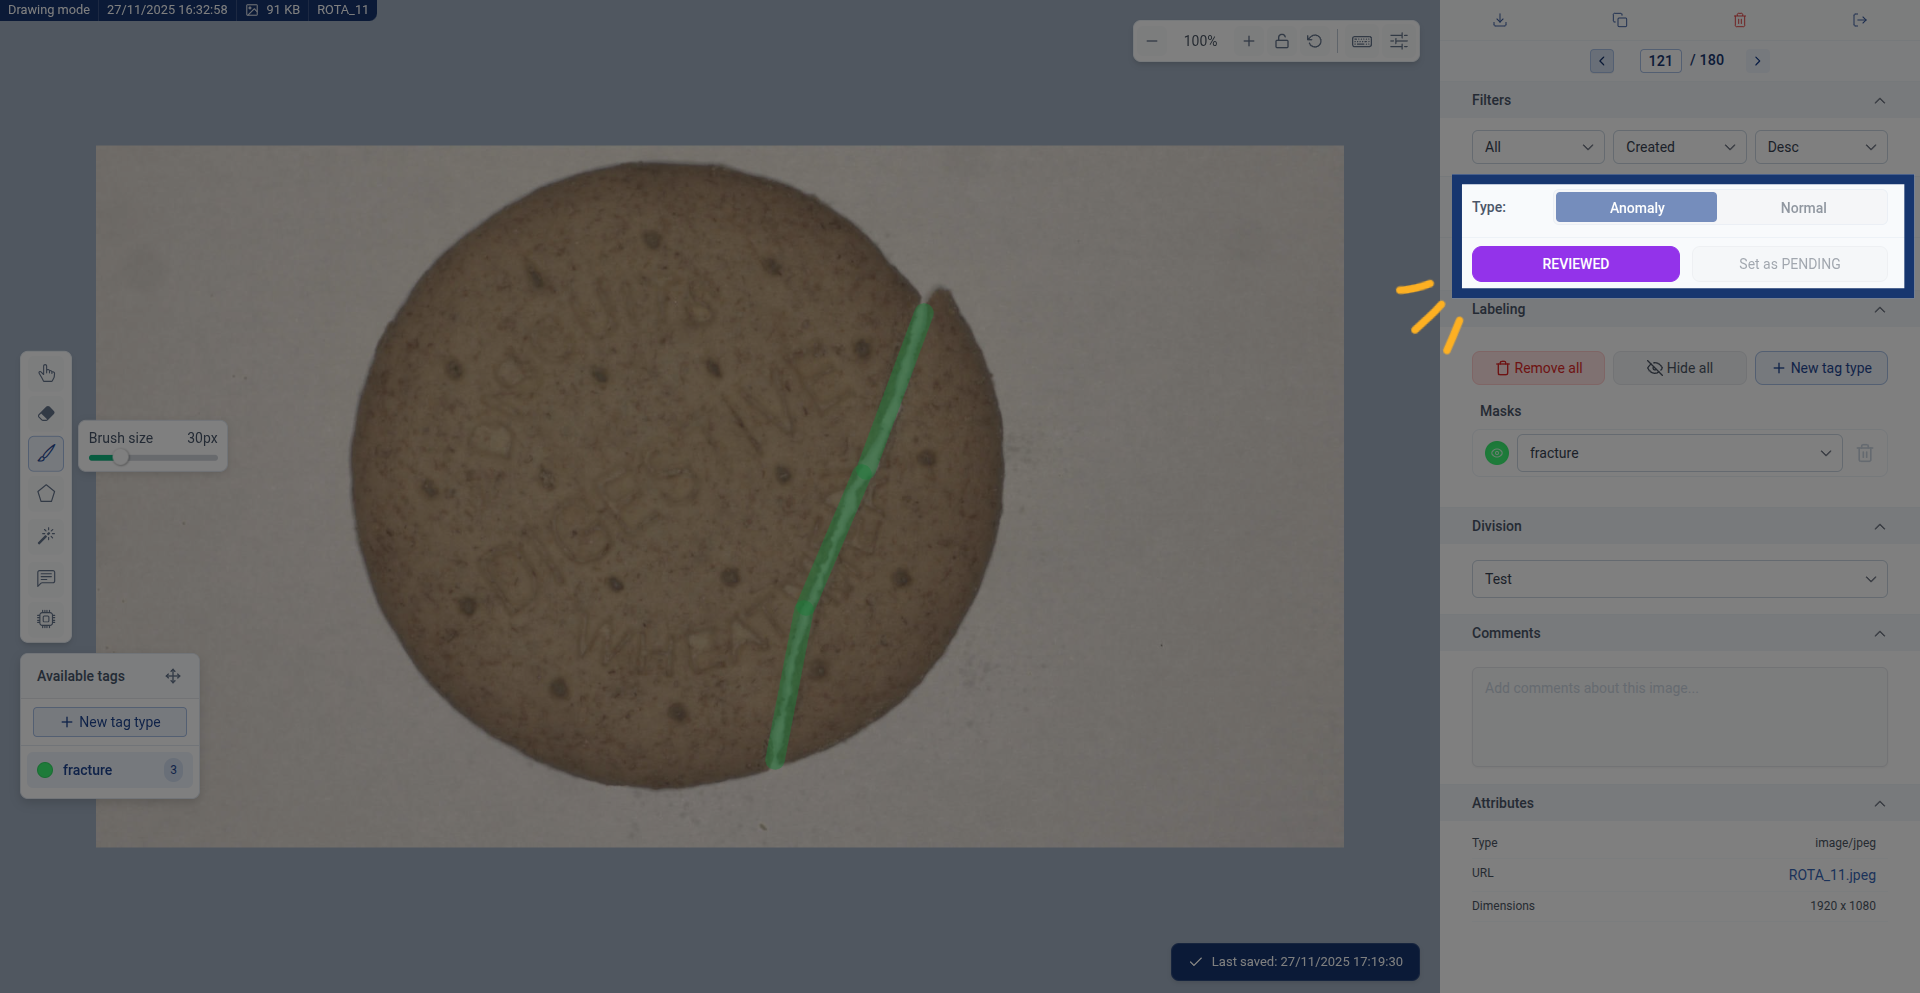
Once you've finished labeling an anomaly, verify that the image status shows "Reviewed". This confirms the image is ready to be used for training your AI model.
Step 8: Labeling Normal (Non-Defect) Images
Images without defects also need to be marked - they teach the AI what "normal" looks like.
Identifying a normal image:
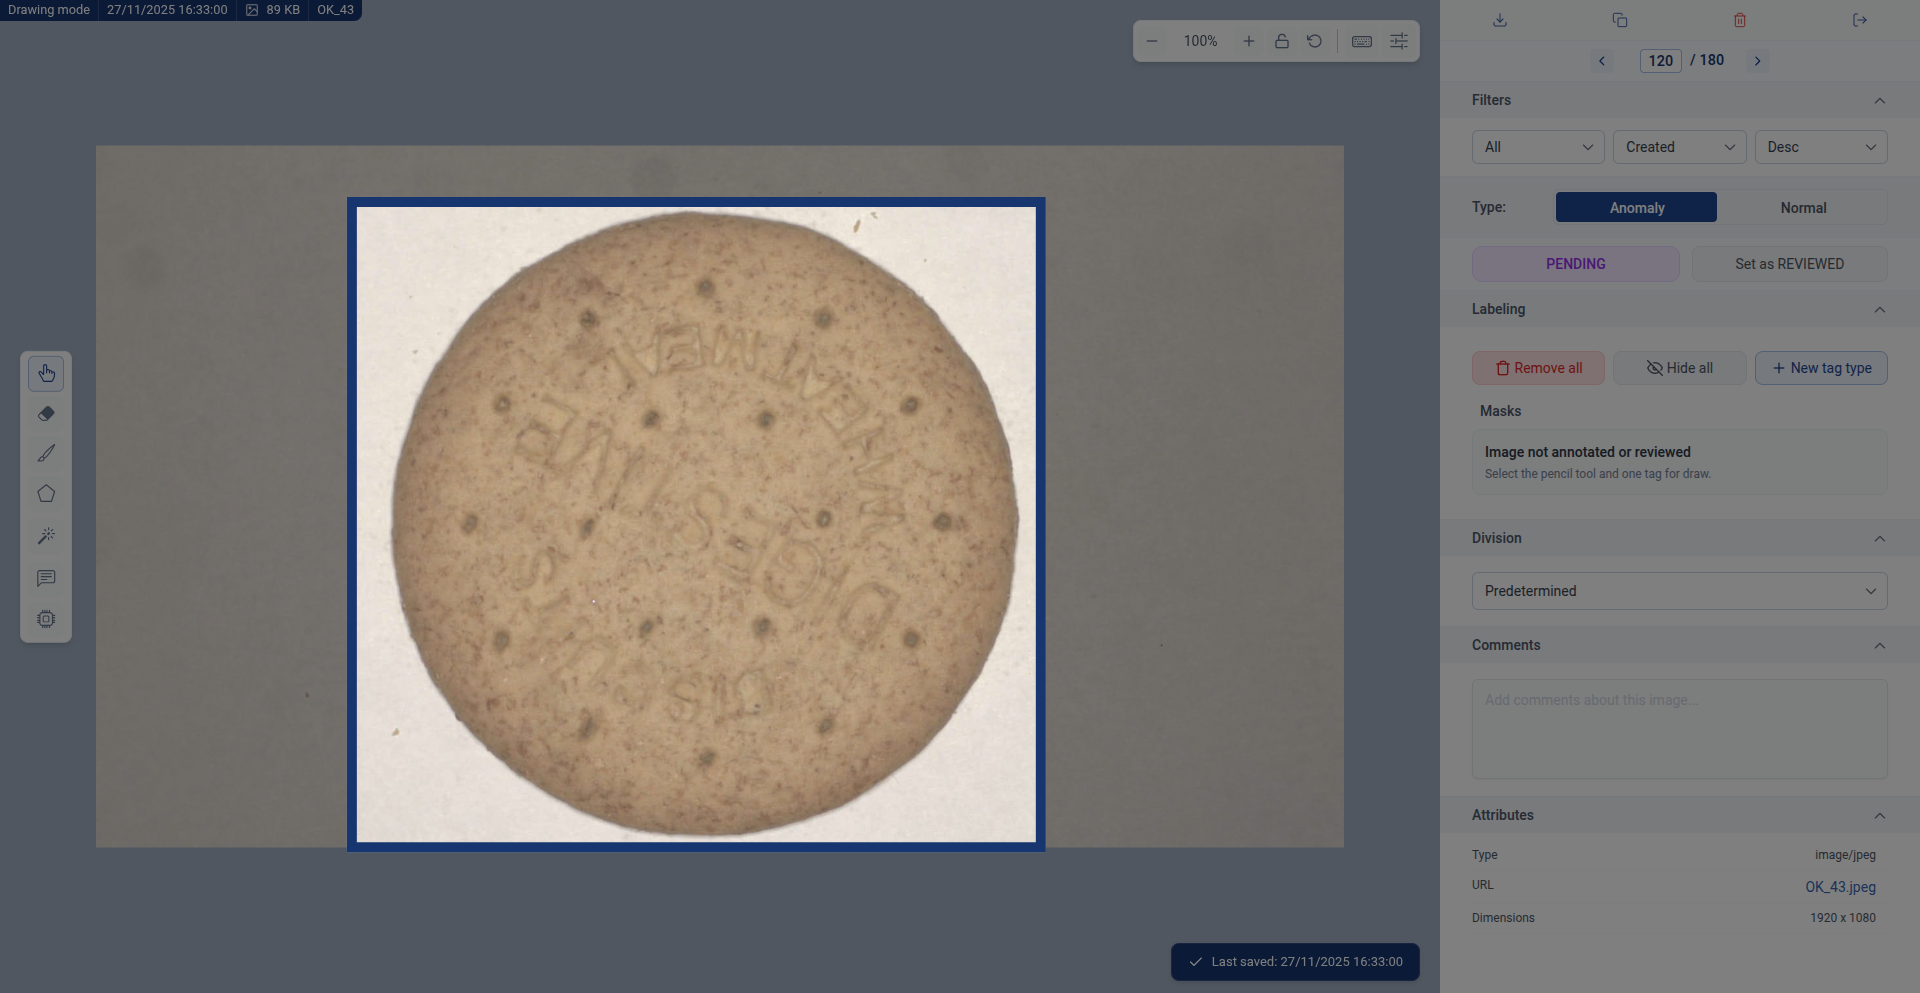
This image shows a cookie with no cracks or defects. When training an AI model to detect anomalies, it's important to include images where nothing is wrong so the AI learns to distinguish between normal and defective items.
Mark the image as "Normal":

Click the "Normal" button to indicate that no segmentation is expected on this image - it represents a defect-free example.
Set the image as "REVIEWED":
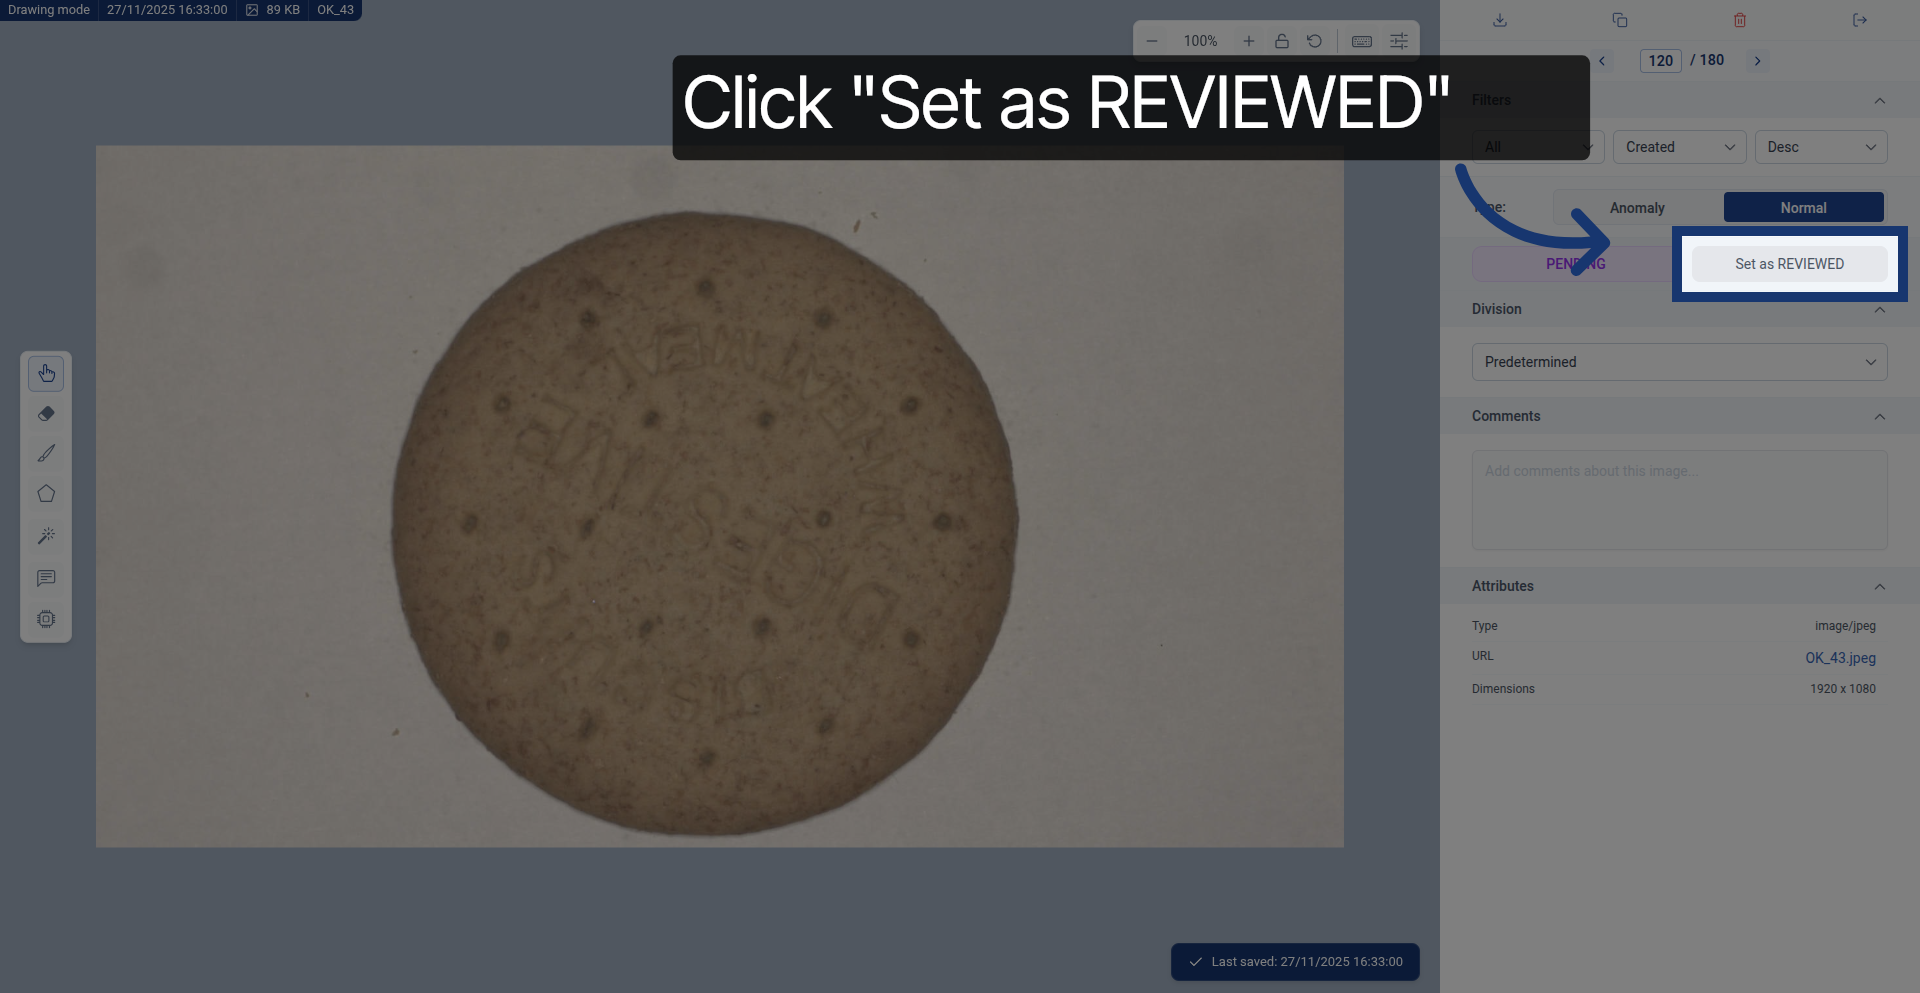
Click "Set as REVIEWED" to confirm you want this image included in future model training. This marks it as complete and ready to use.
Why mark normal images as reviewed: Even though there's nothing to segment, the AI needs these examples to learn what "good" looks like. A balanced dataset of both normal and anomaly images creates a more accurate detection model.
What's Next?
After labeling your segmentation dataset, you can:
- Continue labeling: Work through all pending images to build a comprehensive training dataset
- Review your work: Check labeled images to ensure accuracy and consistency
- Train an AI model: Use your labeled data to train a model that can automatically segment objects
- Test and refine: Run inference on new images, identify areas where the model struggles, and add more labels to improve it
Tips for high-quality segmentation labels:
- Be consistent: Label similar objects the same way across all images
- Check your edges: Precise boundaries lead to better AI performance
- Include variety: Label objects in different positions, lighting, and conditions
- Balance your dataset: Include both normal and anomaly examples when detecting defects
Remember: The quality of your labels directly impacts how well your AI model performs. Take time to be accurate - it pays off when your model starts making predictions!