Configure and Deploy From-Dataset Node for Image Injection
In this guide, we'll see how to use from-dataset node to inject images into your flow effectively. Before starting, ensure you have access to the node configuration and relevant datasets for image injection.
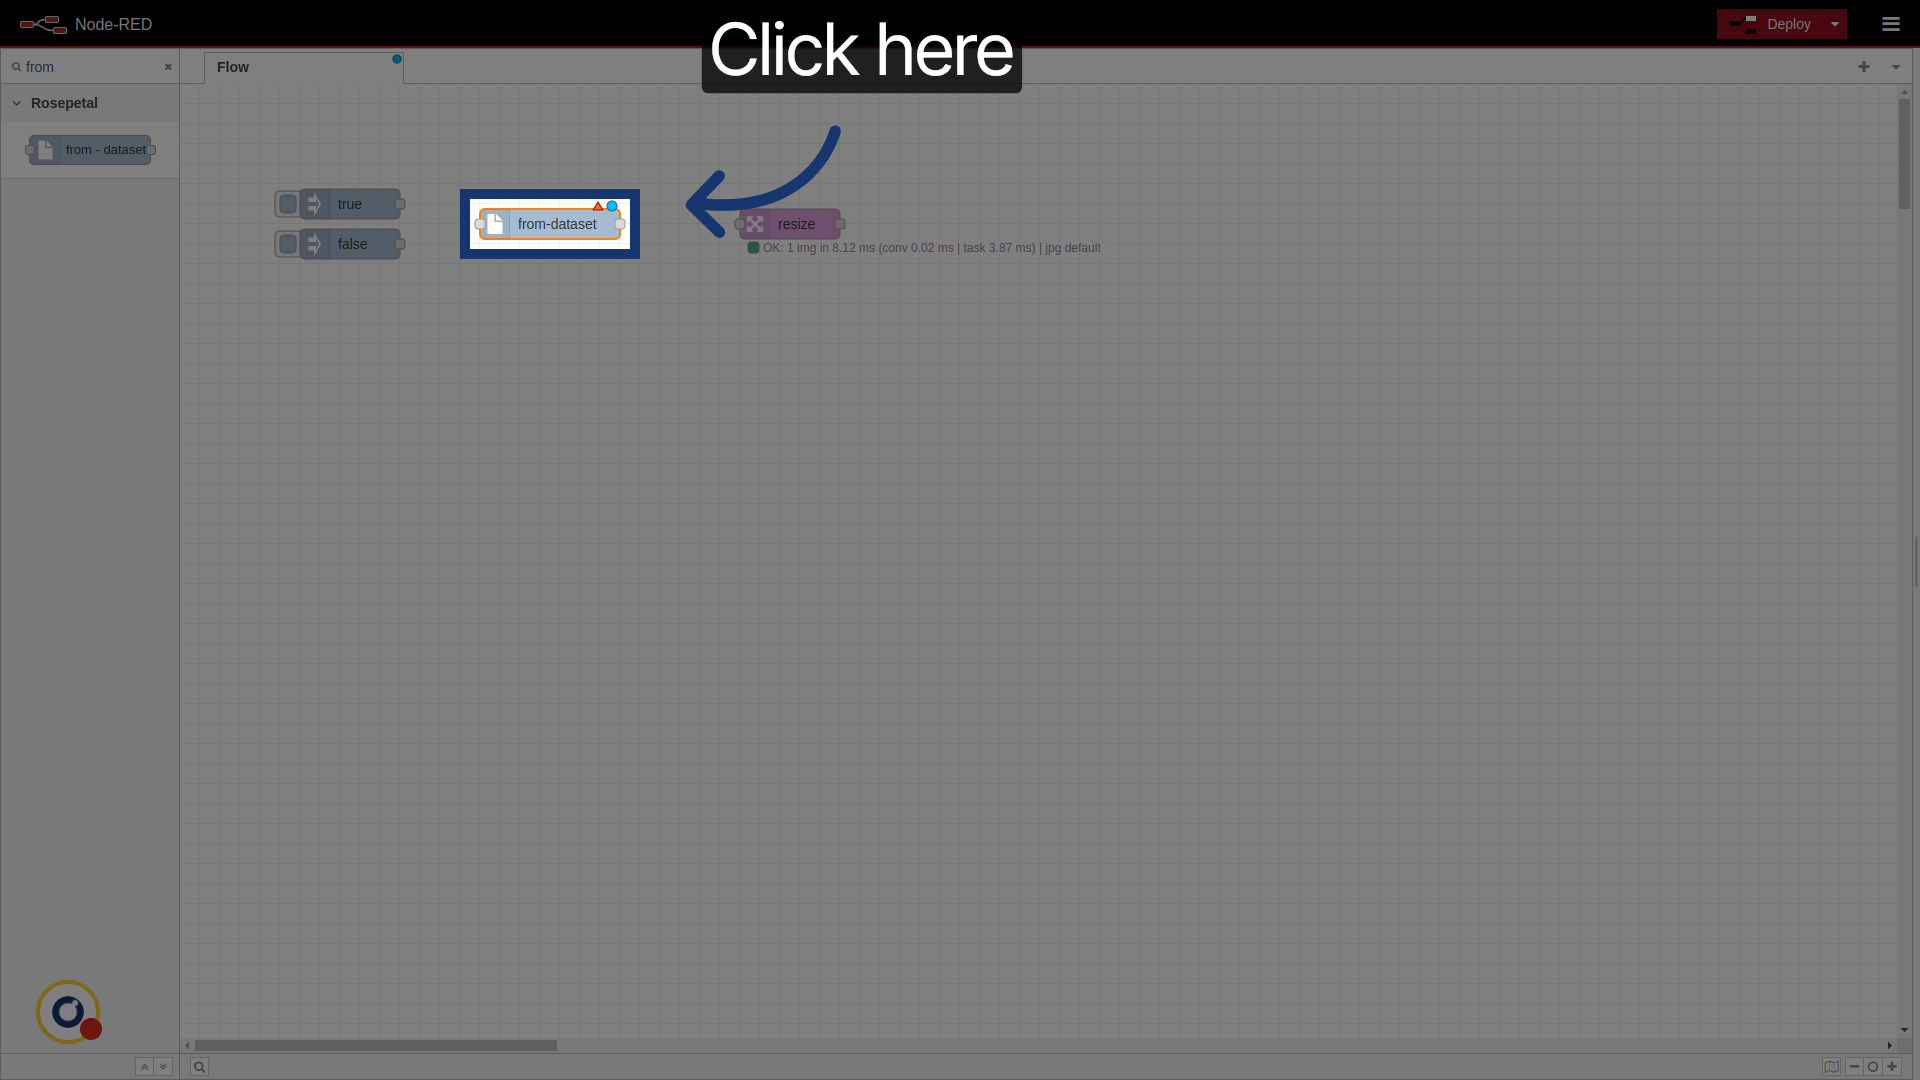
1. Access Node Configuration
First of all, search for the note and insert it. Click it to open the configuration settings.
2. Select a firebase config
Select a firebase config (prepared with the credentials of the project you want to use).
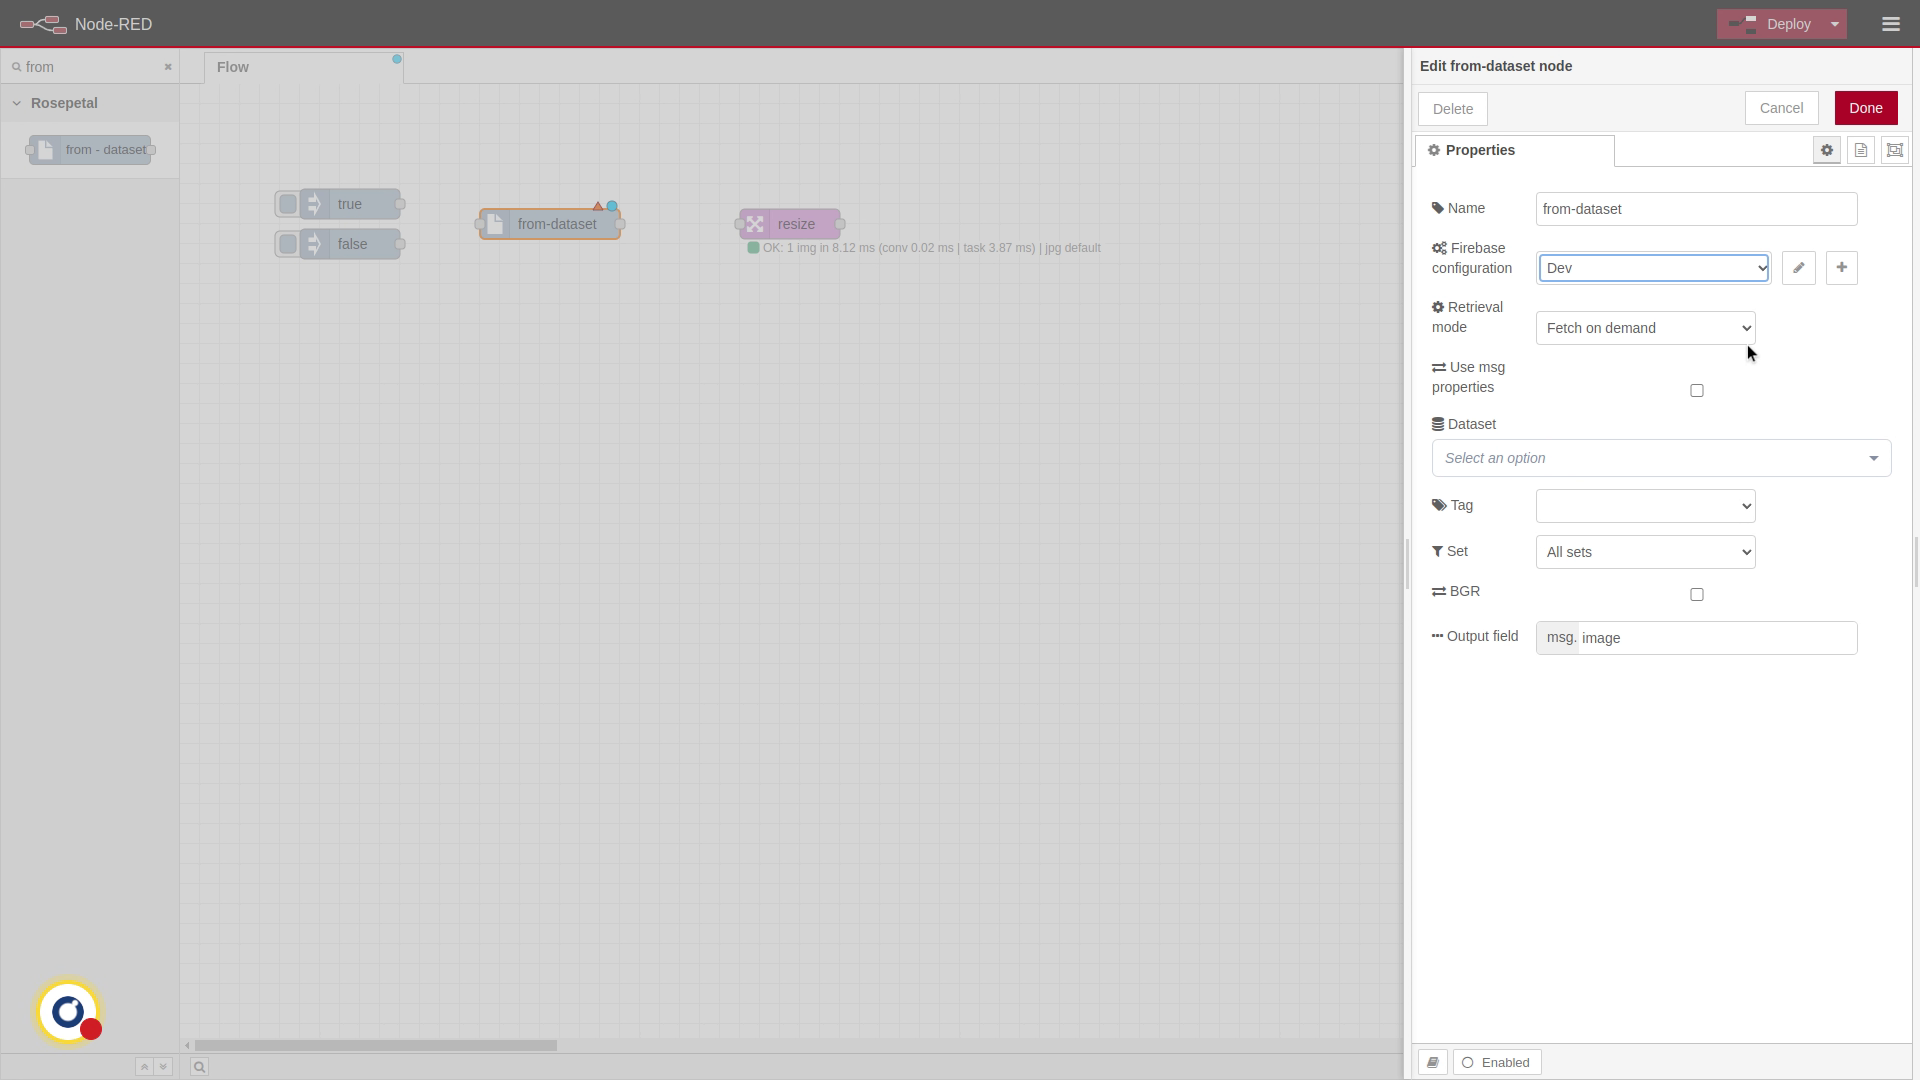
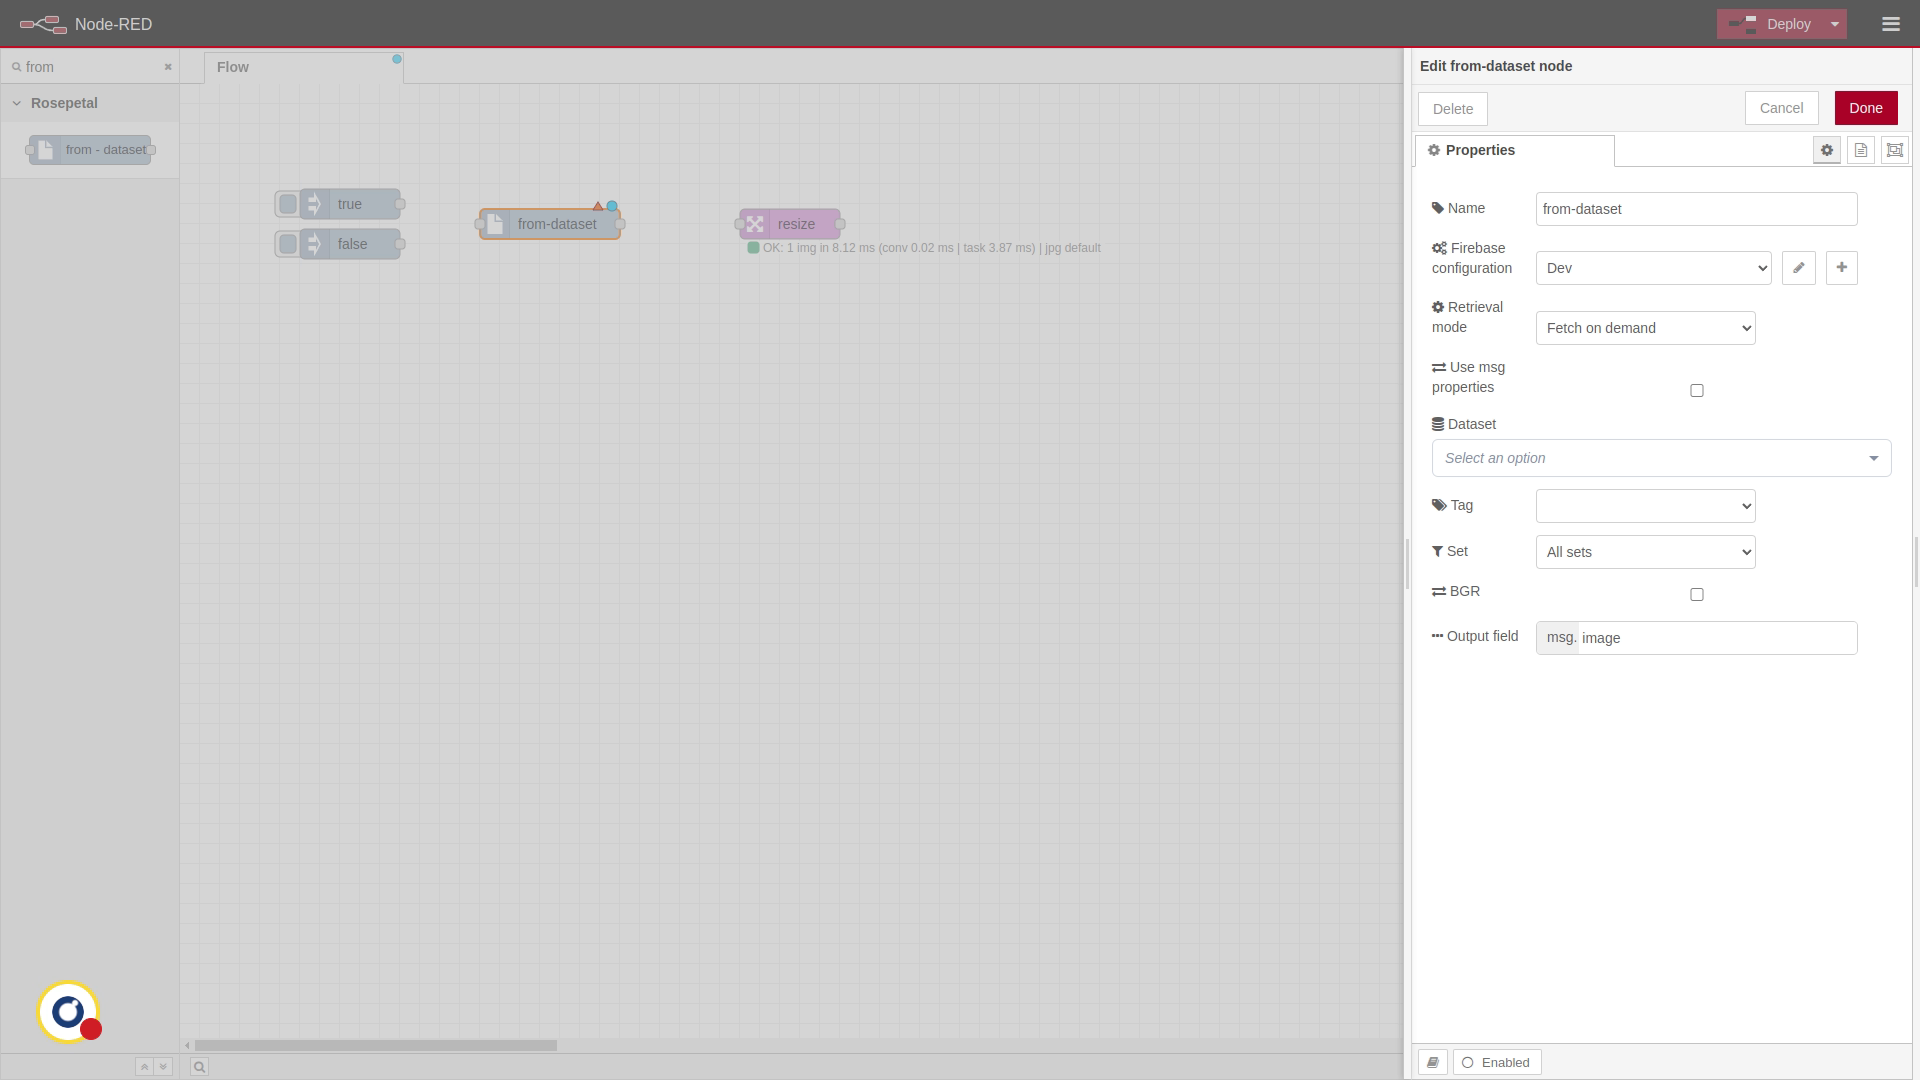
3. Available modes.
There are 3 available modes, being the first two very similar. Fetch on demand loads the image on real time. Pre-download images downloads a set amount of images and uses those, meaning there is no delay when injecting images. Both of them send one image each time they receive a message.
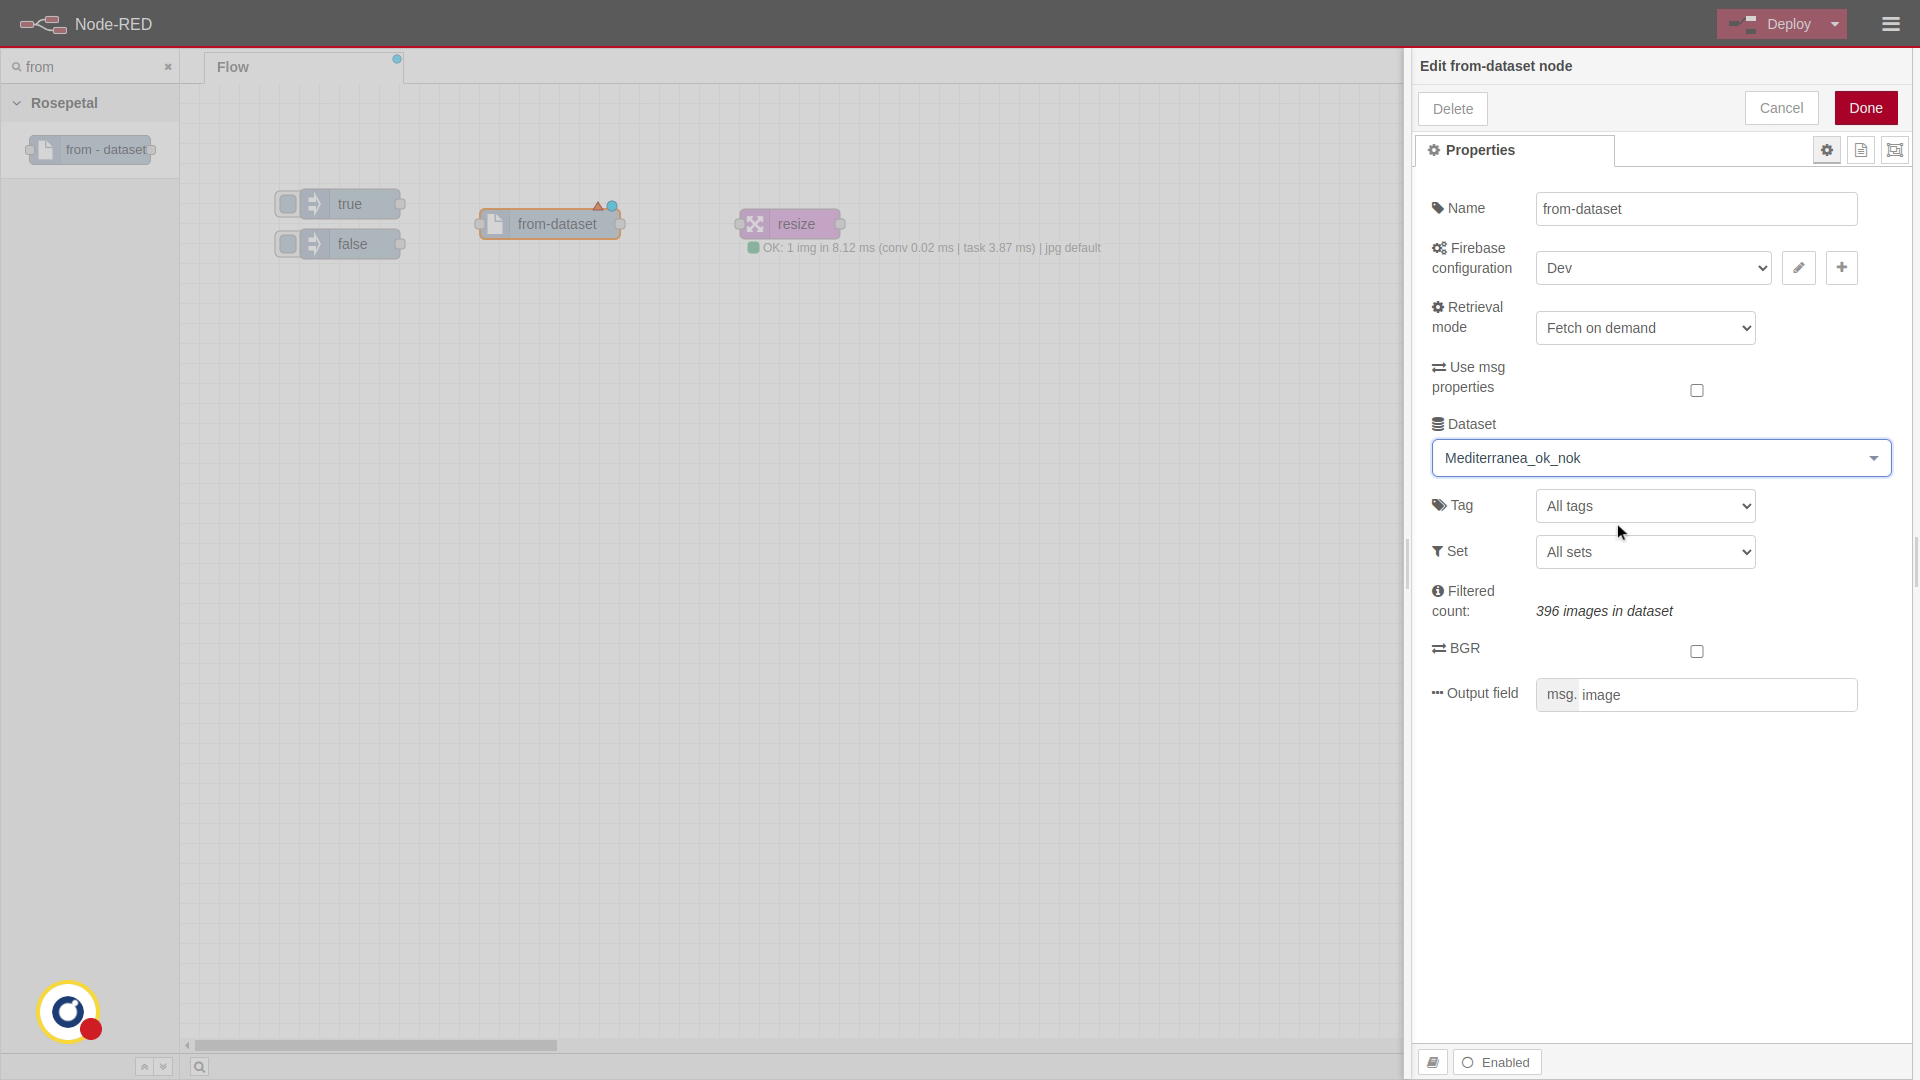
4. Choose Dataset for Injection
Select the dataset.

5. Filter Dataset Images
We can filter which images will be used by tag and by set. In this example, we use "nok" tag.
6. Choose Image Format Option
By default, images use RGB. We can, however, select BGR.

7. Set Output Field for Image
Finally, we should select the output field where the image will be. I

8. Deploy the Flow Configuration
Connect the nodes and deploy the flow.

9. Use of msg.properties
If we check "Use msg.properties", we can set dataset, tag and set dinamically on the message or flow variables.

10. Stream dataset mode
When using Stream entire dataset, the node works differently. Injecting a message with "payload === true" starts injecting all images of the dataset, leaving a delay between them. Receiving a message with "payload === false" stops this.
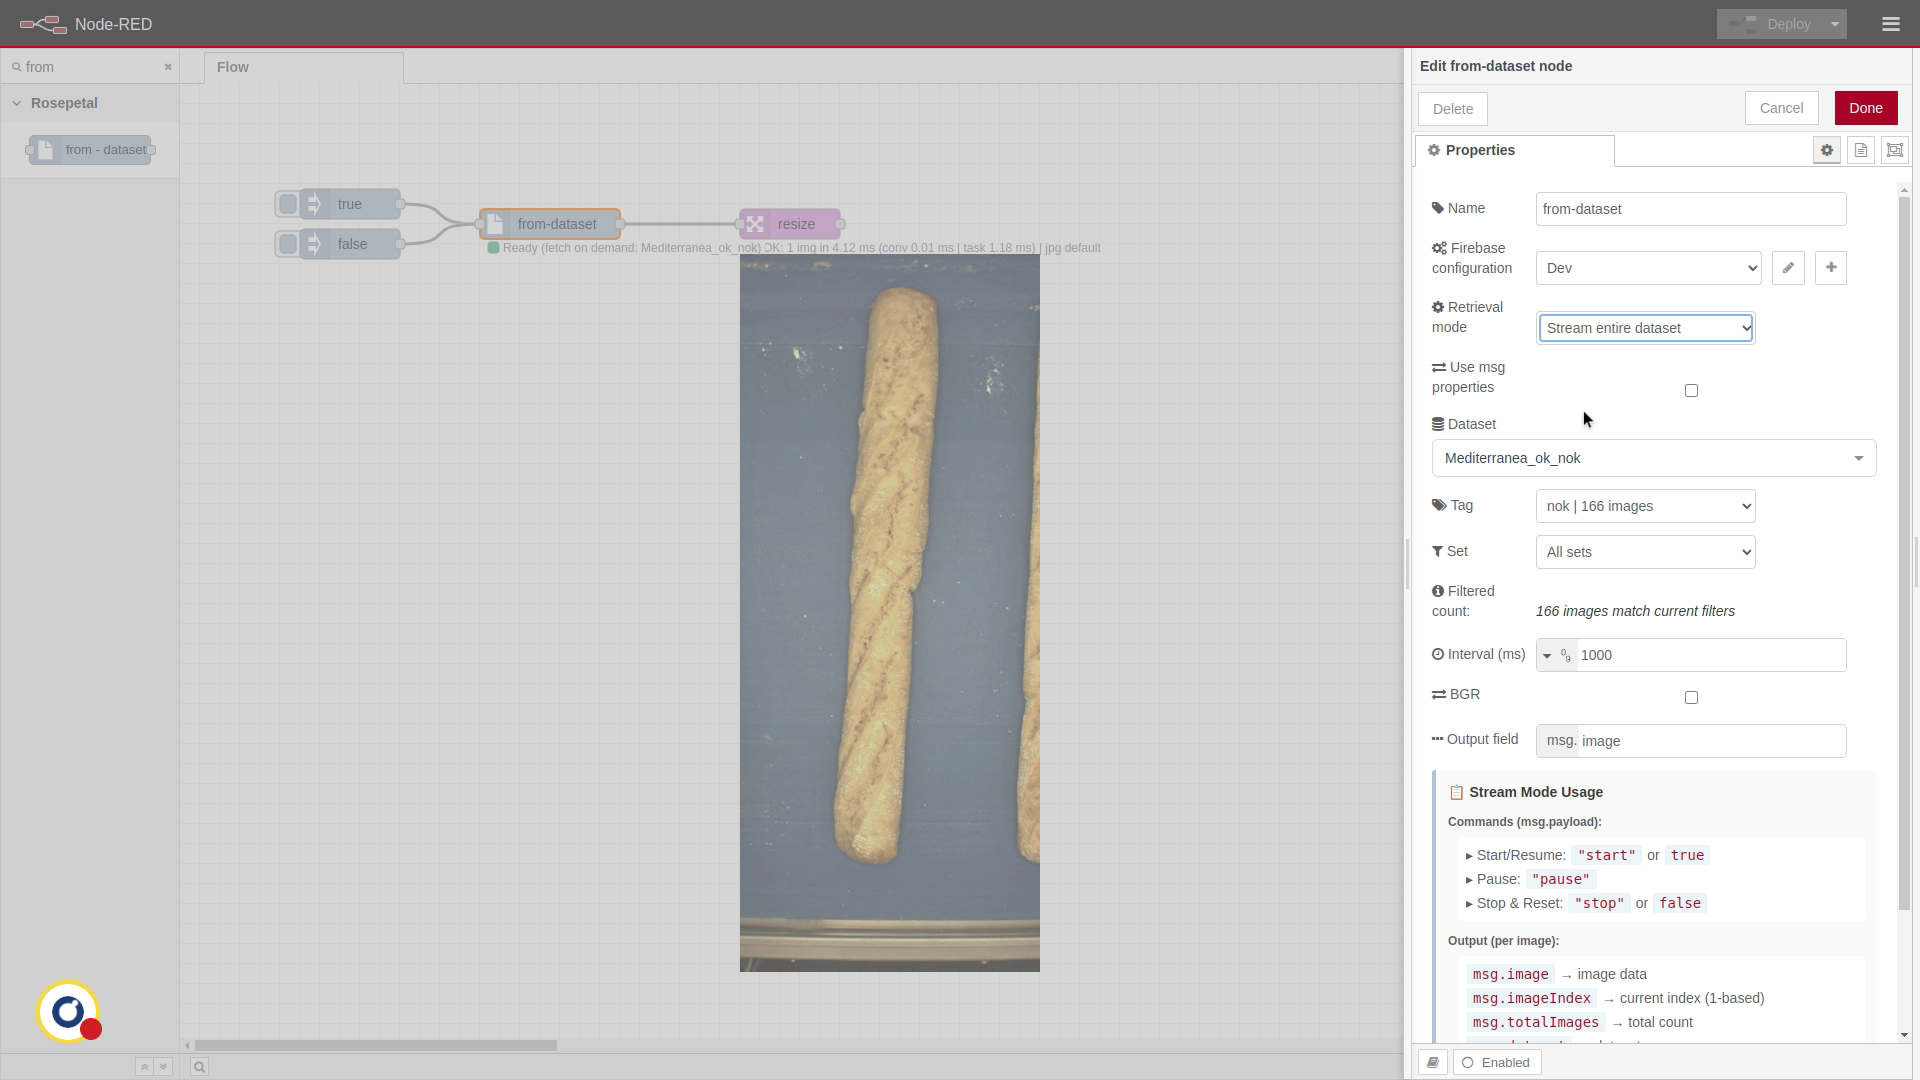
11. Stream dataset usage
There's a little guide on the bottom of the node of how to use this mode.
