Configure and Deploy Inferencer Node for Image Classification
This tutorial guides you through using the inferencer node to perform image classification (within your workflow.
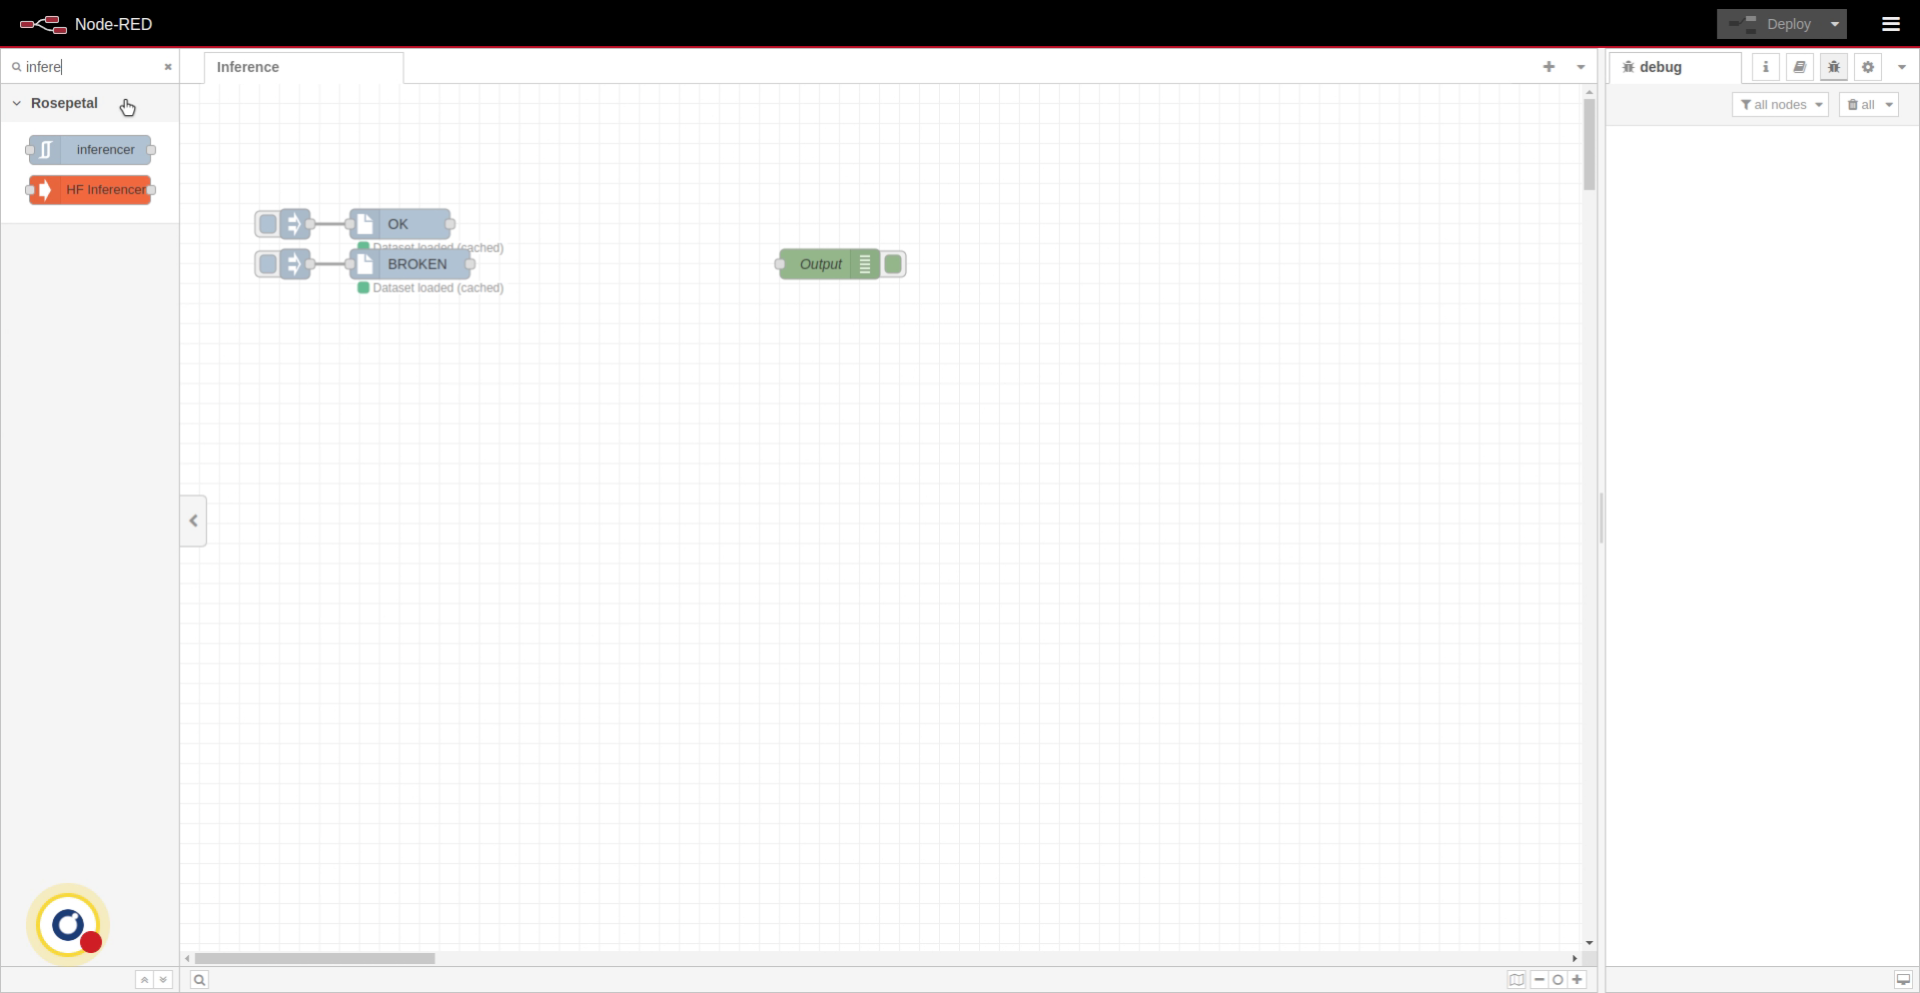
1. Add Inferencer Node to Flow
First, search the node and drag it onto the flow.
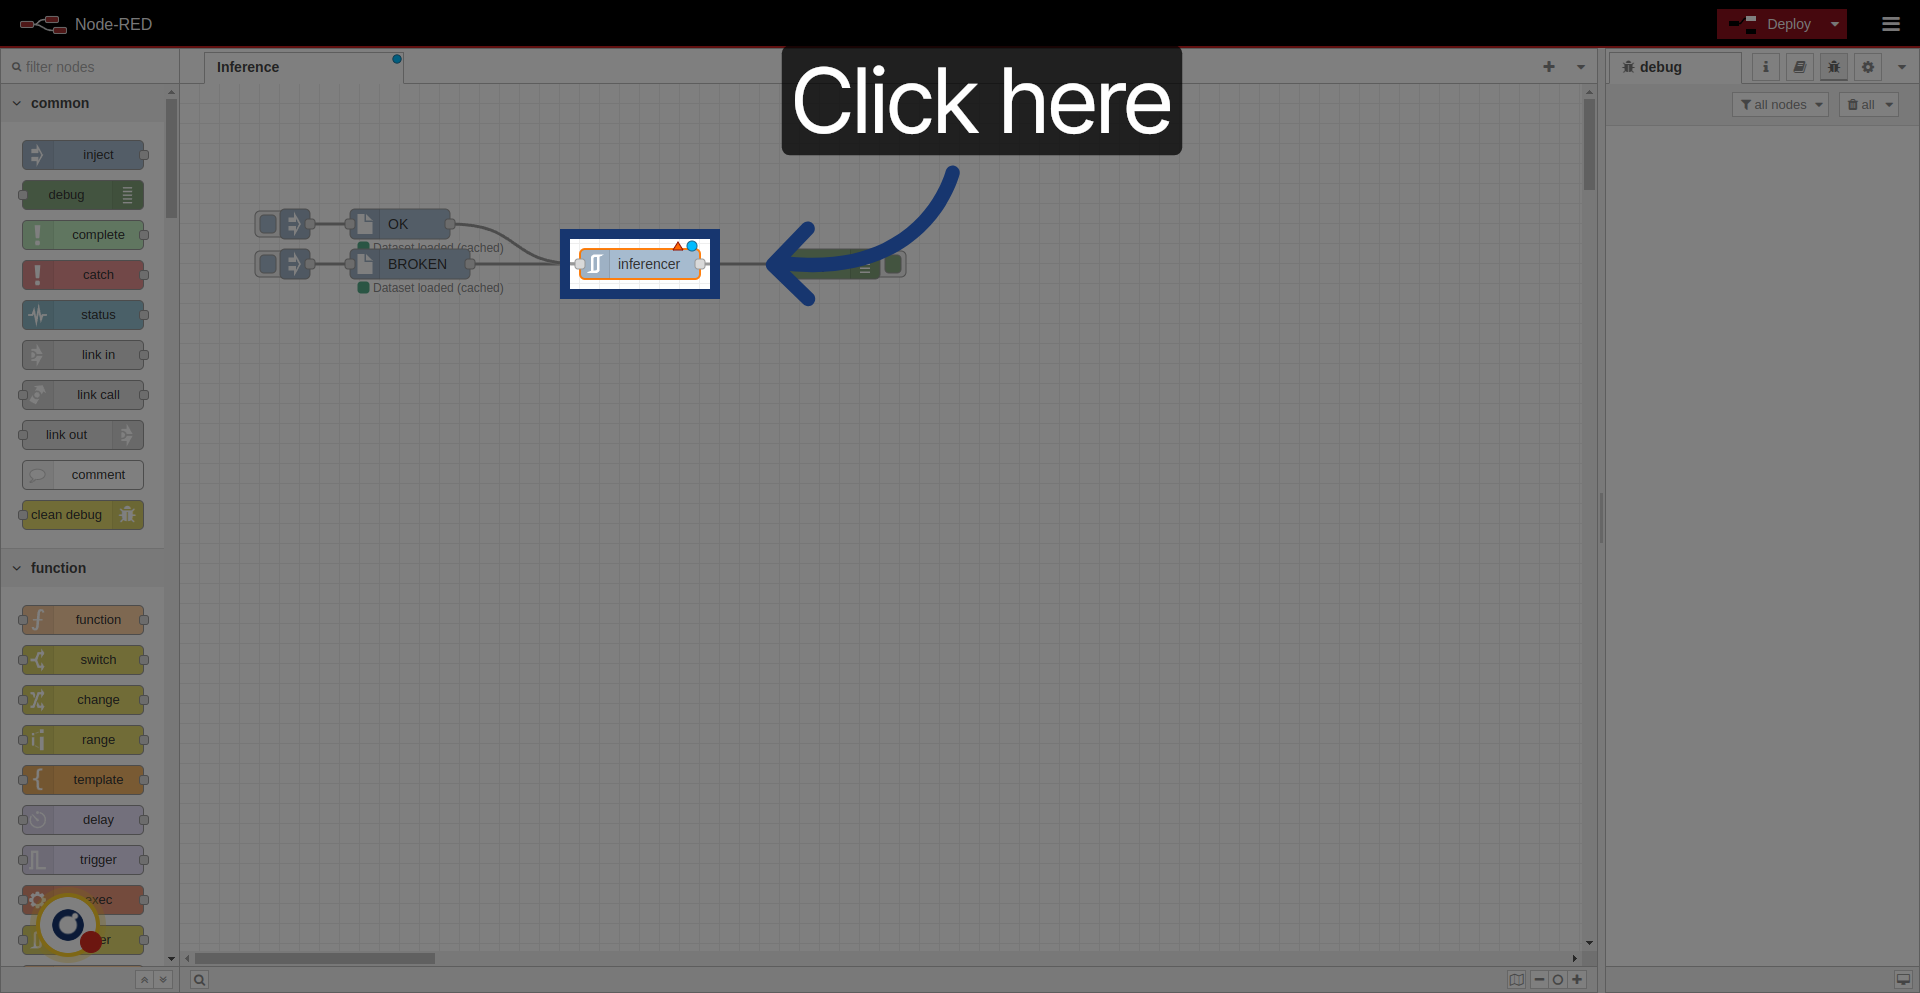
2. Connect Inferencer Node
Connect it to ohter nodes.

3. Access Node Settings
Click the node to open its settings.
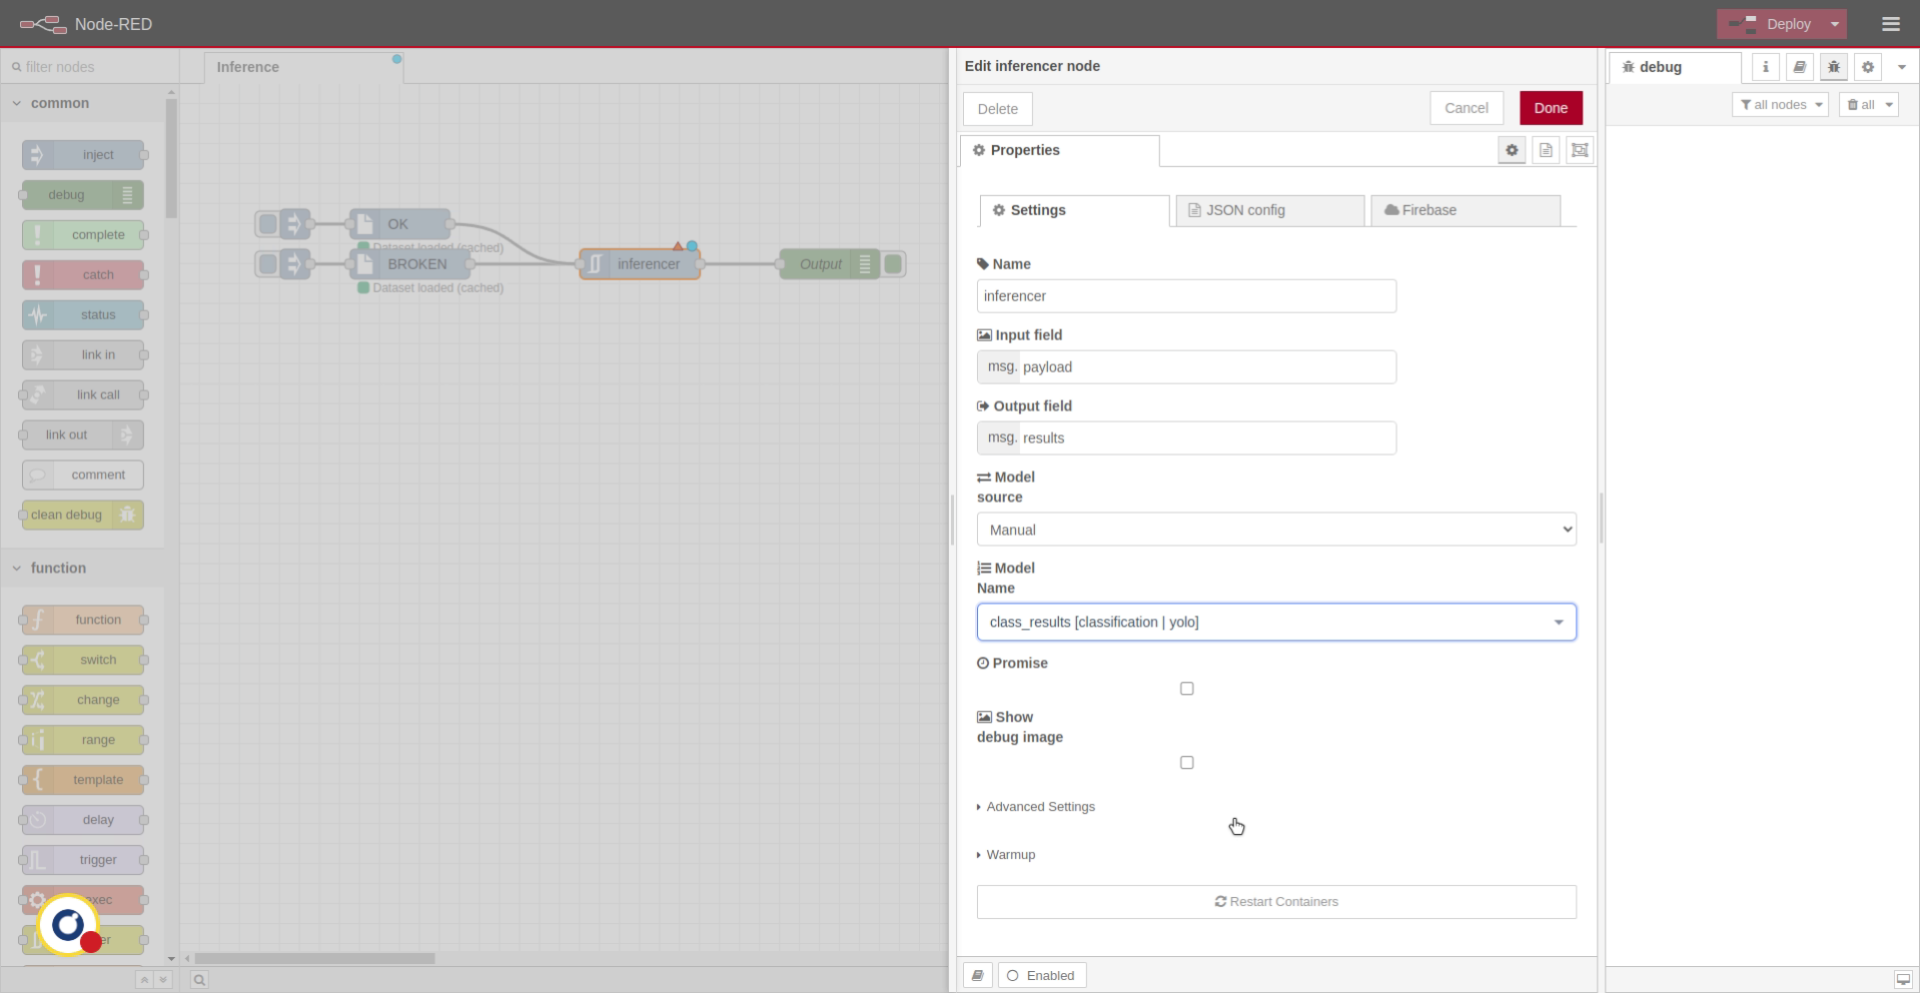
4. Main Settings
First, choose the input field, which indicates where the node will read the incoming image inside the message object. Then select the output field, which determines where the node will store the processing results.
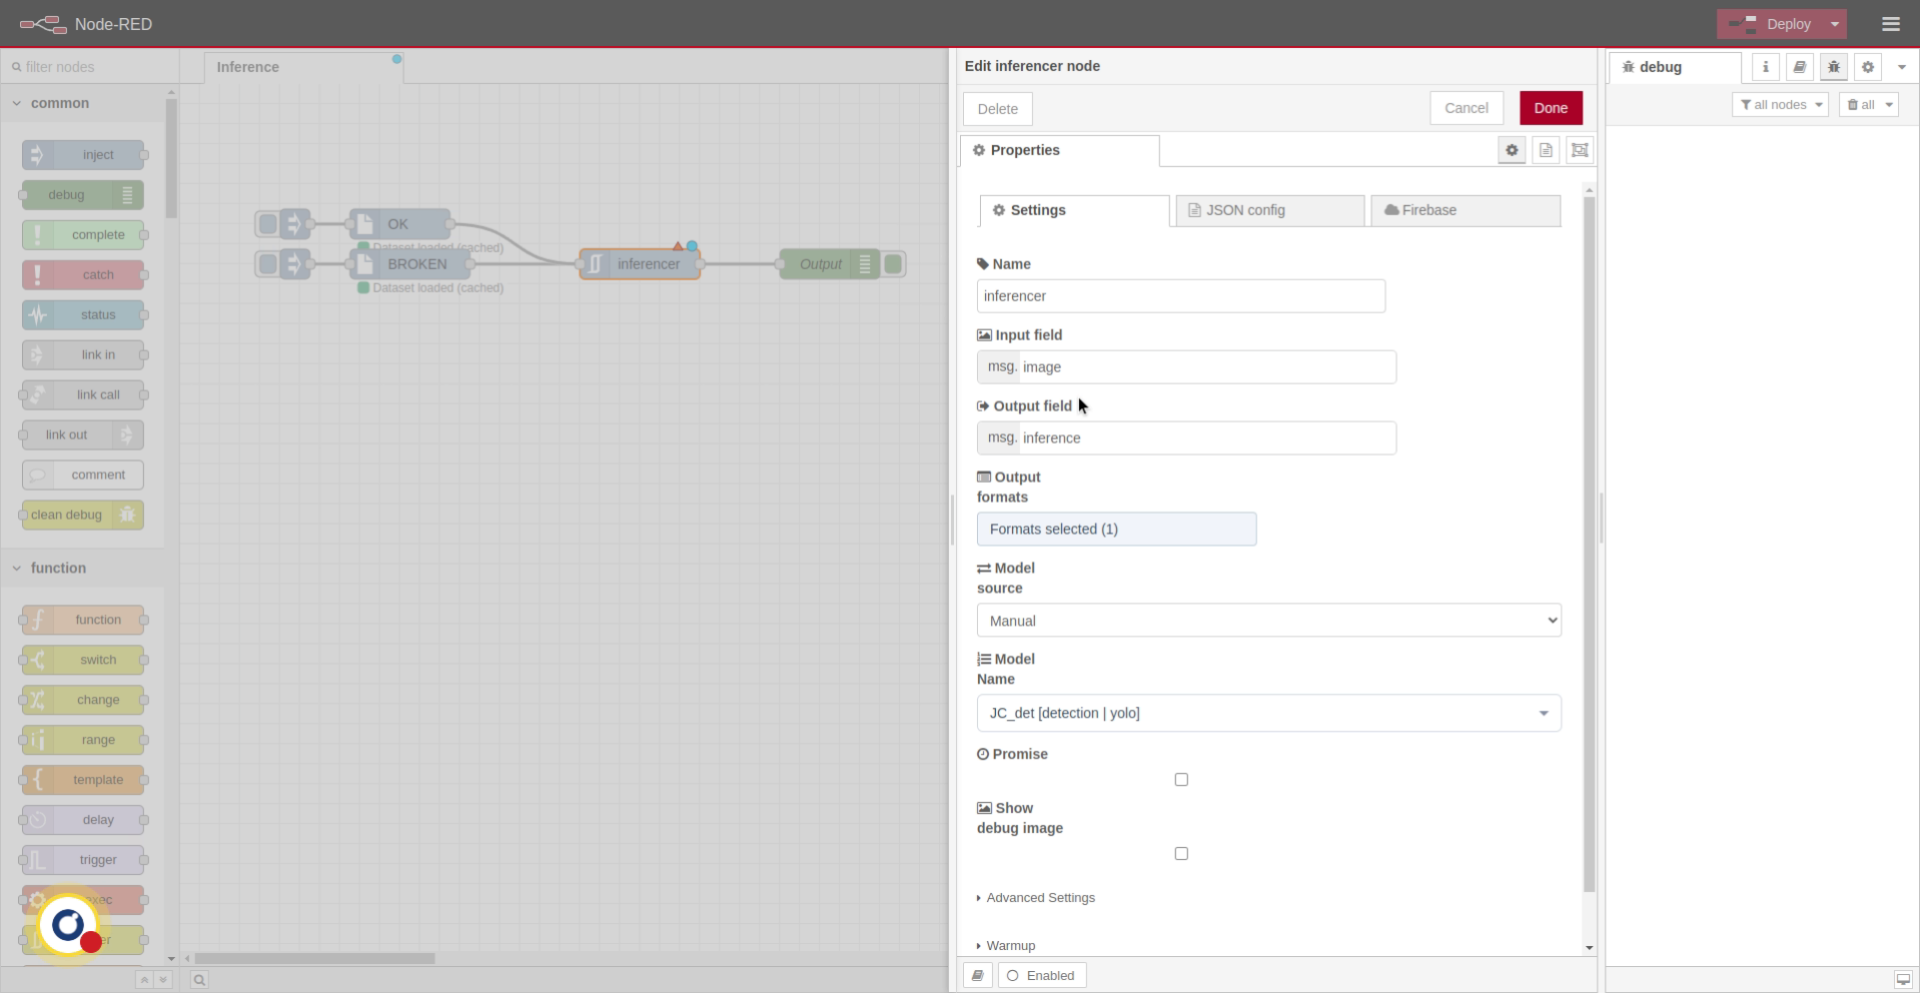
5. Select Model Name for Use

6. Choose Model Results Option
Next. We select the model we want to use, in this case, classresults.
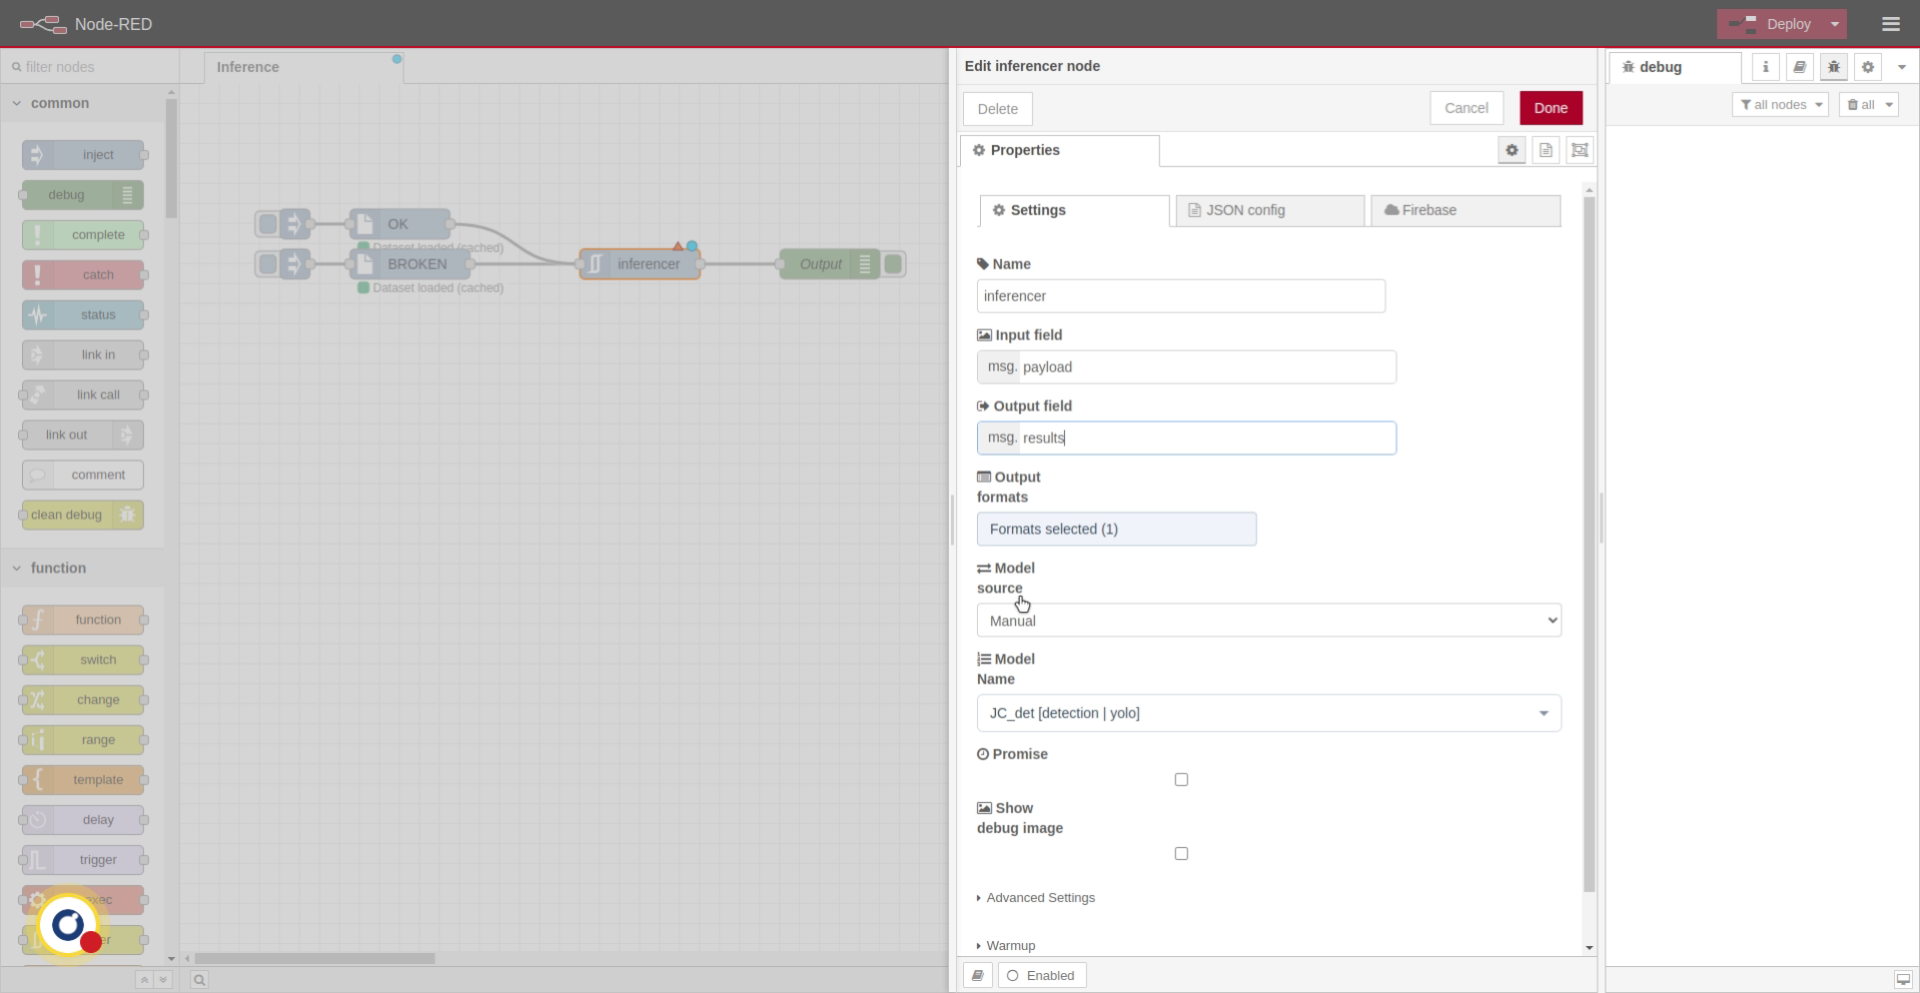
7. Select class_results

8. Activate Model Warm-Up
First inferences are usually slower. We'll enable warm-up so that the model does a first inference to avoid that. The remaining settings are described in the node’s documentation.
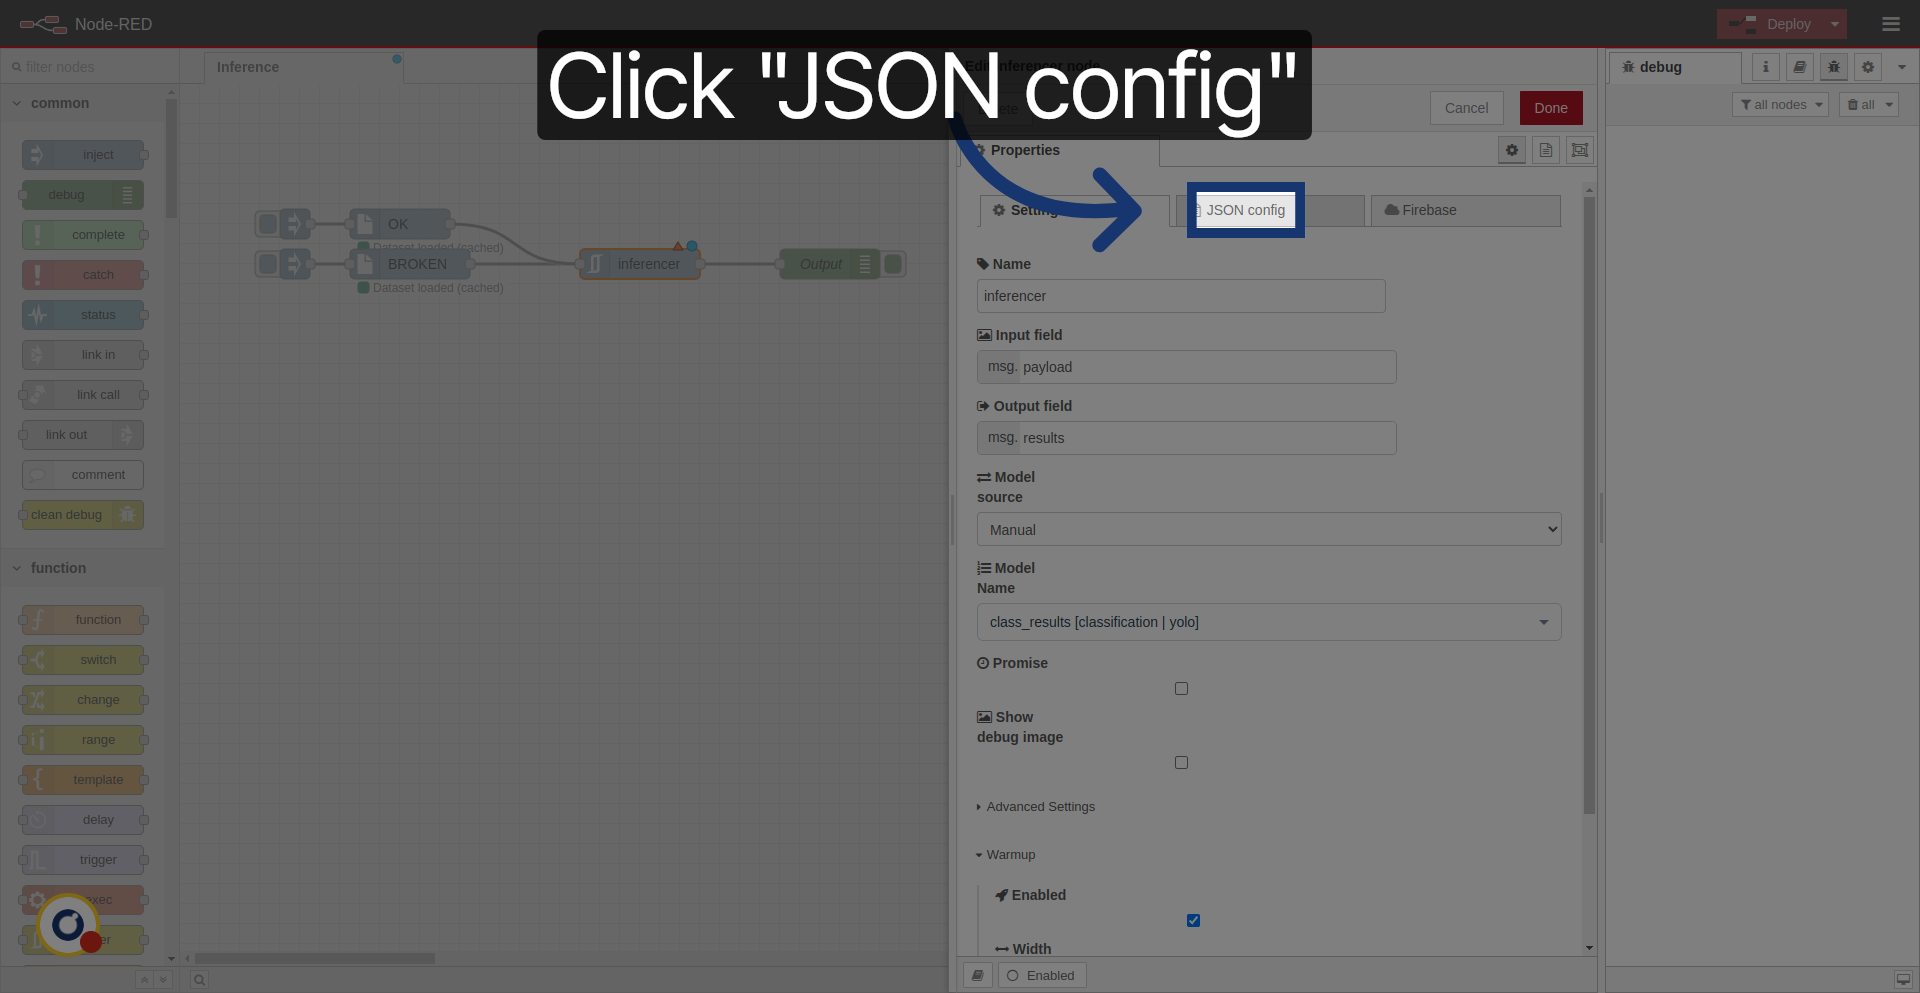
9. Open JSON Configuration

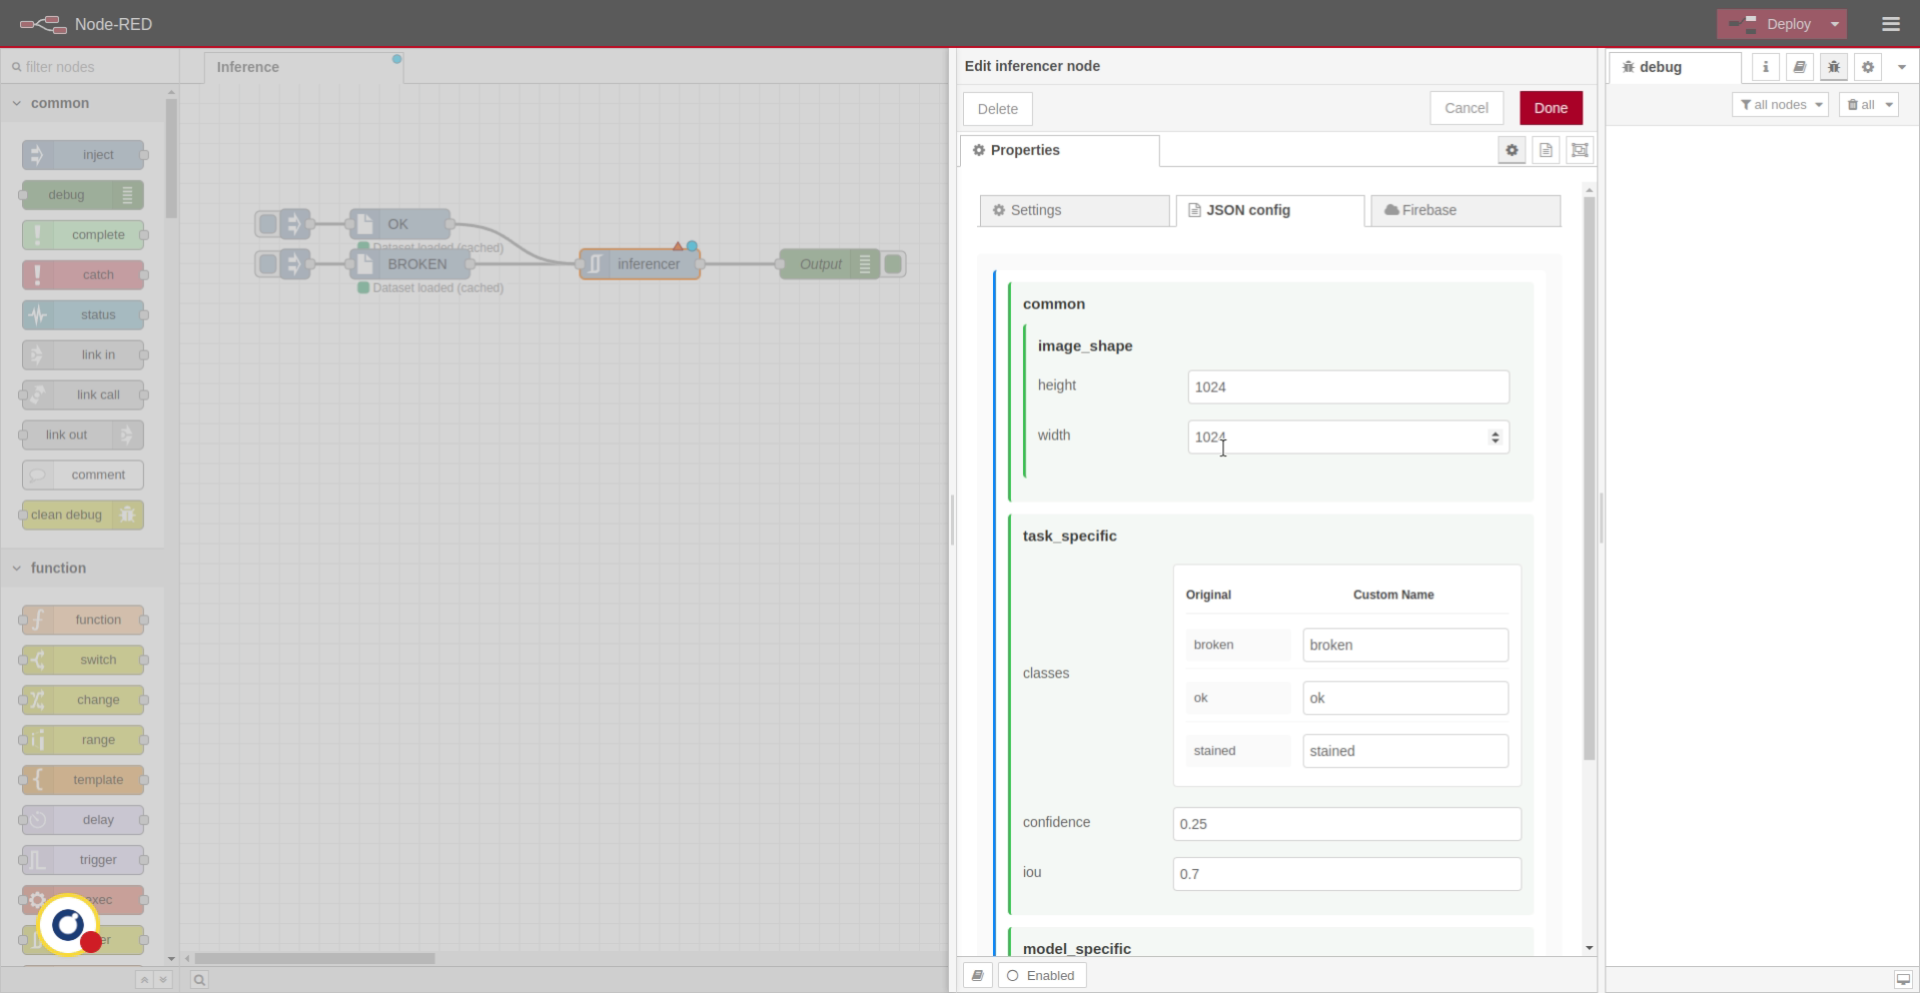
10. View JSON Configuration Details
JSON config window allows modifying model settings, such as minimum confidence, image size or tag names, for example.
11. Modify Node Configuration

12. Complete Configuration Editing
13. Complete Configuration Editing
Click "Done" to save your configuration changes.

14. Deploy Node Configuration
Click "Deploy" to apply the current settings and start the service.

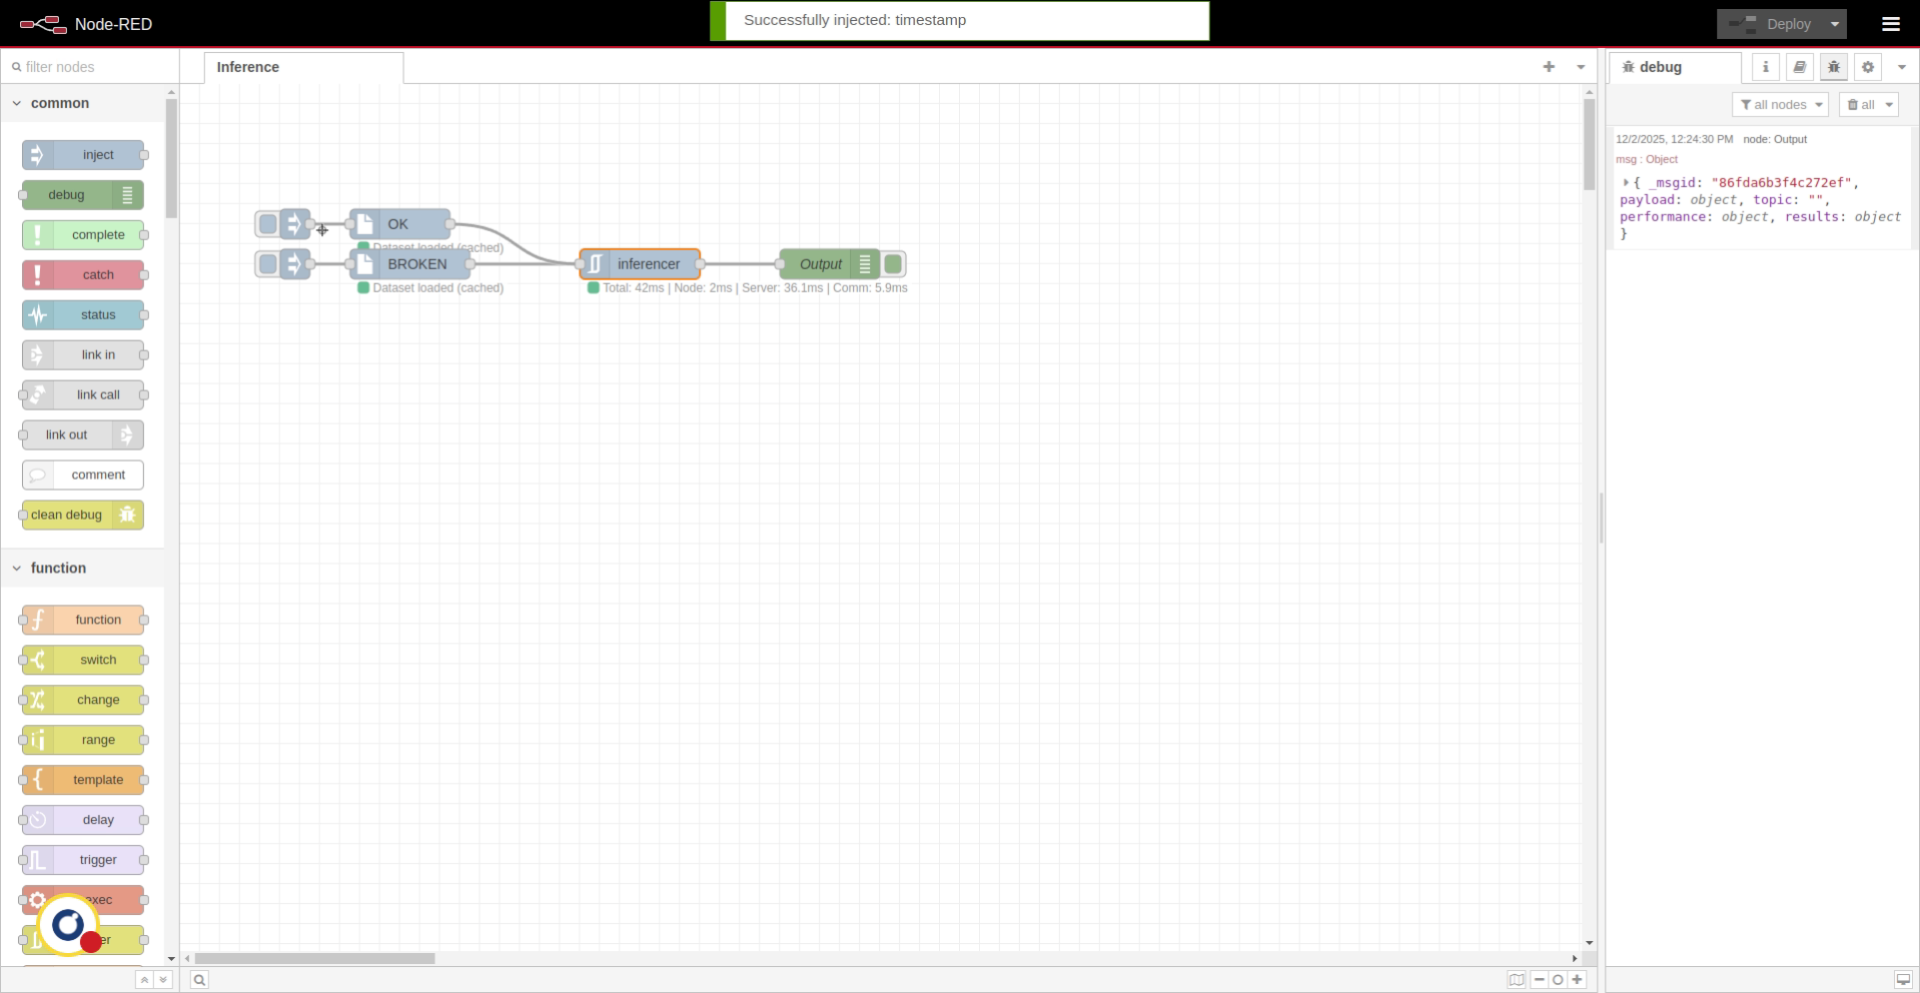
15. Inject Image
We inject an image using the from-dataset node.

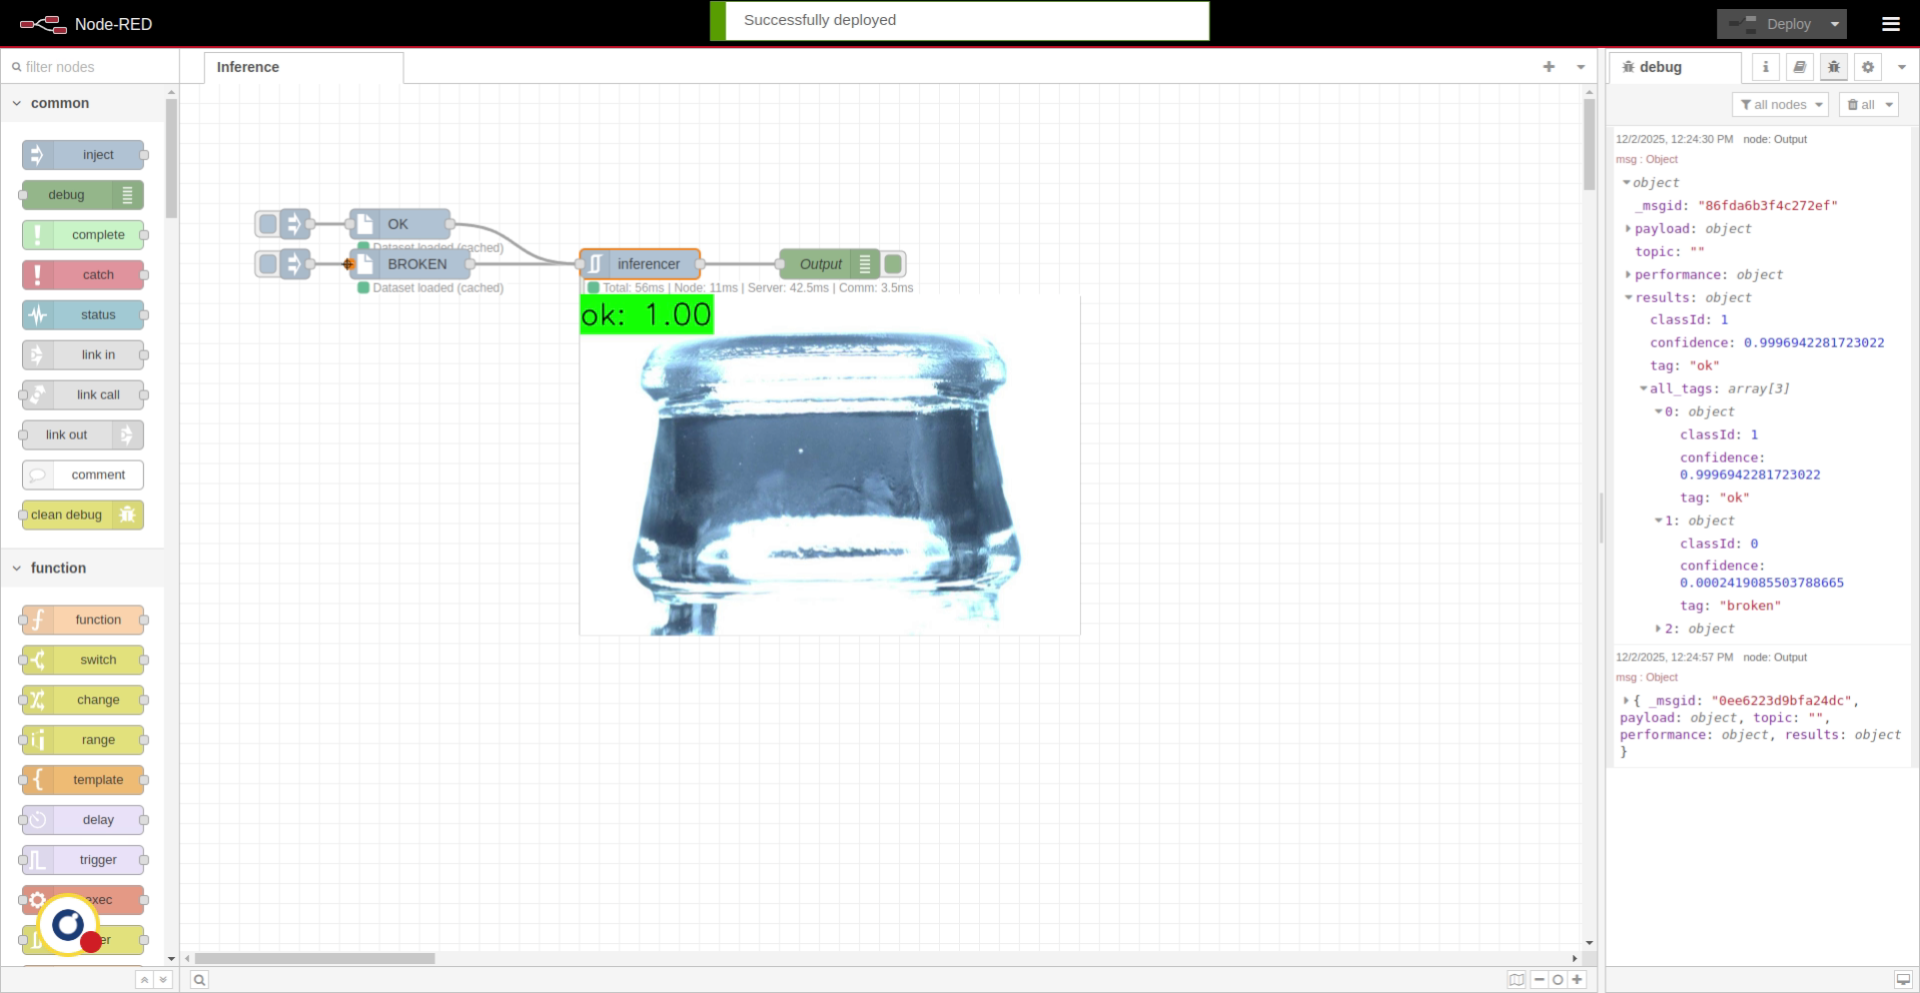
16. Review Classification Output
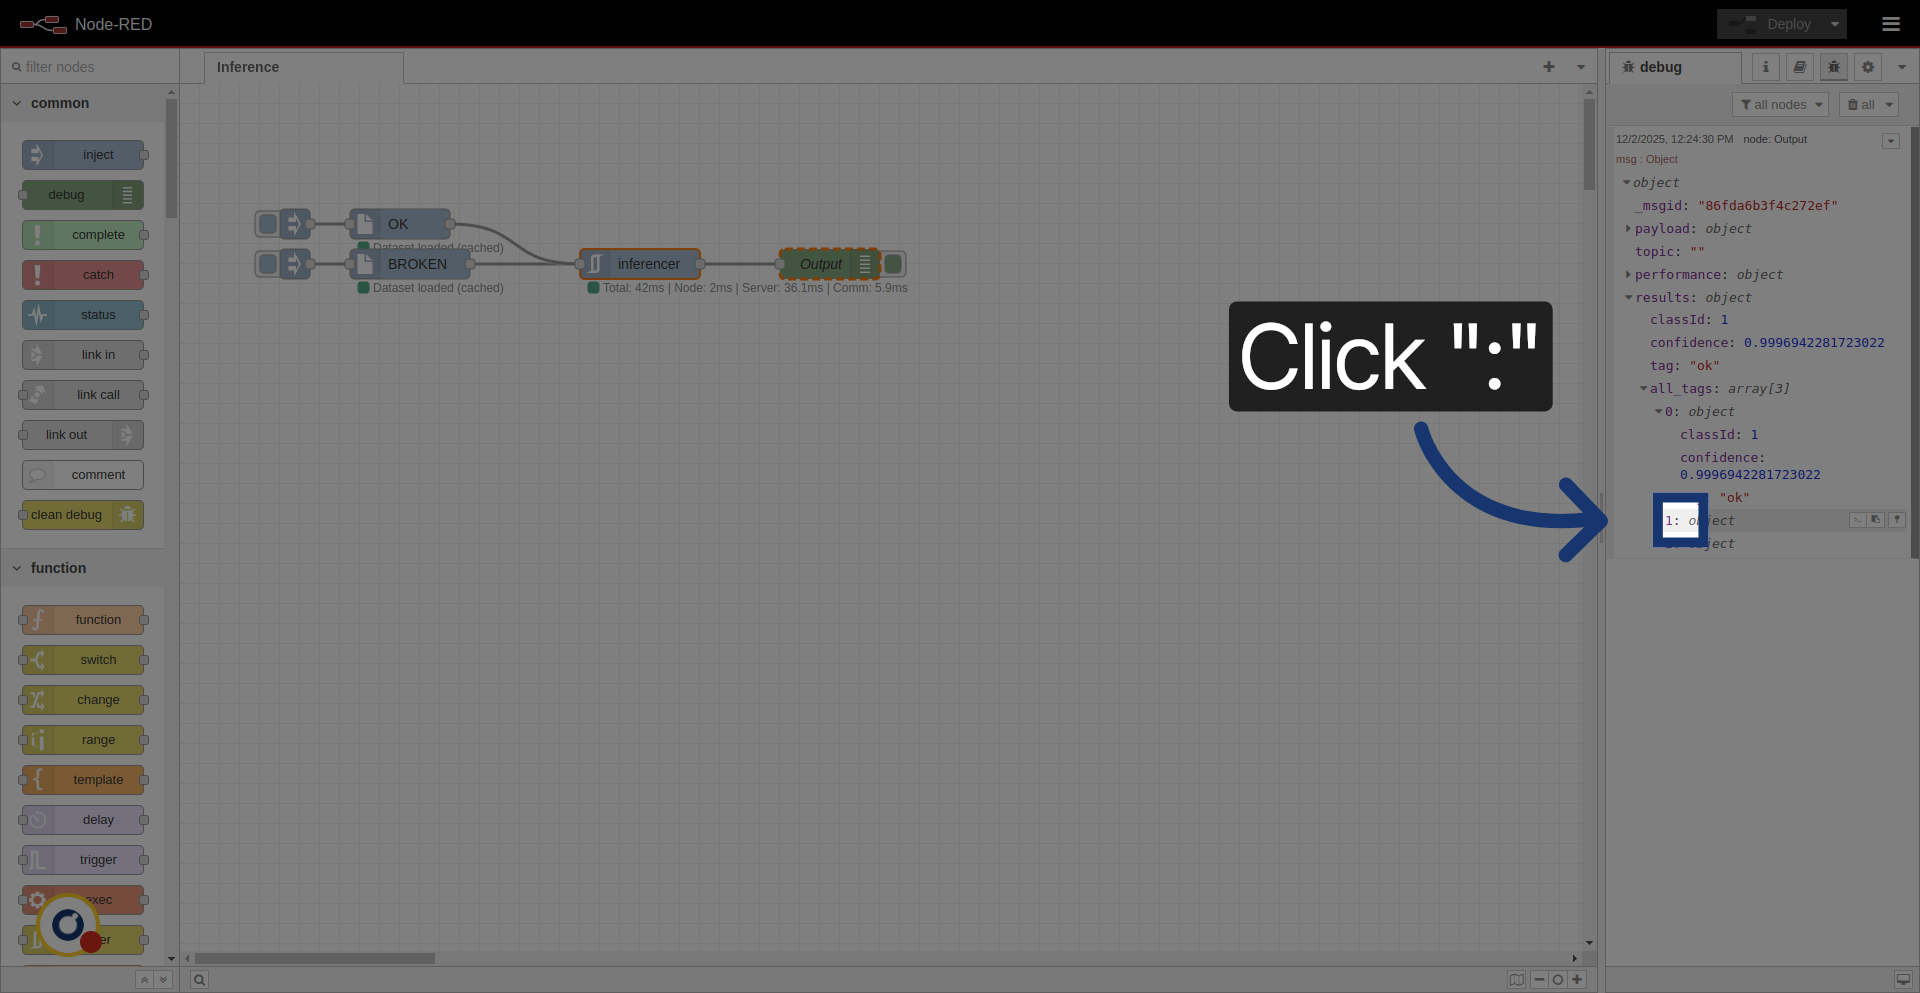
On the debug window, we can see the results. For classification models, we get the main tag and its score, along an array with all possible tags and their scores.
17. Sort Results by Confidence

18. Expand Results Details
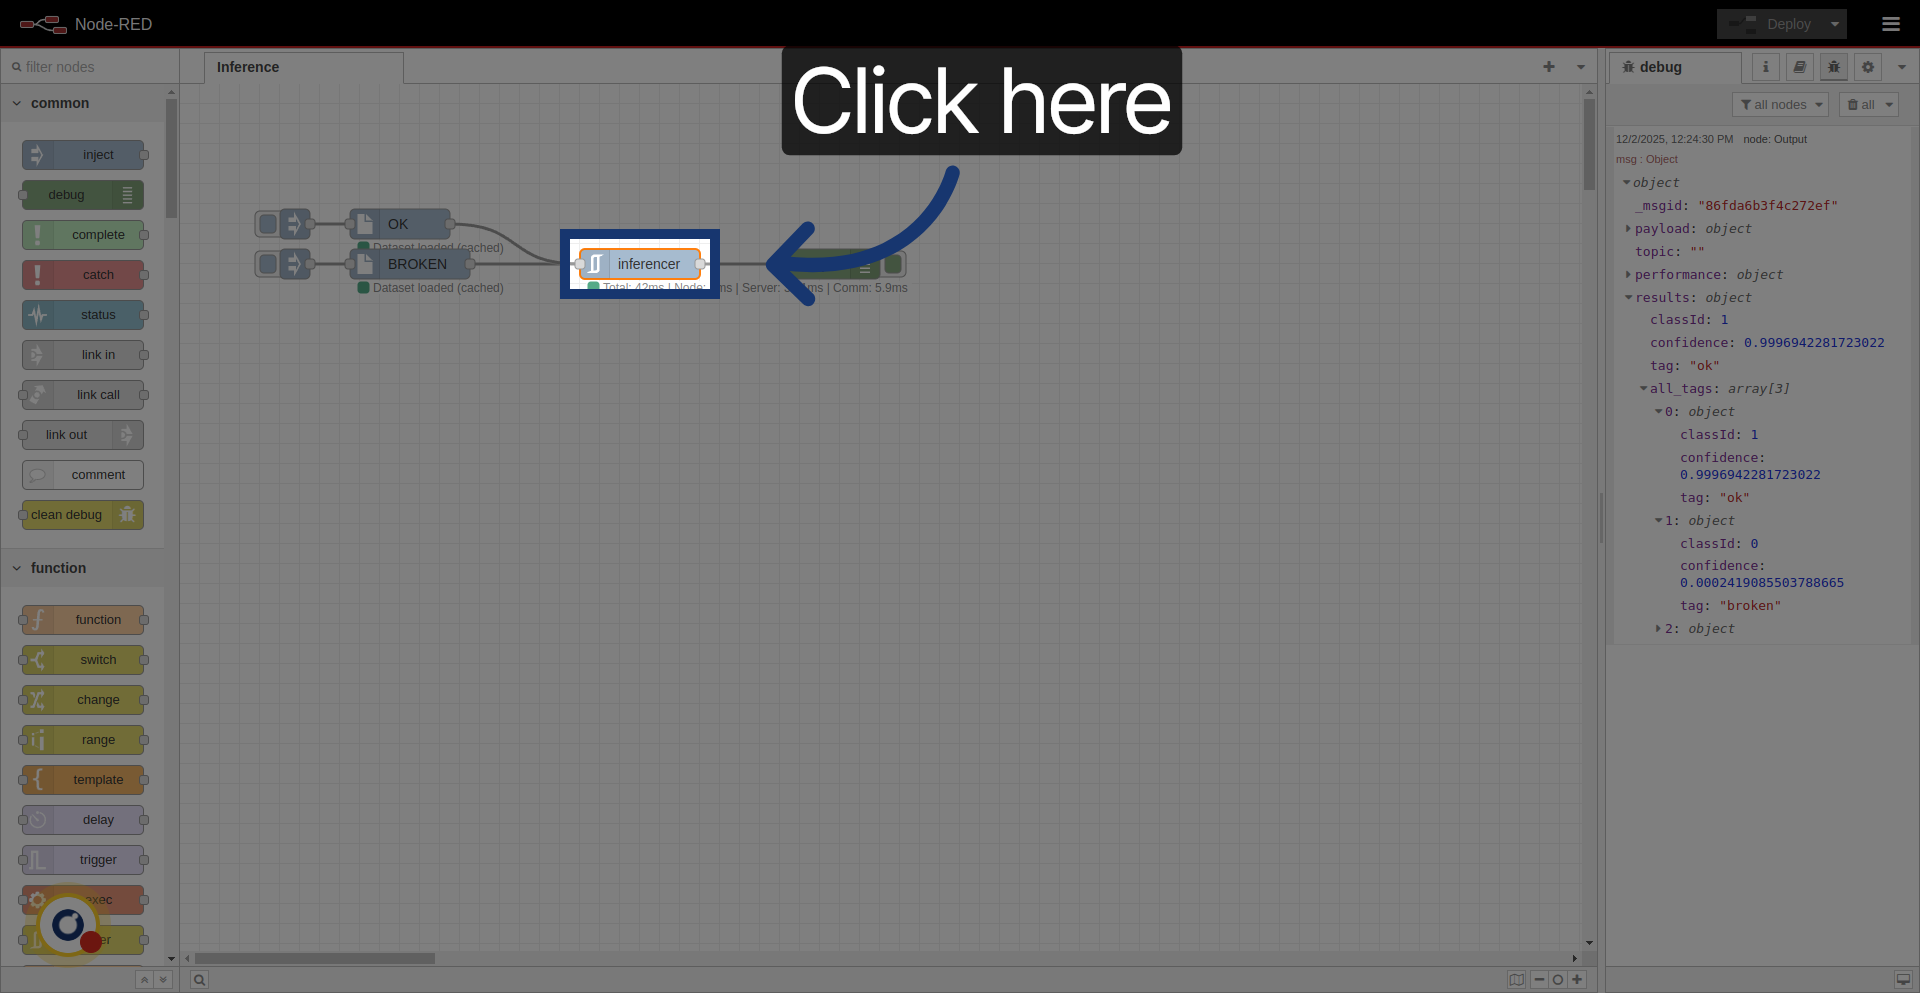
19. Enable Debug Image Display
In case we want to debug even more, we can visualize the image with the results.
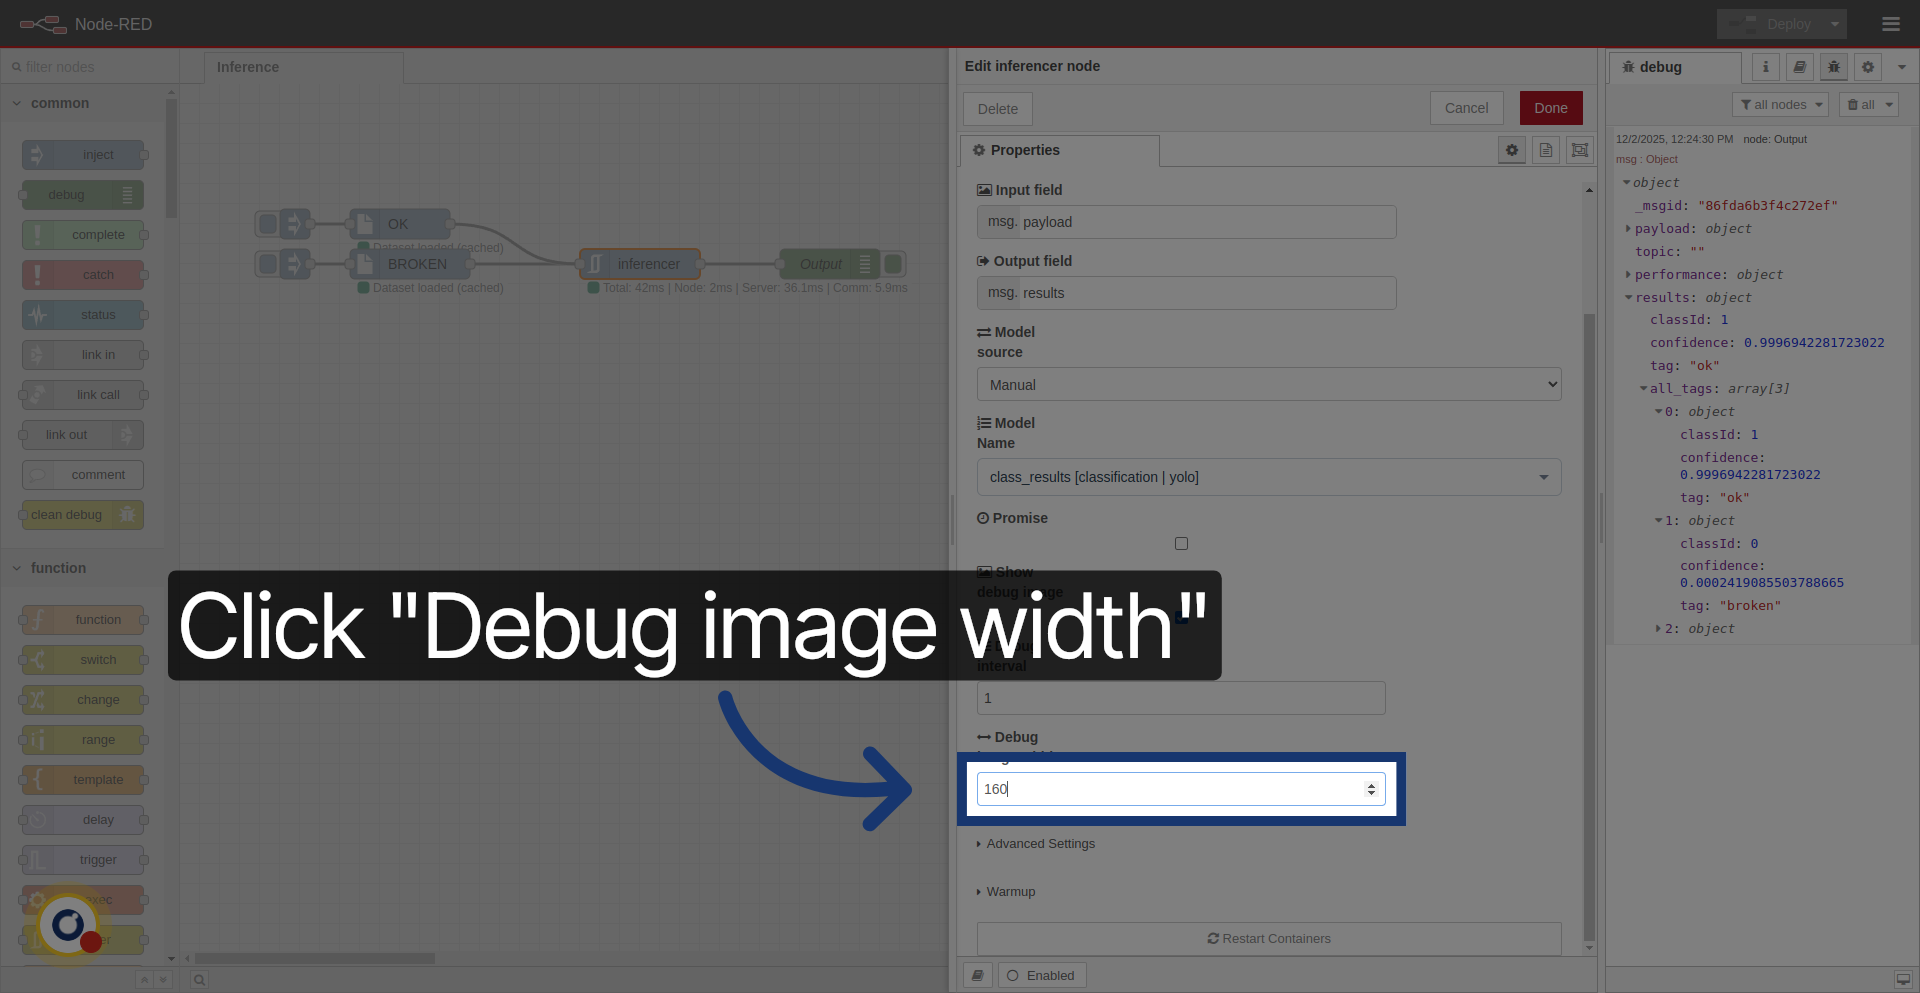
20. Set Debug Image Width Value

21. Navigate to Debug Settings
Go here to access debug image configuration options.
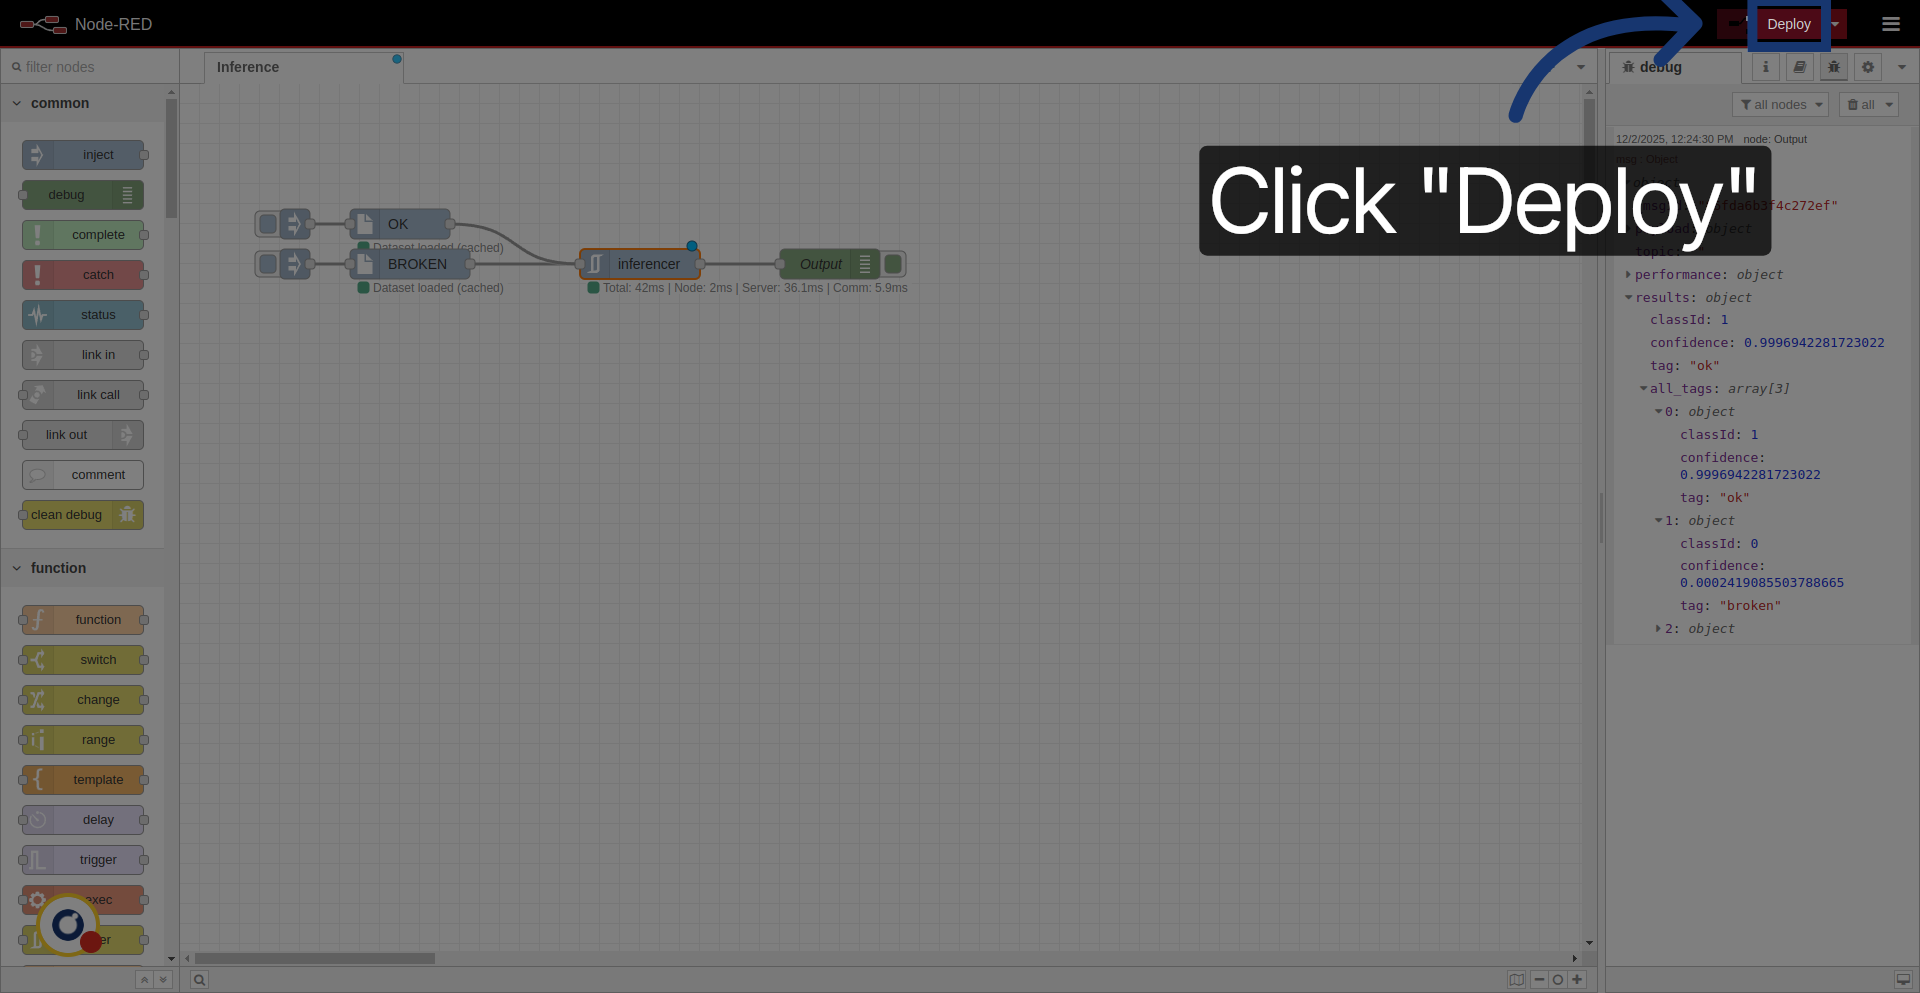
22. Redeploy Configuration

23. Redeploy
Click "Deploy" to apply debug image settings
24. Test Inference
We can inject both OK and NOK images and see we're correctly classifying them.

25. Review and Test Node Functionality
26. Overview

With this, we end the tutorial for basic usage of inferencer node. Thanks for using Rosepetal