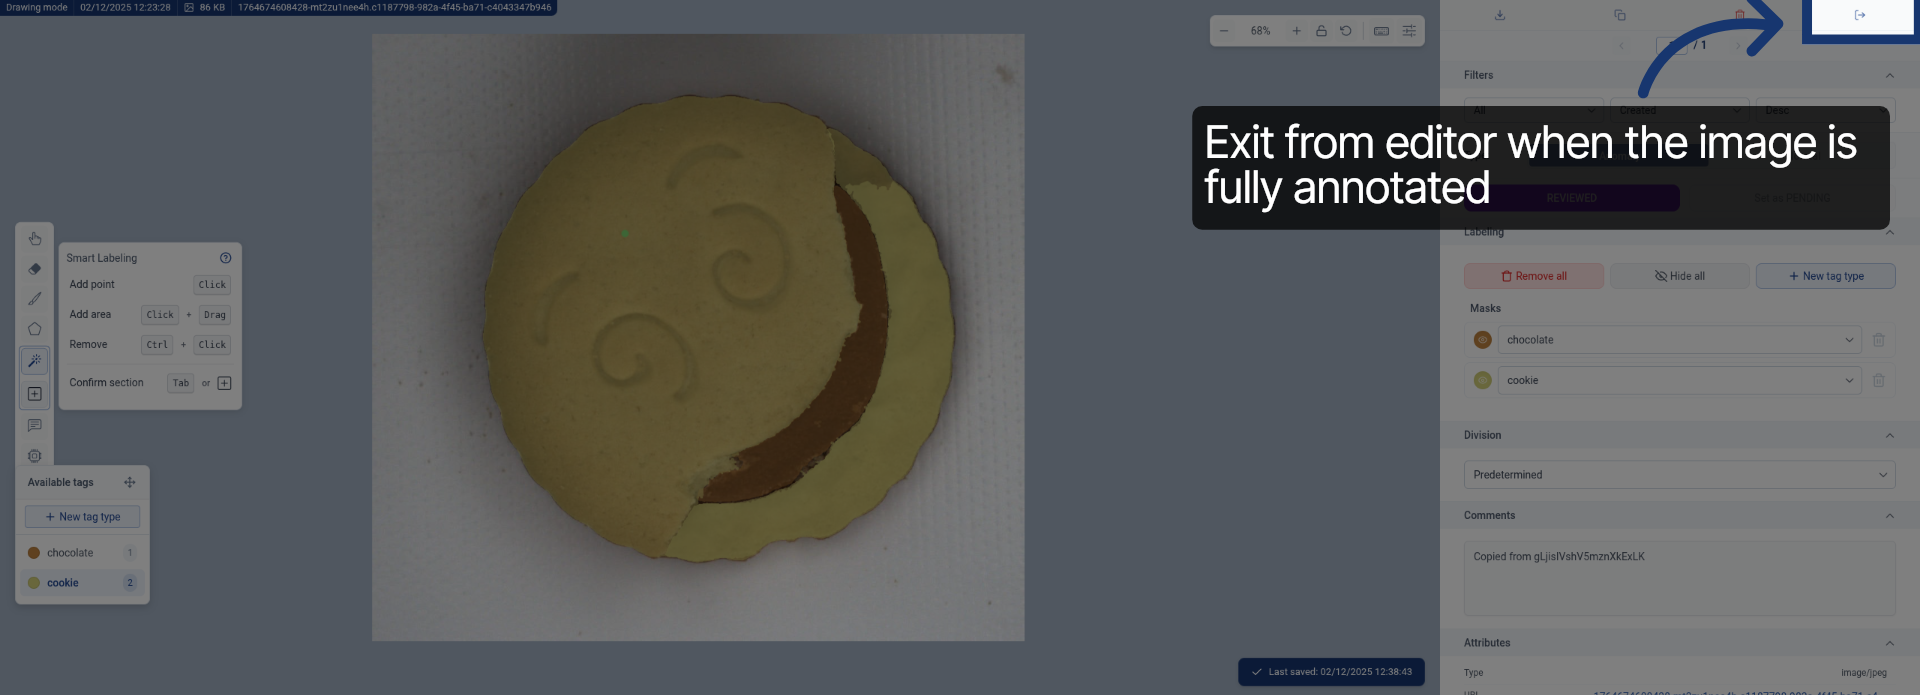
Annotate Images Efficiently Using SAM in Rosepetal
This tutorial demonstrates how to annotate images using the SAM feature in Rosepetal
Go to dev.rosepetal.ai
1. Introduction
You will learn to navigate the interface and apply smart labeling to your images effectively.
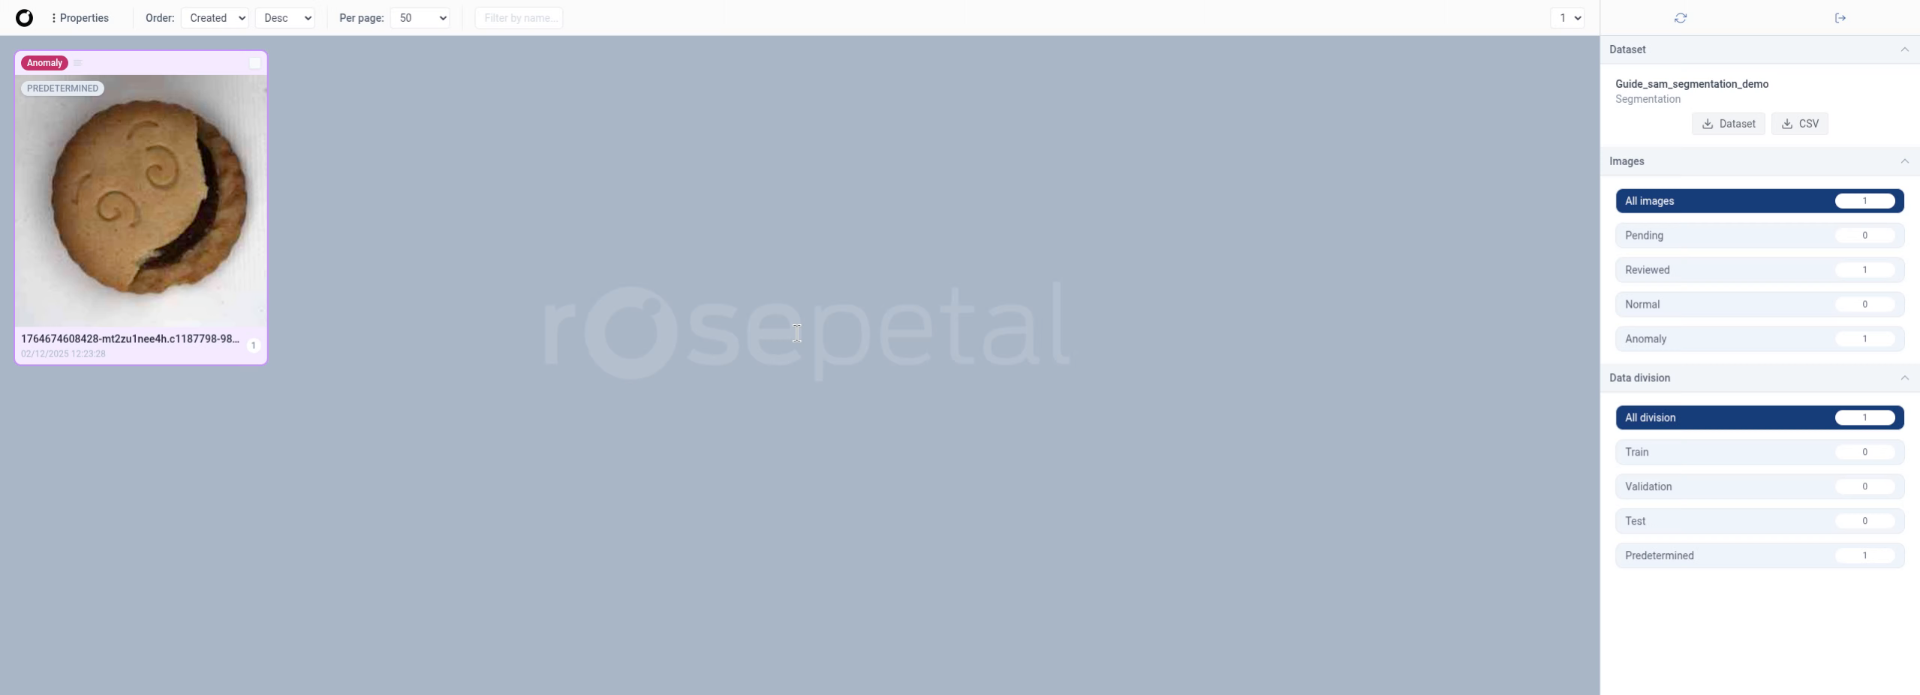
2. Open Annotation Menu
Click the designated area to open the annotation menu for the selected image.
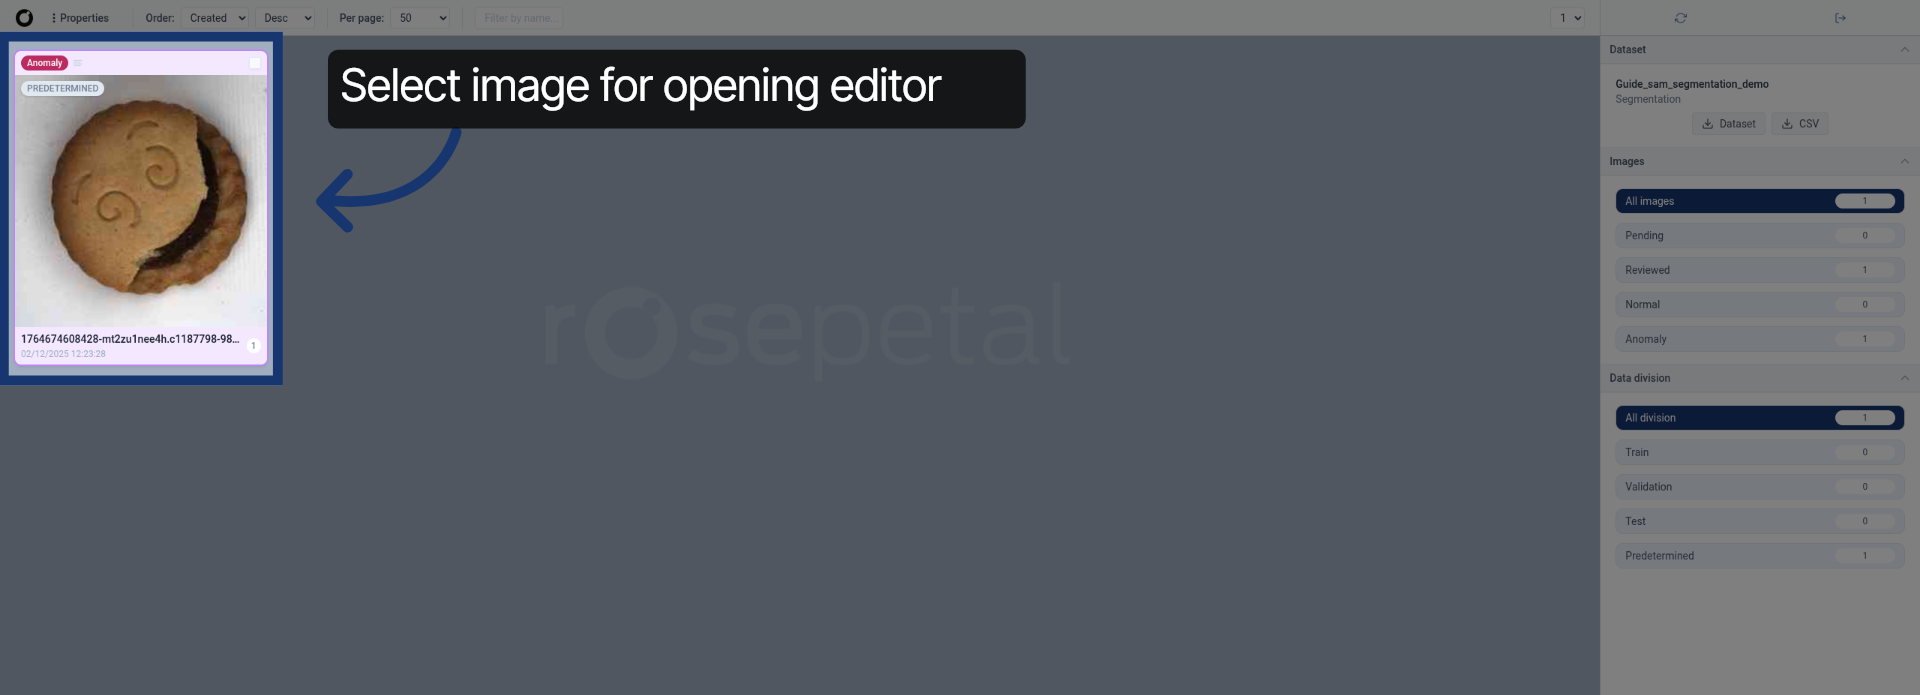
3. Access Annotation Options
Click the indicated location to reveal available annotation options.
4. Confirm Instance Status
Click the status indicator labeled "Starting Instance healthy (360 ms)" to verify the instance is ready.
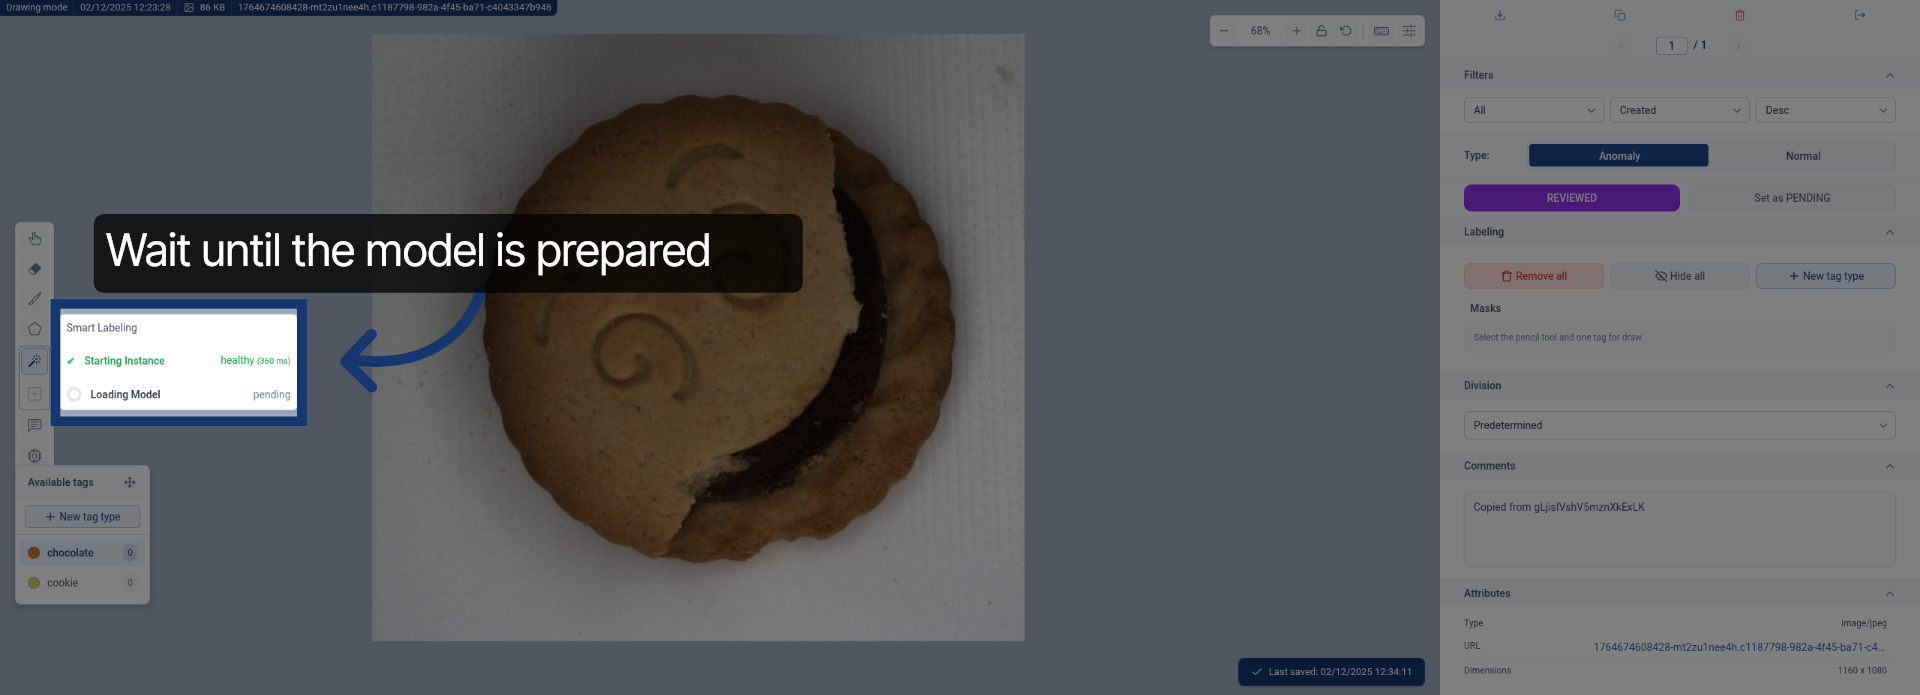
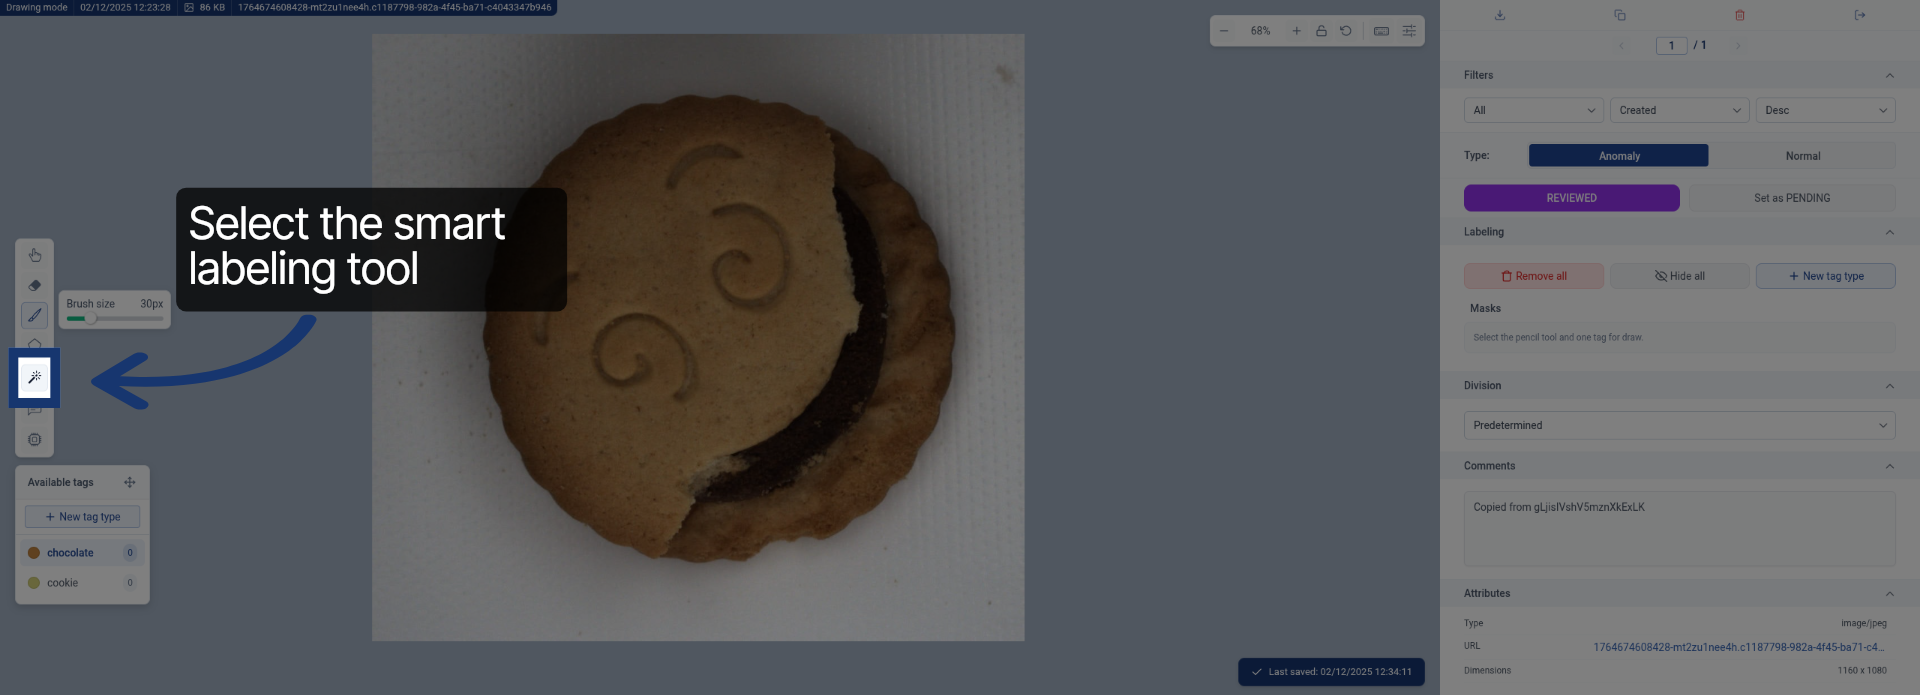
5. Choose Smart Labeling Feature
Click "Smart Labeling" to activate the smart annotation tools for your image.
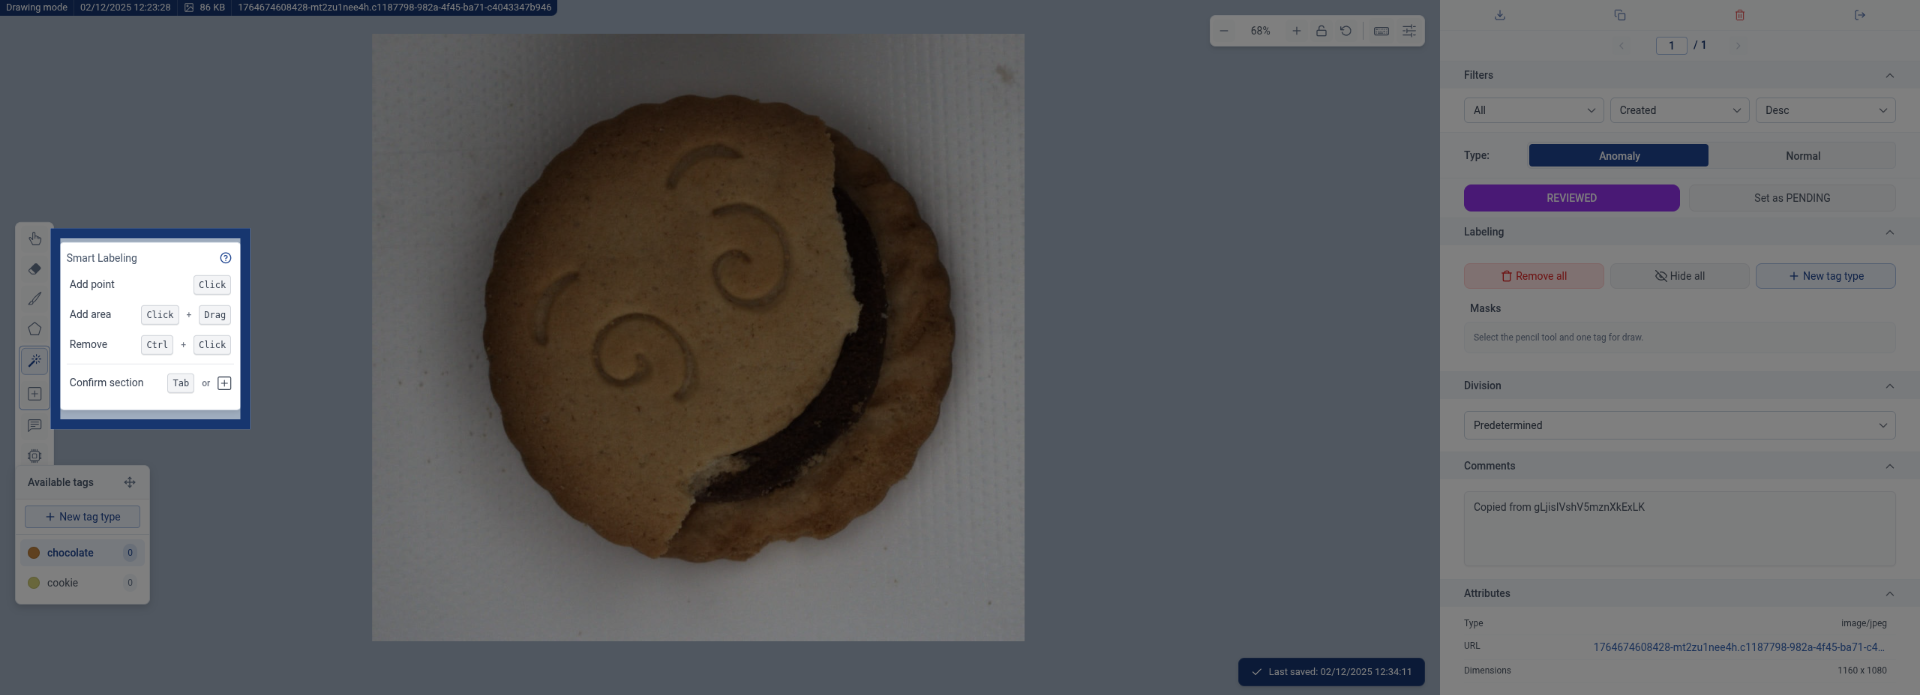
6. Select First Label Category
Click the label category named "chocolate0" to apply it to the image.
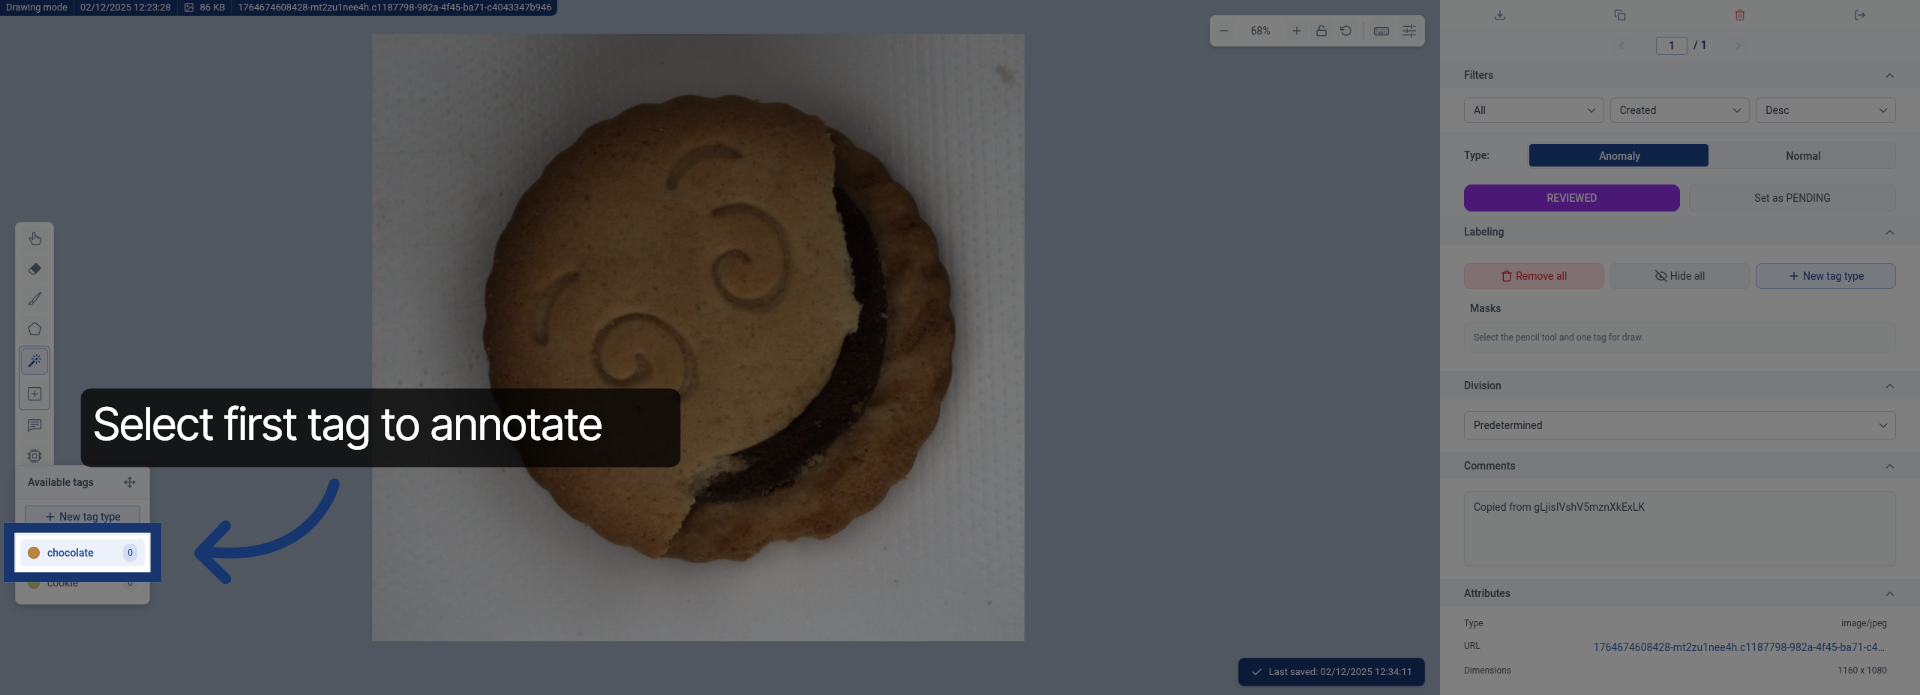
7. Initiate Label Application
Click the specified area to begin applying the selected label to the image.
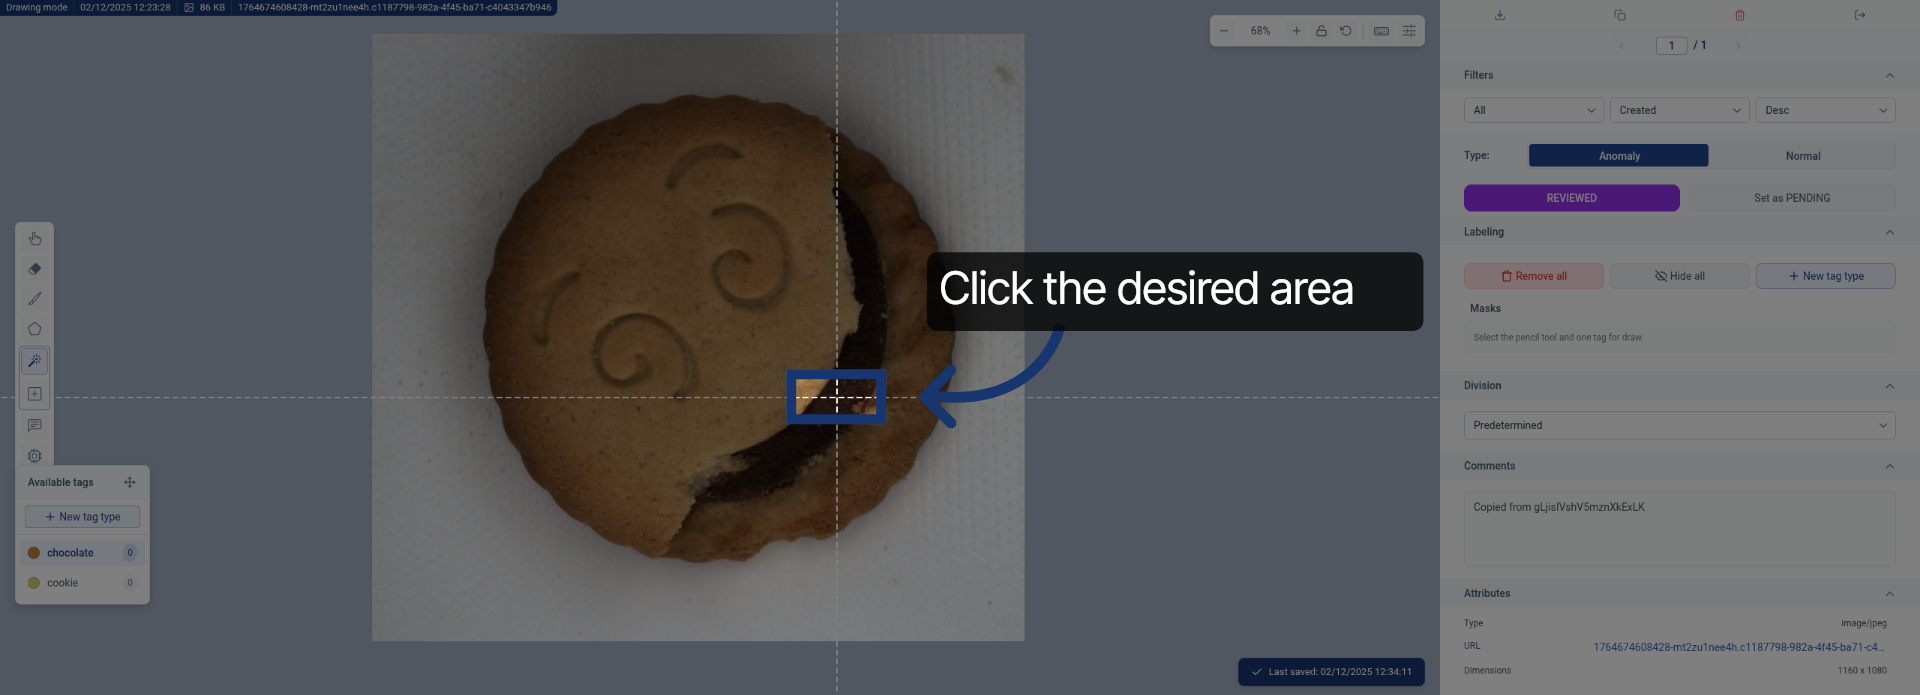
8. Proceed with Labeling
Click the indicated location to continue the labeling process.
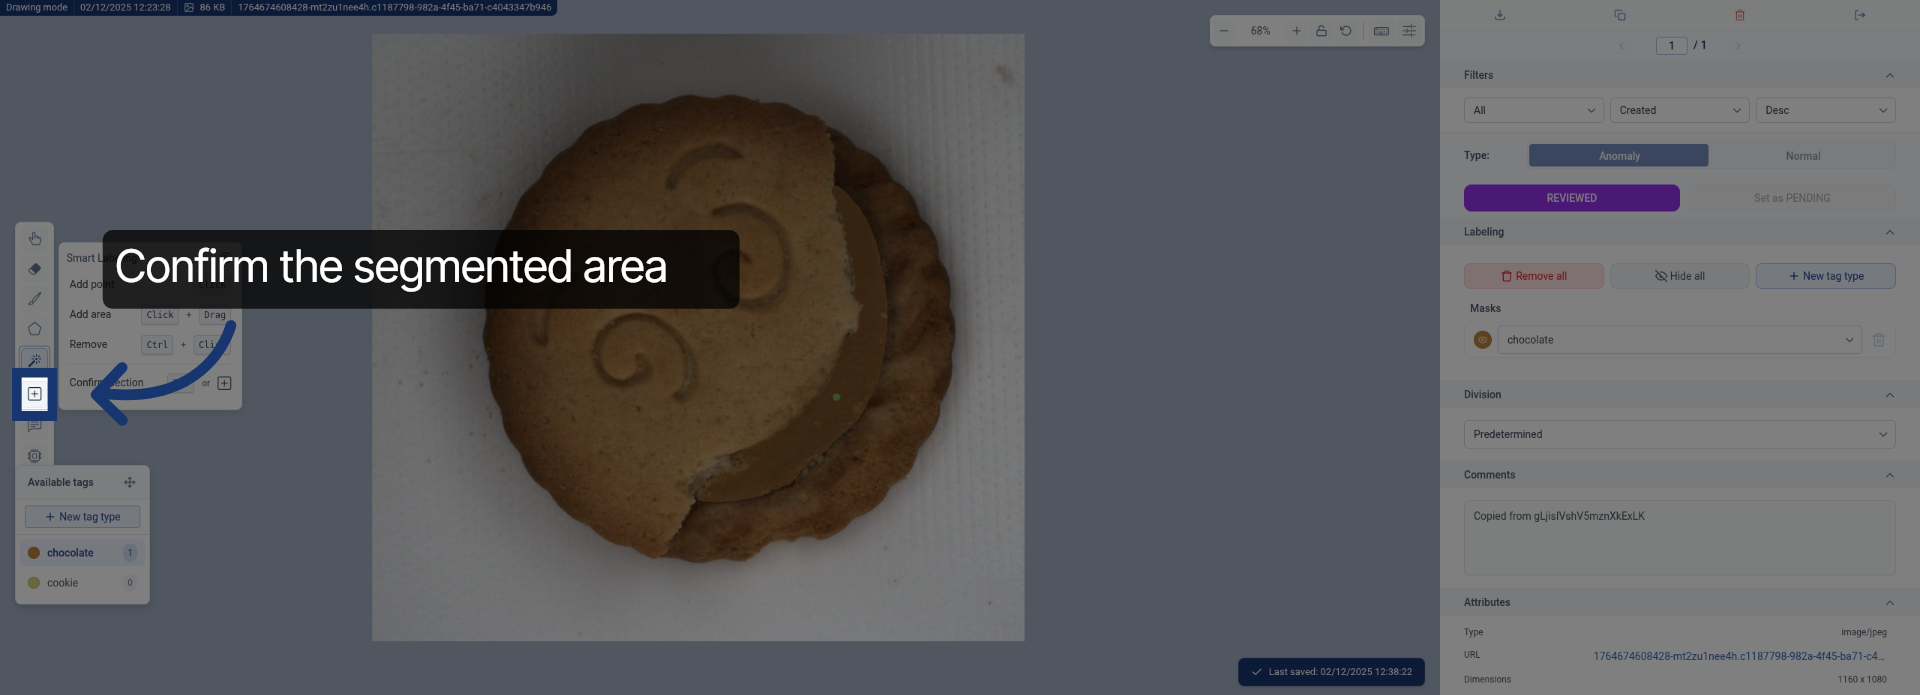
9. Select Second Label Category
Click the label category named "cookie0" to add an additional annotation.
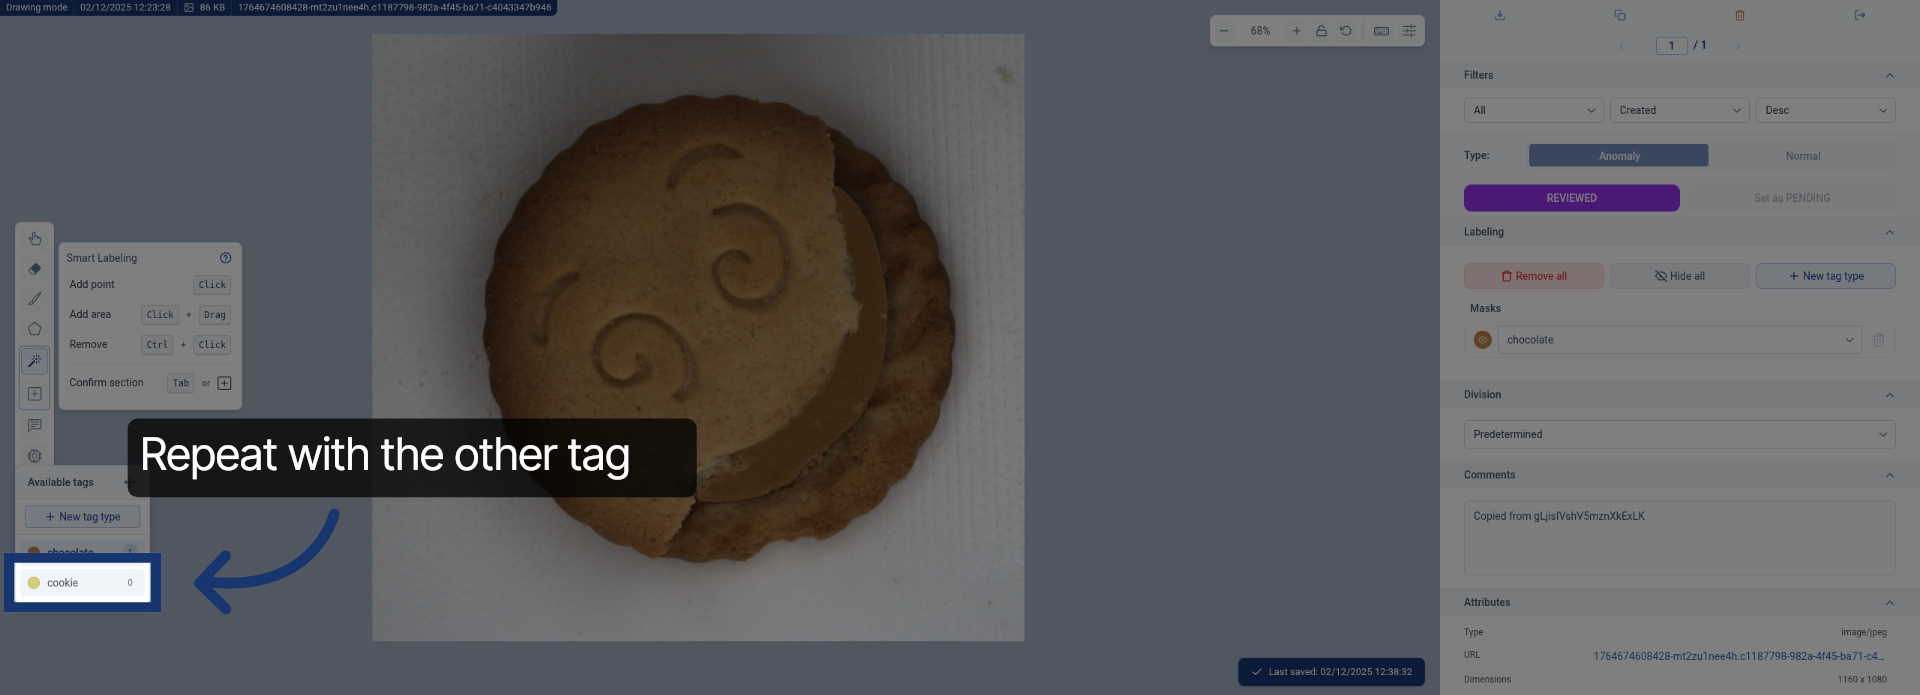
10. Continue Label Application
Click the designated area to proceed with applying the second label.
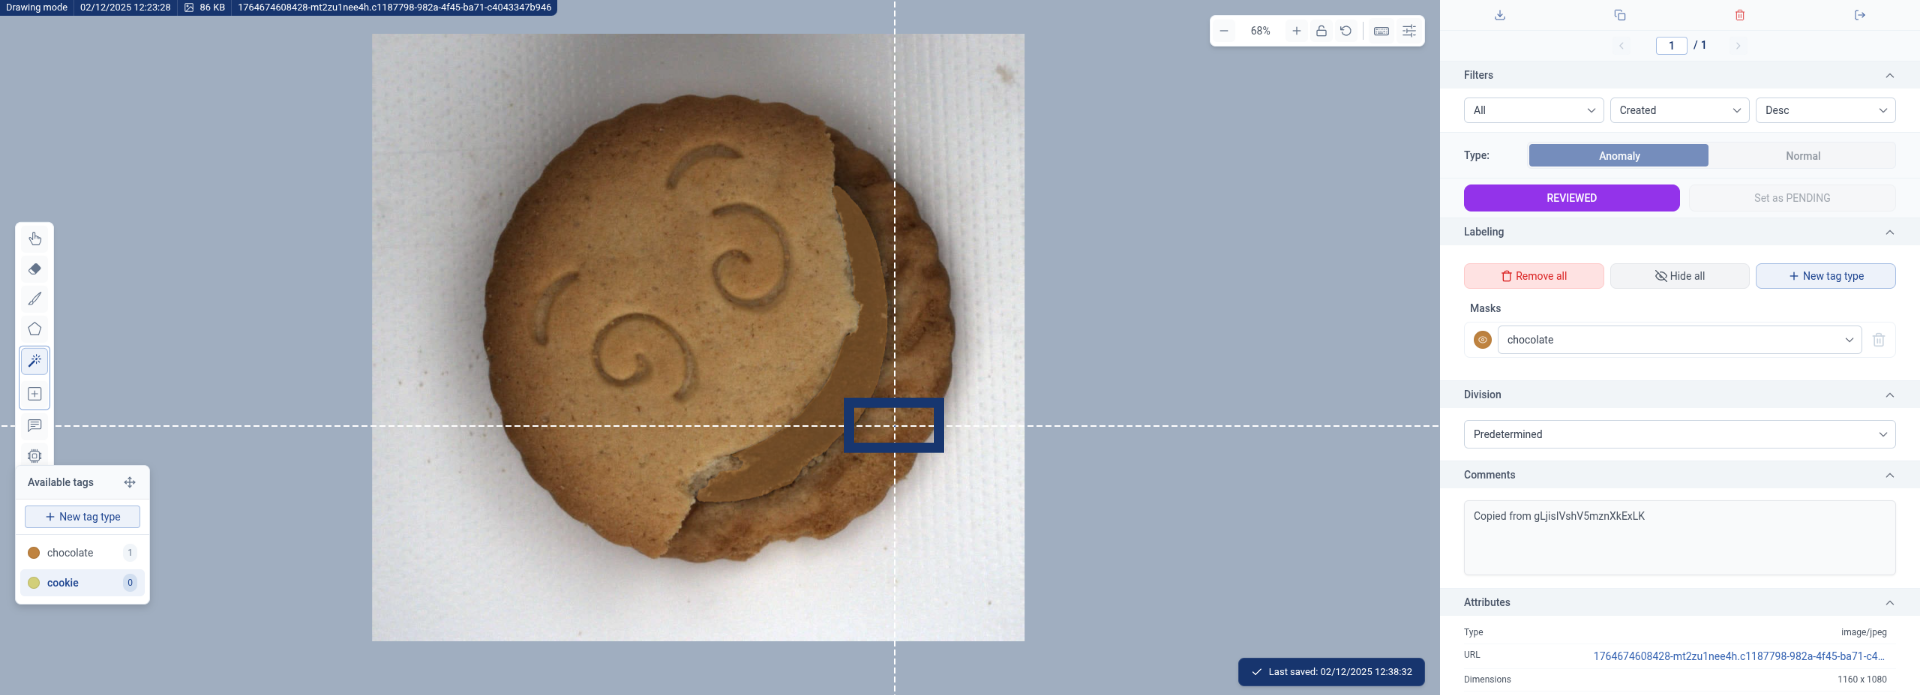
11. Advance Annotation Process
Click the specified location to move forward in the annotation workflow.
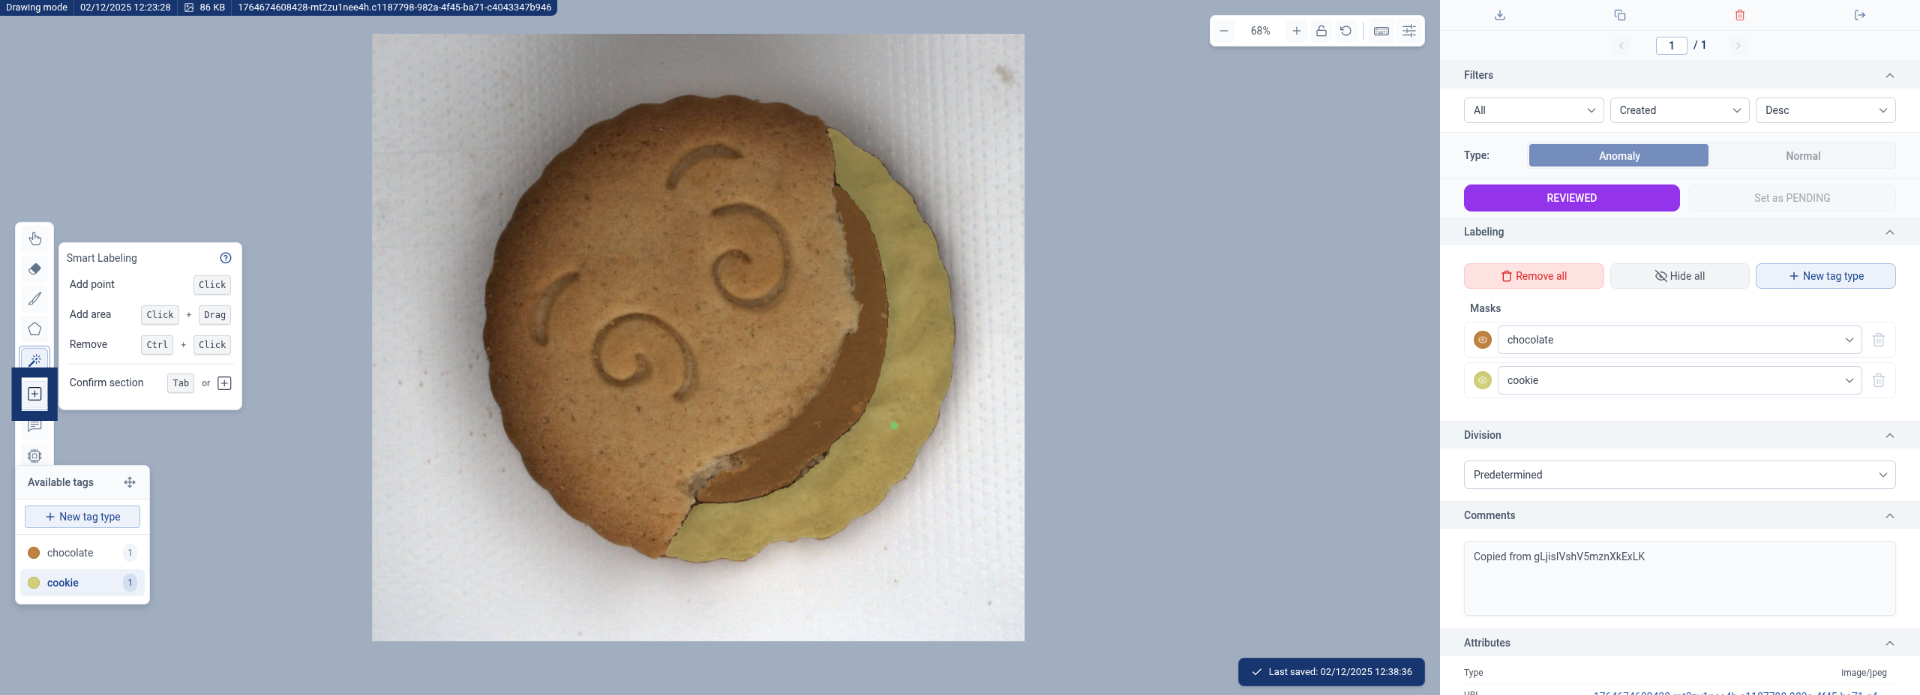
12. Finalize Labeling Step
Click the indicated area to complete the current labeling step.
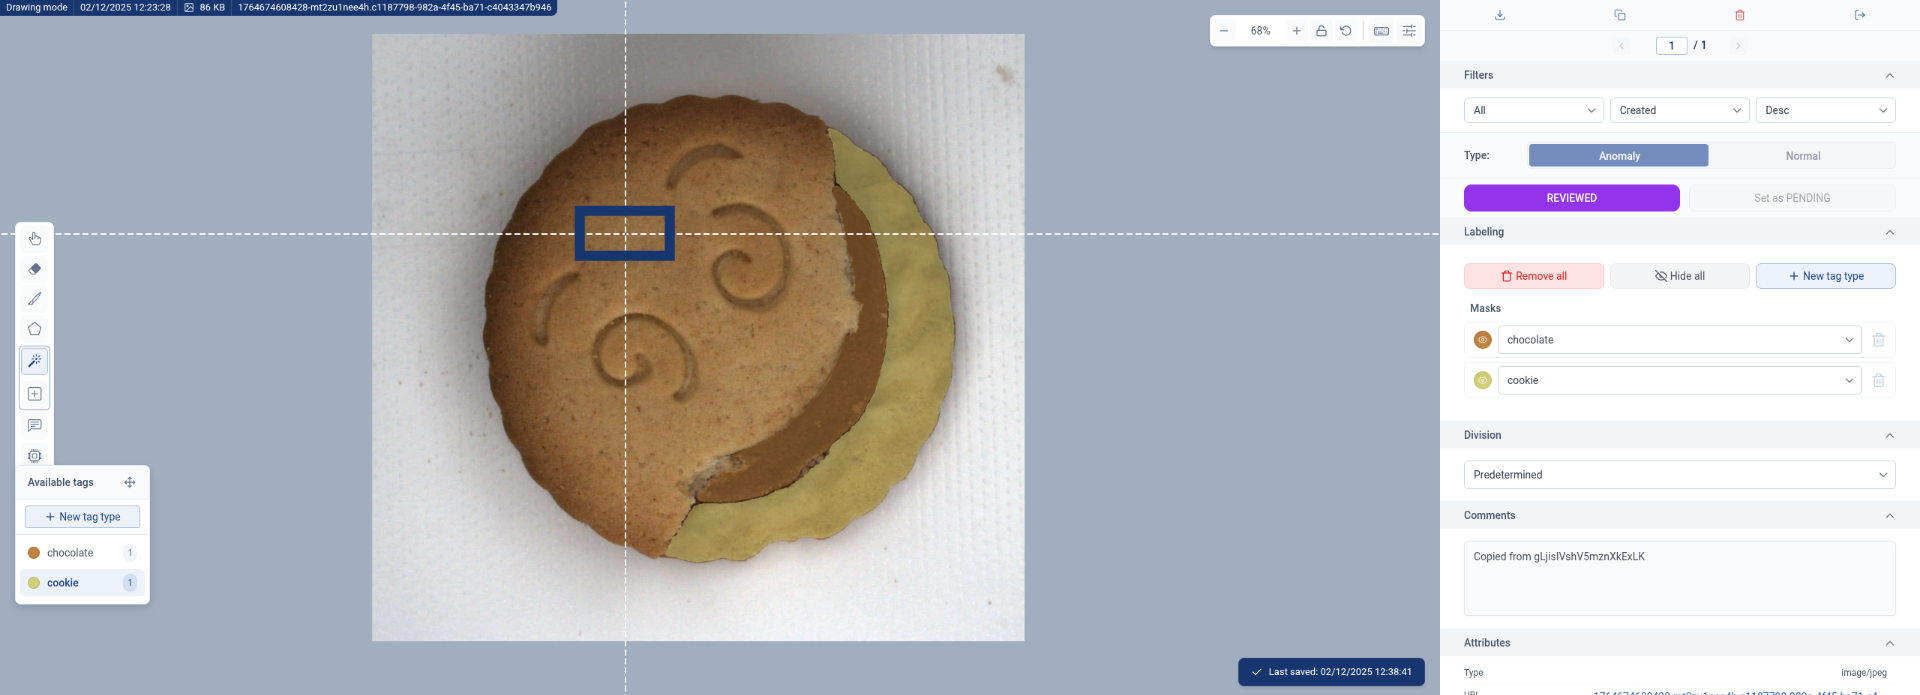
13. Complete Annotation Workflow
Click the final area to finish the image annotation process using SAM.
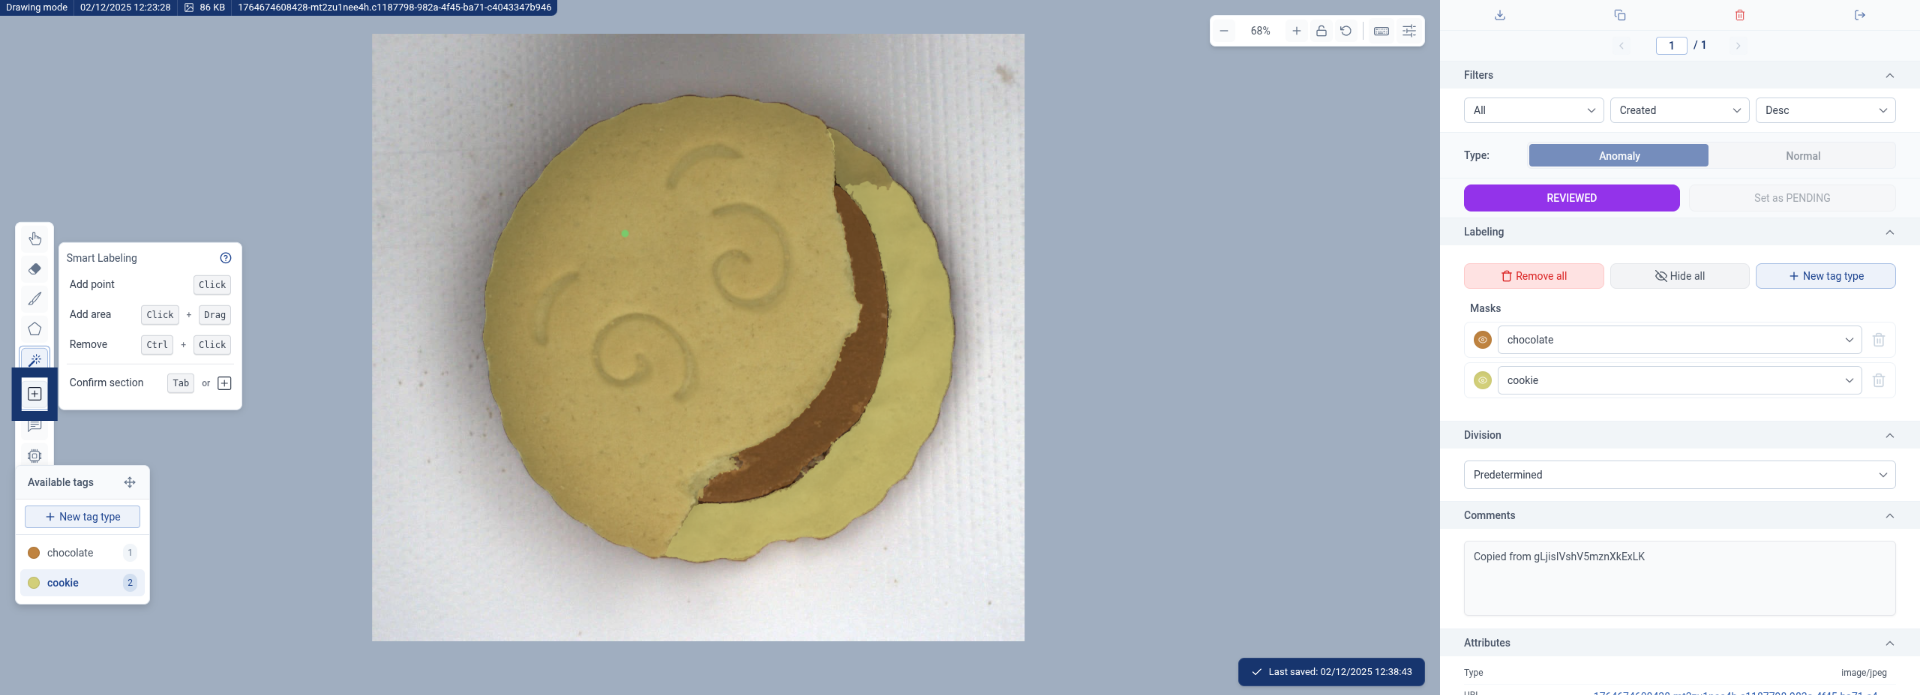
14. Complete Annotation Workflow
Click the final area to finish the image annotation process using SAM.